Caution: Perform this procedure while using the proper anti-electrostatic
discharge equipment. Refer to TN-14-92-003, "Electrostatic Discharge Tooling".
Removal
Remove the transmitter battery.
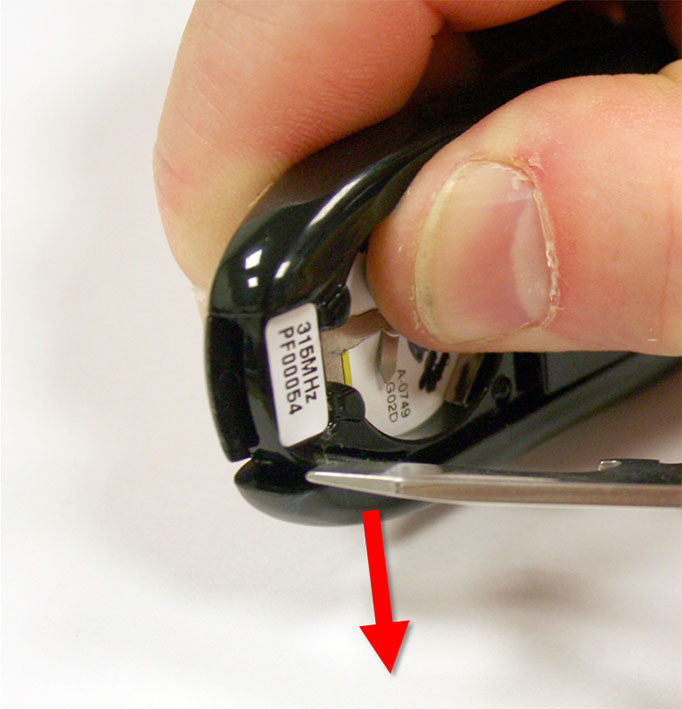
Hold the transmitter in one hand. Place the blade of a flat screwdriver or
similar object on the edge of the side panel, then press away from the
transmitter to release the side panel.
Repeat step 2 on the other side panel.
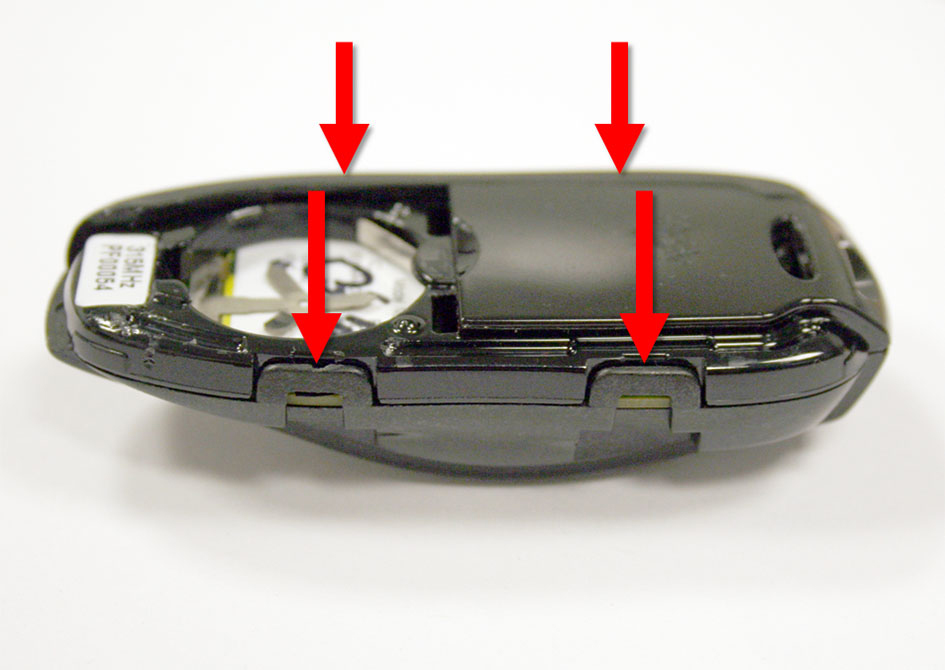
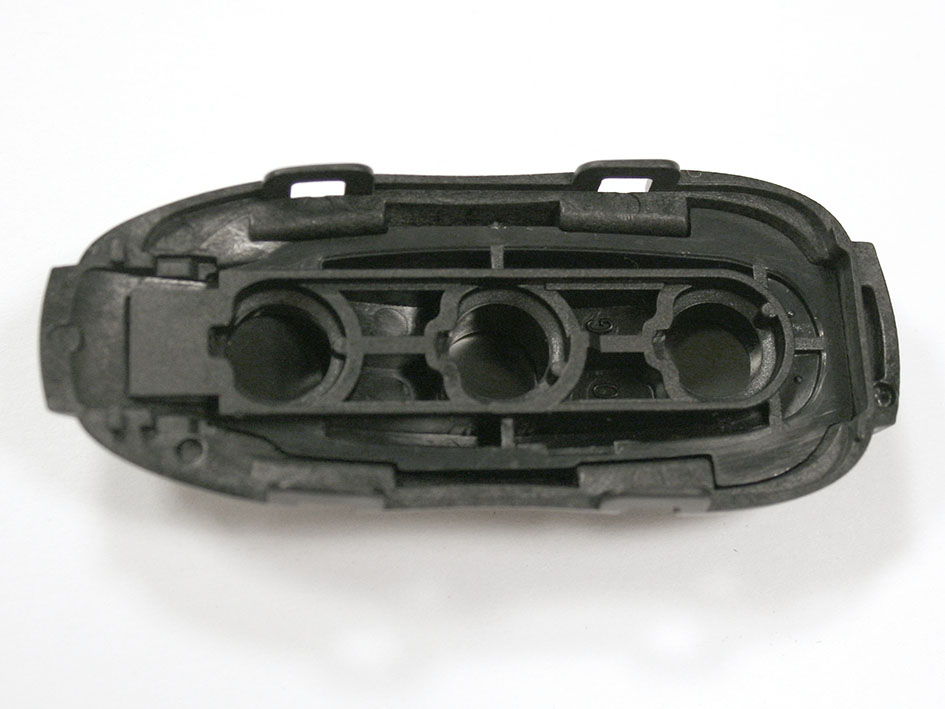
Release the 4 clips, then remove the bottom panel.
Remove and retain the circuit board.
Caution: Take care not to damage
component(s).
Discard the other components.
Installation
Place the internal structure in the top panel.
Place the 3 buttons in the internal structure.
Note: Place the shortest button in the front hole, the tallest button in the
middle hole, and the medium-length button in the rear hole.
Note: If a button does not sit flush with the internal structure, it is in
the wrong position.
Insert the circuit board with the buttons facing down.
Caution: Take care not to damage
component(s).
Install the bottom cover.
Install the side covers.
Note: Position the tabs on the side cover in the notches at the top of the
transmitter, then rotate the side cover into position.