Center Console Assembly (Remove and Replace)

FRT No: 15192402

Removal

  1. Remove the drop in center console assembly, if installed (refer to procedure).
  2. Remove the under-screen cubby.
  3. Remove the LH center console closeout extension (refer to procedure).
  4. Remove the RH center console closeout extension.
  5. Remove the rear center console trim (refer to procedure).
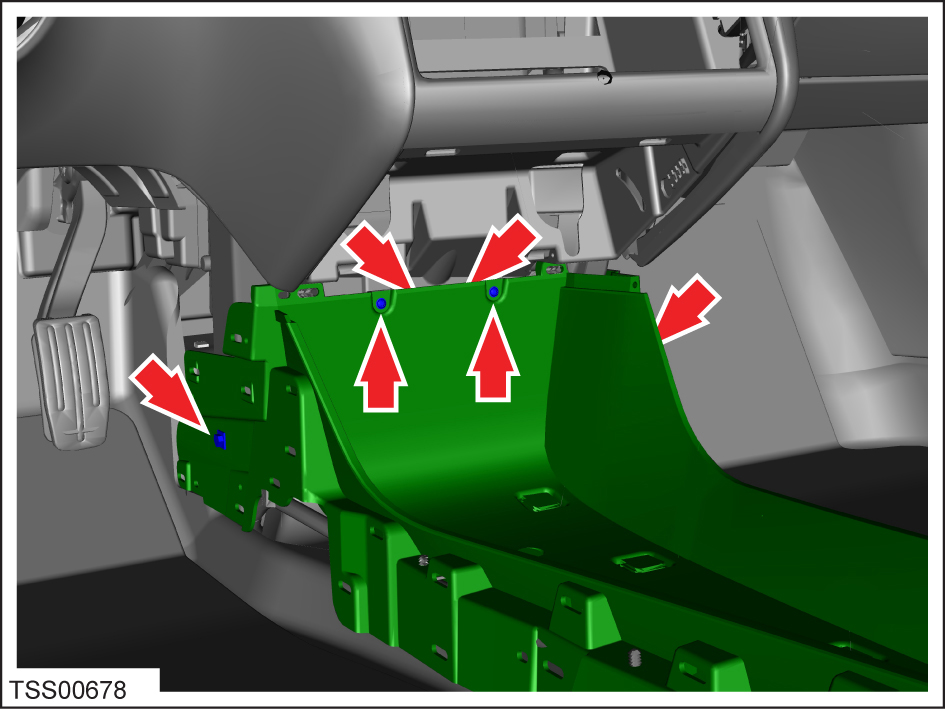
  6. Remove the fasteners (x2) that secure the rear end of the center console chassis to the body (torque 10 Nm).
  7. Remove the fasteners (x2) that secure the front end of the center console chassis to the dash.
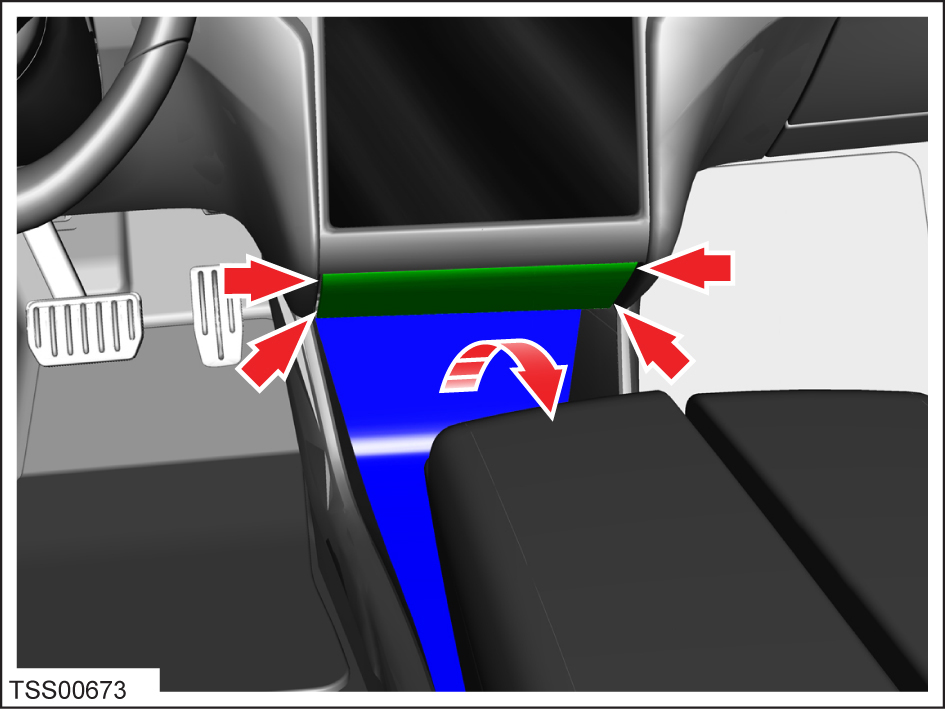
  8. Release the clips (x4) that secure the center console base closing trim.
    Caution: Take care not to damage component(s).
    Caution: Replace any broken clips.
  9. Remove the center console base closing panel.
  10. Remove the fasteners (x2) that secure the center console base to the body (torque 3 Nm).
  11. Remove the driver side footwell bolt that secures the center console to the dash. Repeat this step for the passenger footwell bolt.
  12. Release the 2 fasteners that secure the console to the crosscar beam (torque 3 Nm), then release the center console from the adhesive pads (x6) and move rearward to access the console wiring harness.
  13. Disconnect the harness connectors (x4).
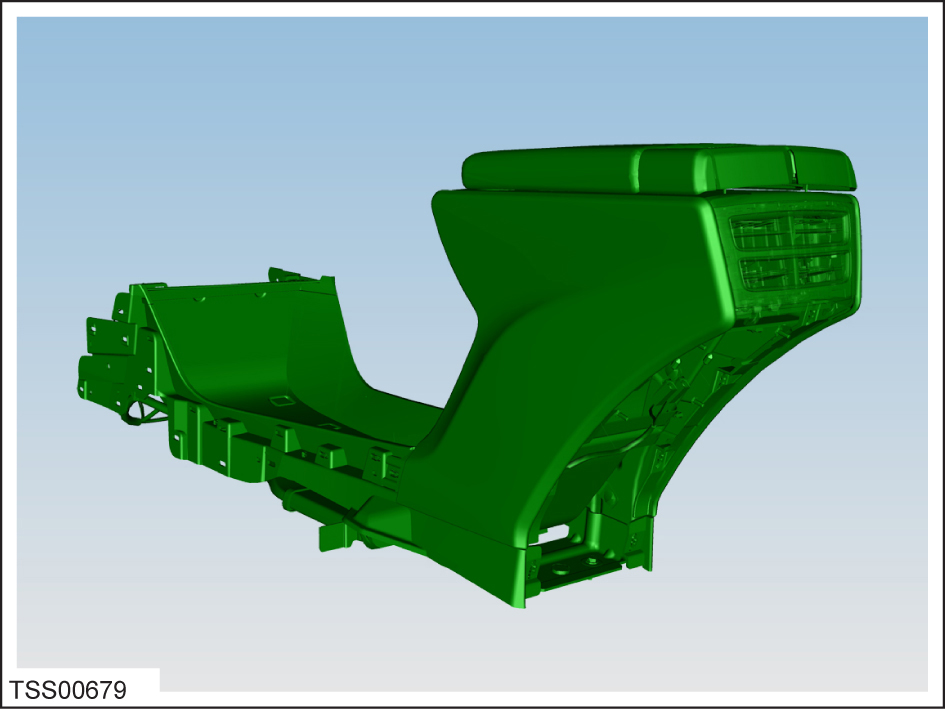
  14. Remove the center console from the vehicle.

Installation

Installation procedure is the reverse of removal.