-
Position the vehicle for adjusting the headlights:
- The vehicle is in a darkened area.
- The vehicle is on a level surface.
- The vehicle is perpendicular to a wall that has a white matte surface. The
wall must be at least 1.8m (6 ft) high and 3.7 m (12 ft) wide.
- The headlights are 10 m (32.8 ft) away from the wall.
-
Ensure that all 4 tires are inflated to their recomended settings. Refer to
General Information > Technical Data > Tire pressures.
-
If the vehicle is equipped with air suspension, set the suspension height to
standard.
-
Ensure that the vehicle is level by rocking it from side to side.
-
Remove the LH and RH underhood aprons (refer to
procedure).
Note: The remainder of this procedure must be performed with someone in the driver
seat who weighs at least 75 kg (166 lbs).
-
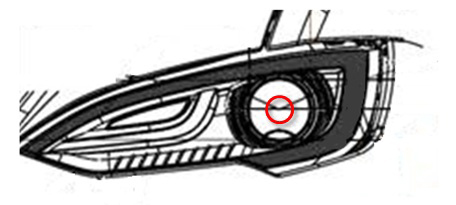
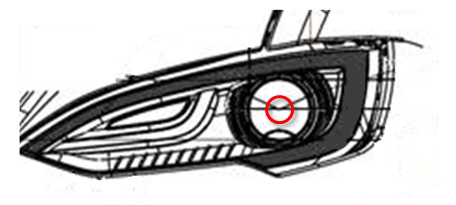
Note the height between the ground and the center projecter lens on the driver
side headlight.
-
Mark a straight line between each of the center projector lenses and the wall.
At the point where each line meets the wall, mark the height that was noted in the
previous step.
-
Turn on the low beam headlights.
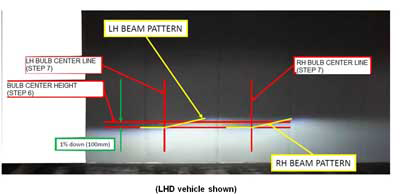
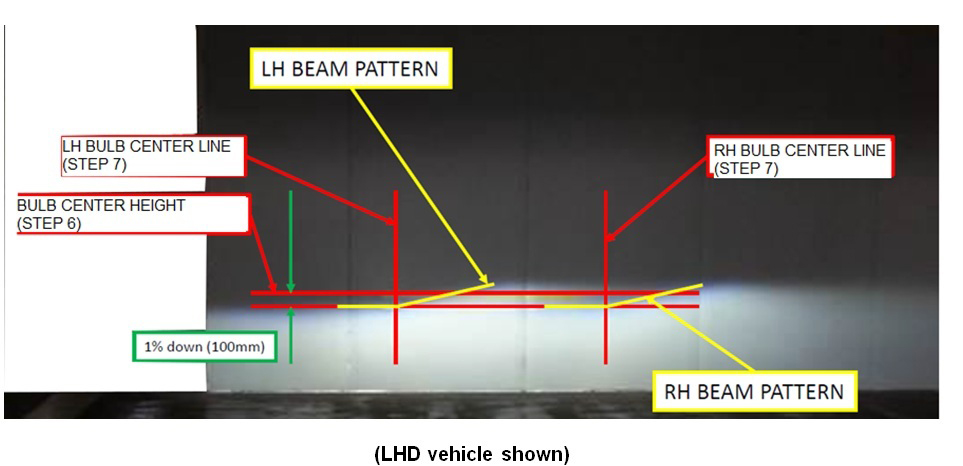
Note: For LHD vehicles, the left half the beam is flat, and the right half of the
beam angles upward. For RHD vehicles, the right half of the beam is flat, and
the left half of the beam angles upward.
-
Cover the RH headlight; ensure that all light from the RH headlight is
blocked.
-
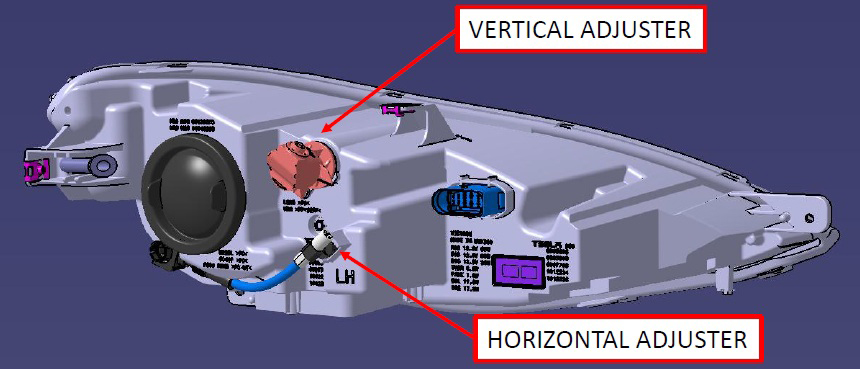
Locate the 2 adjusters on the LH headlight.
-
Adjust the headlight horizontally so that the top of the flat part of the beam
is 100 mm below the height that was noted in step 6.
-
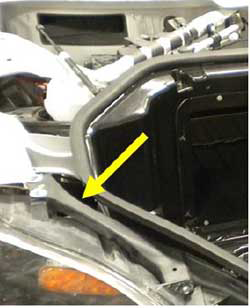
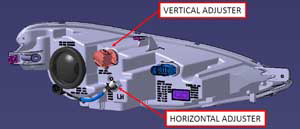
Adjust the headlight vertically so that the beam begins to angle upward at the
line that was marked in step 7.
-
Repeat steps 9-12 to adjust the RH headlight.