Vacuum Brake Booster Assembly (Remove and Replace)

FRT No: 33031302

Caution: This procedure describes how to remove and replace the vacuum brake booster only. If the vehicle is equipped with an electromechanical brake booster assembly, refer to procedure 33031402 (refer to procedure).

Removal

  1. Remove the master cylinder and reservoir assembly (refer to procedure).
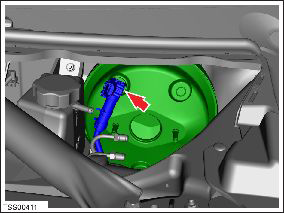
  2. Release the clip that secures the brake booster hose.
    Caution: Plug pipe connections to prevent ingress of moisture or dirt.
  3. Remove the brake light switch (refer to procedure).
    Caution: The brake light switch is a one time use component. Ensure that a new switch is used during reinstallation.
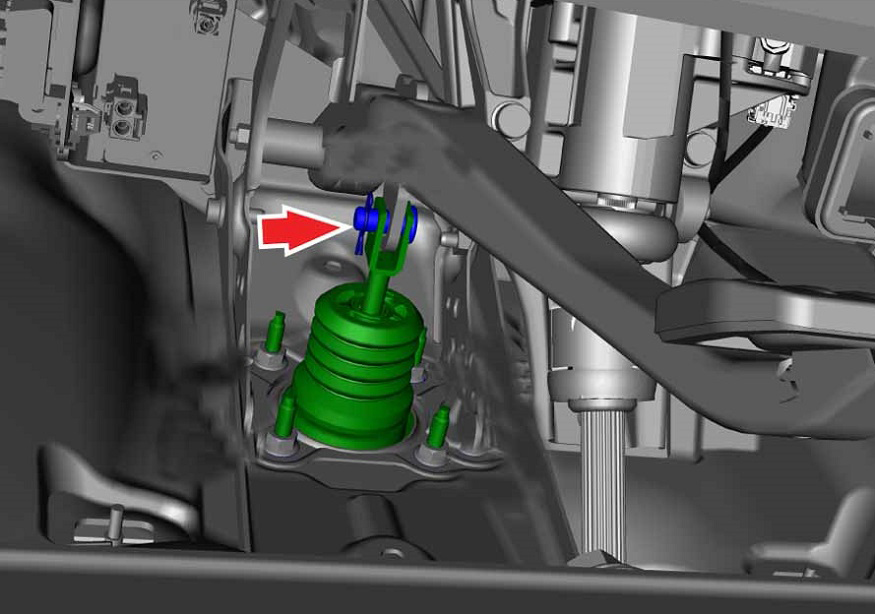
  4. Remove the spring clip from the clevis pin.
  5. Depress the brake pedal for clearance and remove the clevis pin.
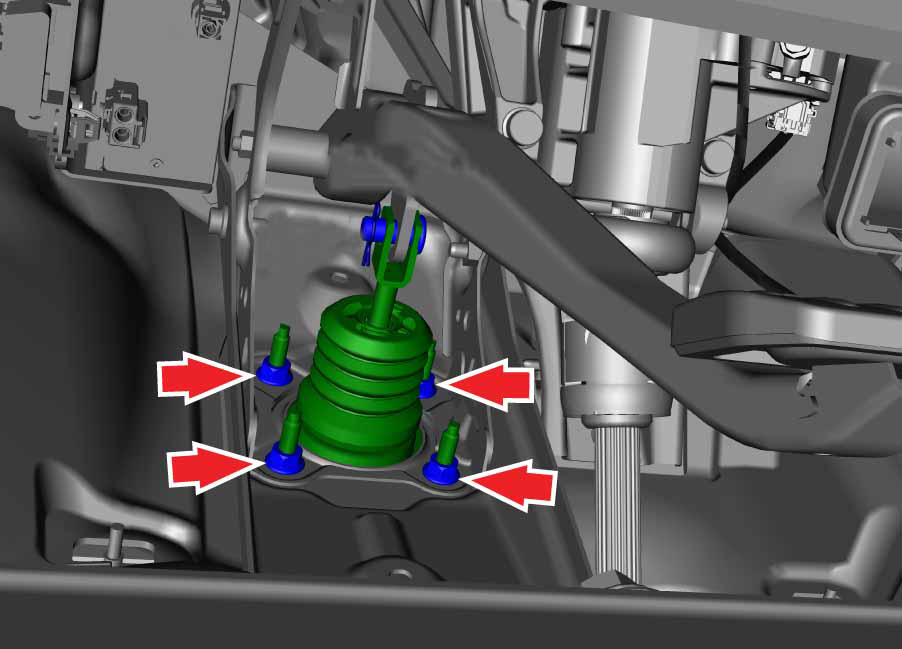
  6. Remove and discard the nuts (x4) that secure the pedal to the brake booster assembly (torque 23 Nm).
  7. Remove the brake booster assembly from the vehicle by maneuvering it through the top of the frunk.

Installation

Installation procedure is the reverse of removal, except for the following:
Note: Clean the affected areas before installation.
Caution: Replace all nylon-insert locknuts.
  • Replace the brake light switch.
  • Check brake operation before driving vehicle.