FRT No: 17201500
Special tools required for this procedure:
| Supplier | Part Number | Description |
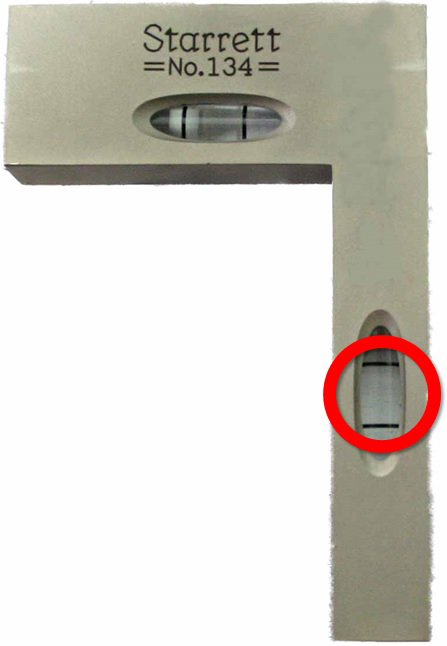
| Tesla | 1056984-00-A | Radar Calibration Bubble Level - Cross Test |
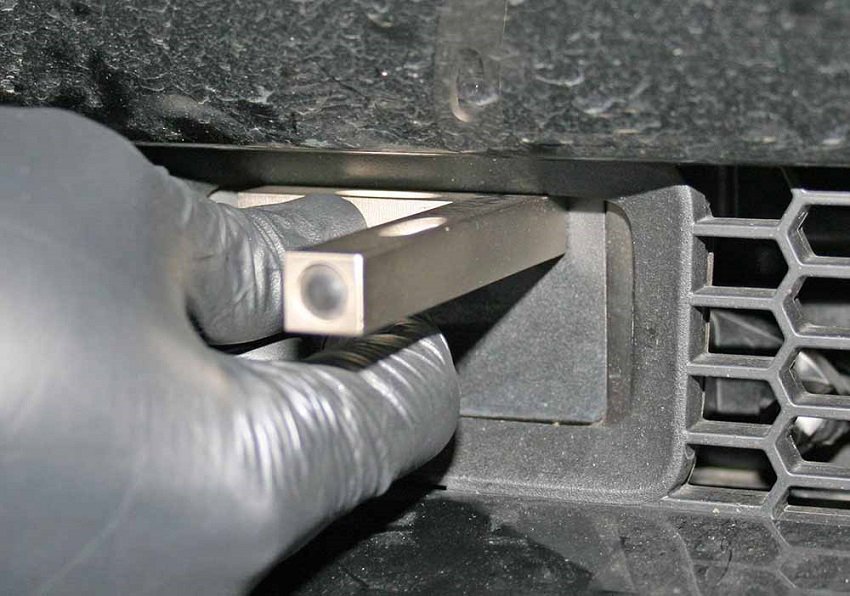
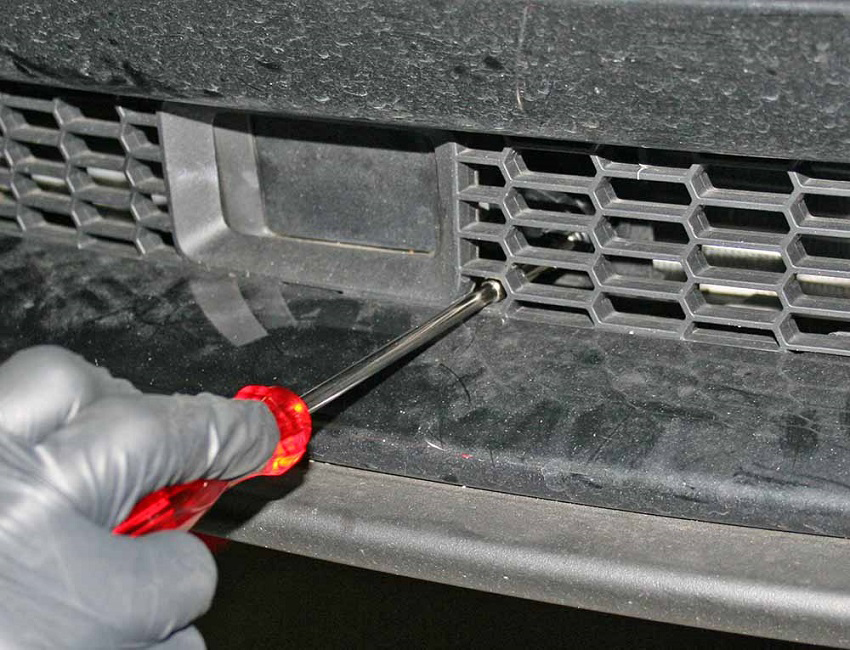
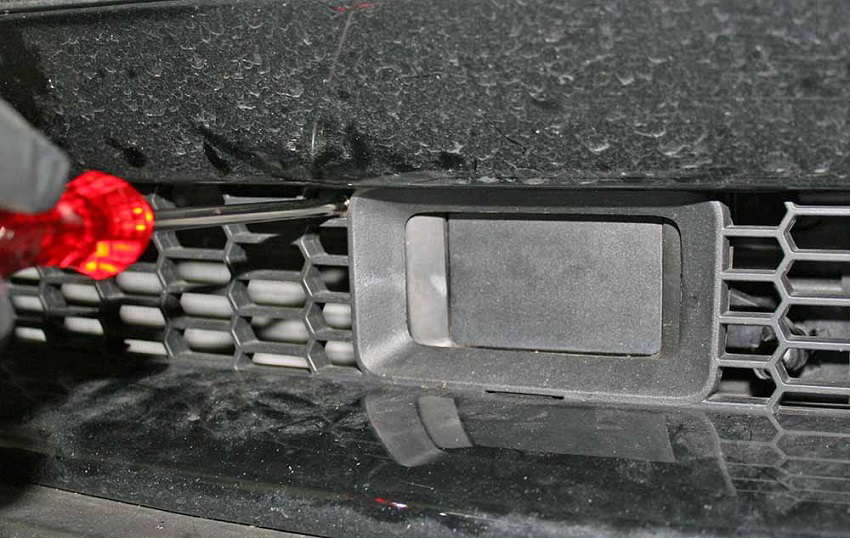
| Tesla | 1056723-00-A | T-Handle Nut Driver 3.5 MM |
The front radar sensor is calibrated by adjusting the set screws (x2) on either side of
the radar sensor.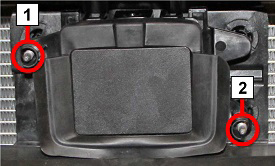
Note: Components have been removed
in this graphic to aid clarity.
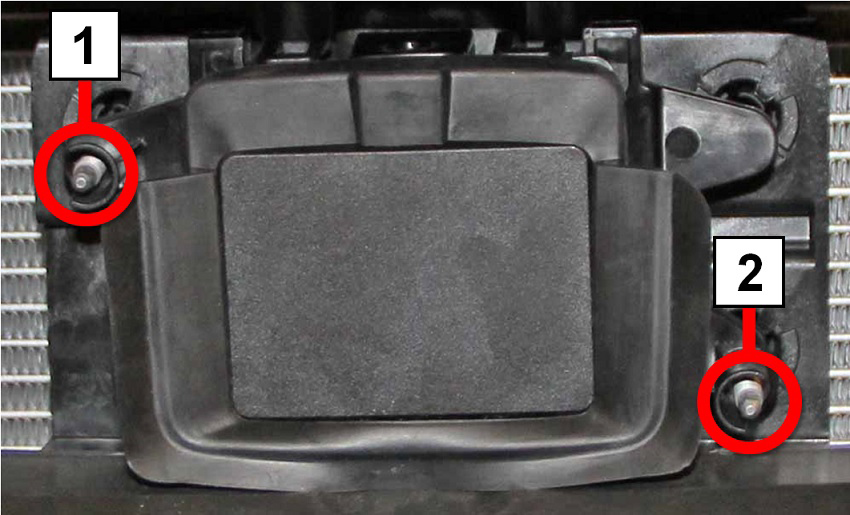
| 1 | Horizontal alignment screw |
| 2 | Vertical alignment screw |