Striker - Hood (Remove and Replace)

FRT No: 11103002

Removal

  1. Open the hood for access.
  2. If the vehicle is rear wheel drive (RWD), remove the clips (x6) that secure the acoustic panel to the hood and carefully peel back the acoustic panel for access.
  3. Mark the installed position of the striker plate to aid installation.
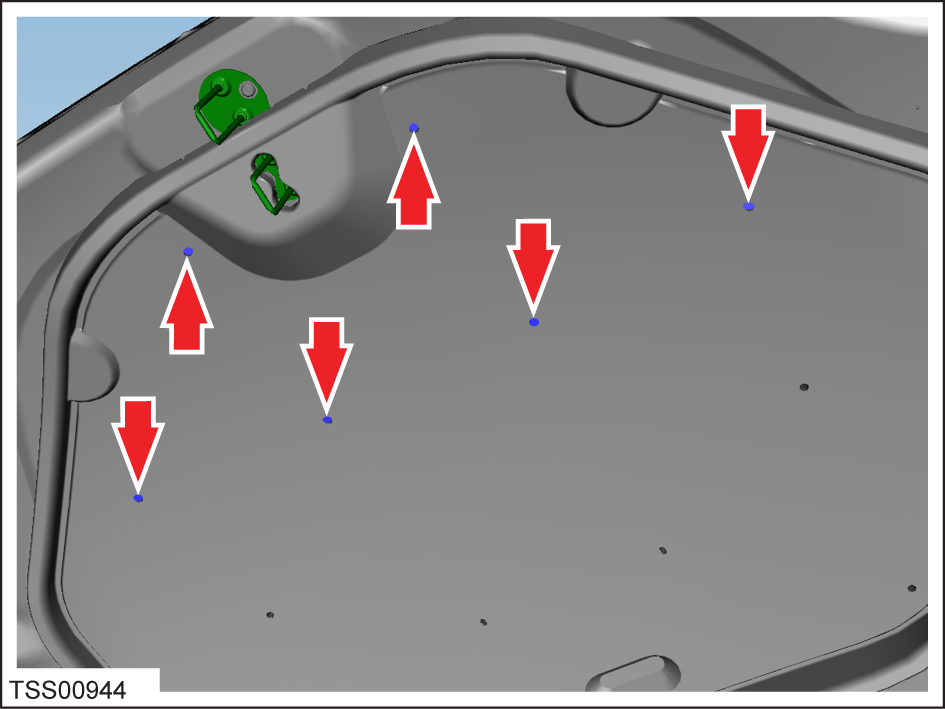
  4. Remove the bolts (x3 for RWD vehicles, x2 for DM vehicles) that secure the striker to the hood (torque 20 Nm).
    Note: The following image shows the hood striker for a RWD vehicle.
  5. Remove the striker assembly.

Installation

Installation procedure is the reverse of removal, except for the following:
Note: The hood striker on DM vehicles has adjustment slots. Ensure that the bolts (x2) are centered in the slots during installation.
Clean any witness marks from the painted surface.