Brake Rotor - Front - LH (Remove and Replace)

FRT No: 33010102

Warning: If the vehicle has air suspension, activate "Jack" mode on the touchscreen before raising and supporting the vehicle.

Special tool(s) required for this procedure:

Supplier Part Number Description
Tesla 1082171-00-A S-hook

Removal

  1. Remove the road wheel (refer to procedure).
  2. If the brake pads are being replaced, remove them from the caliper (refer to procedure).
    Note: If the pads are not being replaced, continue this procedure.
  3. Note the orientation of the clip that secures the brake hose to the suspension spring module. Release the clip.
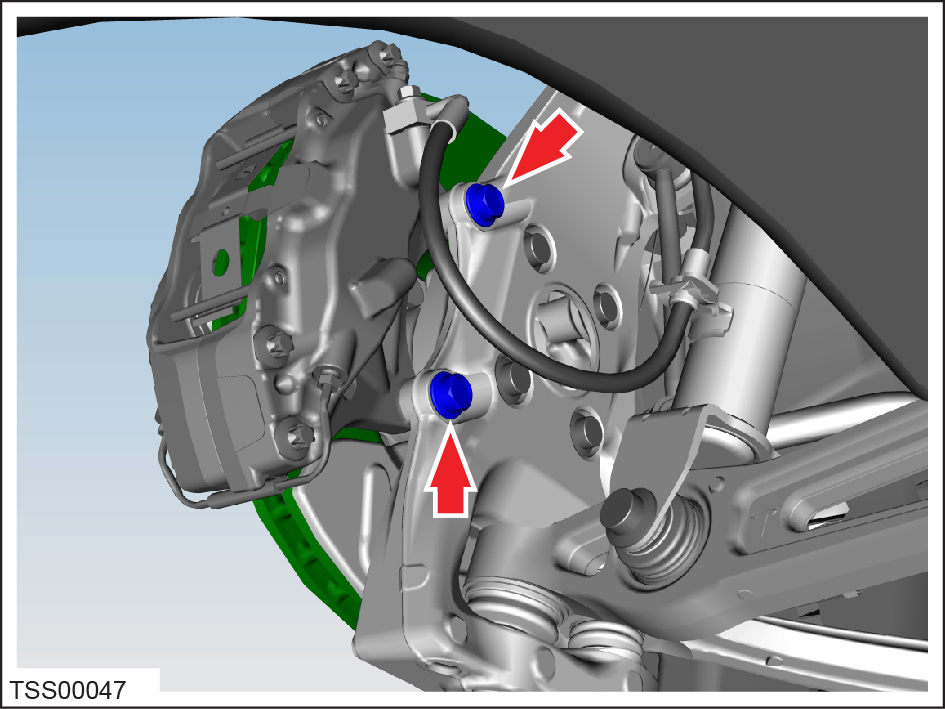
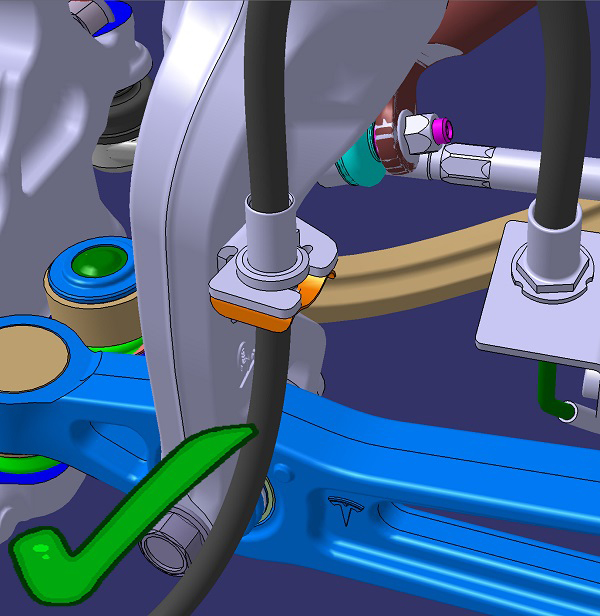
  4. Remove the bolts (x2) that secure the caliper to the knuckle (torque 120 Nm).
  5. Release the caliper and use the S-hook to support it.
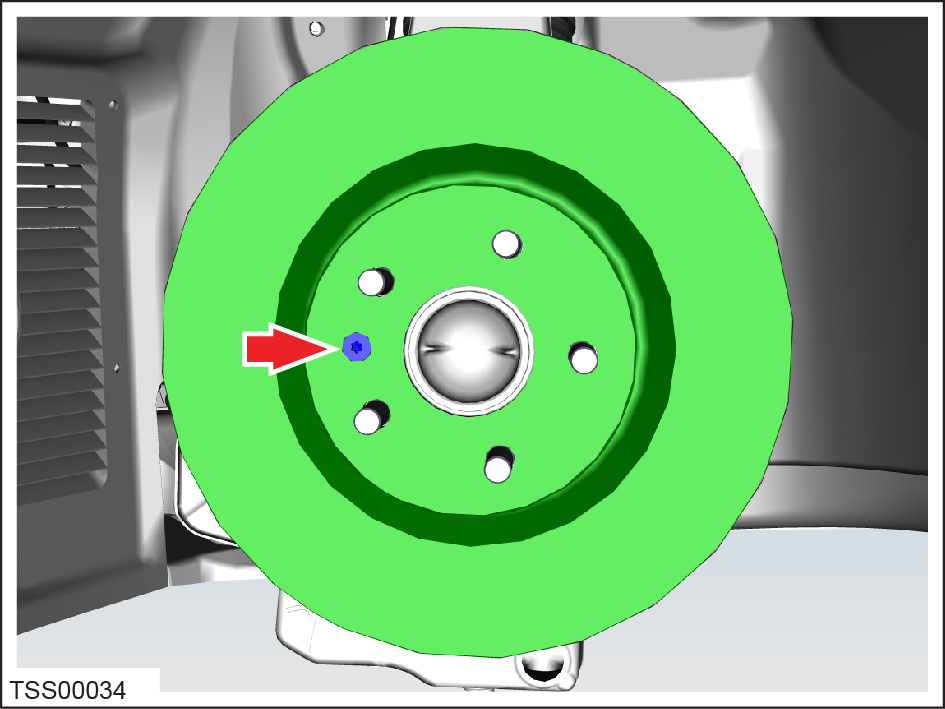
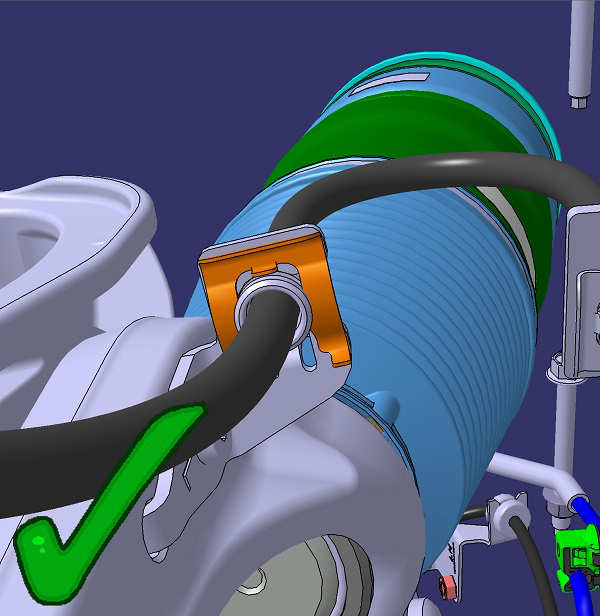
  6. Remove the screw that secures the rotor to the hub (torque 17 Nm).
  7. Remove the rotor.

Installation

Installation procedure is the reverse of removal, except for the following:
Note: Clean the affected areas before installation.
Caution: Ensure brake hose is aligned correctly with no excessive twist or bends.
  1. Ensure that the clip that secures the brake hose to the air spring module is installed correctly.
    • Rear wheel drive (RWD) vehicles: The hose and the clip are installed from the same direction.
      Note: Ensure that the clip is fully seated, with the “fingers” both remaining on the bottom side of the retaining bracket.
      Top view, RWD (correct) Bottom view, RWD (correct)
    • Dual motor (DM) vehicles: The clip is installed from the rear.
      Note: Ensure that the clip is fully seated, with the “fingers” both remaining on the bottom side of the retaining bracket.
      Top view, DM (incorrect) Top view, DM (correct) Bottom view, DM (correct)
  2. Pump the brake pedal at least 5 times to seat the pads against the brake rotor.
    Warning: Always check that the brake pads are seated correctly before driving the vehicle.