Removal
-
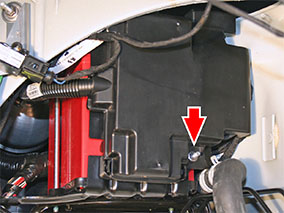
Remove the nut that retains the battery fusebox cover.
-
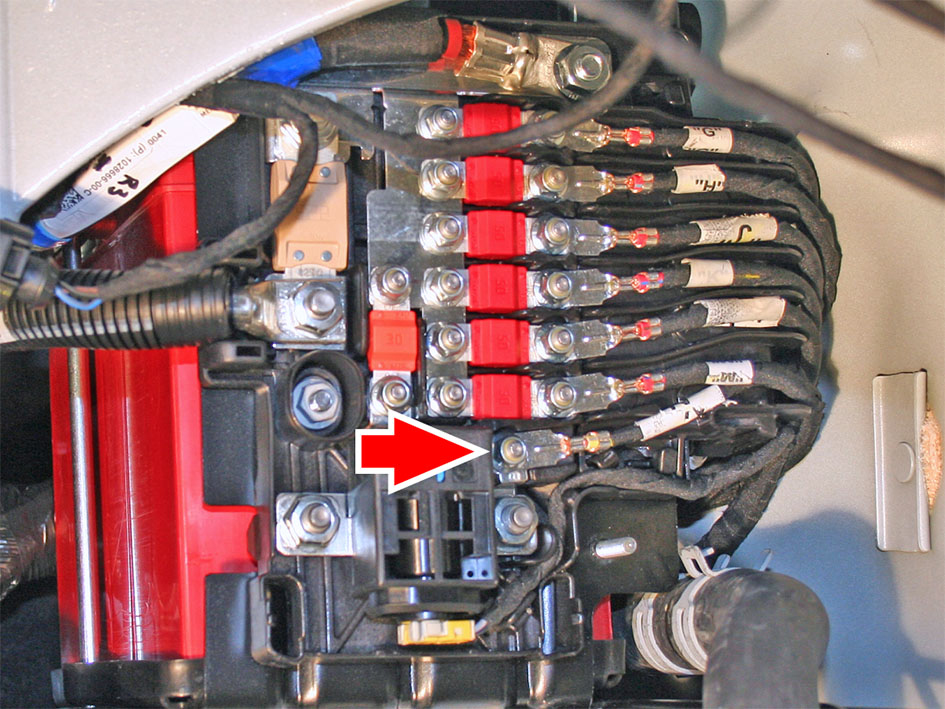
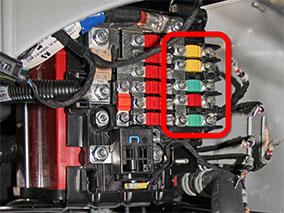
Record the positions of the small-gauge cables at the RH side of the
fusebox.

-
Remove the nuts that retain the small-gauge cables and fuses at the RH side
of the fusebox (torque 5 Nm).
Note: After removing the lowest cable, temporarily reinstall the nut loosely. This prevents the bolt from falling out of the back of the fusebox when it is removed.

-
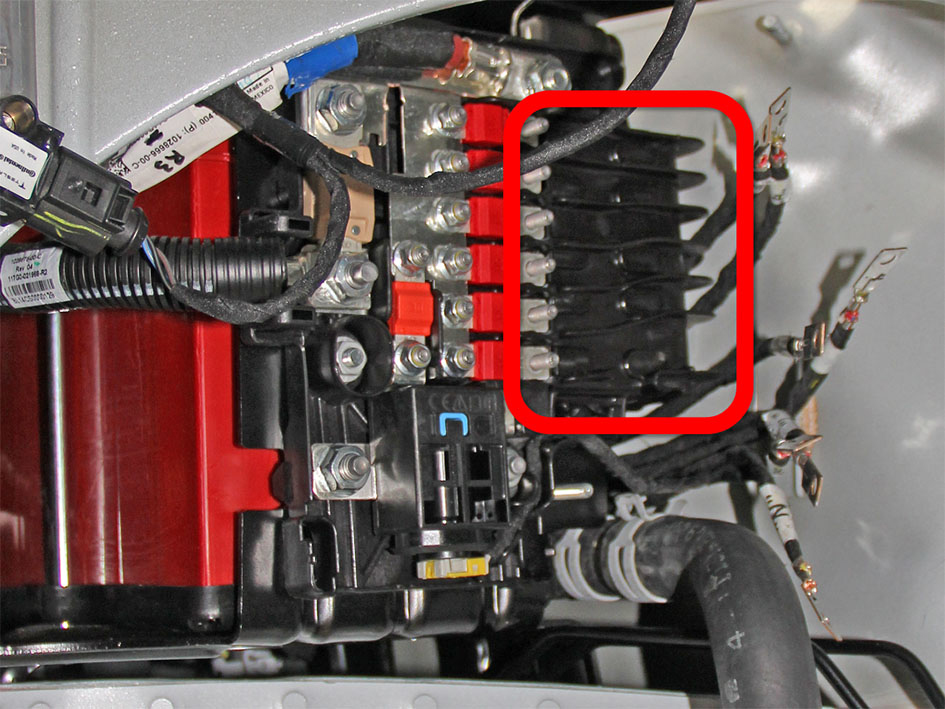
Remove the wire separator for access to the inboard cables and fuses.

-
Remove the nuts that retain the inboard wires and fuses at the RH side of the
fusebox (torque 5 Nm).
Note: The middle green fuse, fuse F82, is for the air suspension compressor. Vehicles with coil suspension do not have a wire connected to fuse F82.
-
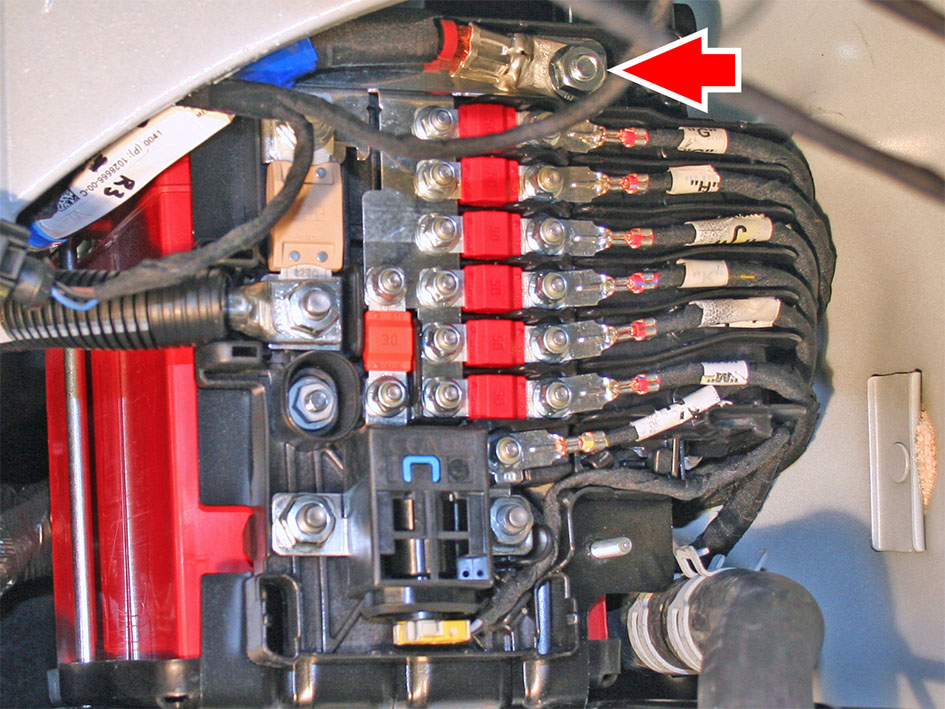
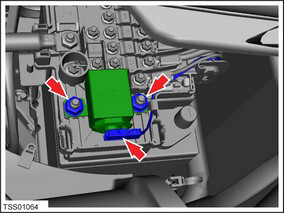
Remove the nuts (x2) that secure the pyrotechnic fuse (torque 12 Nm). Disconnect
the pyrotechnic fuse connector.
-
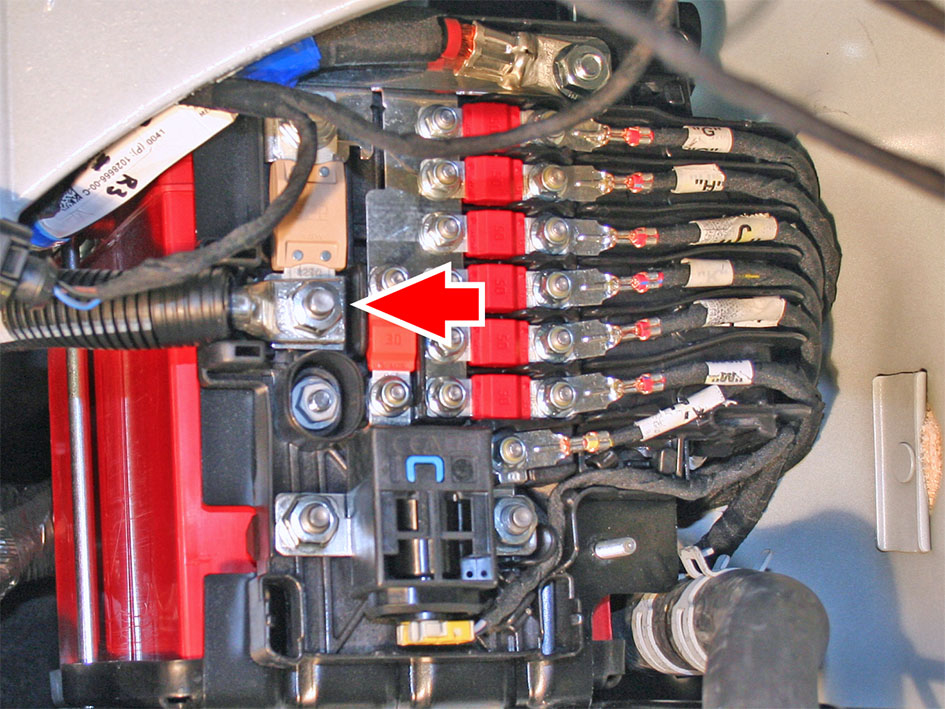
Remove the nut that secures the DCDC harness to the fusebox (torque 12
Nm).

-
Remove the nut that secures the battery positive cable to the fusebox
(torque 10 Nm).
Note: After removing the battery positive cable, temporarily reinstall the nut loosely. This prevents the positive terminal adaptor and square head bolt from falling out of the back of the fusebox when it is removed.

-
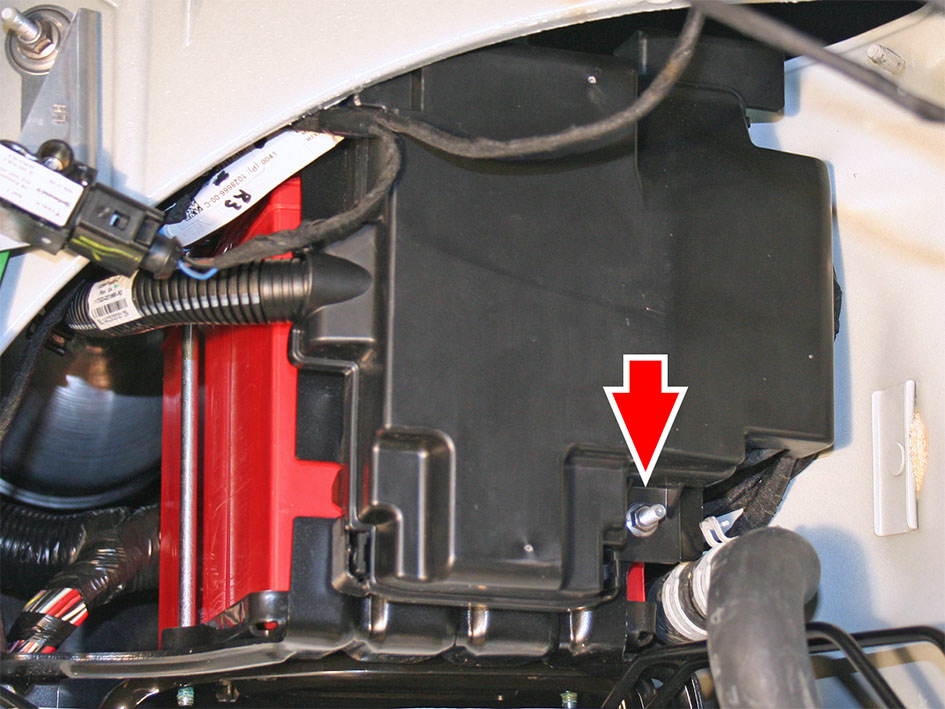
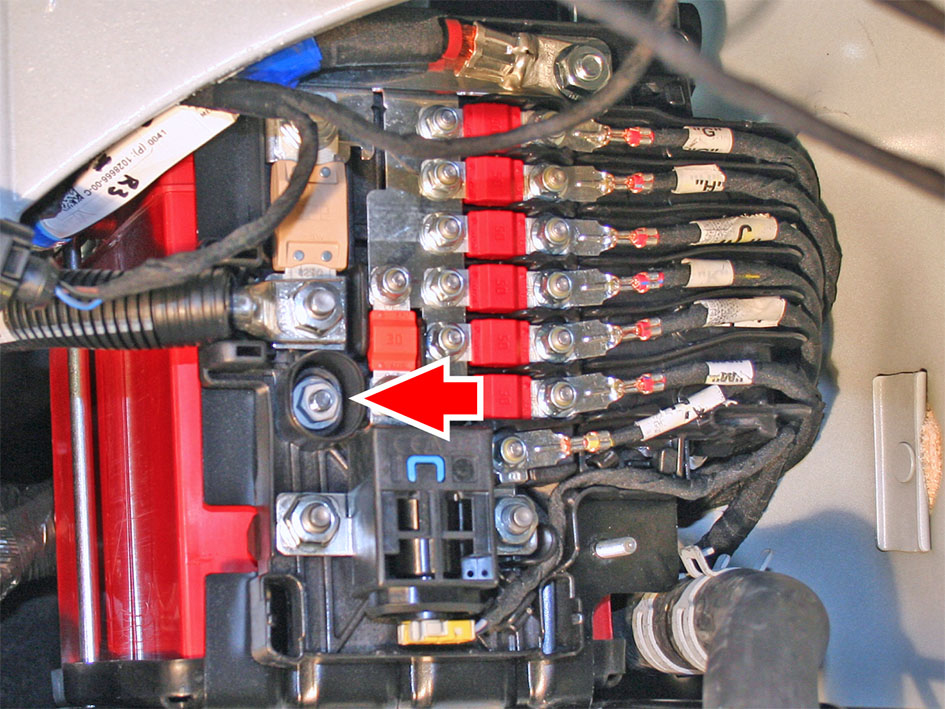
Remove the nut that secures the fusebox to the fusebox bracket (torque 5
Nm).