Removal
-
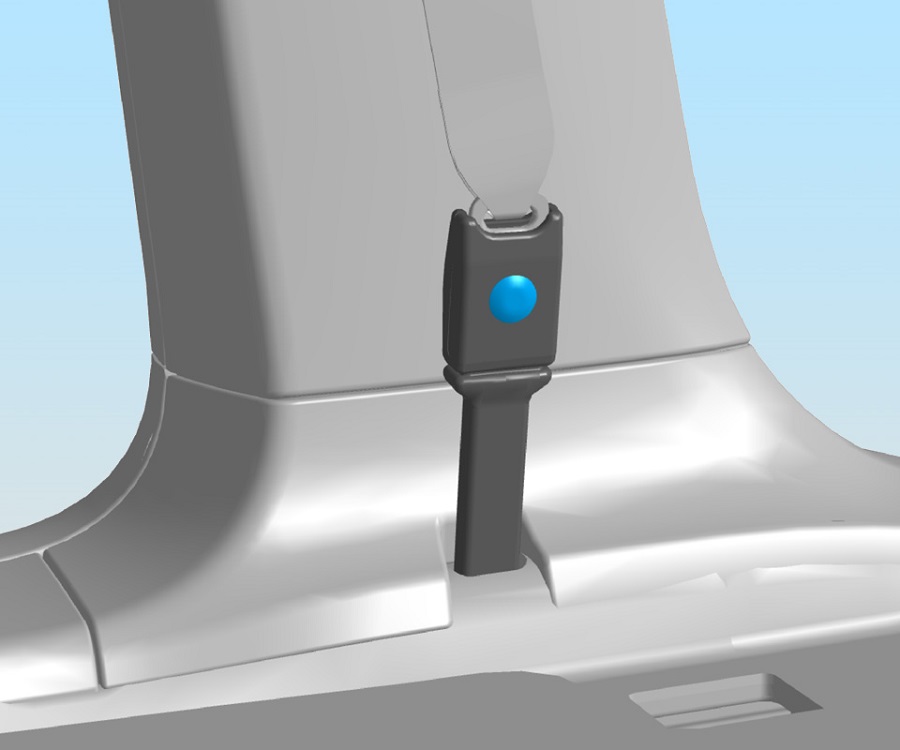
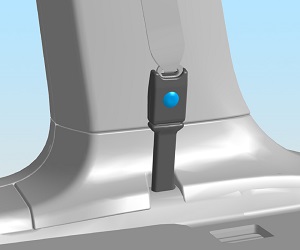
Use a trim tool to carefully release the anchor bolt cap from the inboard upper
pre-tensioner cover.
-
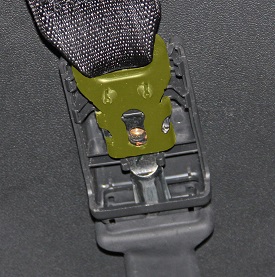
Remove the bolt that secures the seat belt to the pre-tensioner (torque 9
Nm).

-
Carefully release the seat belt assembly from the upper pre-tensioner
cover.
-
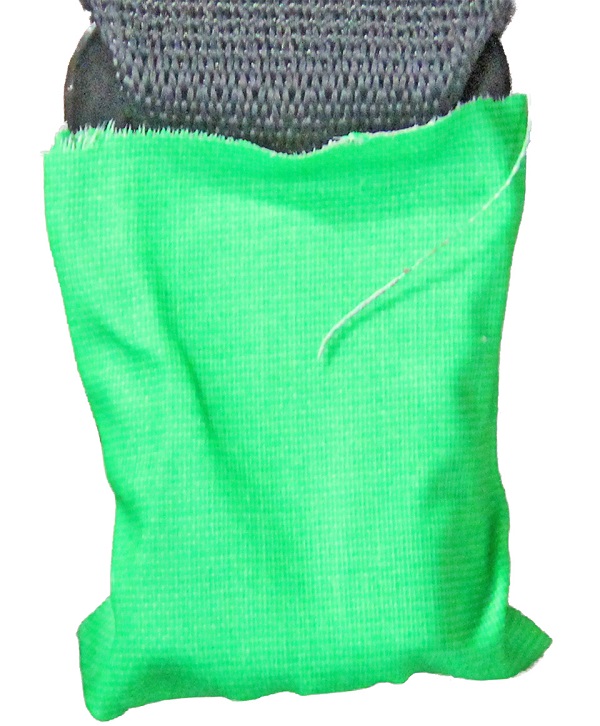
Wrap the seat belt connector with protective tape to prevent it from damaging
any of the interior.

-
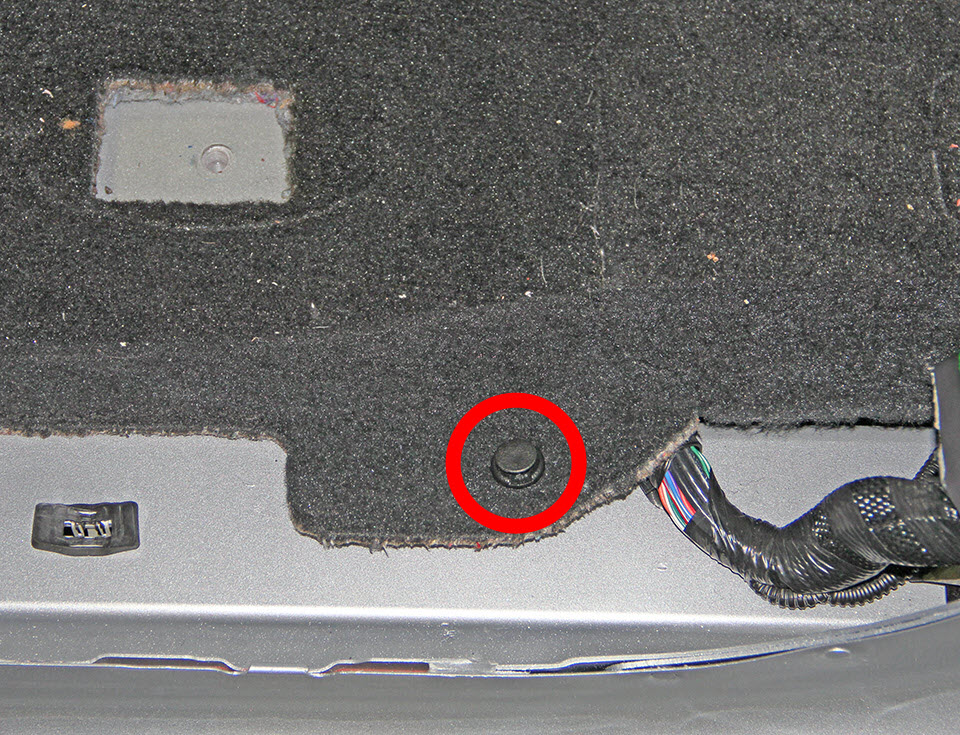
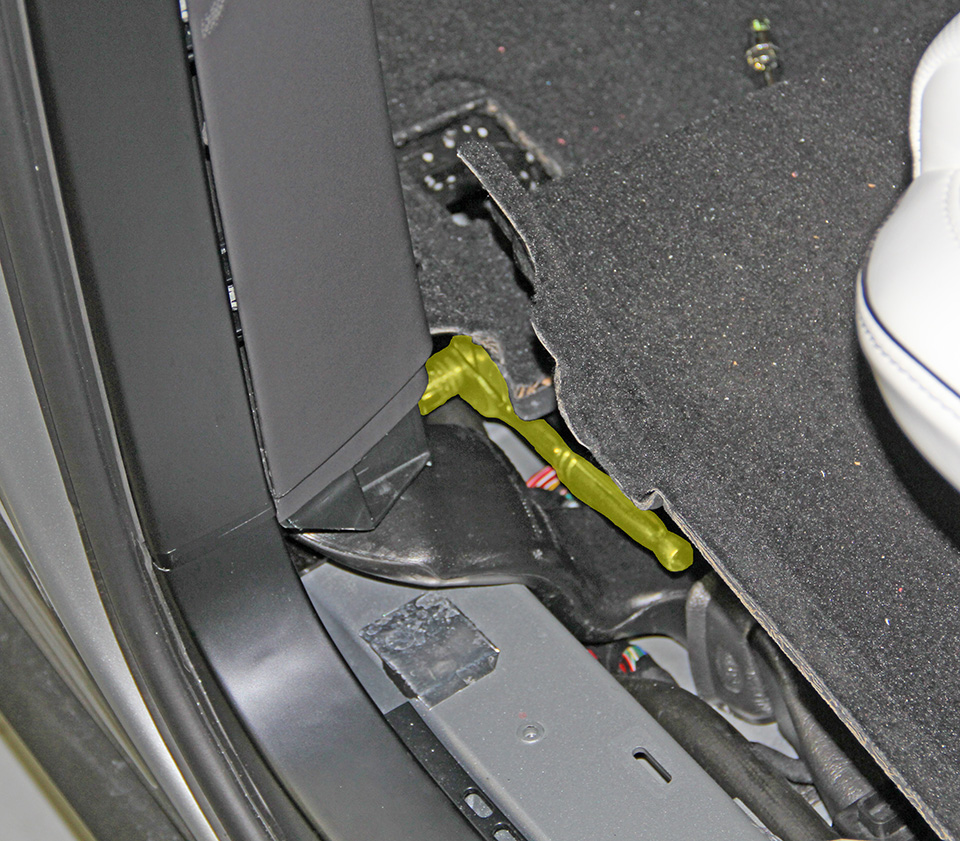
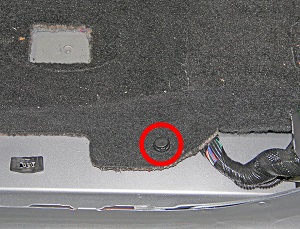
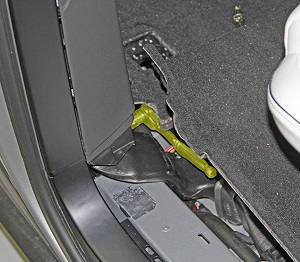
Release the push clip that secures the front carpet to the body of the
vehicle.
-
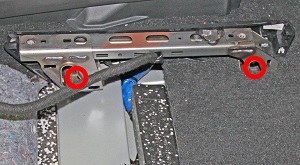
Remove and discard the bolts (x2) that secure the inner seat riser to the body
of the vehicle (torque 34 Nm). Remove the washers (x2).
Note: The inner seat riser cannot be removed from the vehicle; it is connected to the passenger's inner seat riser.
-
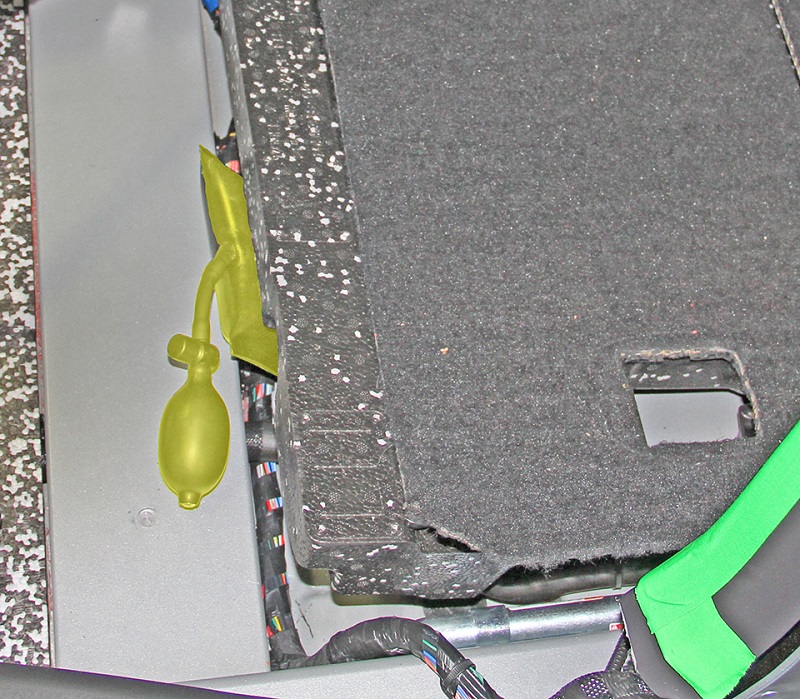
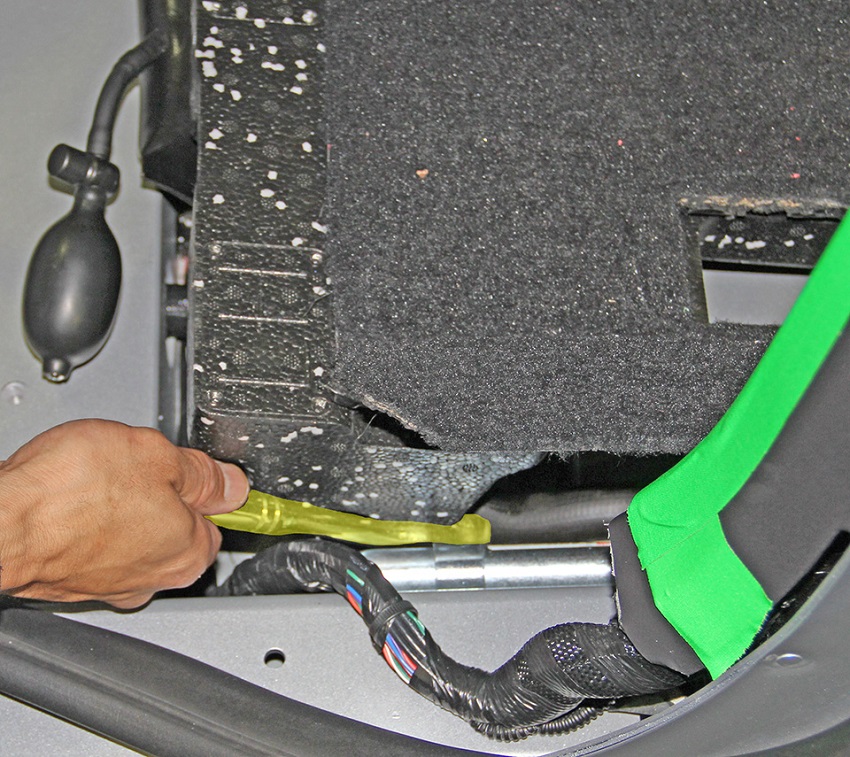
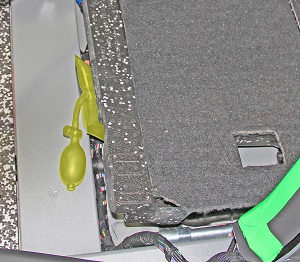
Use an inflatable wedge to lift the foam block.
Caution: Do not overinflate the inflatable wedge; lifting the false floor too much can damage the false floor.
-
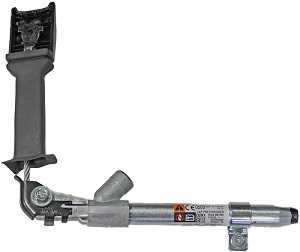
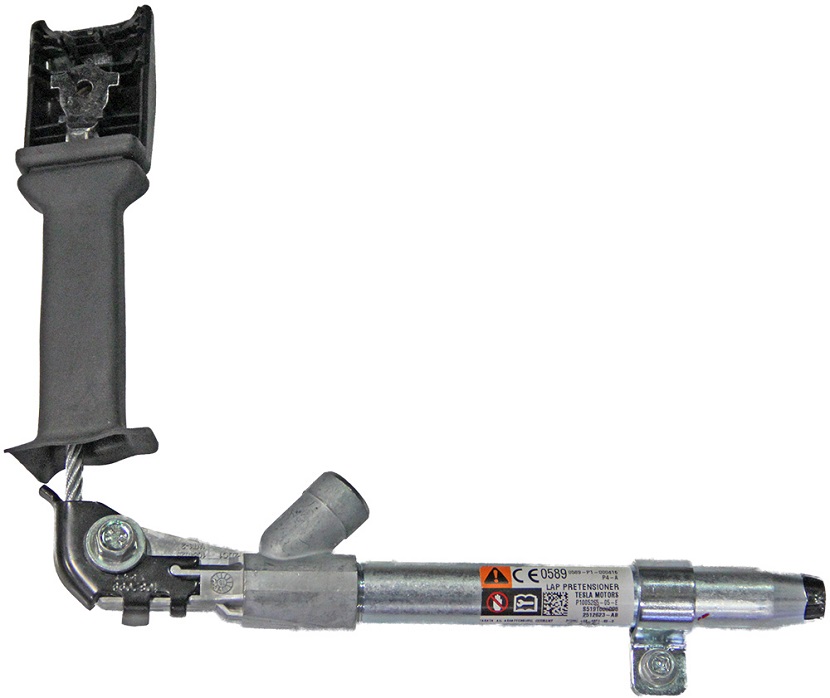
Alternate loosening the front and rear bolts that secure the pre-tensioner until
the pre-tensioner is free (torque the front bolt that secures the bracket 5 Nm;
torque the rear bolt that secures the pre-tensioner 40 Nm).
Note: There is a push nut on both bolts.

-
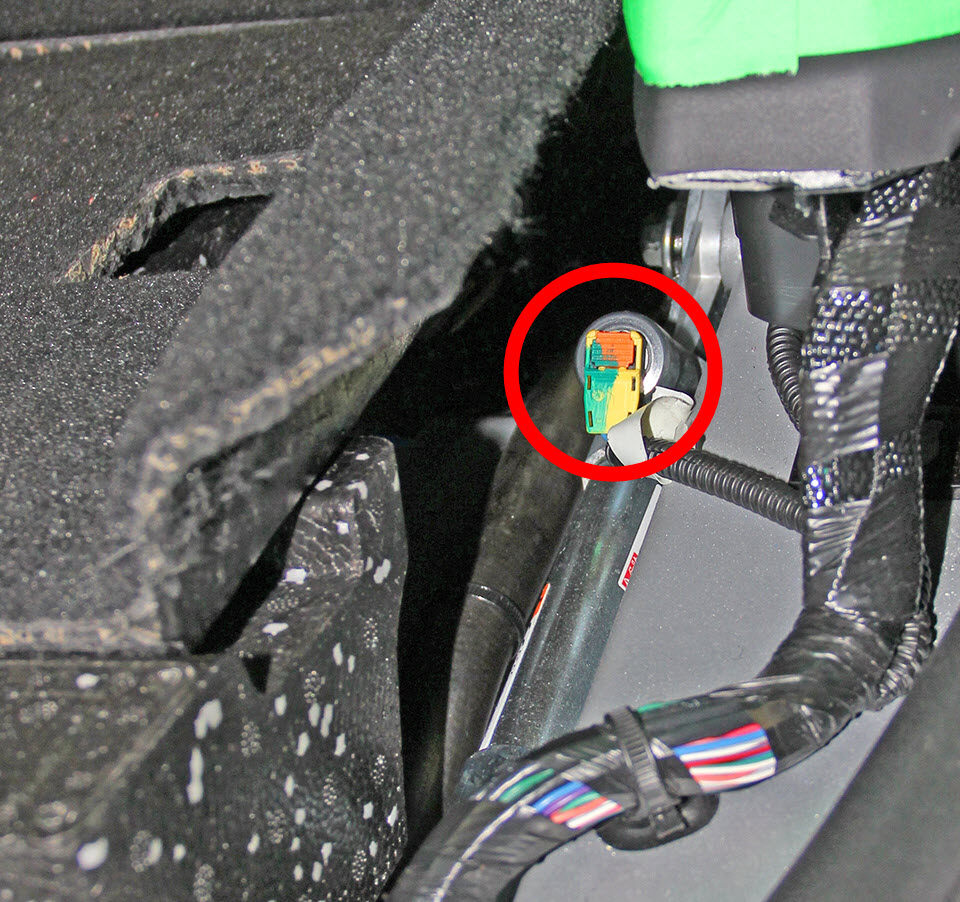
Disconnect the electrical connector from the front of the pre-tensioner.
Warning: Ensure that 12V is still disconnected.

-
Remove the pre-tensioner from the vehicle.