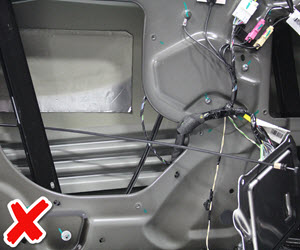
Removal
- Remove the front door glass (refer to procedure).
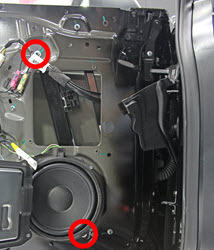
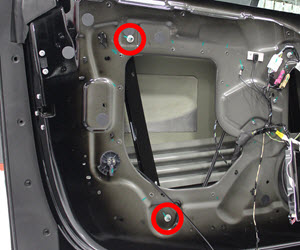
- Remove the front nuts (x2) that secure the regulator to the door (torque 10 Nm).
- Remove the rear nuts (x2) that secure the regulator to the door (torque 10 Nm).
- Disconnect the harness from the top of the regulator motor.
- Remove the screws (x3) that secure the window motor (torque 1.8 Nm).
- Push the regulator outboard so that the studs no longer protrude through the door shell.
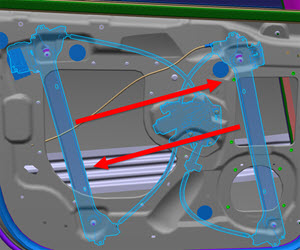
- Push both regulator beams together and remove the regulator from the door.
-
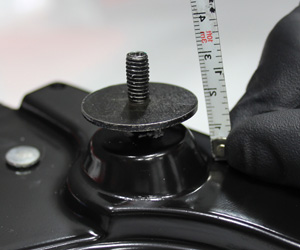
Measure the distance from the tip of the rear upper stud to the base.
Note: This value is used when installing the new regulator.
