Track - Outer - 2nd Row Seat - LH (Remove and Replace)
FRT No: 13020102
Special tools required for this procedure:
Supplier
Part Number
Description
Tesla
1054190-00-A
Feeler Gauges
Tesla
1085692-00-A
MX 2nd Row Seat Track Removal Kit
Removal
Remove the sliding carpet assembly
(refer to procedure)
.
Disconnect the seat track harness.
Remove the nuts that secure the outer track to the seat (torque 40 Nm).
Note:
If the seat driveshaft was not already removed, remove and inspect the seat driveshaft. If the driveshaft is damaged, replace it.
Track Alignment
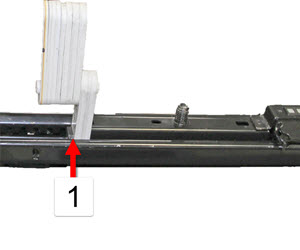
Combine the 6 mm and 5.5 mm feeler gauges to create an 11.5 mm gauge. Insert the gauge against the stop at the rear of the new outer track.
View large image.
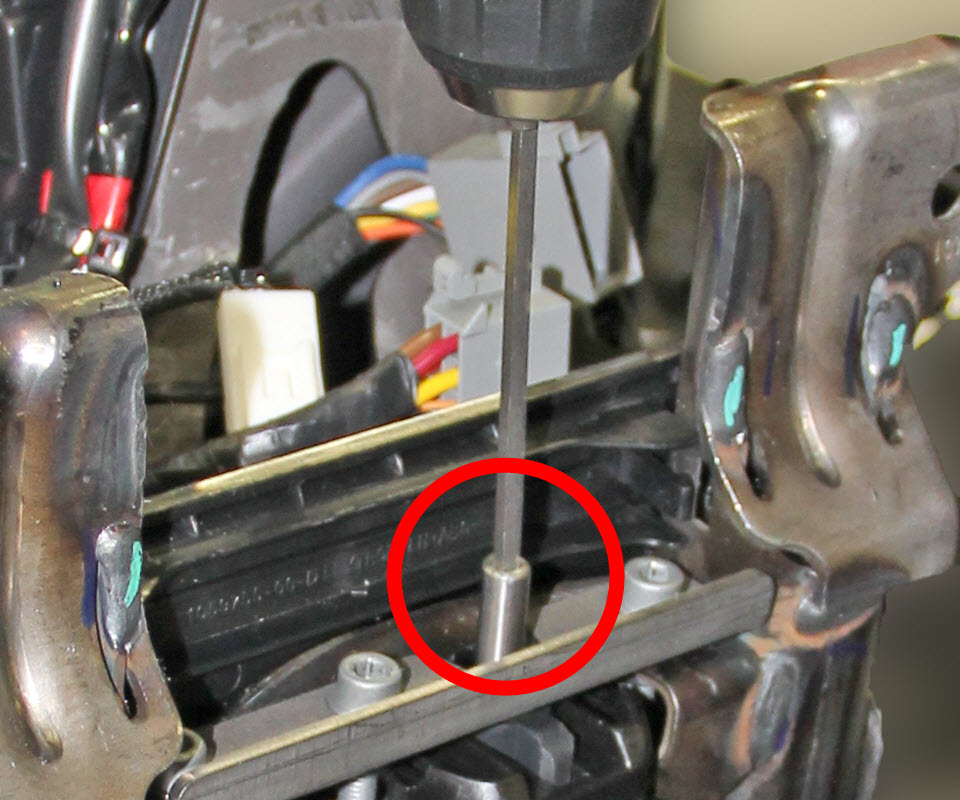
1
11.5 mm feeler gauge against stop at rear of track
Insert the square bit into the driveshaft hole in the new track, then install the bit into a drill.
Use the drill to move the gearbox rearward until it contacts the feeler gauge.
Remove the square bit from the gearbox, but leave it inserted in the drill.
Insert the 11.5 mm feeler gauge against the stop at the rear of the inner track.
Insert the square bit into the driveshaft hole in the seat motor.
View large image.
Use the drill to spin the motor so that the gearbox on the inner track moves rearward until it contacts the feeler gauge.
Installation
Loosely install the nuts that secure the outer track to the seat, but do not fully torque them at this time.
Note:
The track is fully torqued after the seat is installed in a later step.
Reconnect the seat track harness.
Reinstall the sliding carpet assembly
(refer to procedure)
.