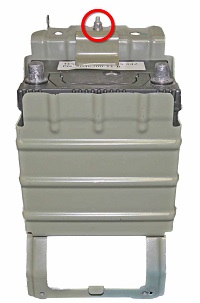
Removal
- Disconnect 12V power (refer to procedure).
- Release the red plastic cover from the 12V positive connection.
- Disconnect the 12V battery positive connection (torque 10 Nm).
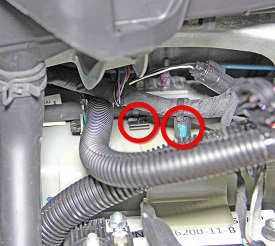
- Release the edge clip and the barrel clip that secure the 12V harnesses from the top of the battery cage.
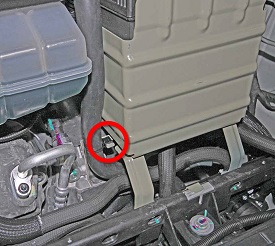
- Release the edge clip that secures the coolant hose to the bottom of the battery cage.
-
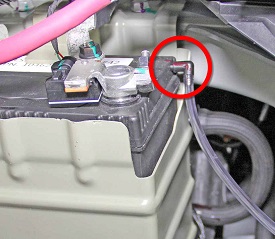
Release the battery vent tube by gently pulling it way from the 12V
battery.
Note: The following image shows the 12V battery ground connection still connected.
-
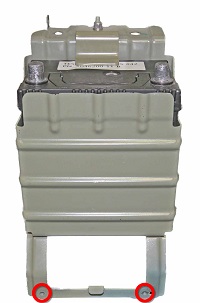
Remove the lower bolts (x2) that secure the battery cage to the plastic support
beam (torque 6 Nm).
Note: Components have been removed in this graphic to aid clarity.
-
Remove the upper bolts (x2) that secure the battery cage to the crossmember
(torque 15 Nm).
Note: Components have been removed in this graphic to aid clarity.
- Remove the battery and battery cage assembly from the vehicle and set it on a flat surface.
- Remove the nut that secures the battery hold down bracket to the battery cage (torque 4 Nm). Remove the battery hold down bracket.
- Lift the 12V battery straight up to remove it from the battery cage.
