Control Arm - Upper - Front - RH (Remove and Replace)

FRT No: 31014102

Removal

  1. Remove the HEPA filter housing (refer to procedure).
  2. Remove the RH shock tower cover.
  3. Remove the front RH wheel arch liner (refer to procedure).
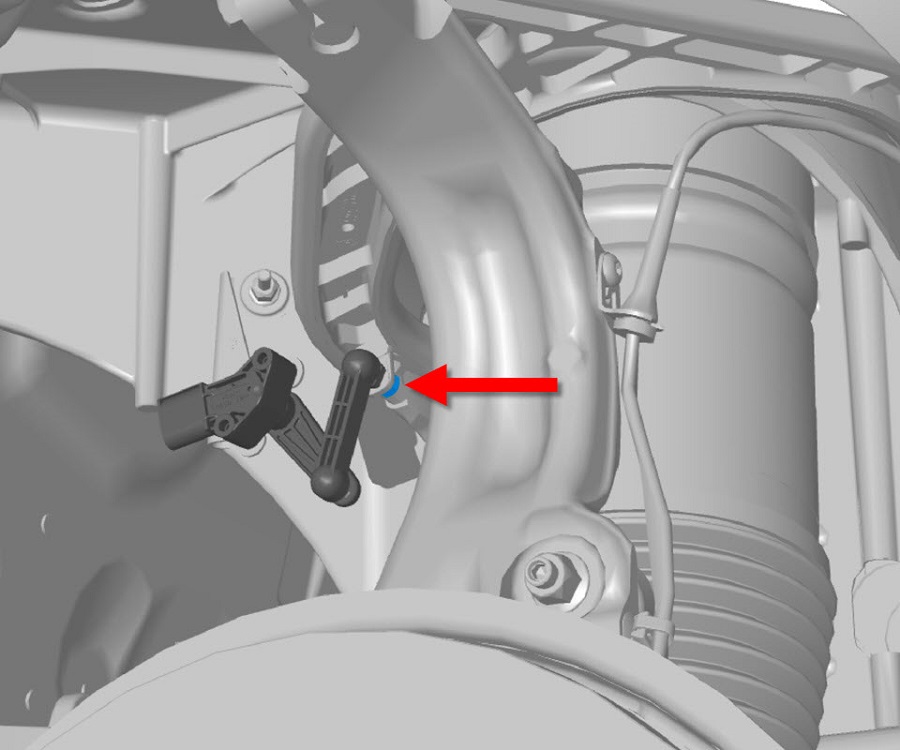
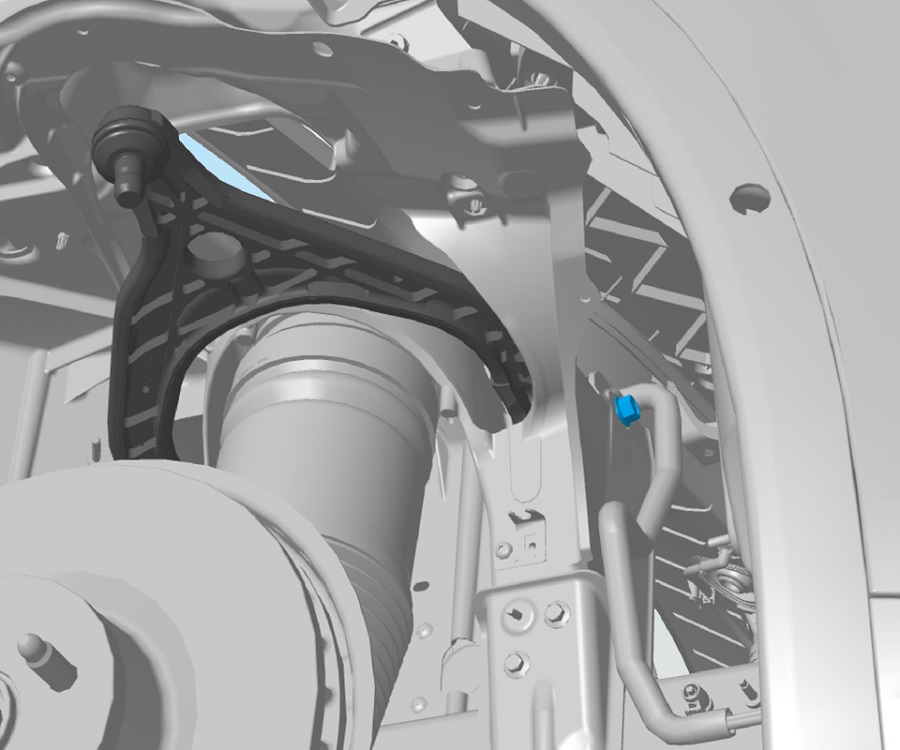
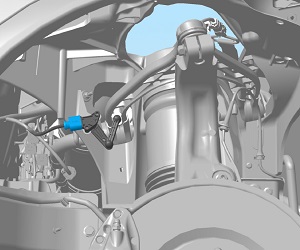
  4. Disconnect the electrical connector from the ride height sensor.
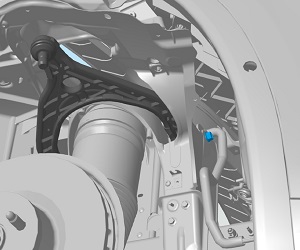
  5. Remove the nut that secures the ride height sensor to the body (torque 7 Nm).
  6. Move powertrain coolant pump 1 to gain access to the rear bolt that secures the upper control arm to the body.
    1. Disconnect the electrical connector from the coolant pump.
    2. Slide the coolant pump inboard until it is released from the bracket.
    3. Carefully secure the coolant pump away from the working area.
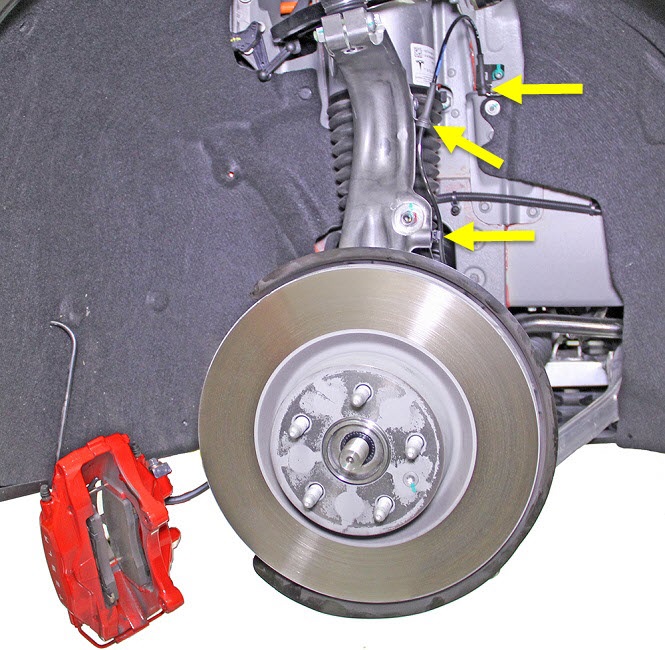
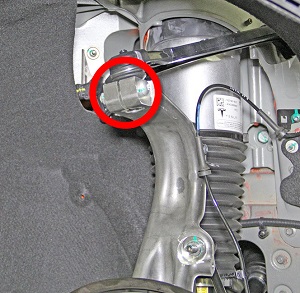
  7. Release the rubber grommets that secure the front wheel speed sensor harness to the body (x2) and the knuckle (x1).
    Note: The following image shows the caliper removed from the rotor.
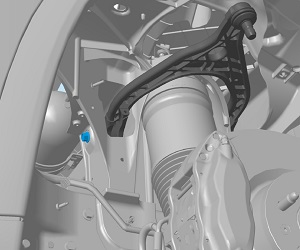
  8. Remove and discard the bolt and nut that secure the upper control arm ball joint to the knuckle (torque 60 Nm).
  9. Release the upper control arm from the knuckle.
  10. Remove the bolts (x2) that secure the upper control arm to the body (torque 68 Nm).
  11. Release the upper control arm and remove it from the vehicle.

Installation

Installation procedure is the reverse of removal.

Caution: Only fully tighten suspension bushing fasteners when the vehicle is in ride height position.
Note: Clean the affected areas before installation.
Note: When tightening a nut and bolt assembly, hold the bolt while torquing the nut.
Perform a four wheel alignment (refer to procedure).