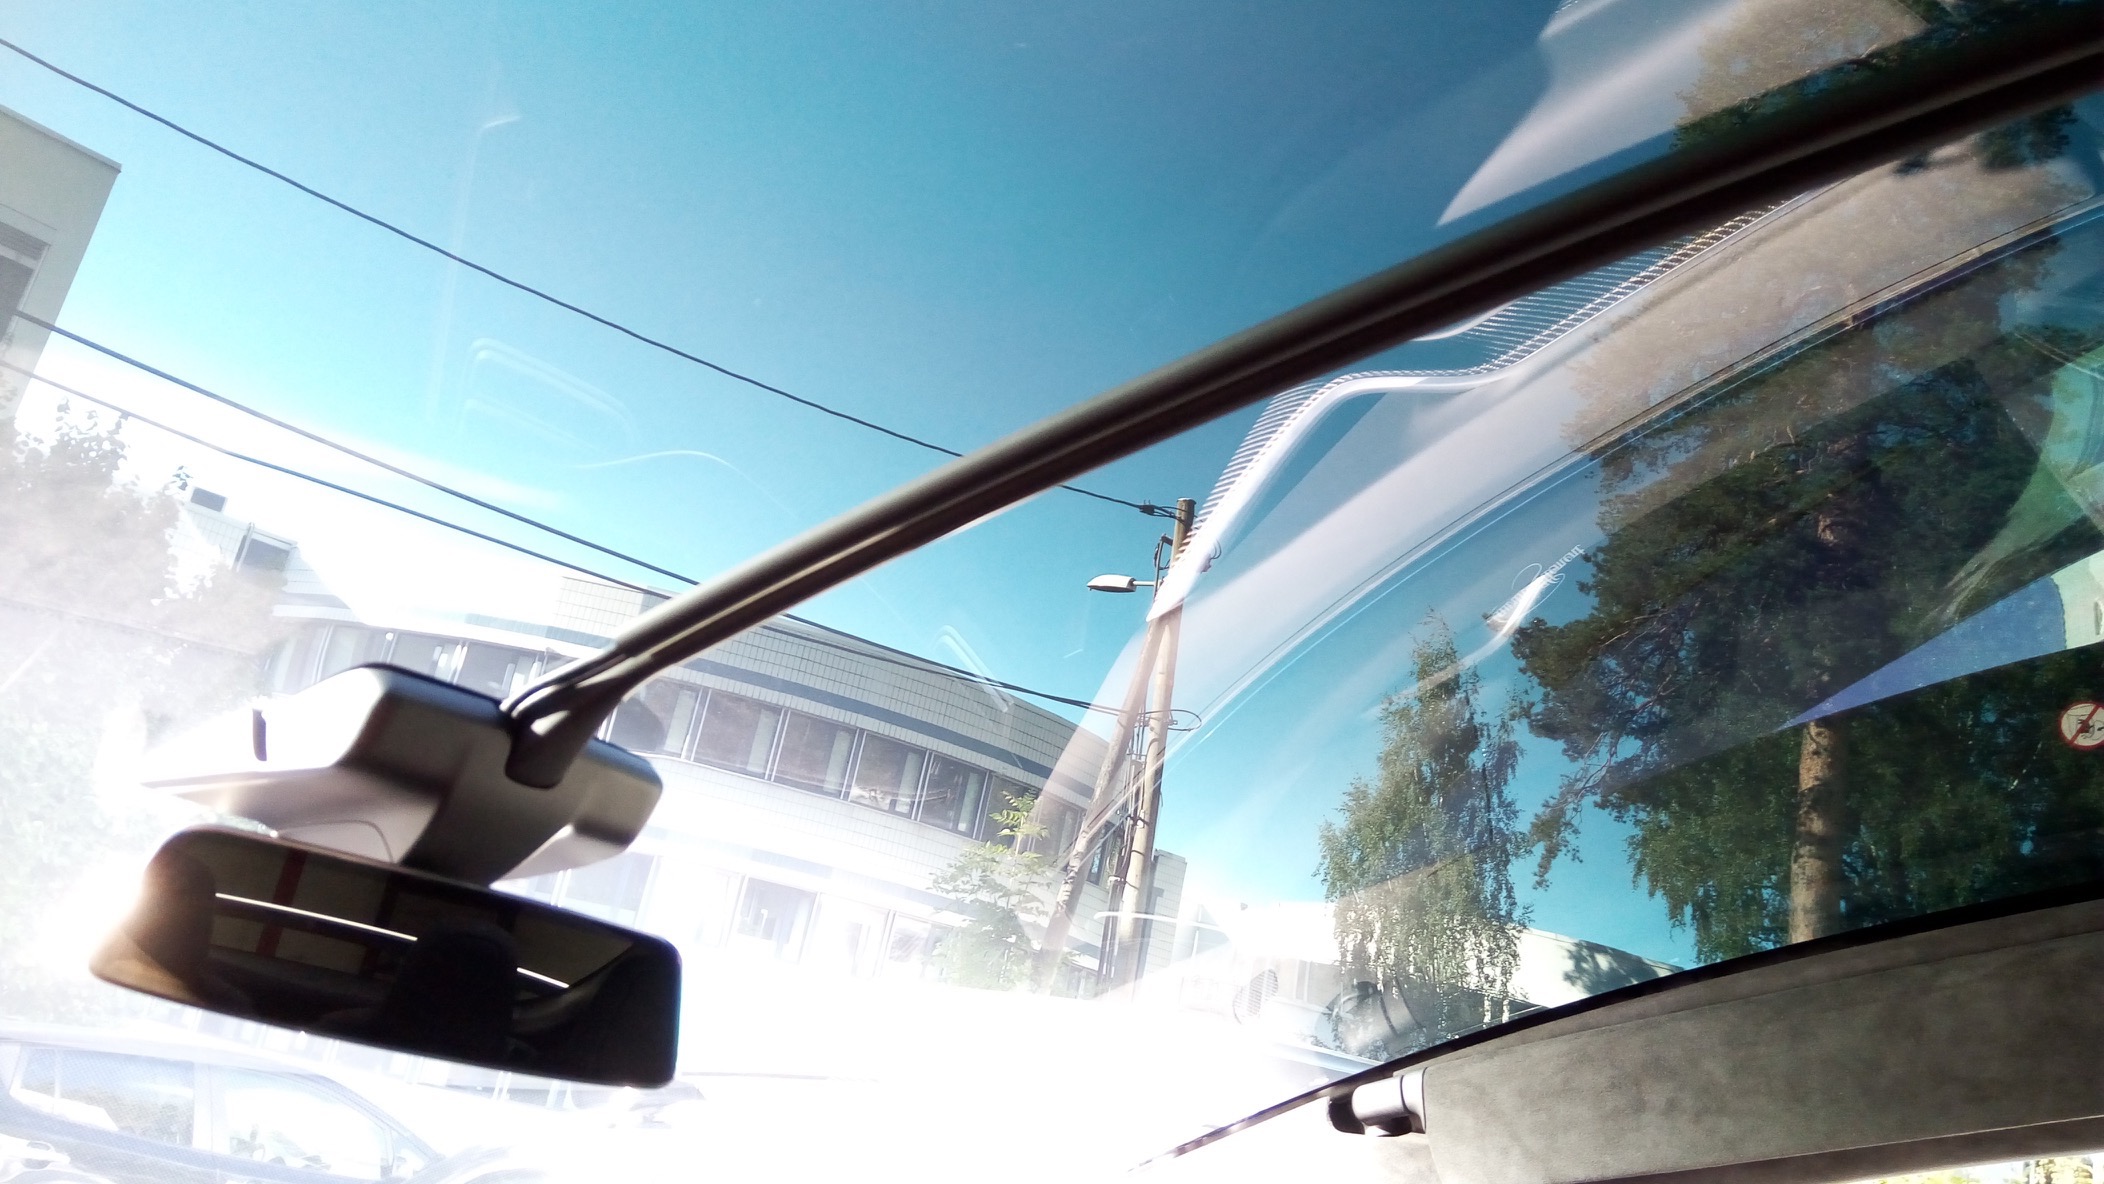
Here is a small photo gallery on what to expect during installing of a dashcam in the Tesla Model X.
What you need:
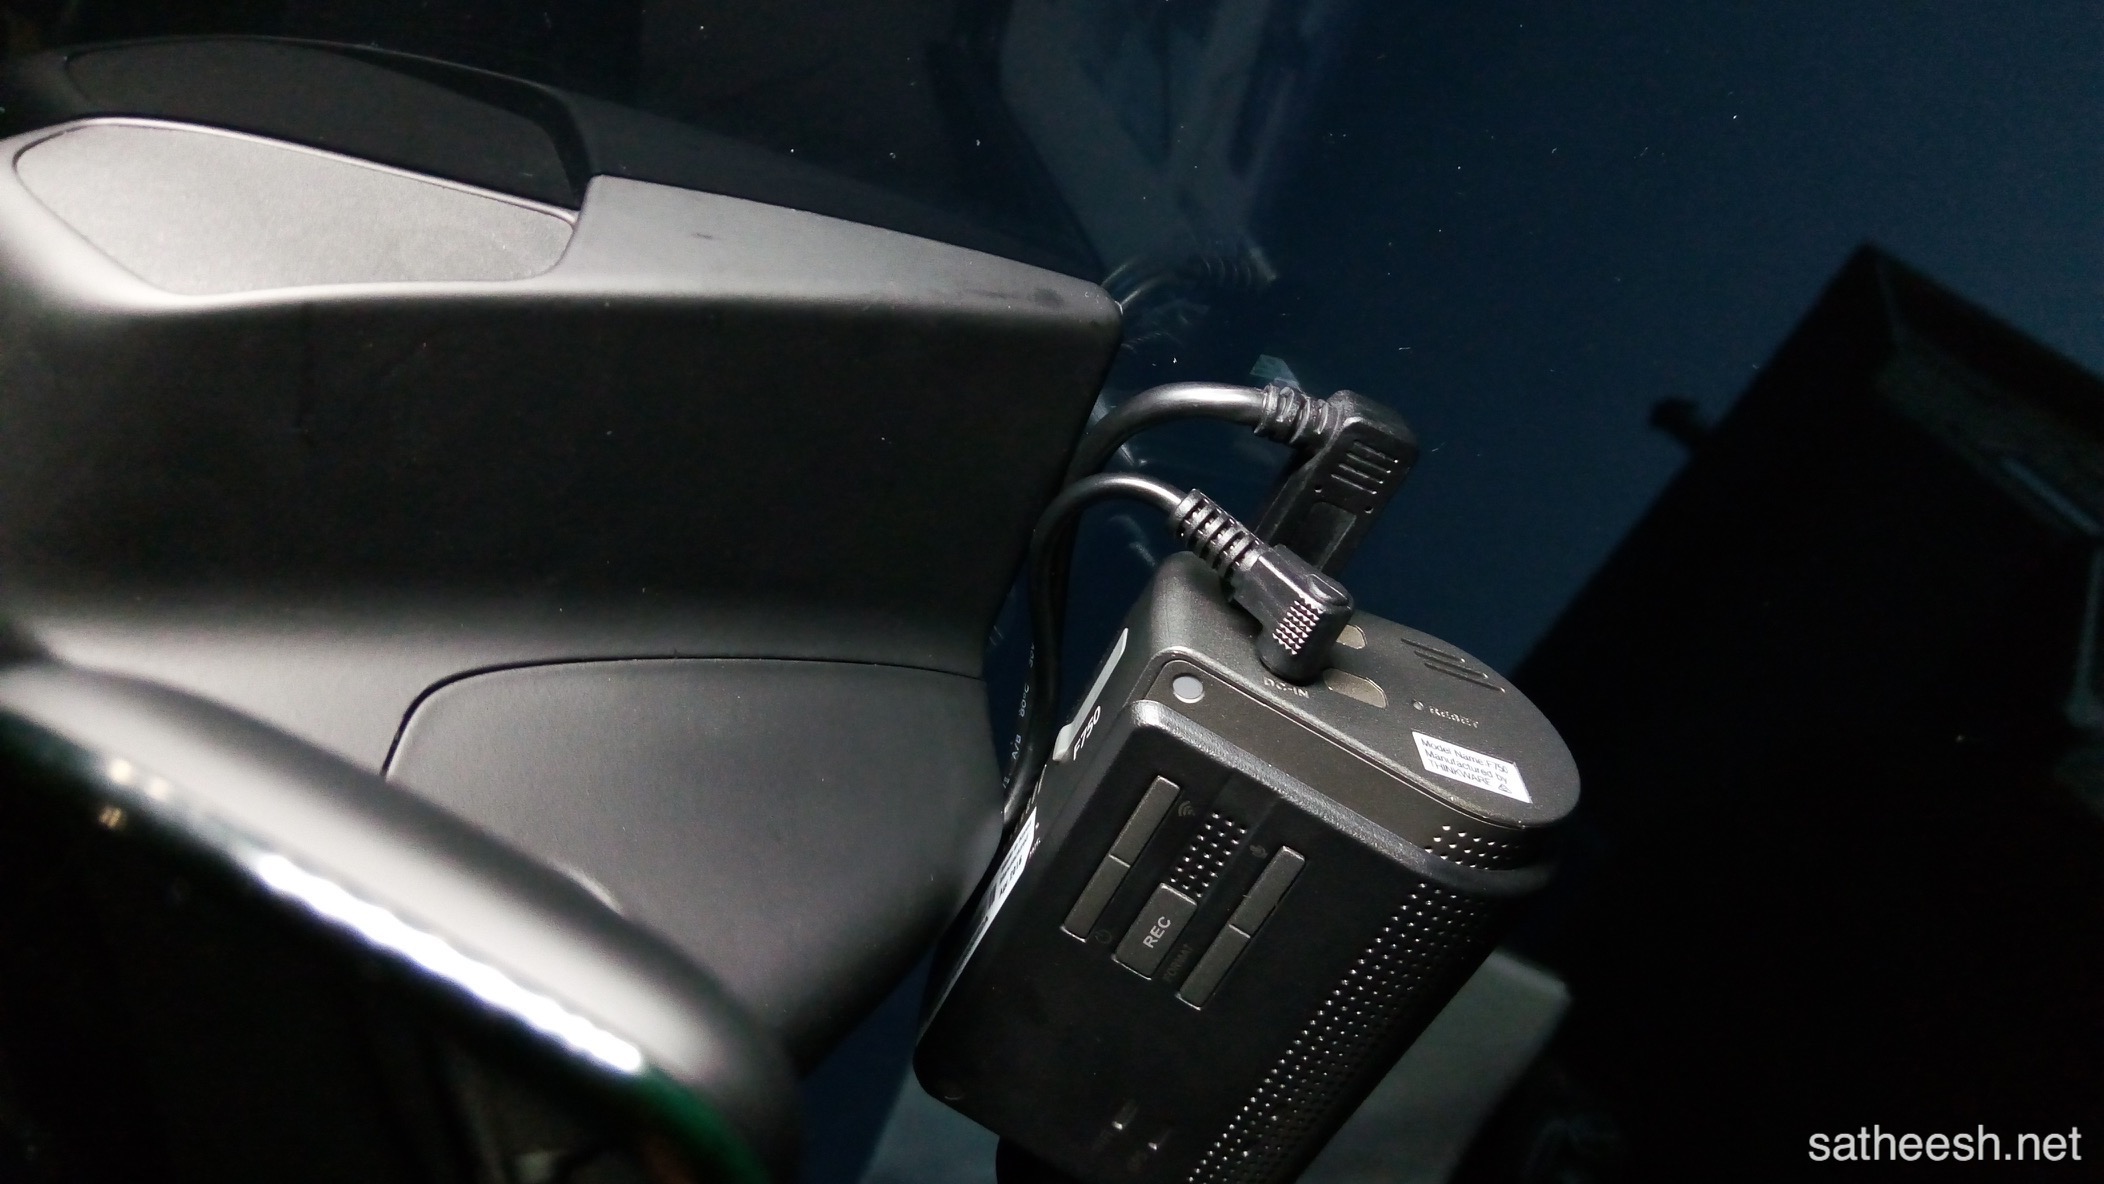
– Dashcam (I used Thinkware F750 dual cam)
– Plastic pry tools
– Wood file
– Fish tape (trekkefjær in Norwegian)
– Superglue (just in case)
– Strips
– Patience and a good amount of free time
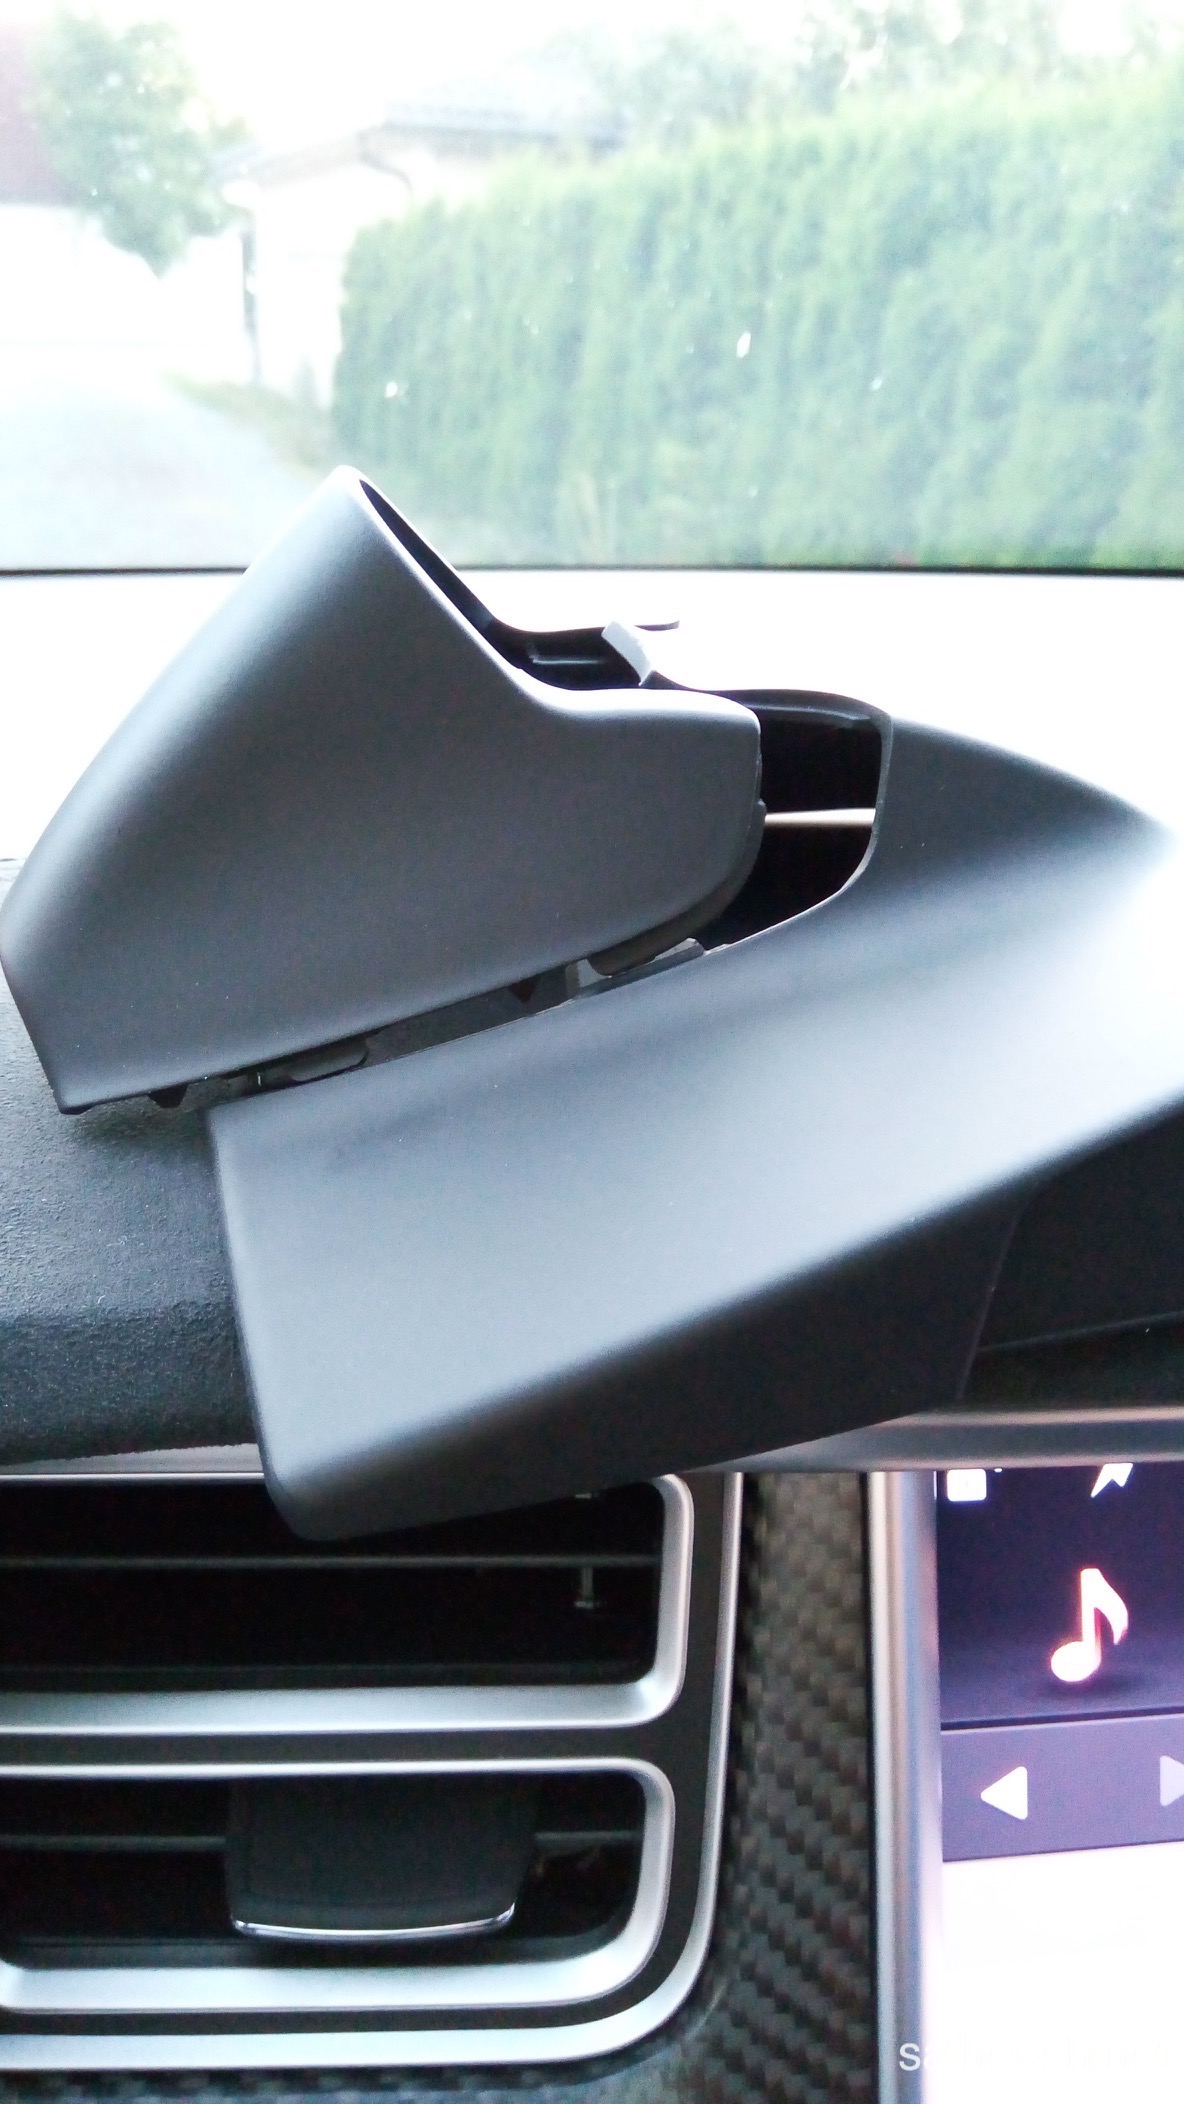
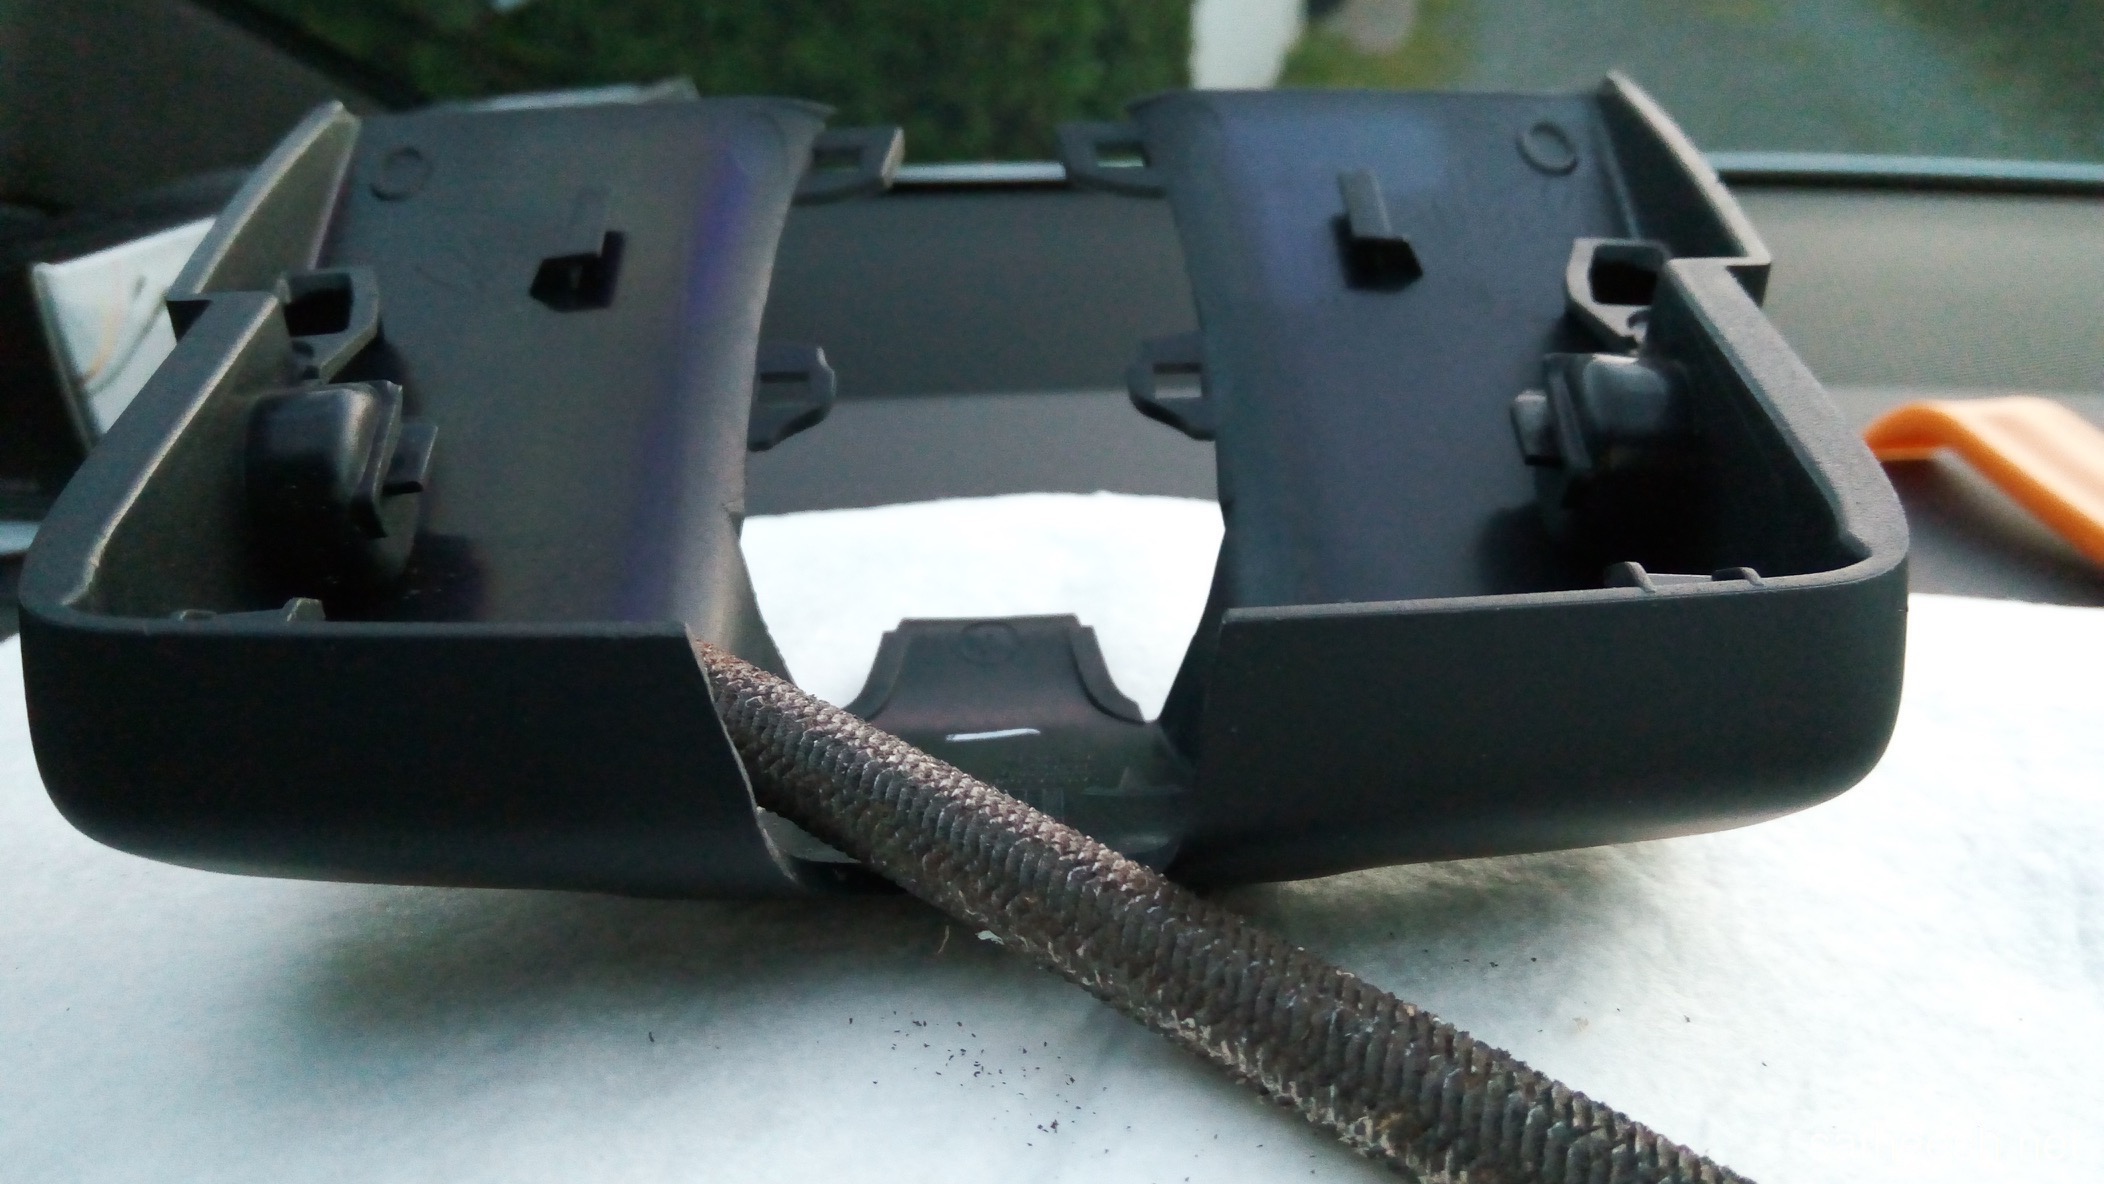
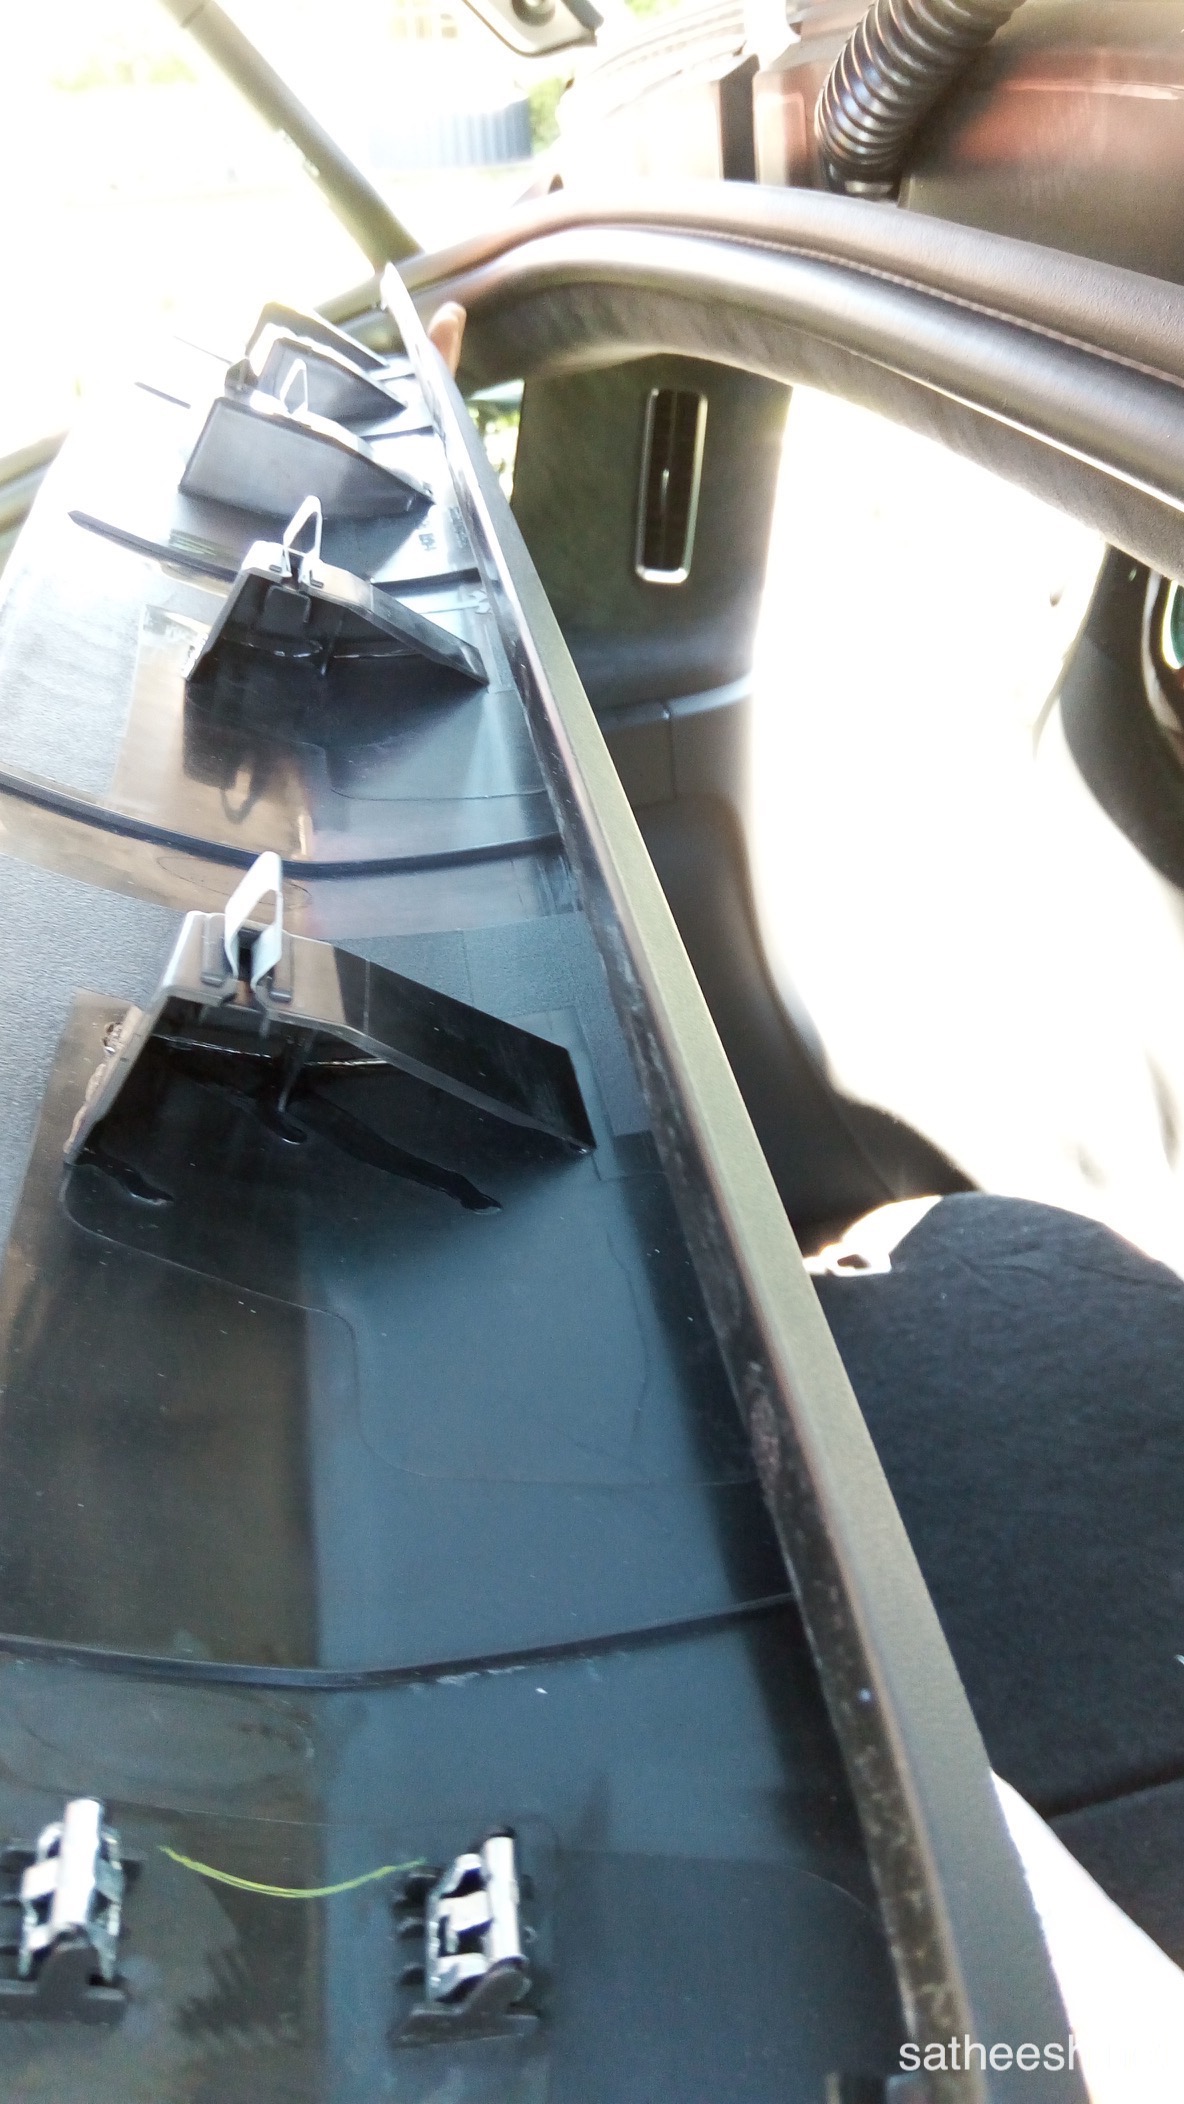
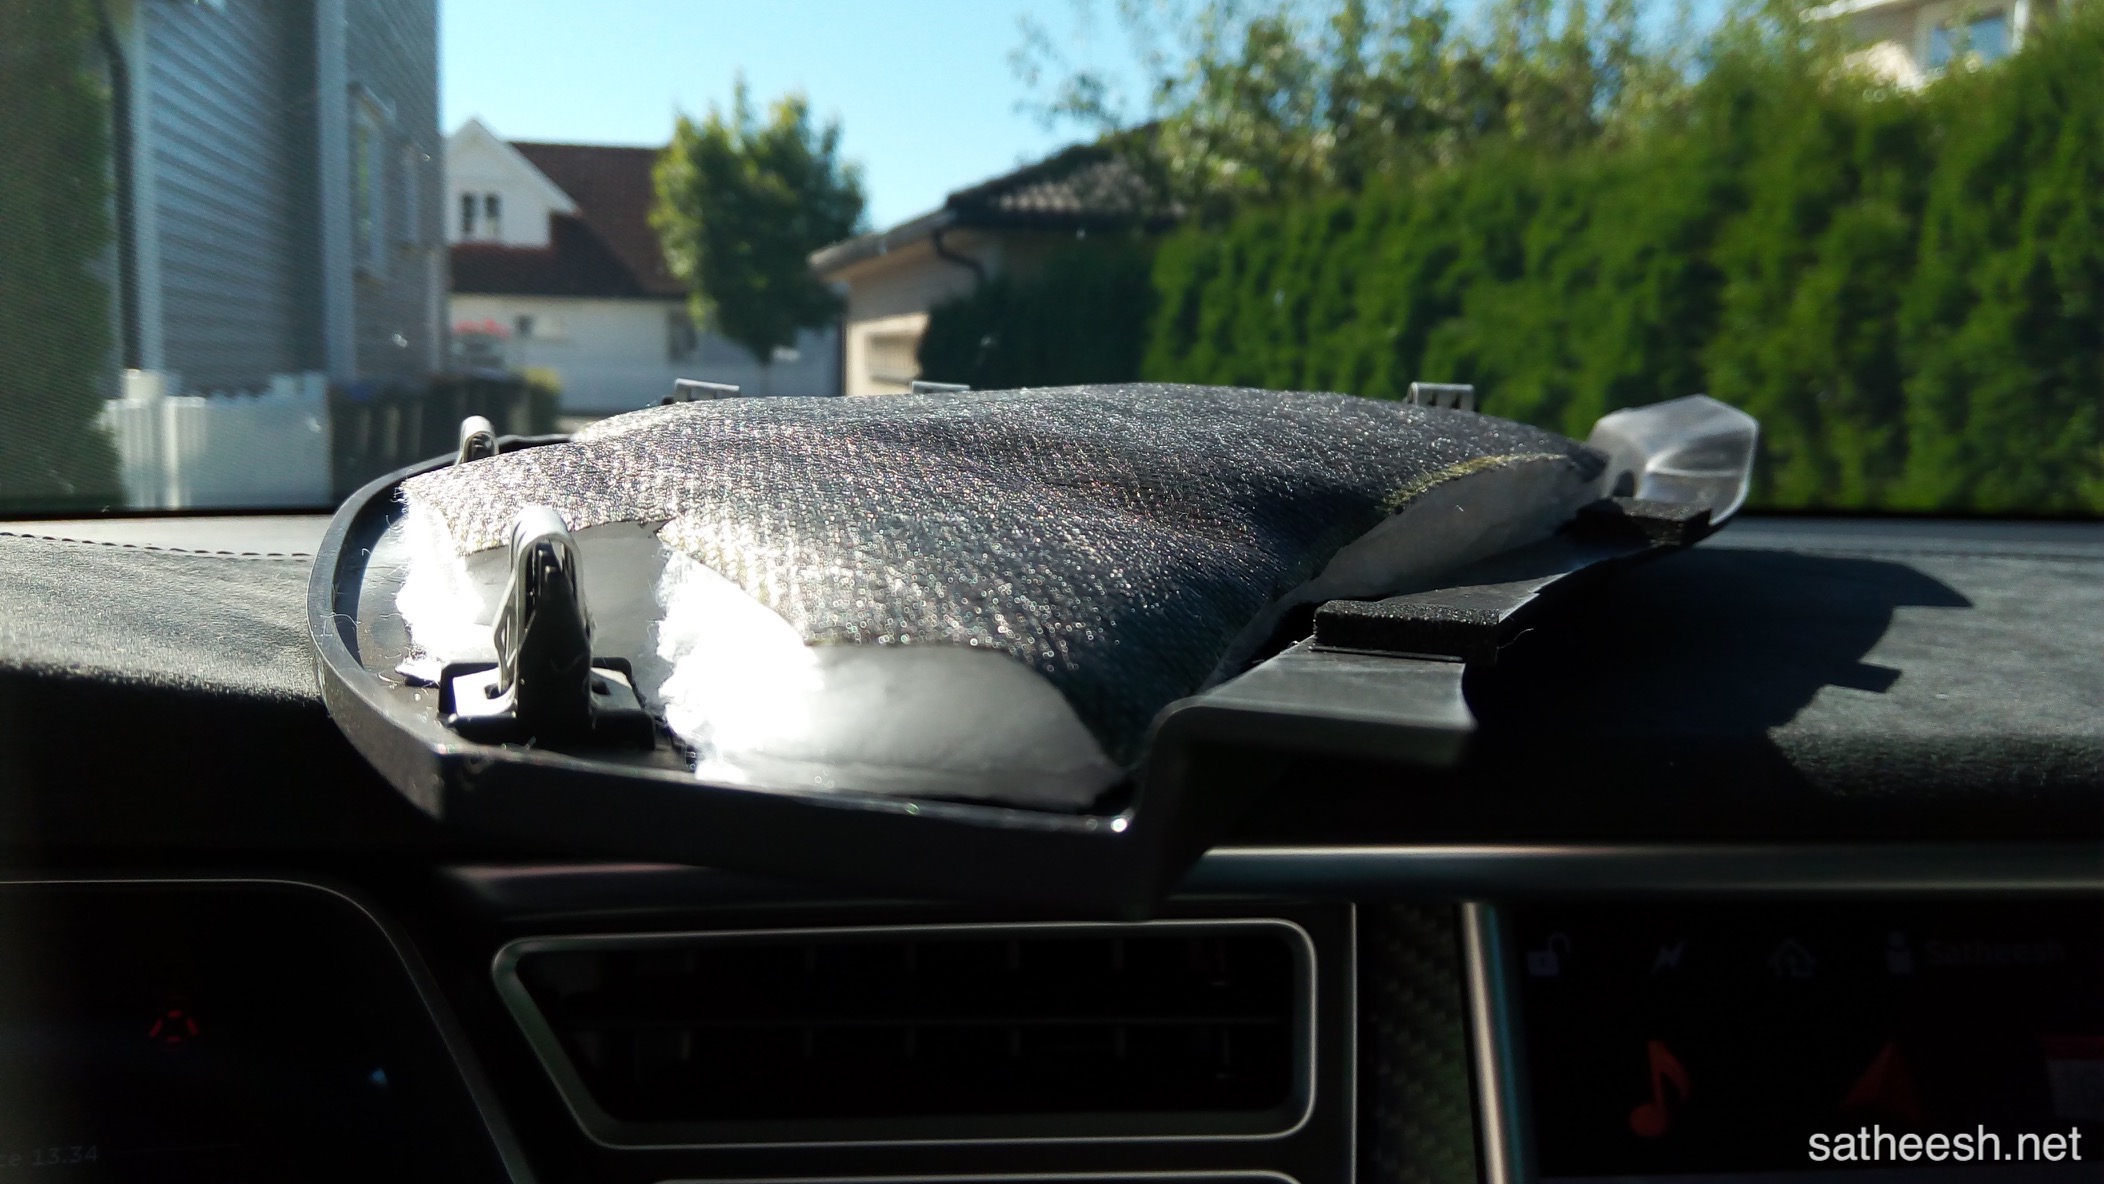
Separate the lower part from the housing. The housing itself is easy to just pull down, as they are held up together by clips. Be careful NOT to damage the tiny pillars that hold it together.
Separate the lower part from the housing. Be careful NOT to damage the tiny pillars that hold it together. The easiest way is to use a pry between the lining and nudge it off.
Be careful with the tiny pillars.
Be careful with the tiny pillars.
I choose to have the cable run on the side of the existing cable housing. Use a wood file to create a hole that the cable(s) can go through.
The same goes for the lower part. Use a wood file to make a big enough hole for the cable(s).
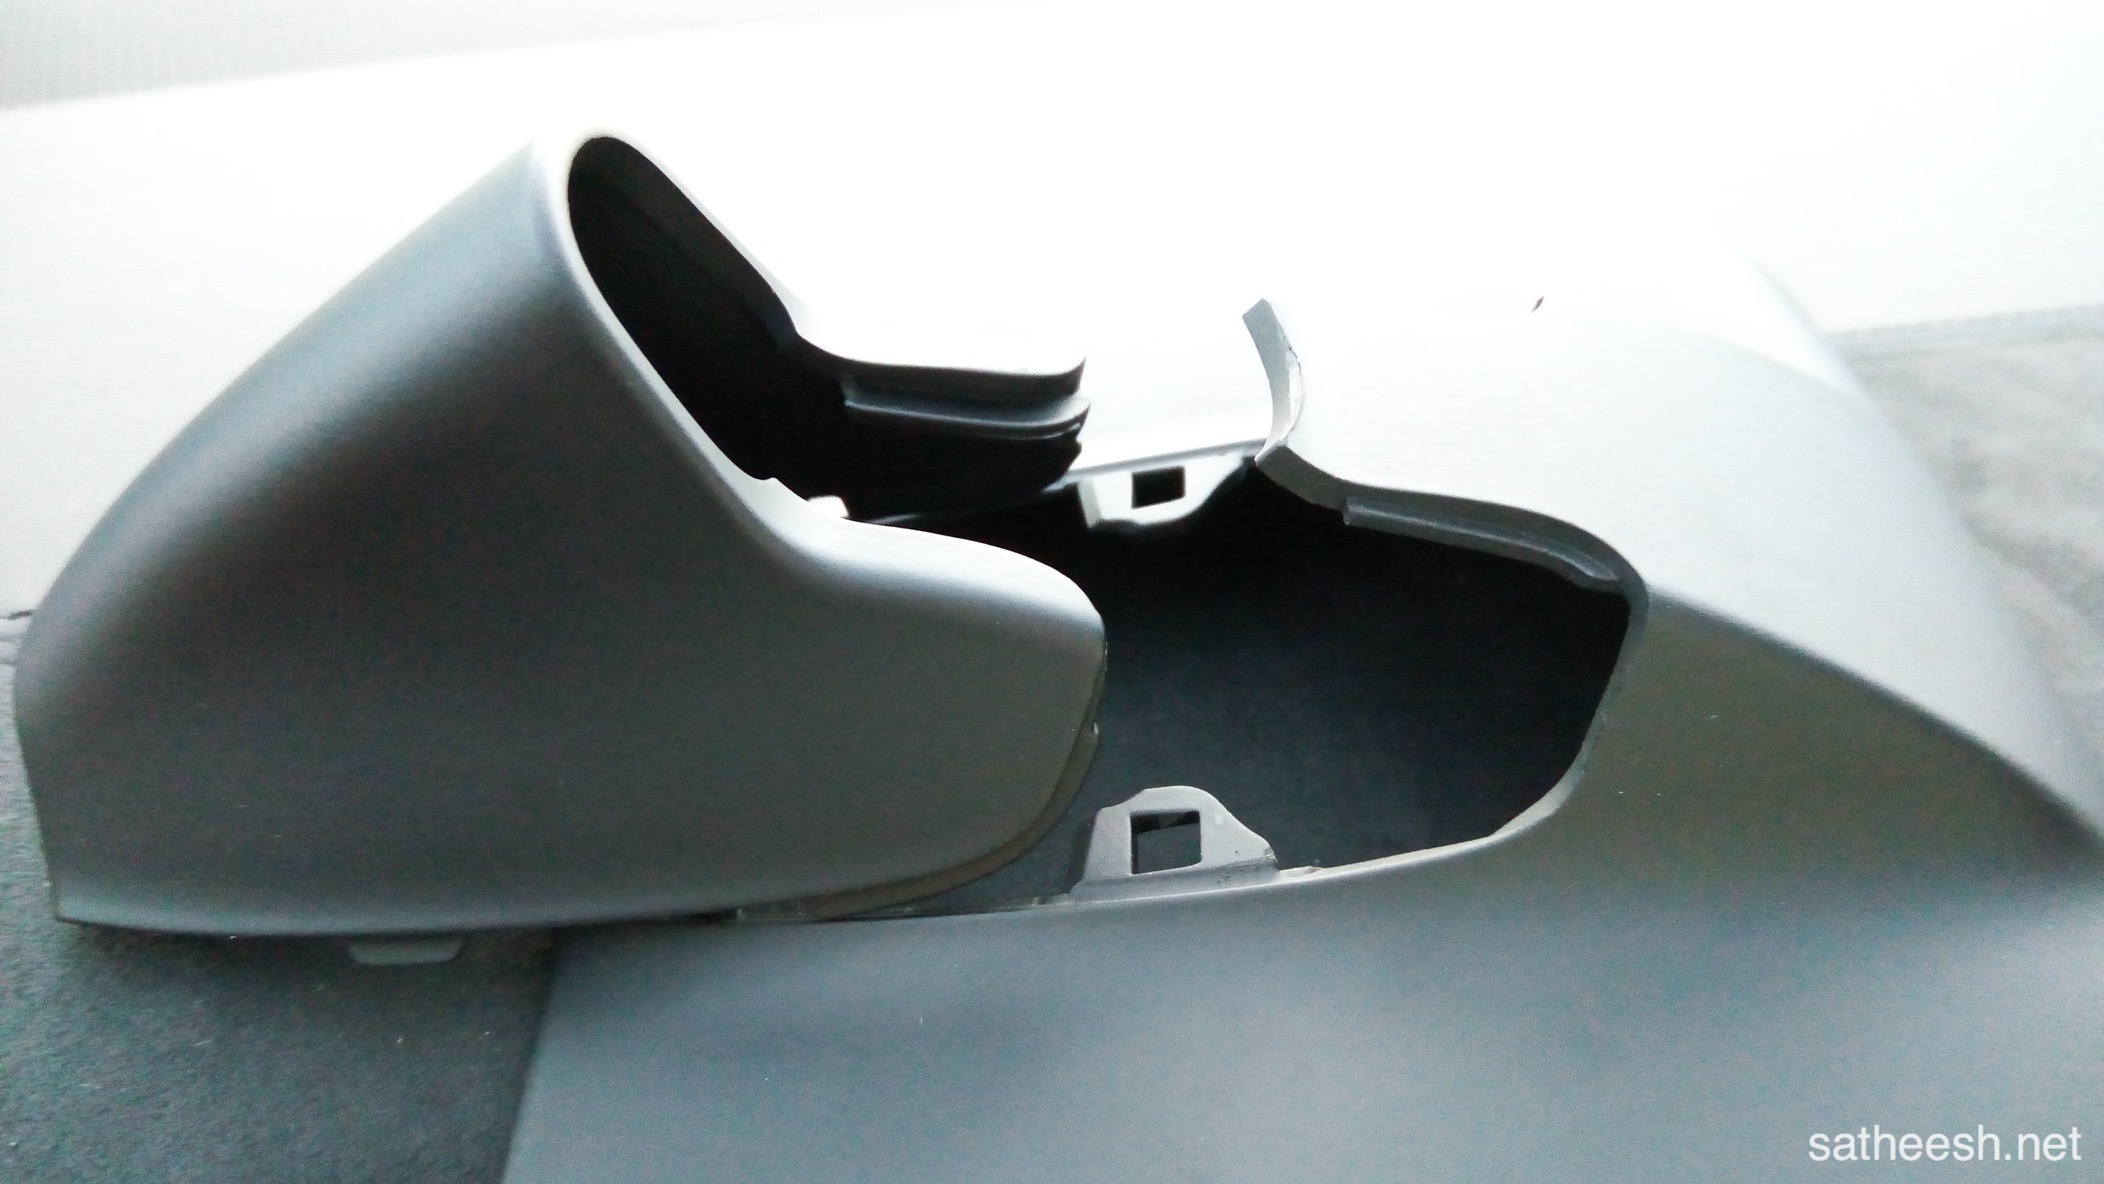
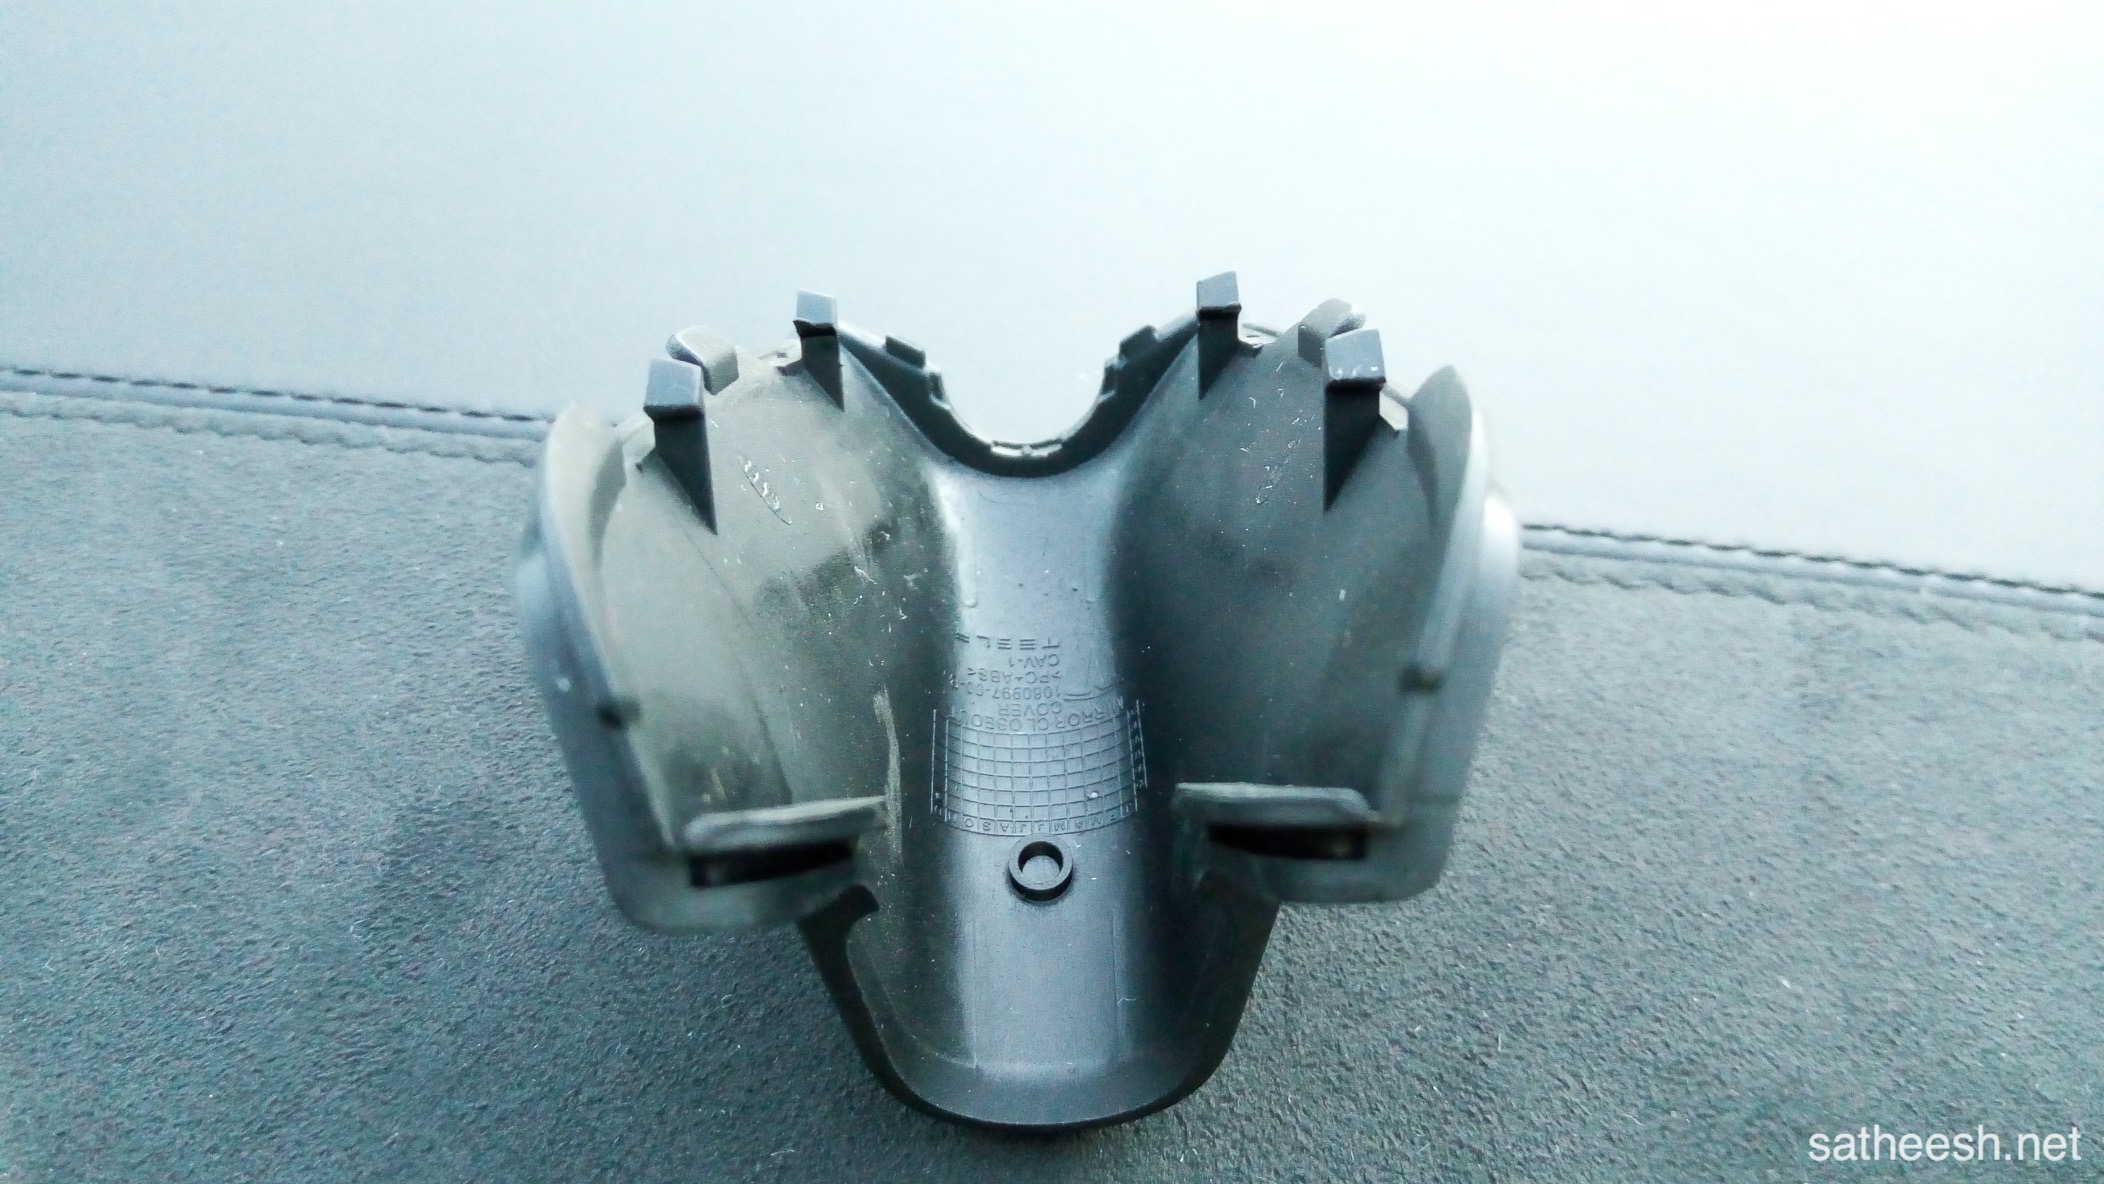
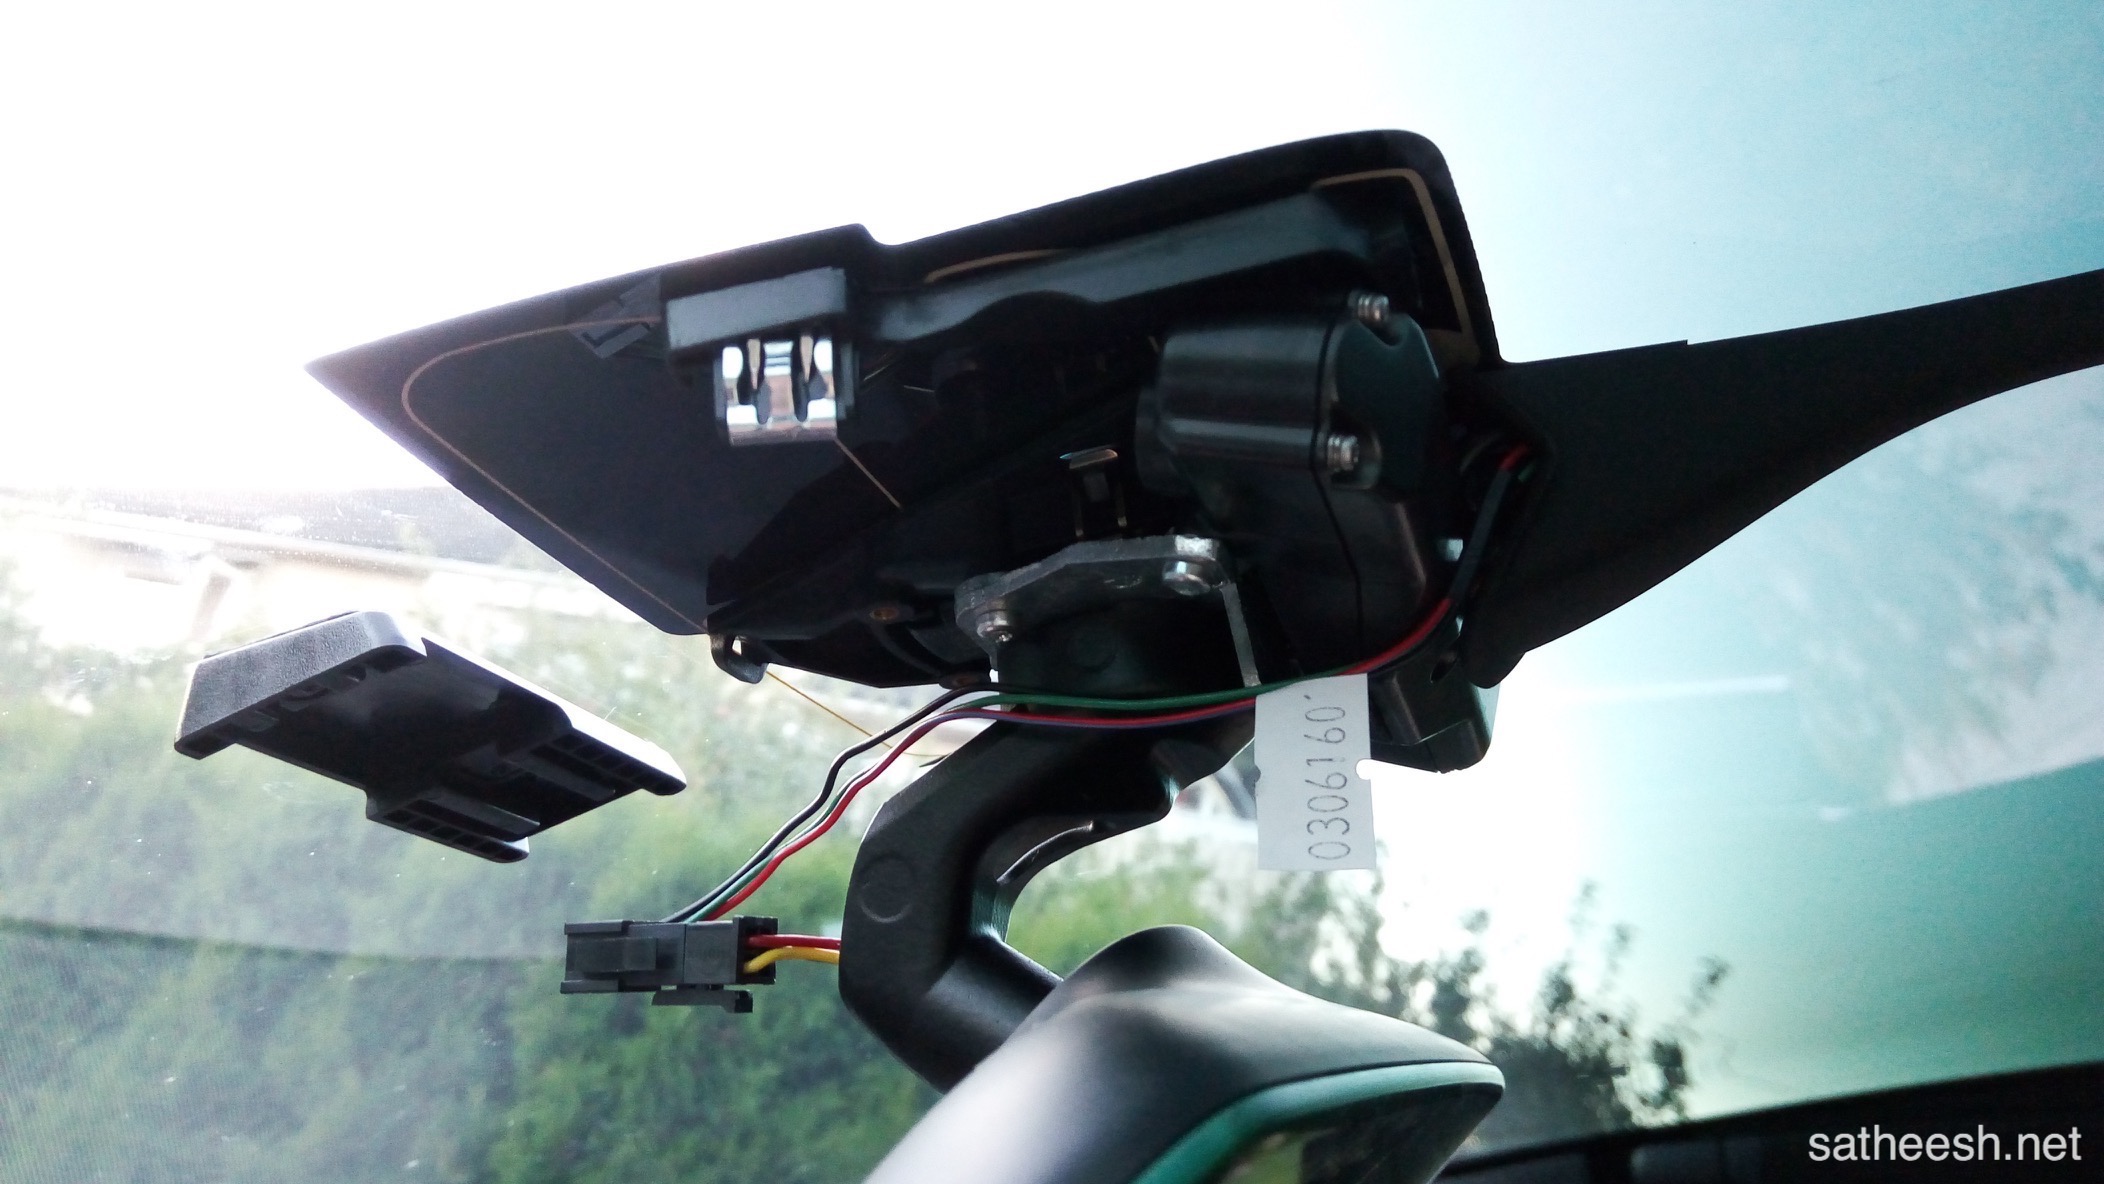
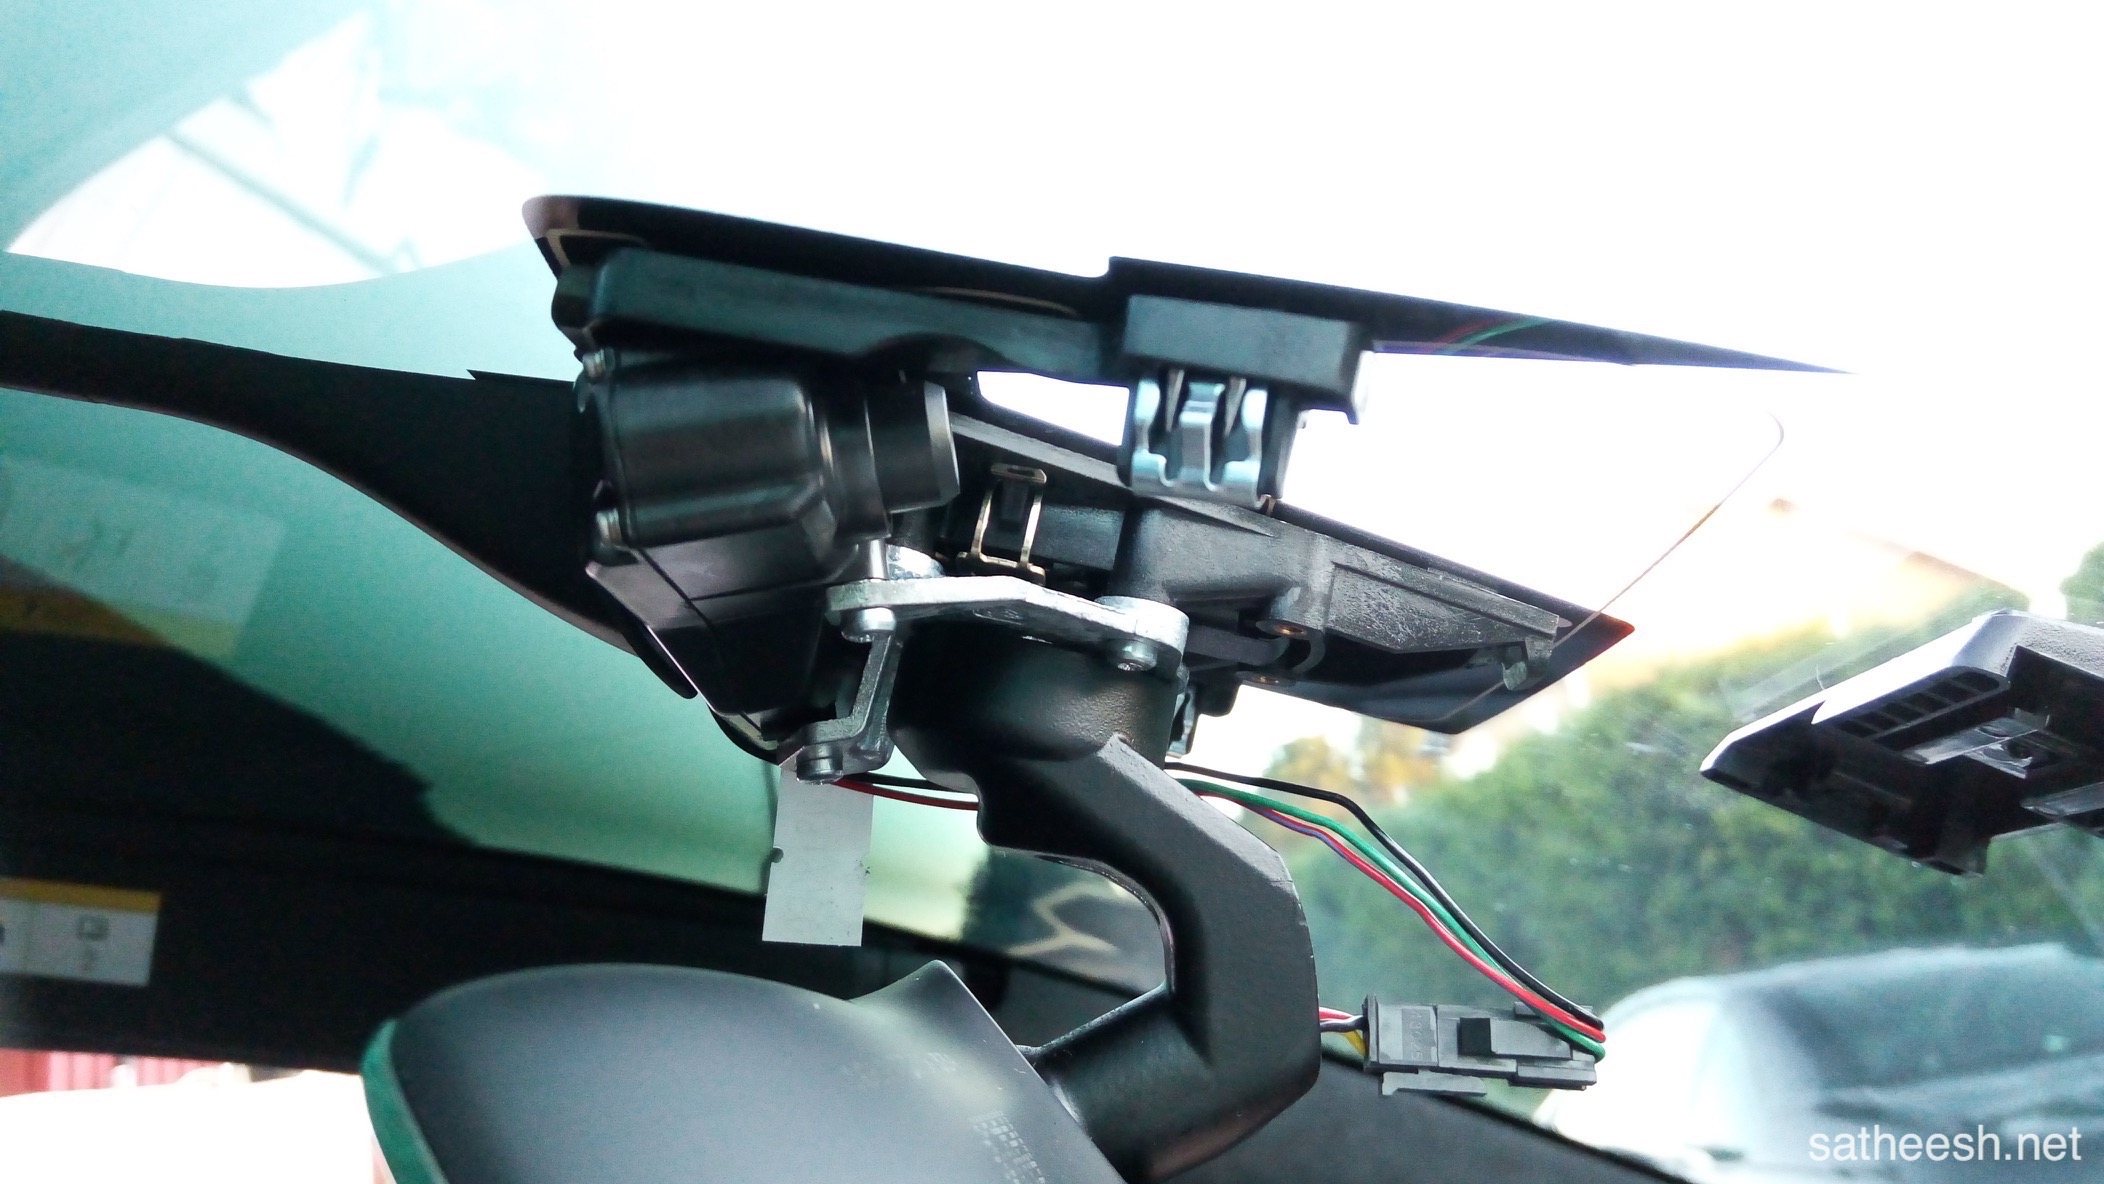
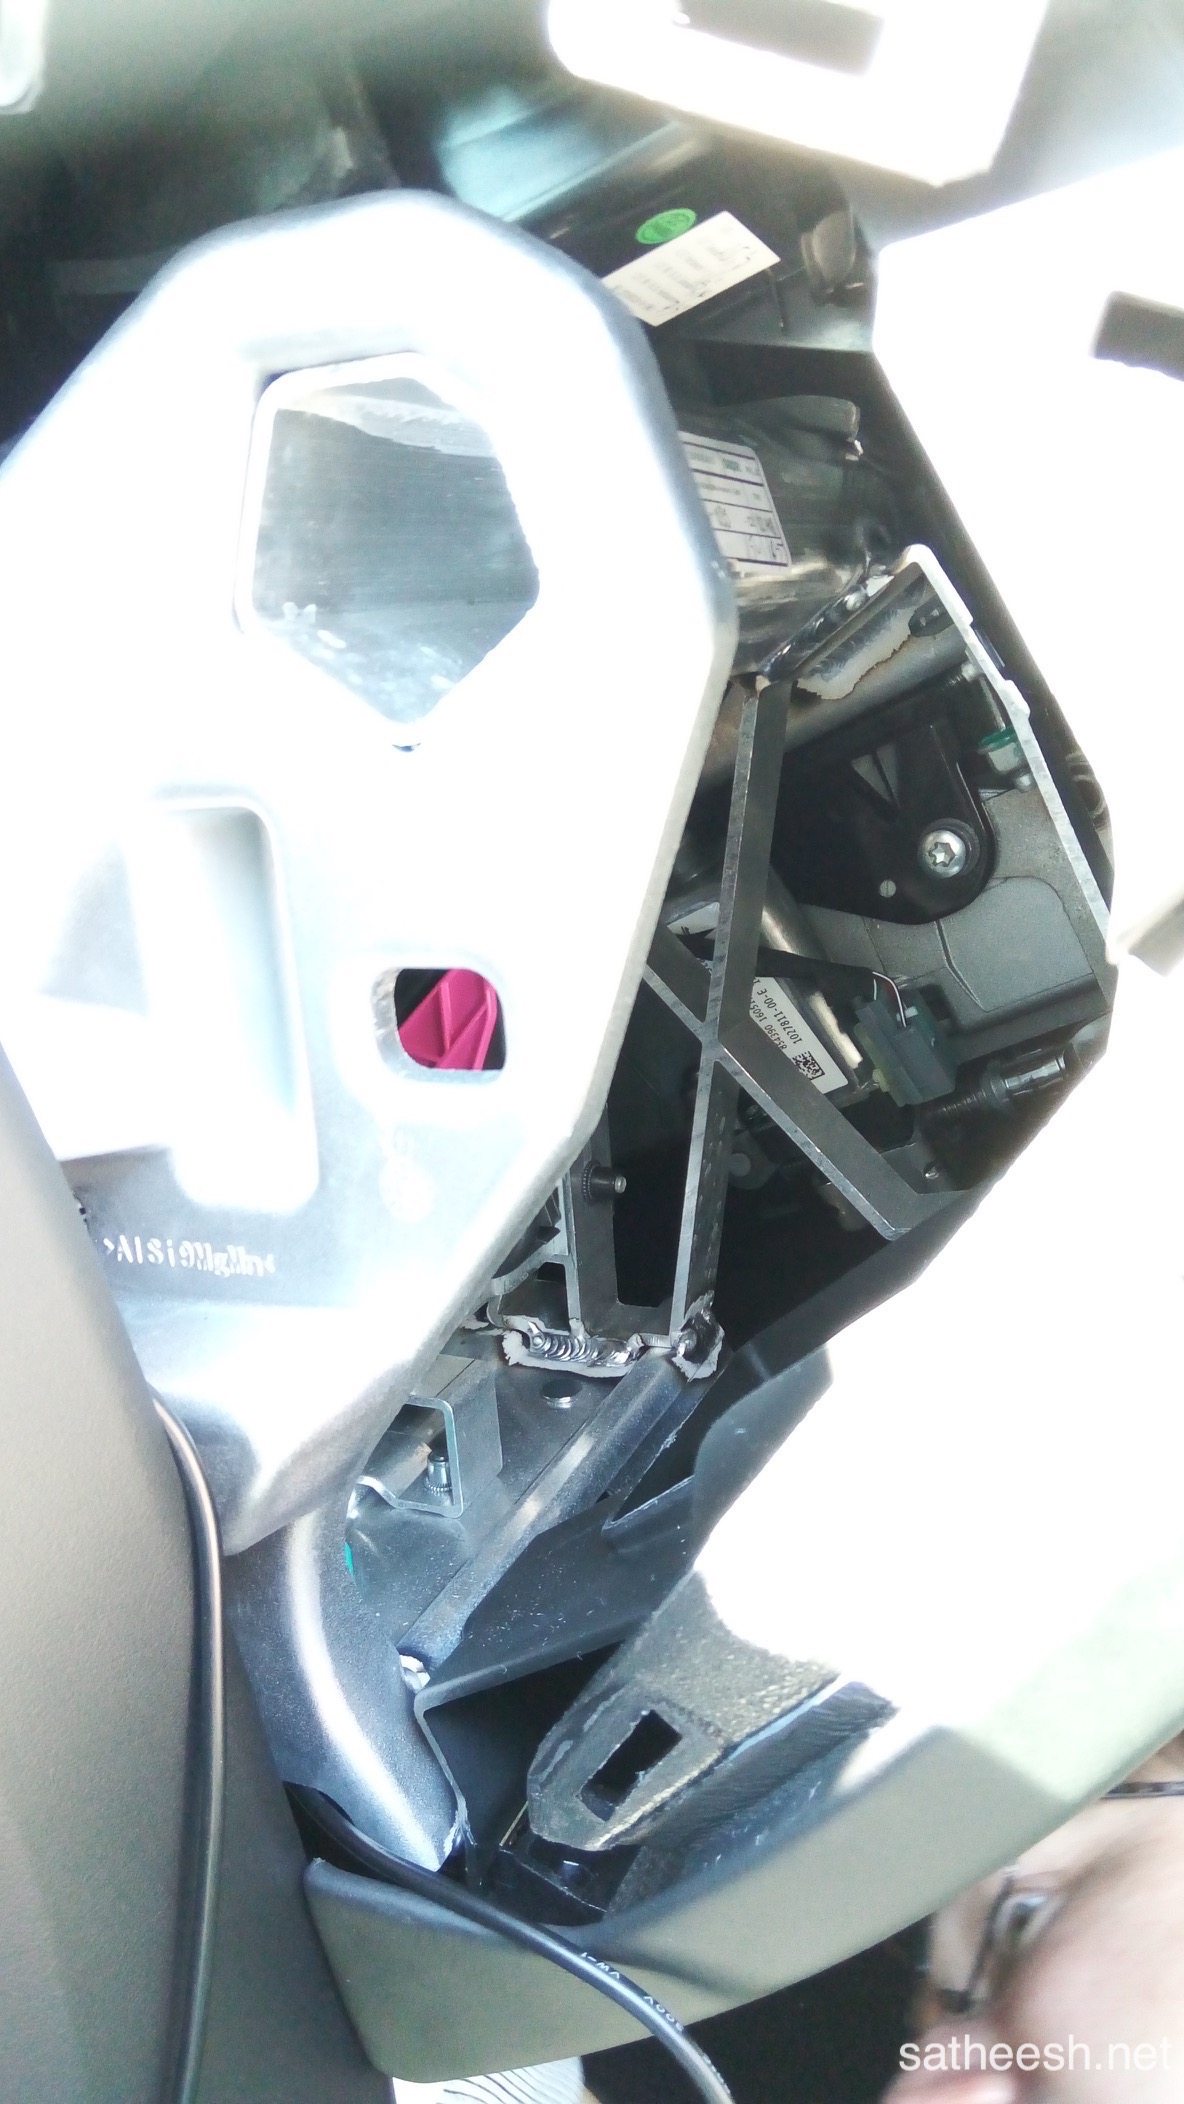
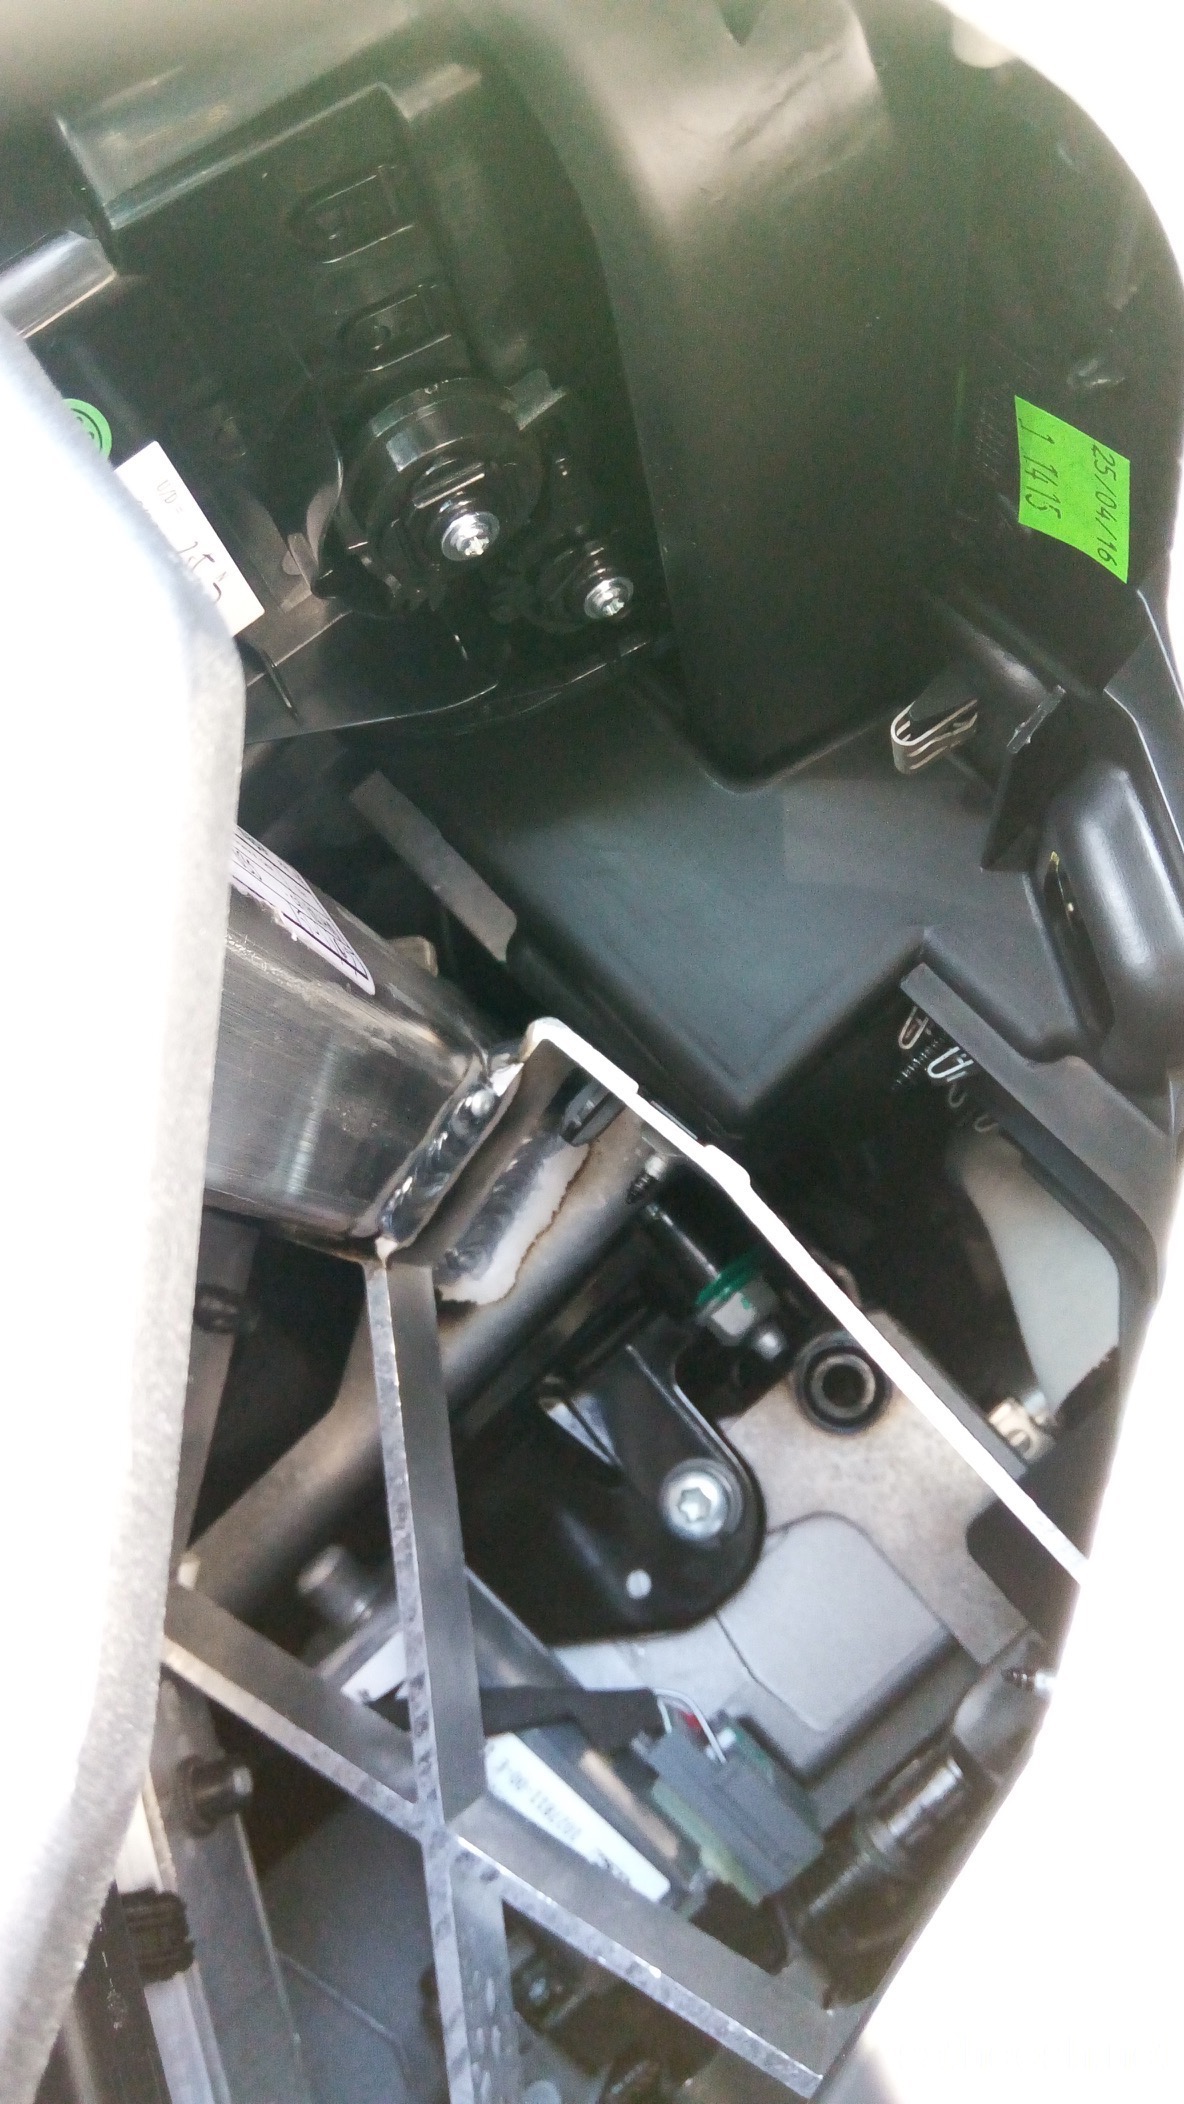
Some close-ups from the housing.
Some close-ups from the housing.
Some close-ups from the housing.
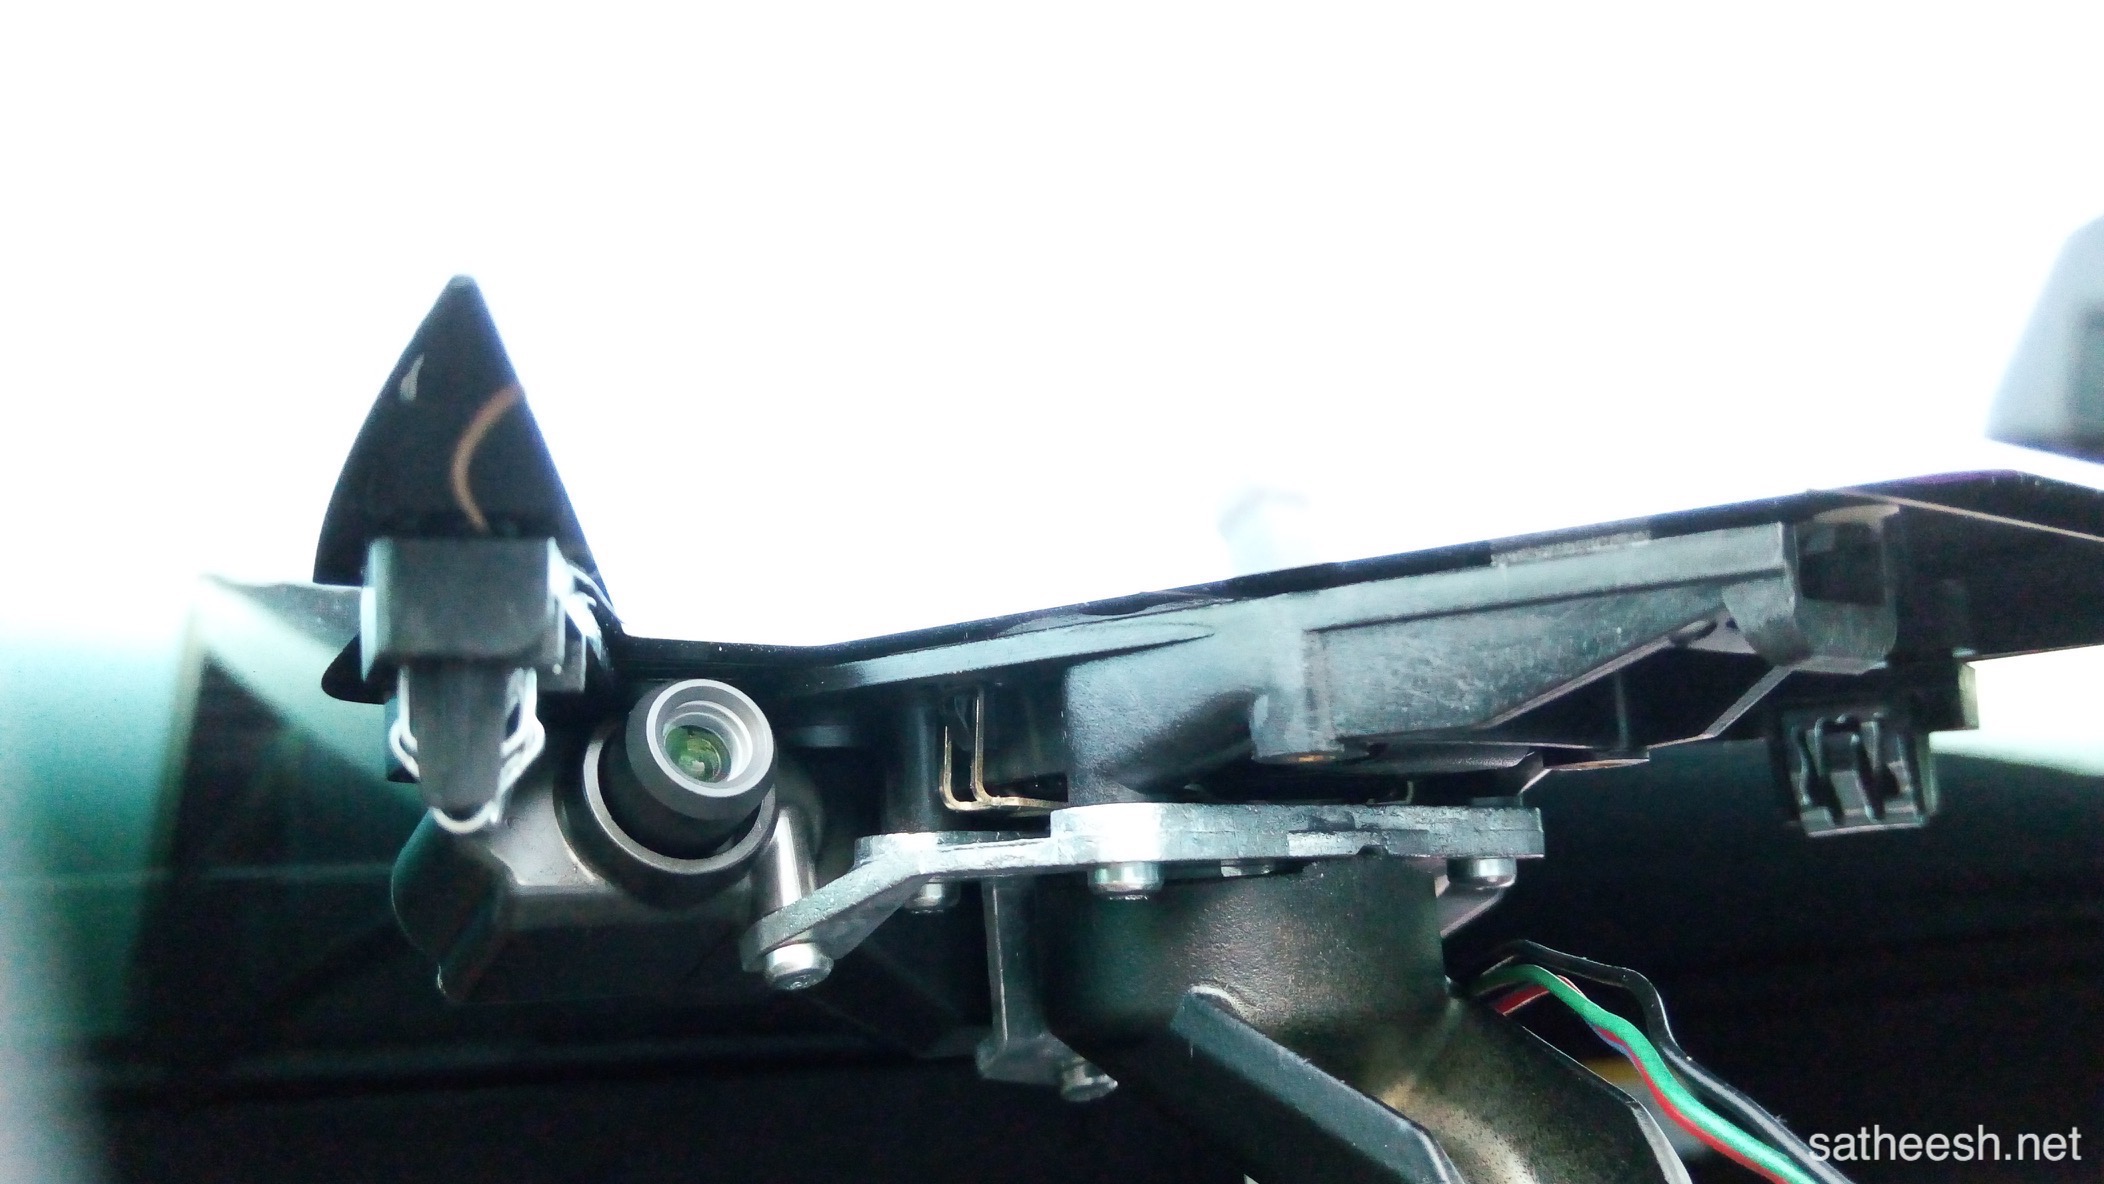
Some close-ups from the camera lens.
Some close-ups from the camera lens. Ready for a second camera lens. Autopilot v2.0 maybe?
Cables going through the housing.
Cables going through the housing.
Cables going through the lower part.
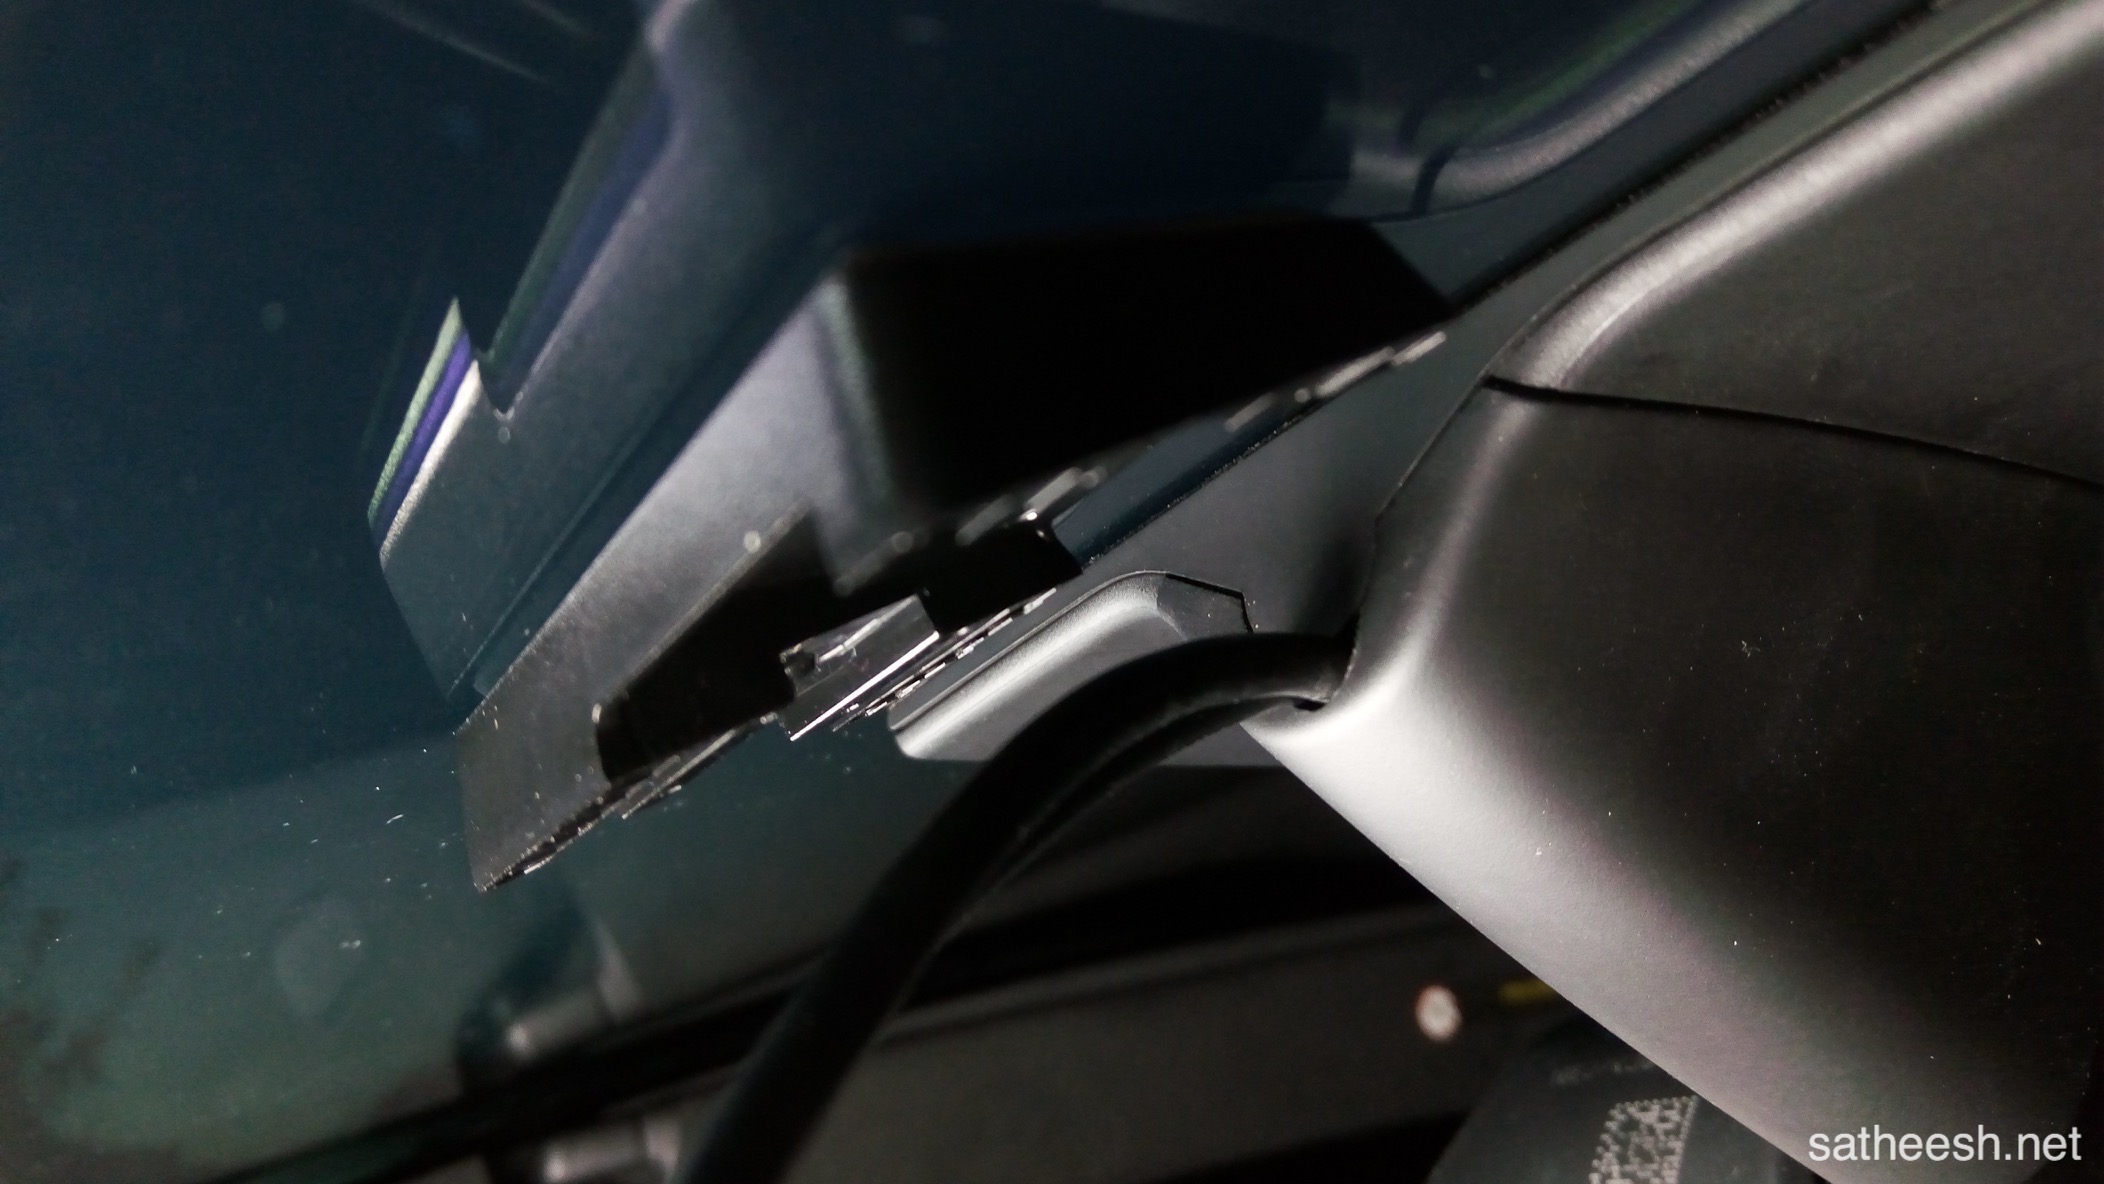
Close-up of finished mount.
Finished mount.
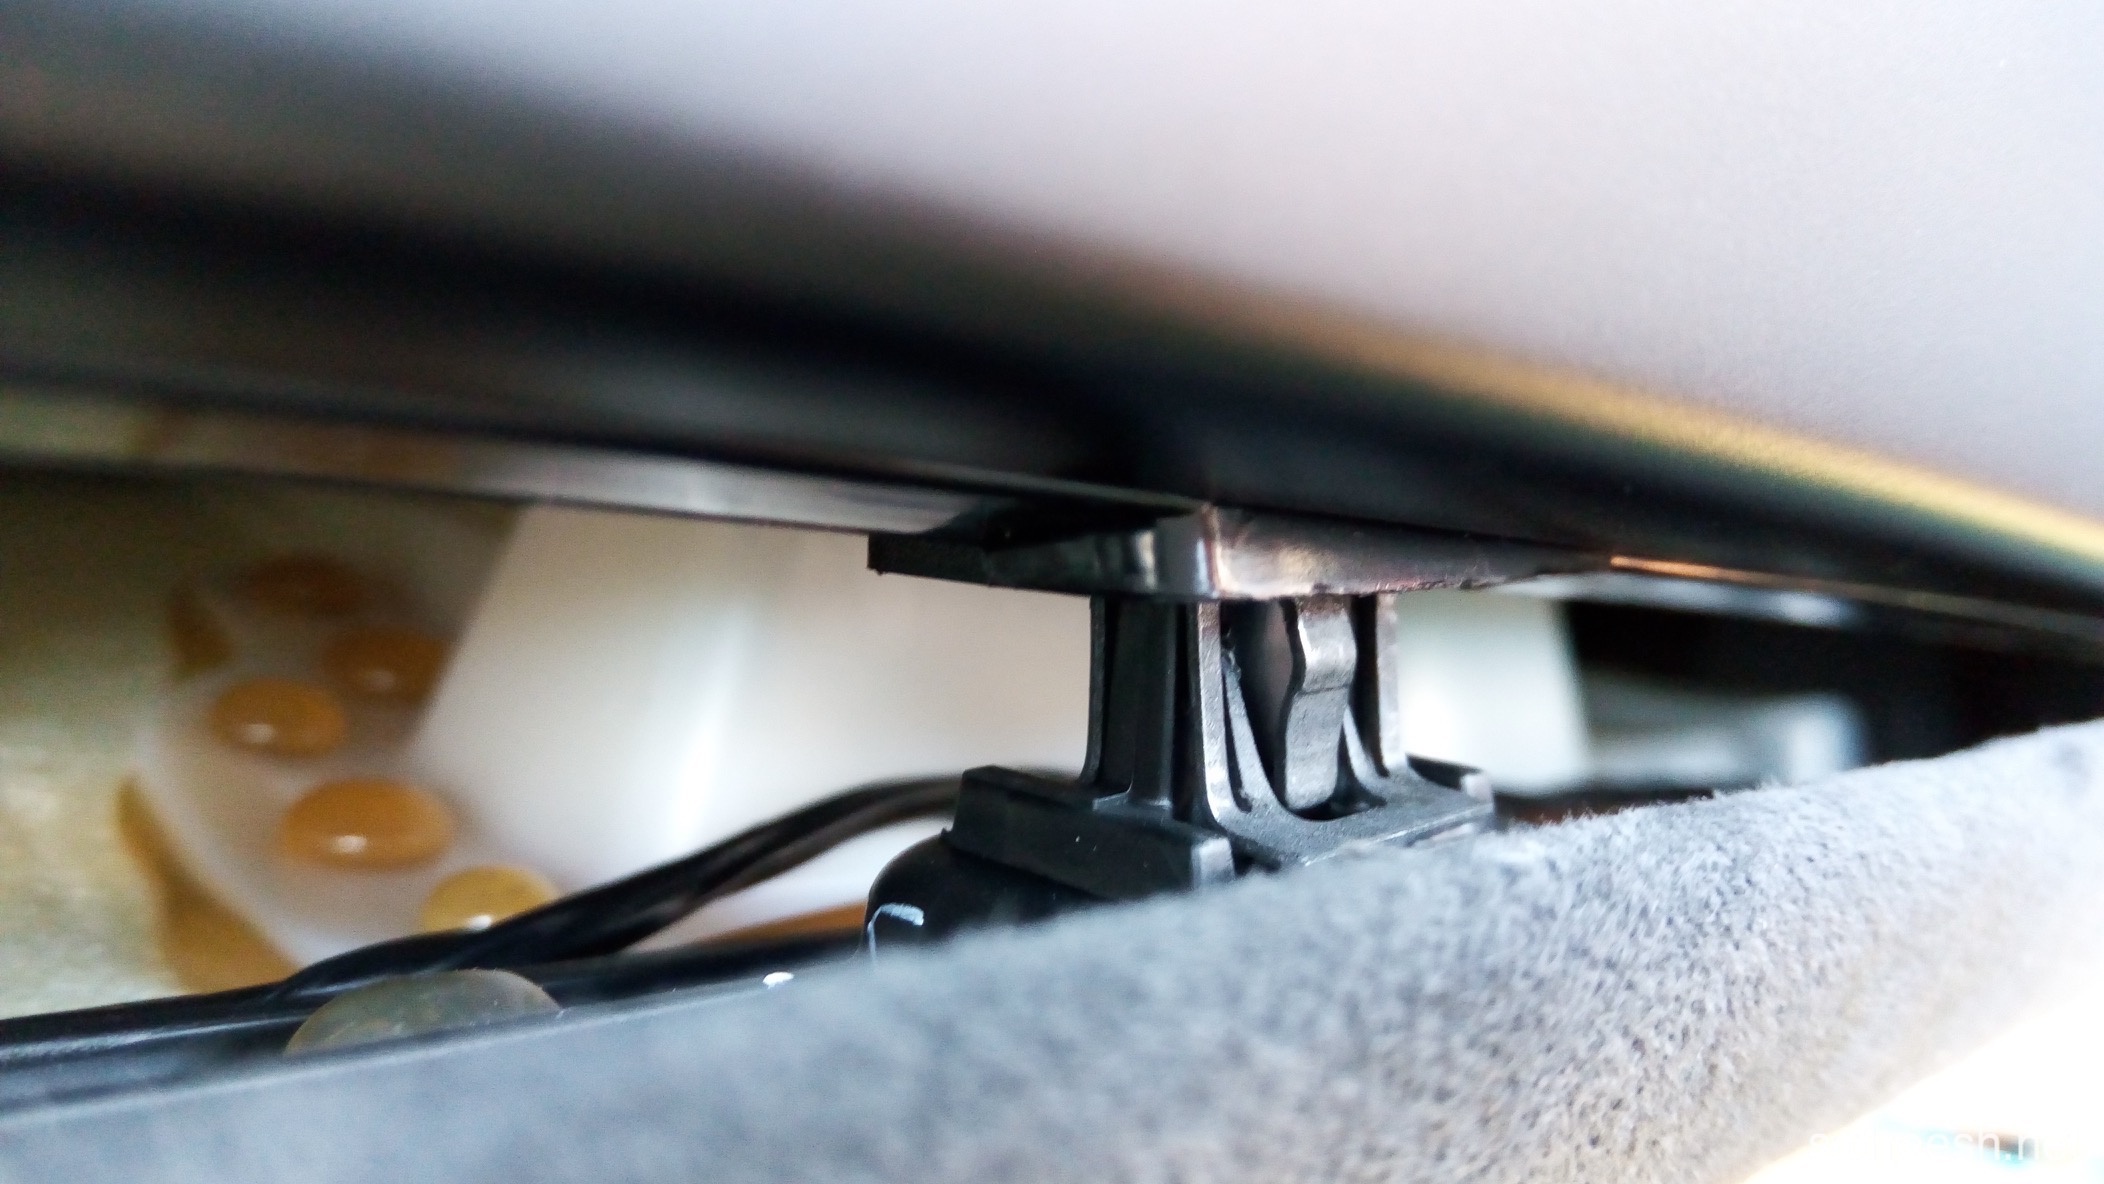
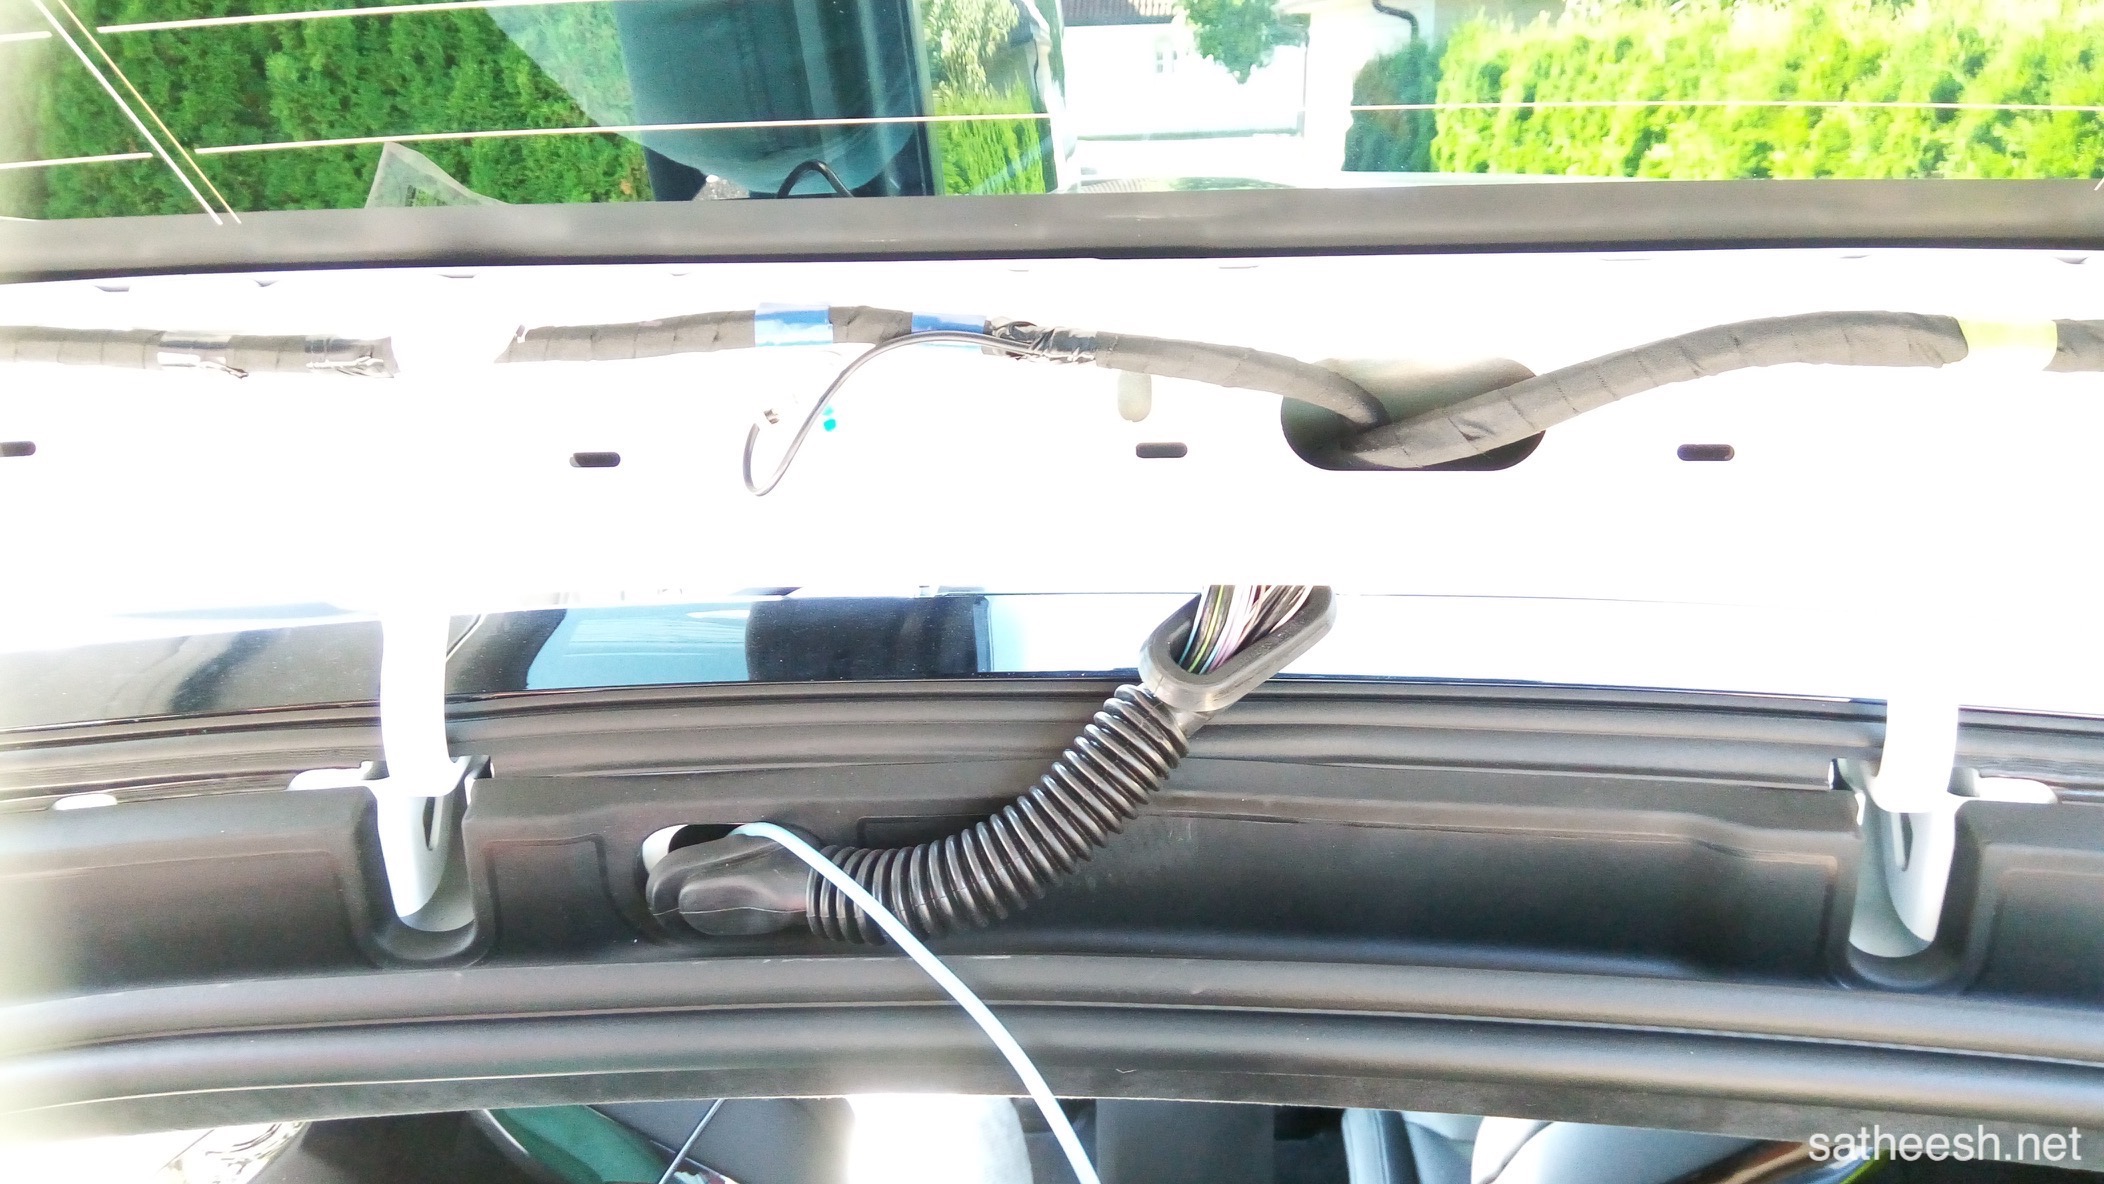
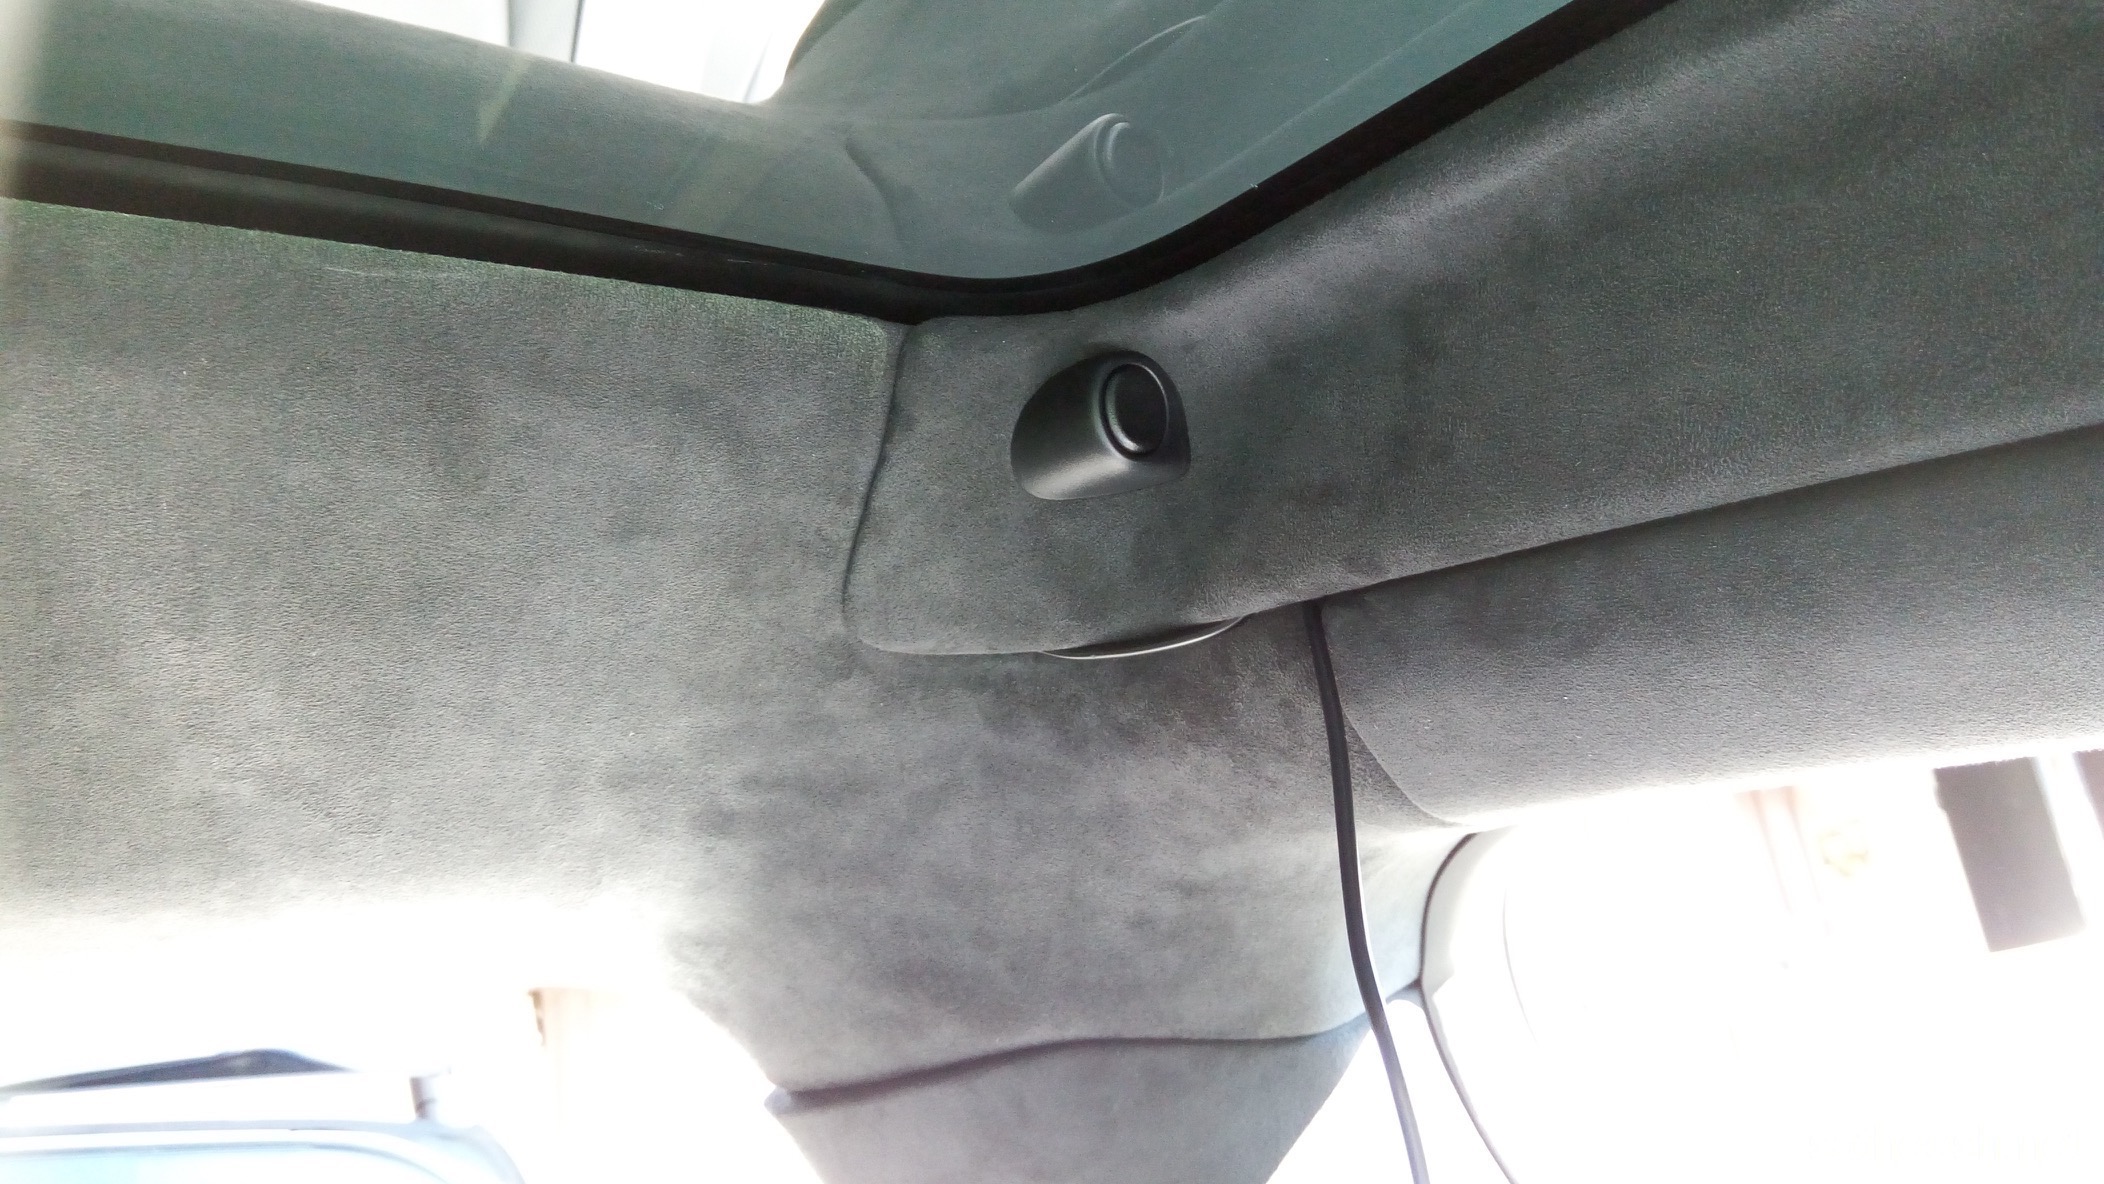
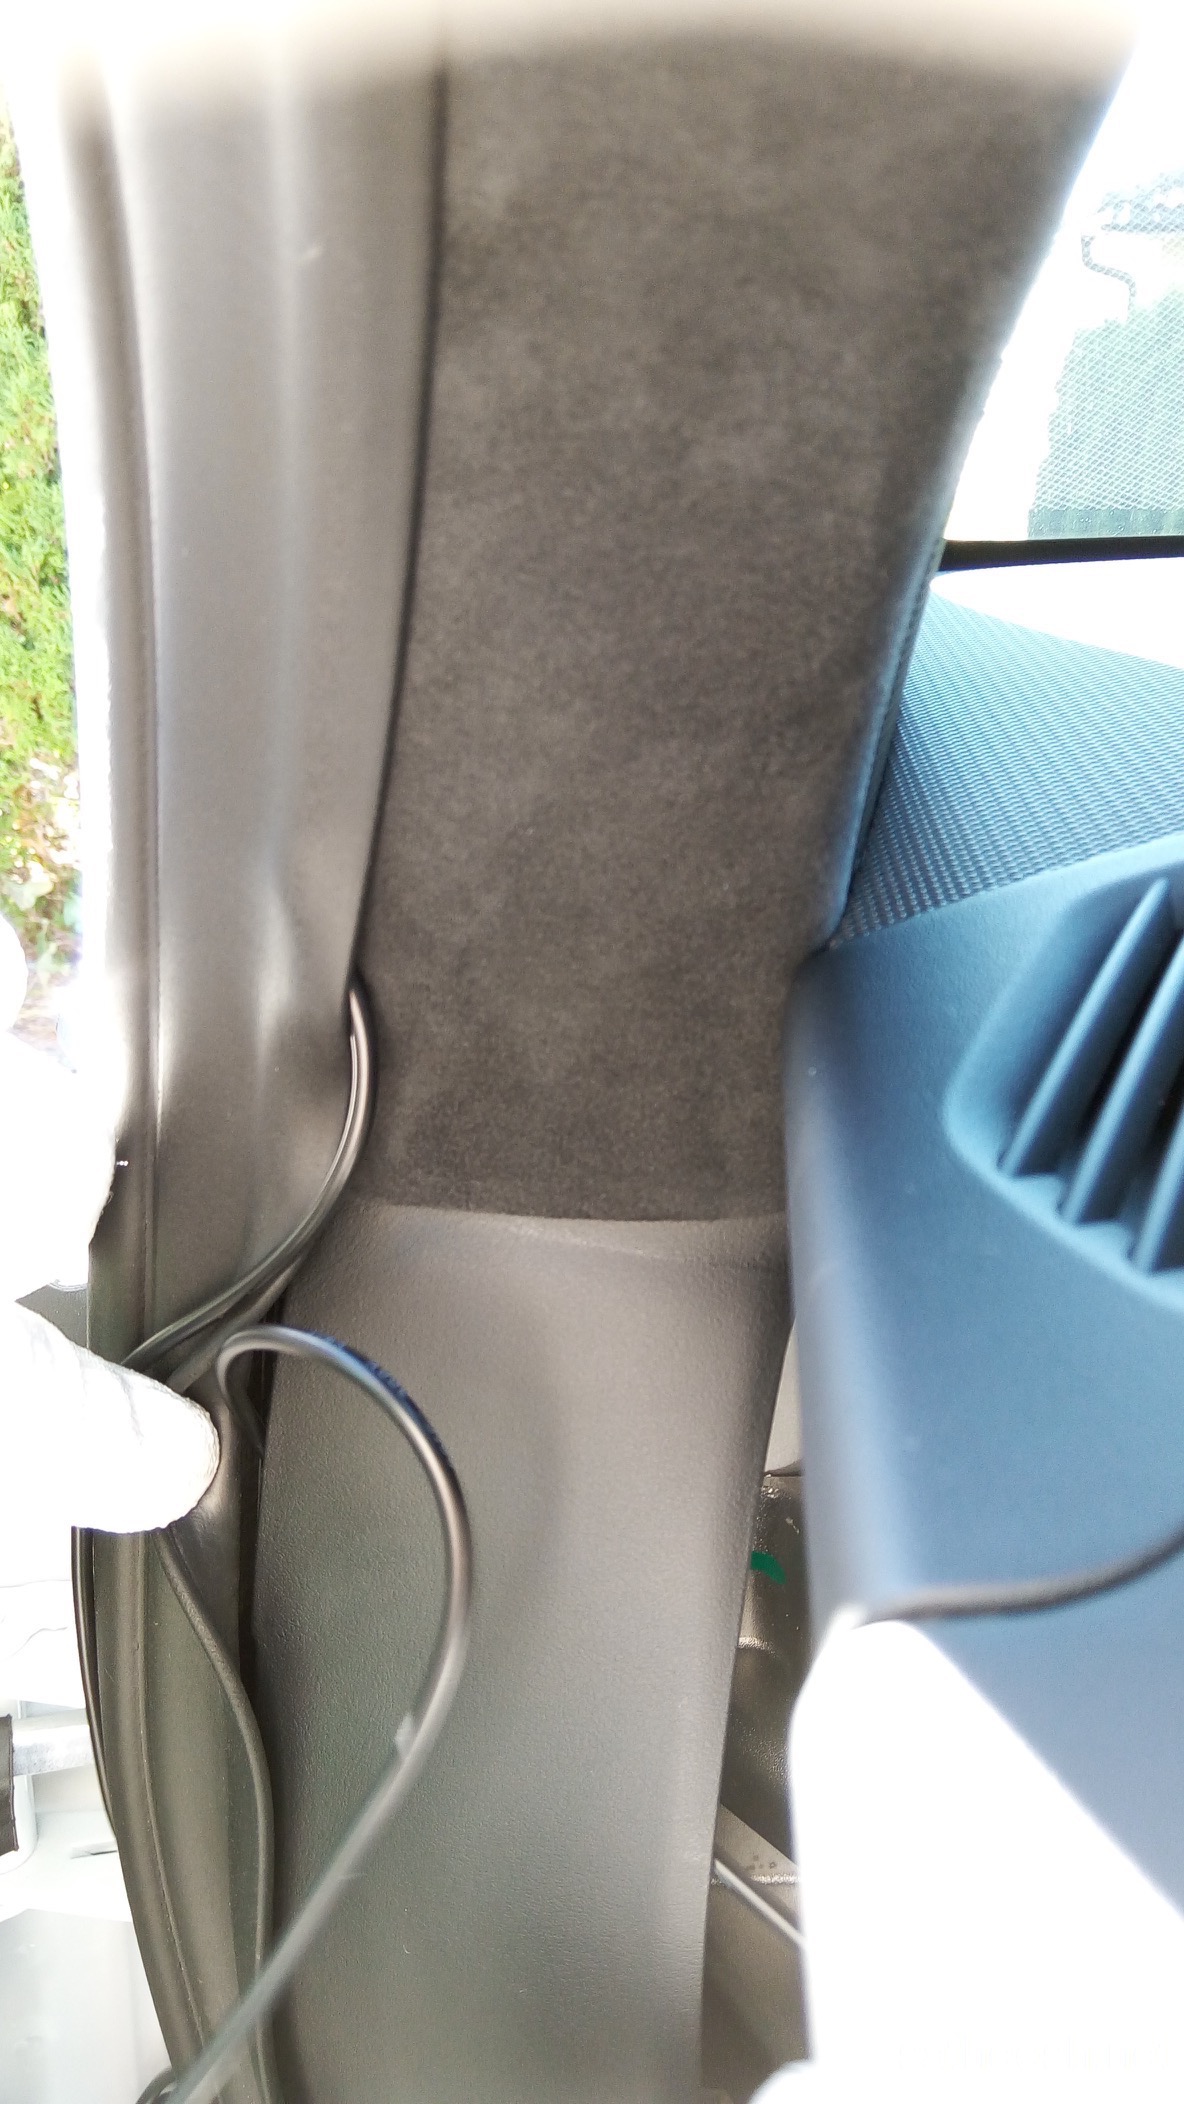
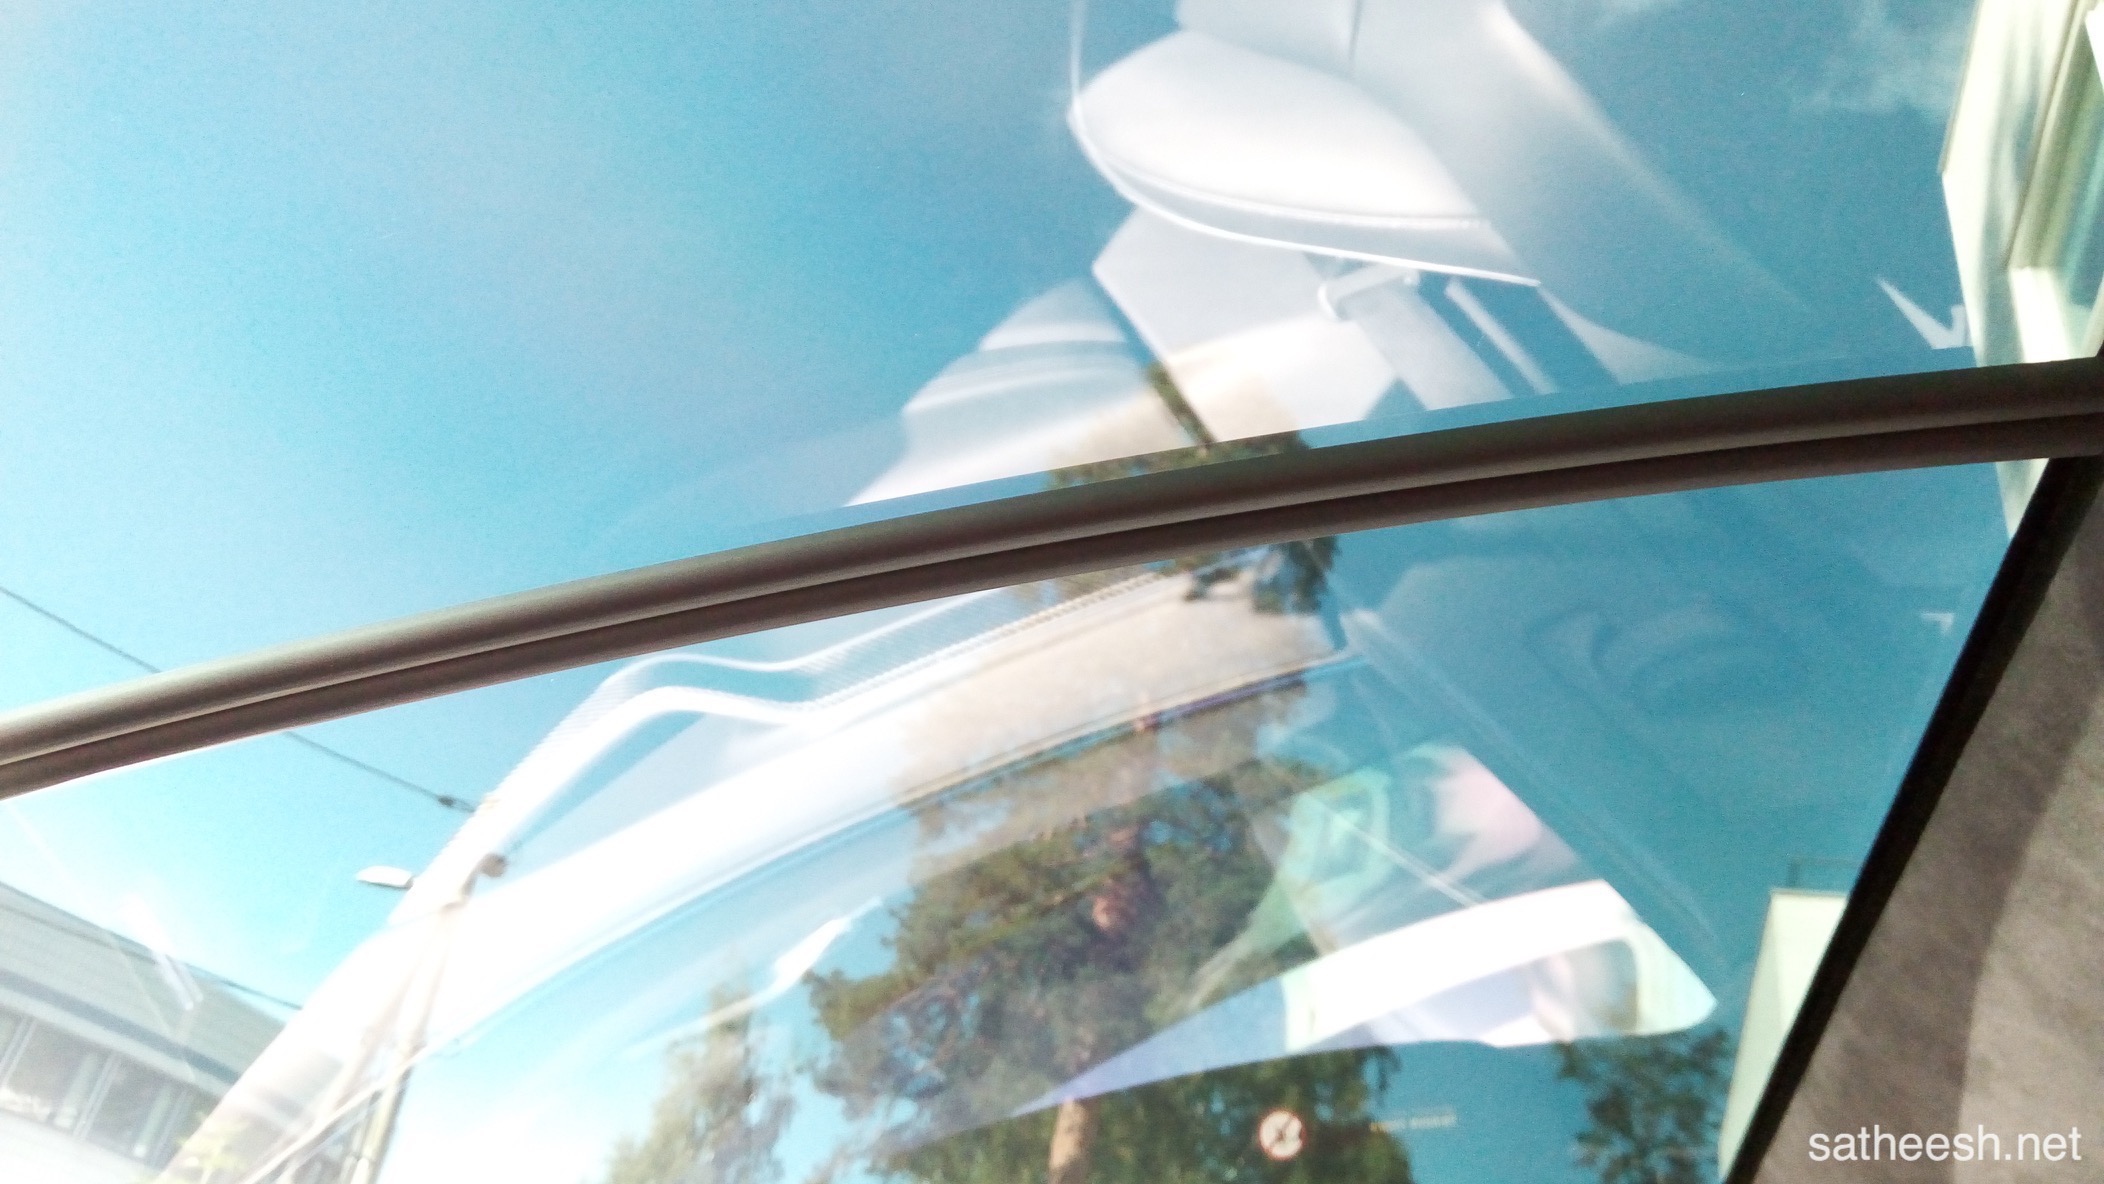
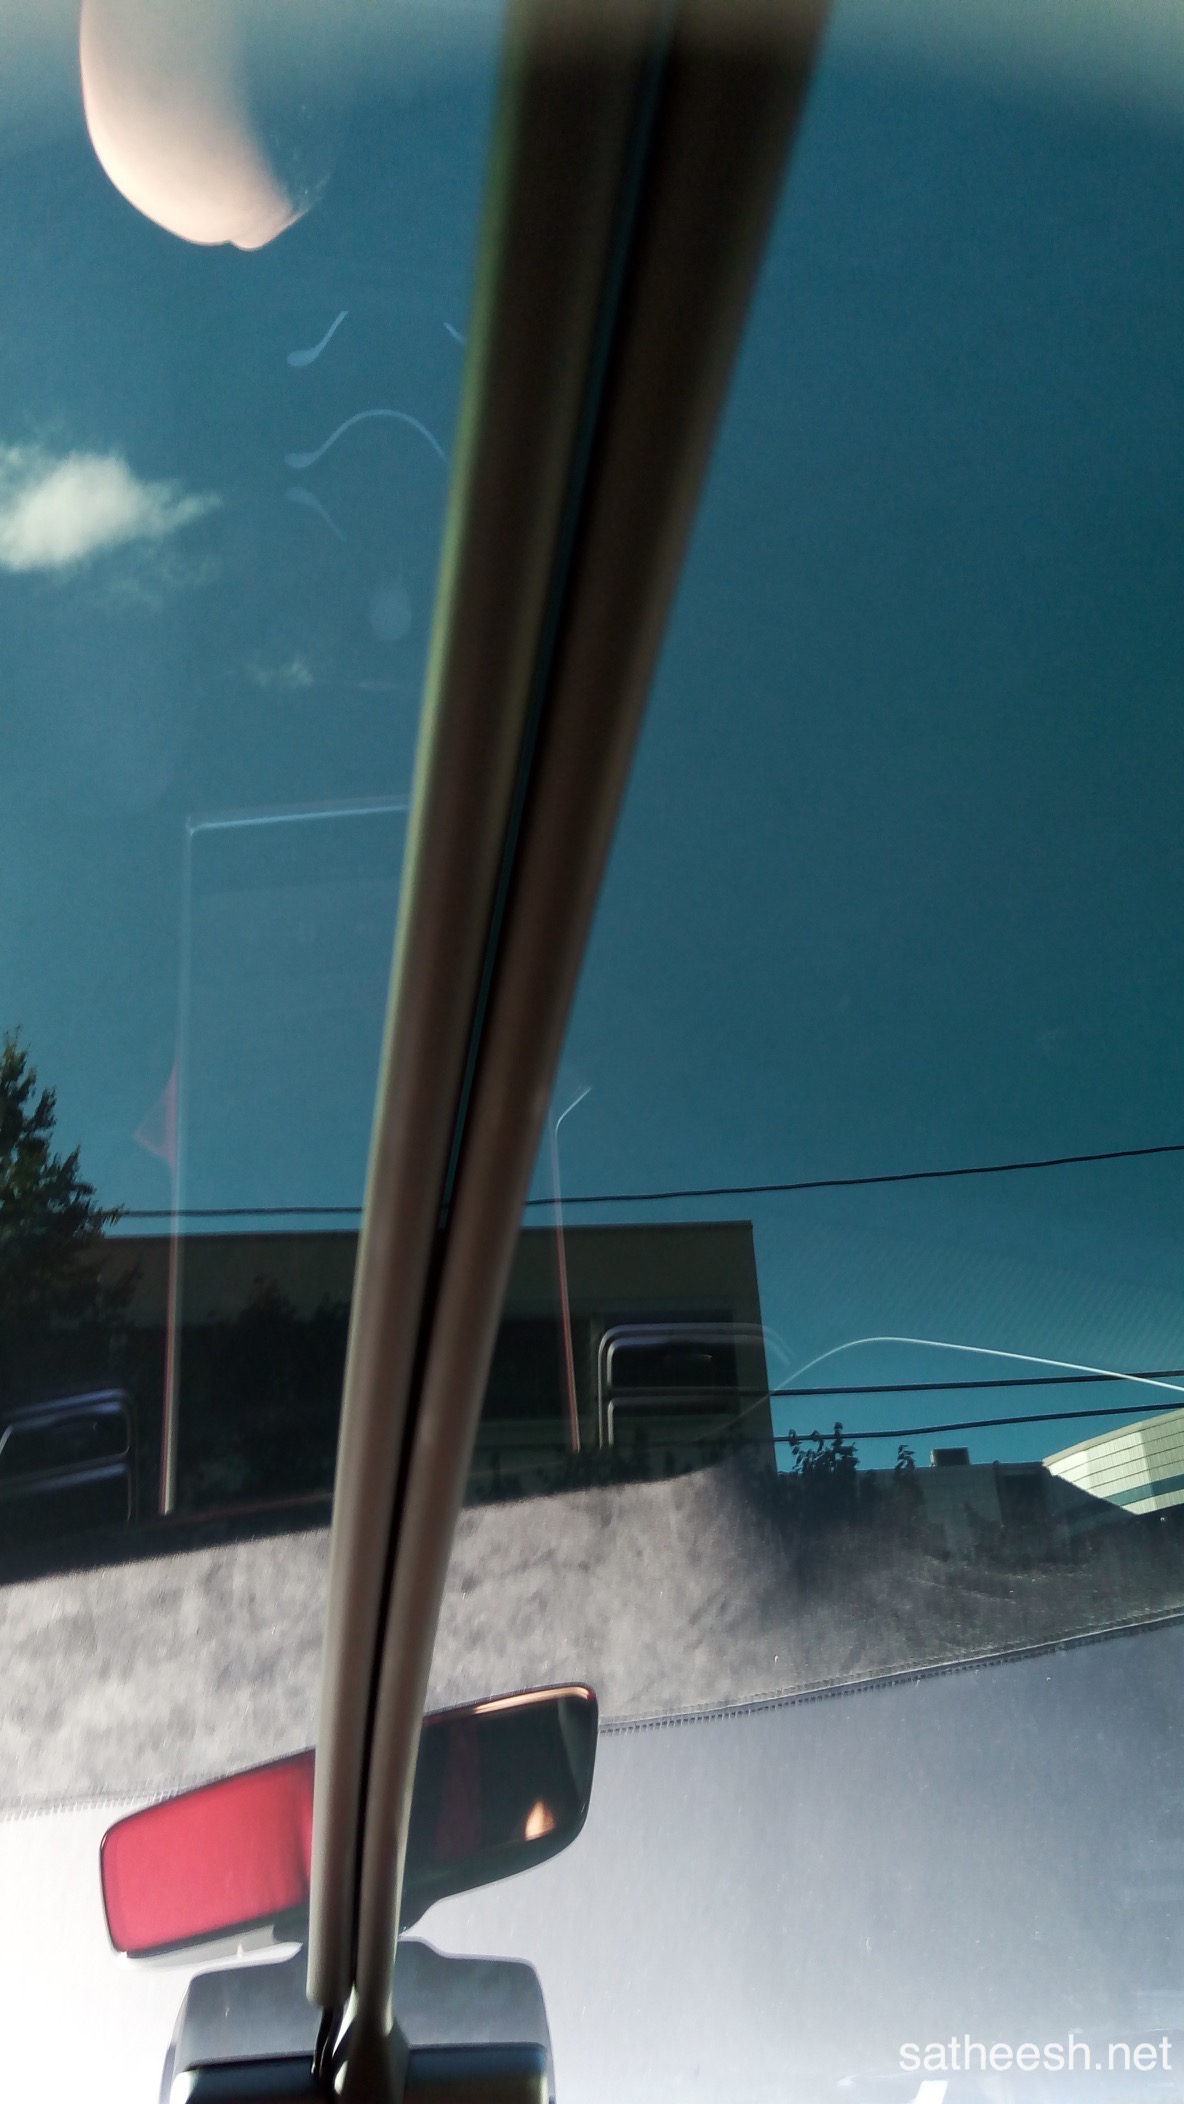
Close-up where the windshield meets the headliner.
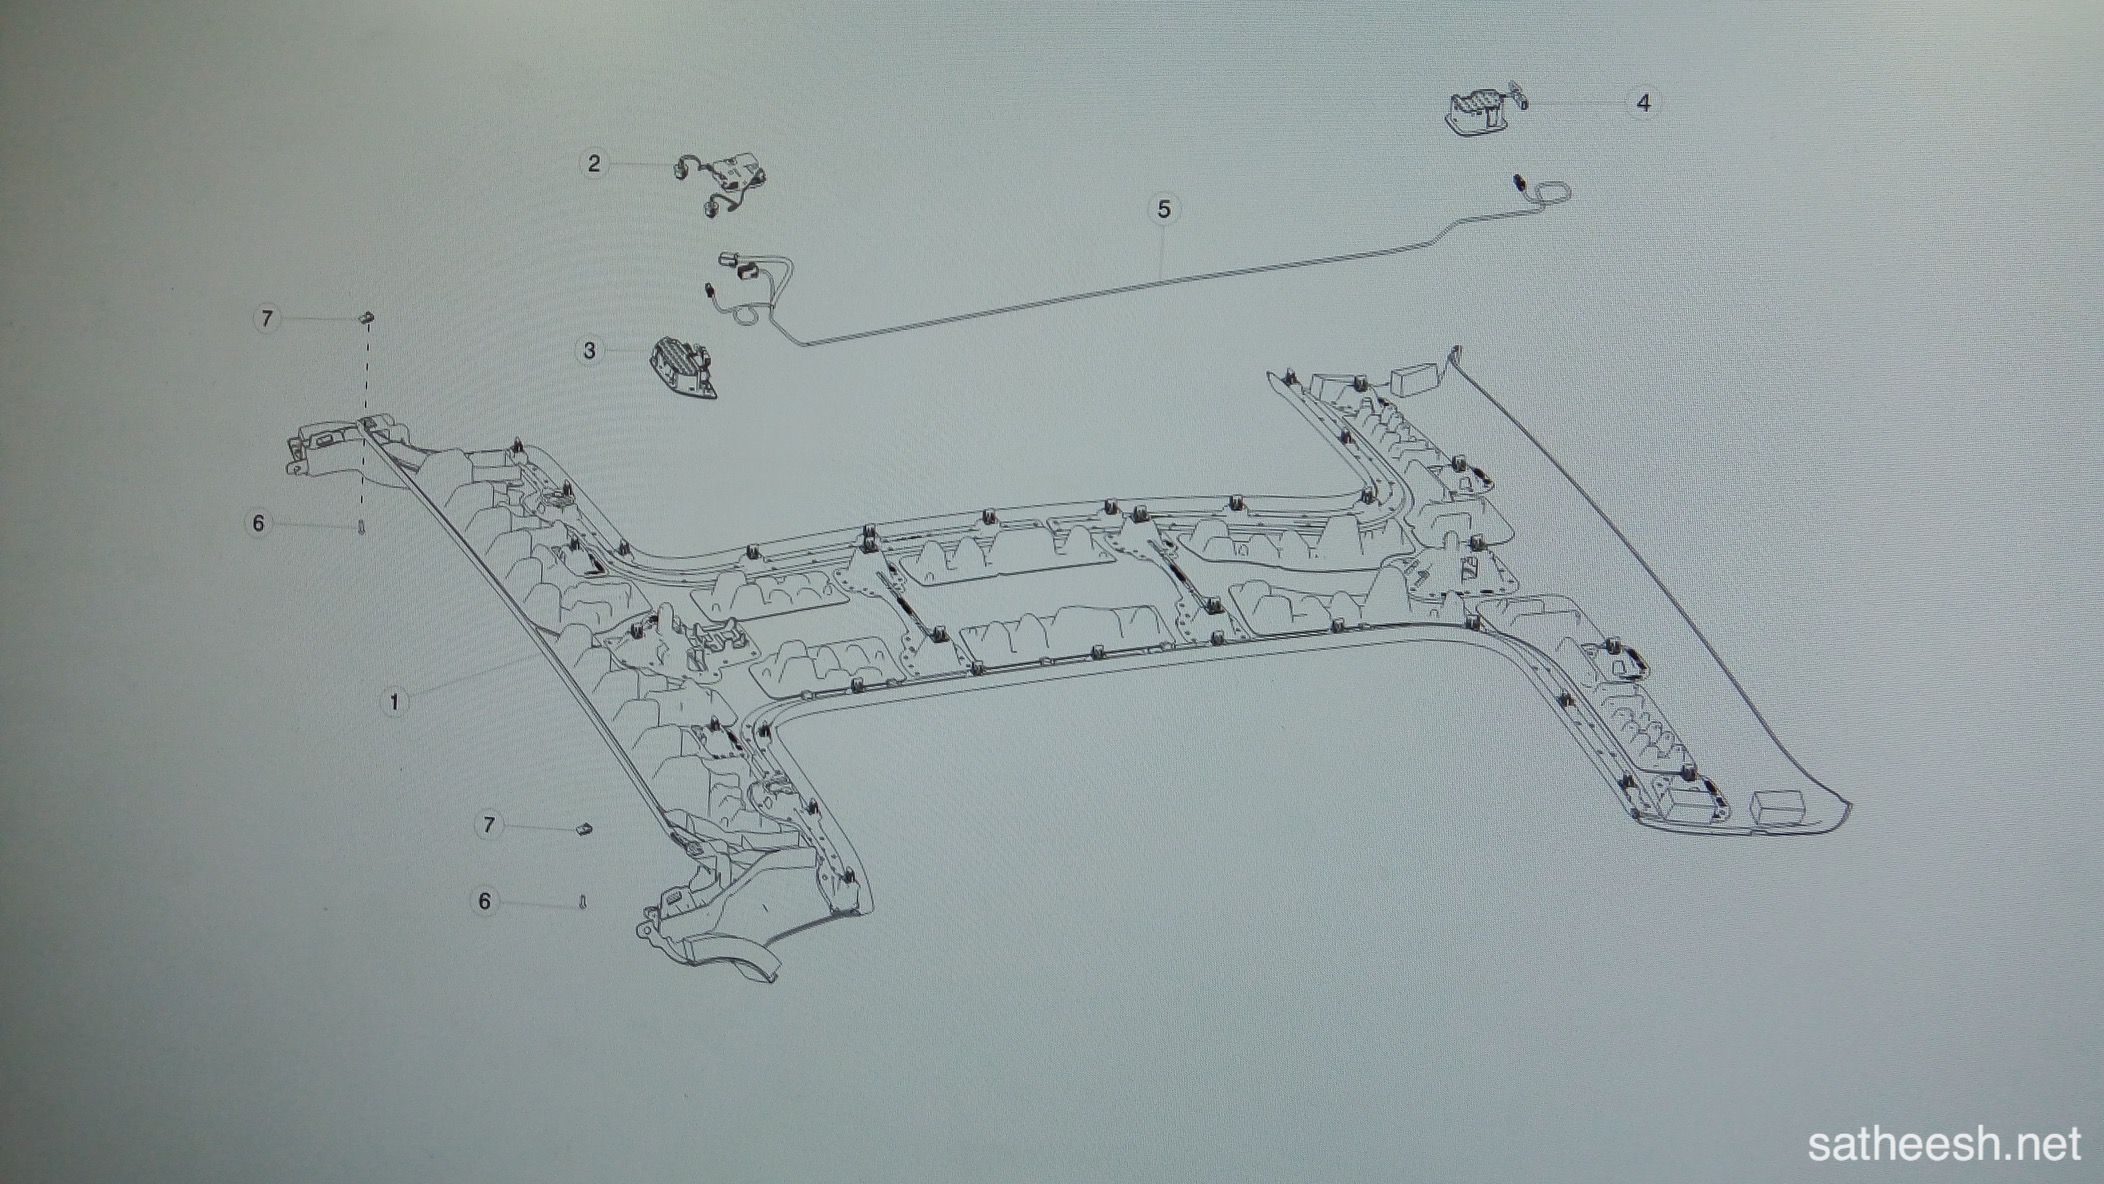
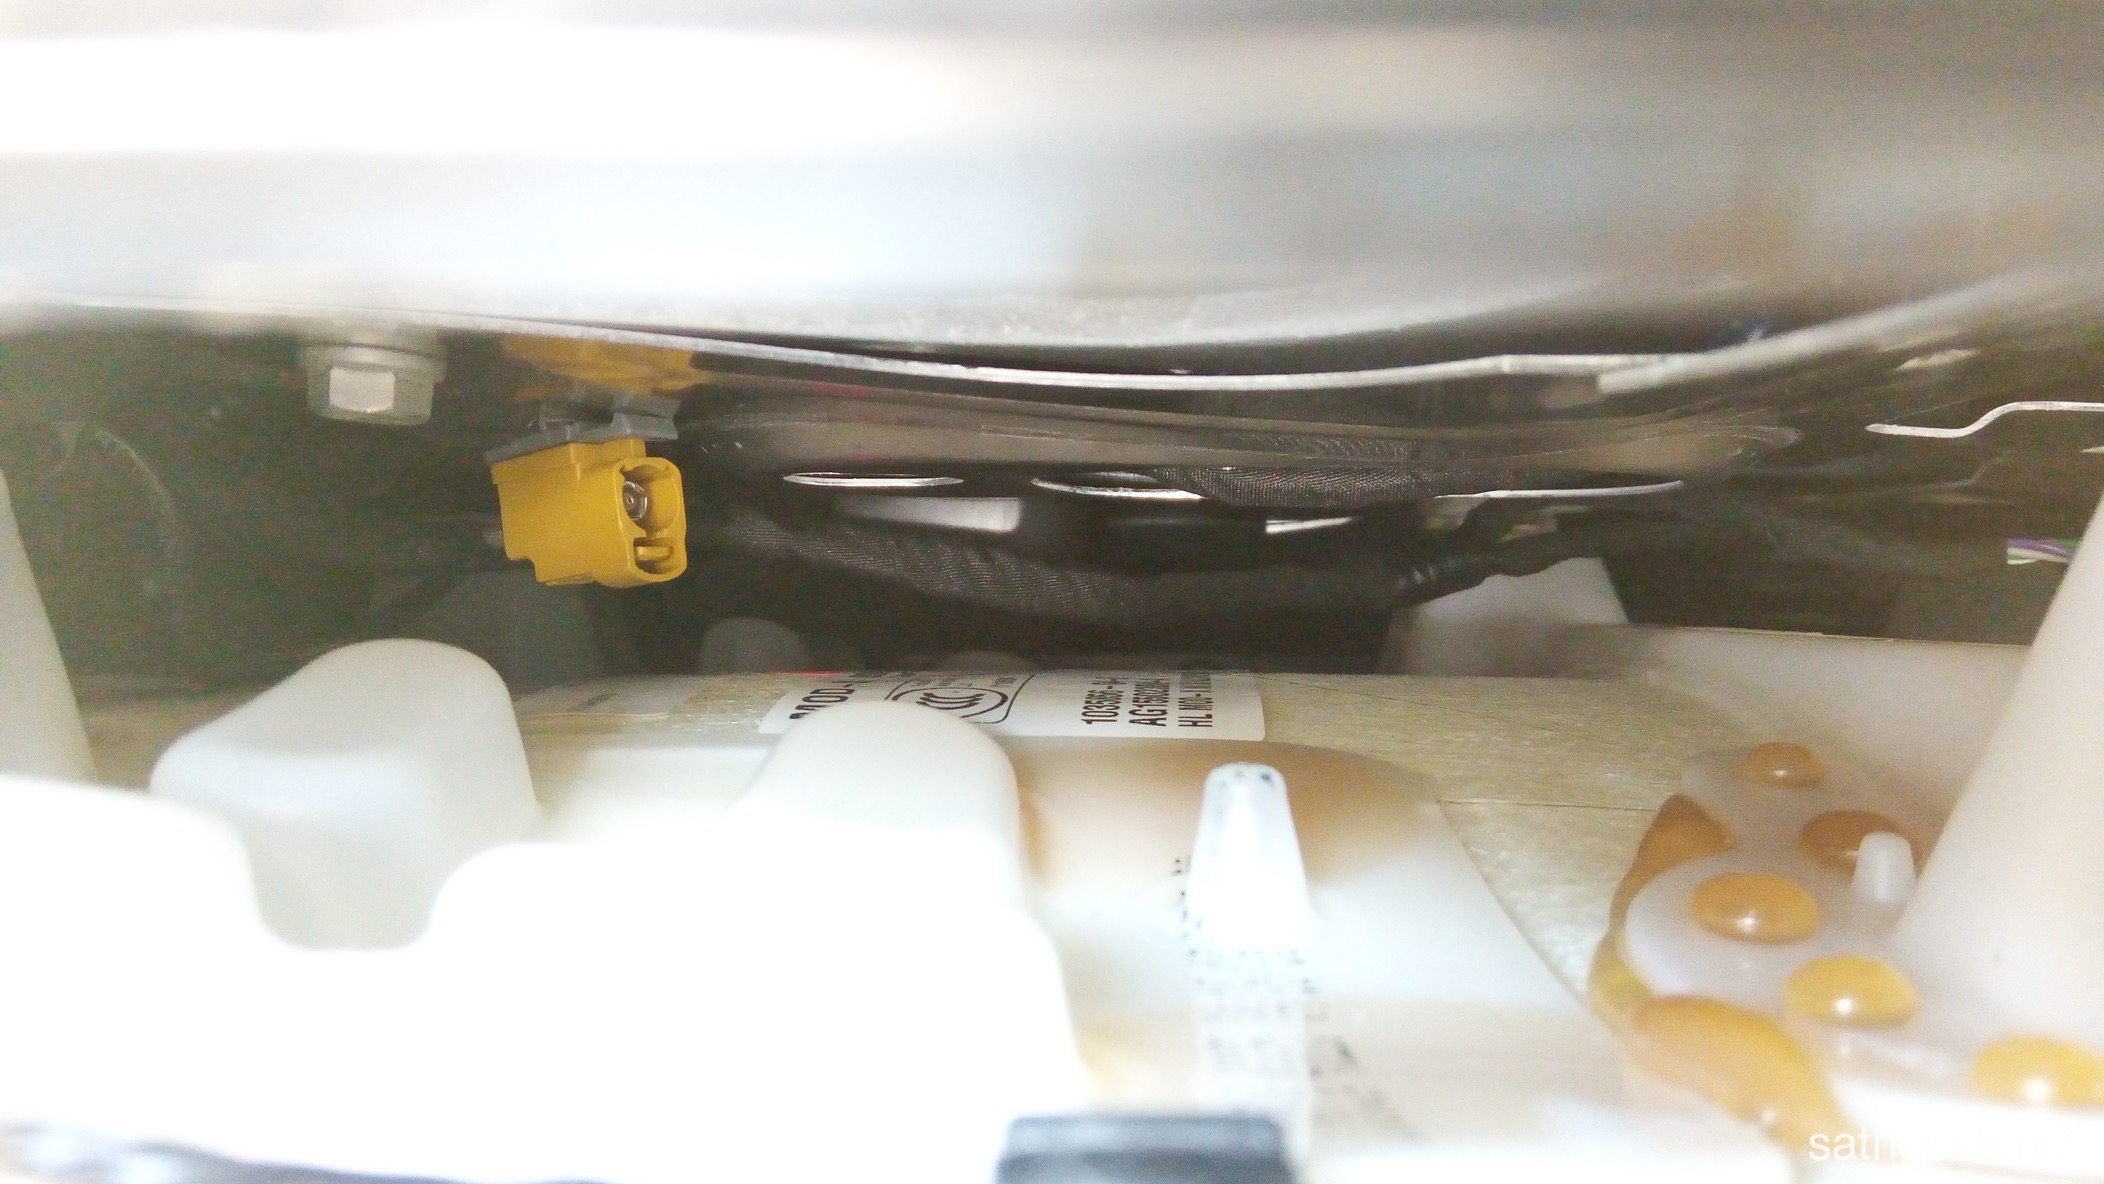
Overview of location of clips and OEM wiring.
Pull down the headliner gently using pry tools.
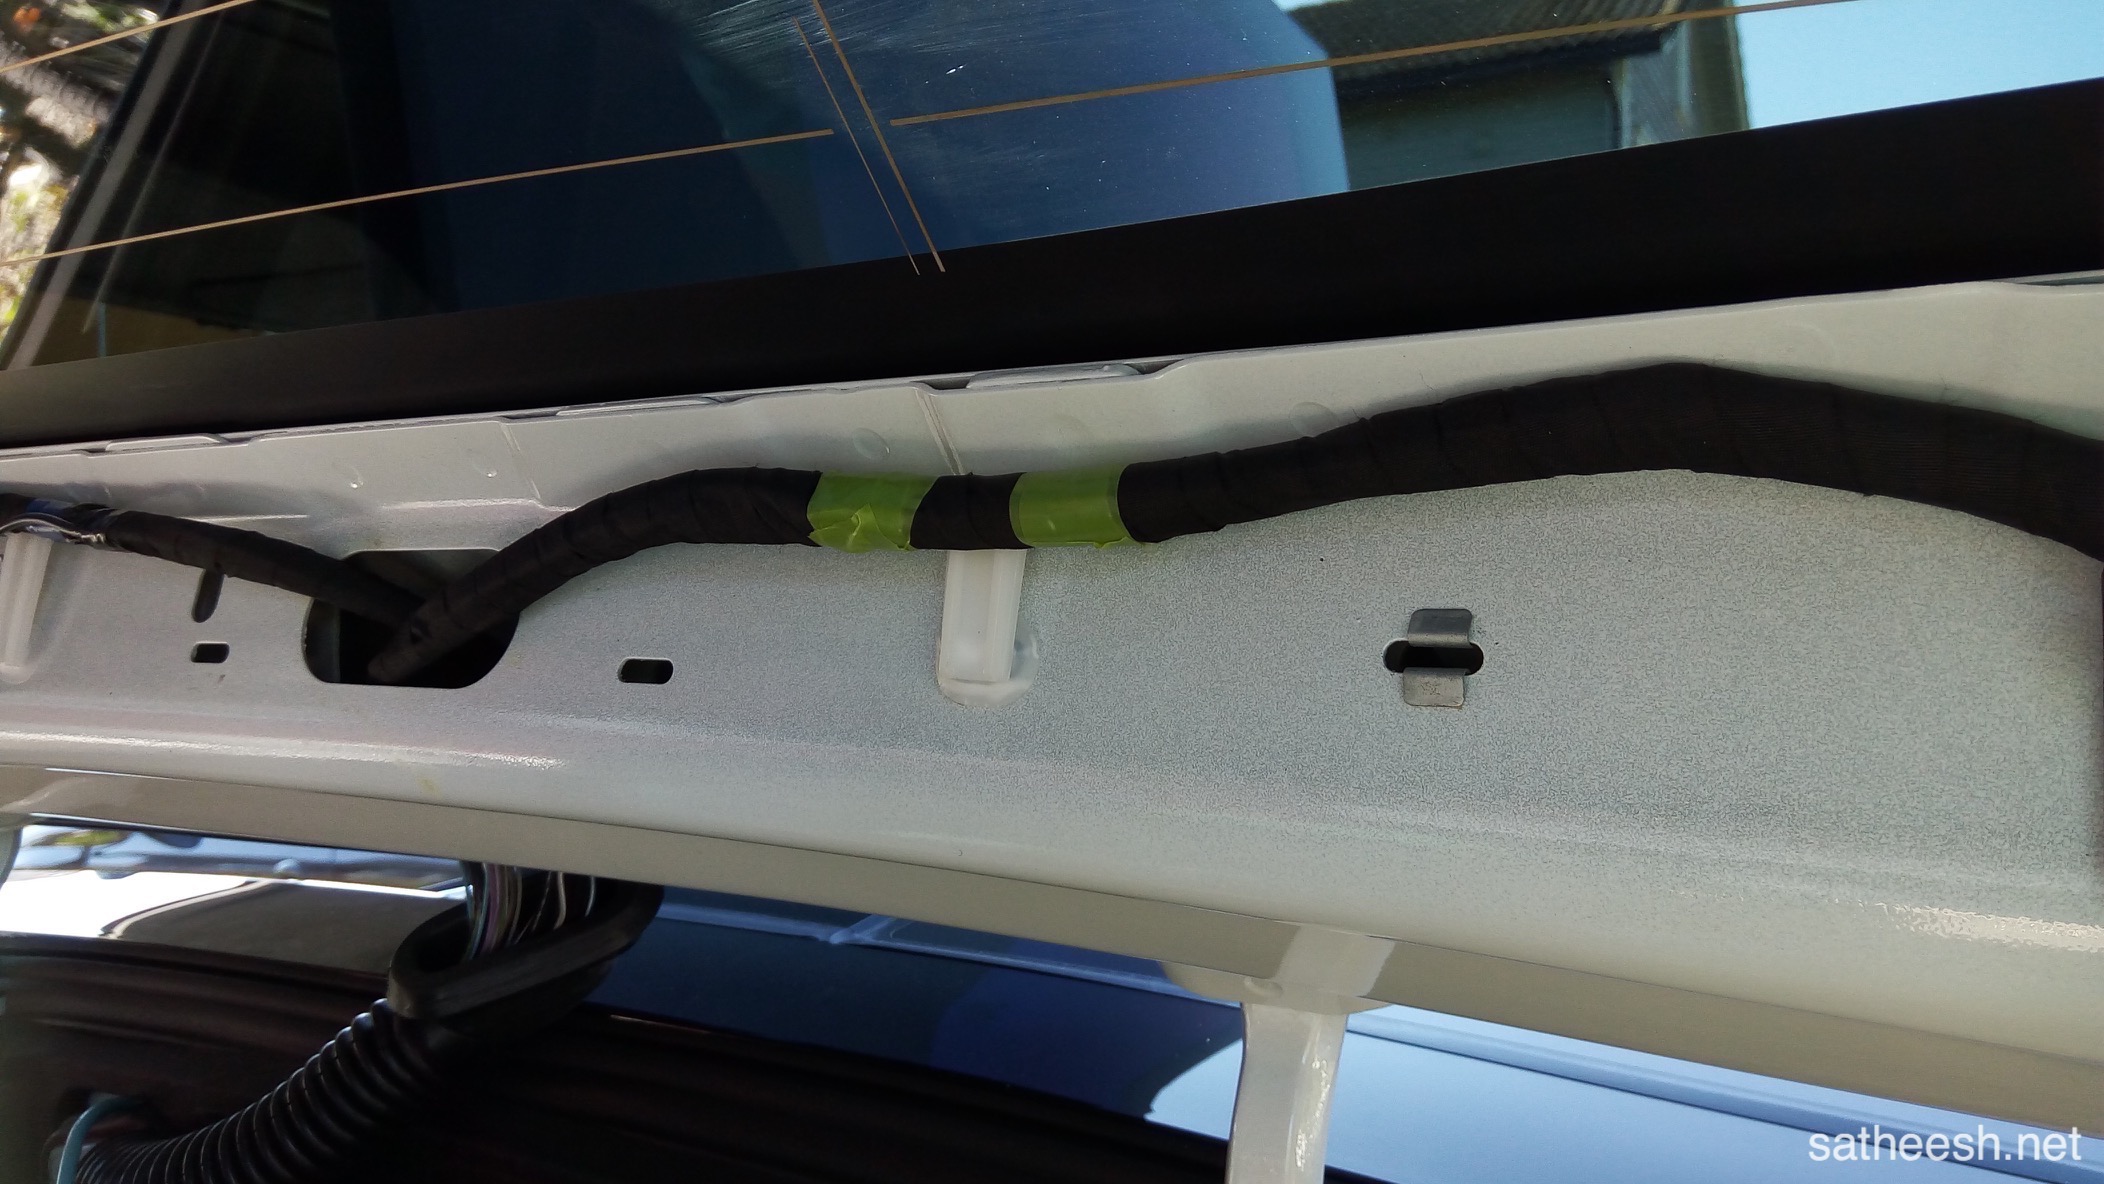
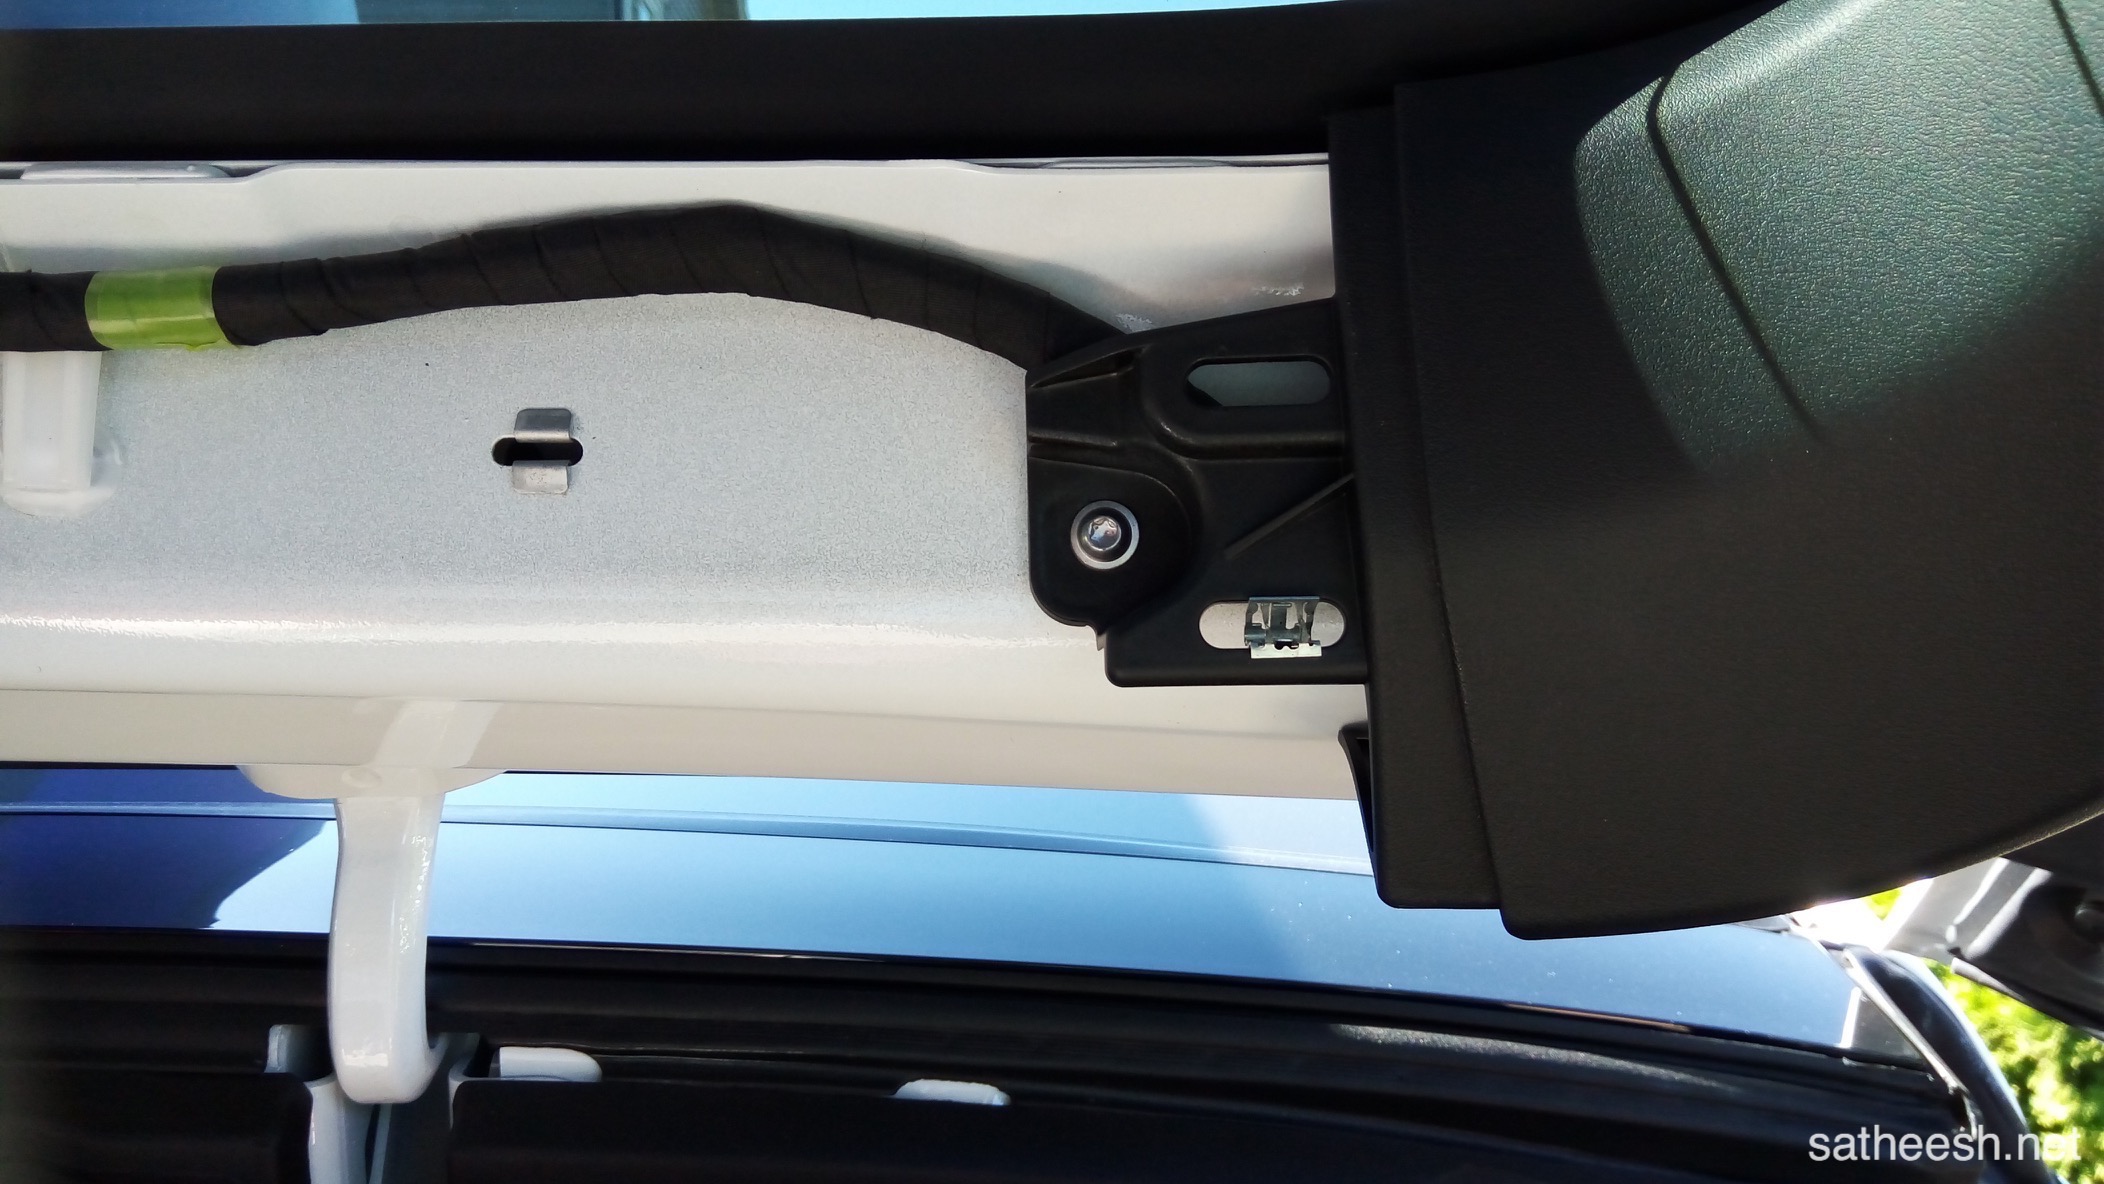
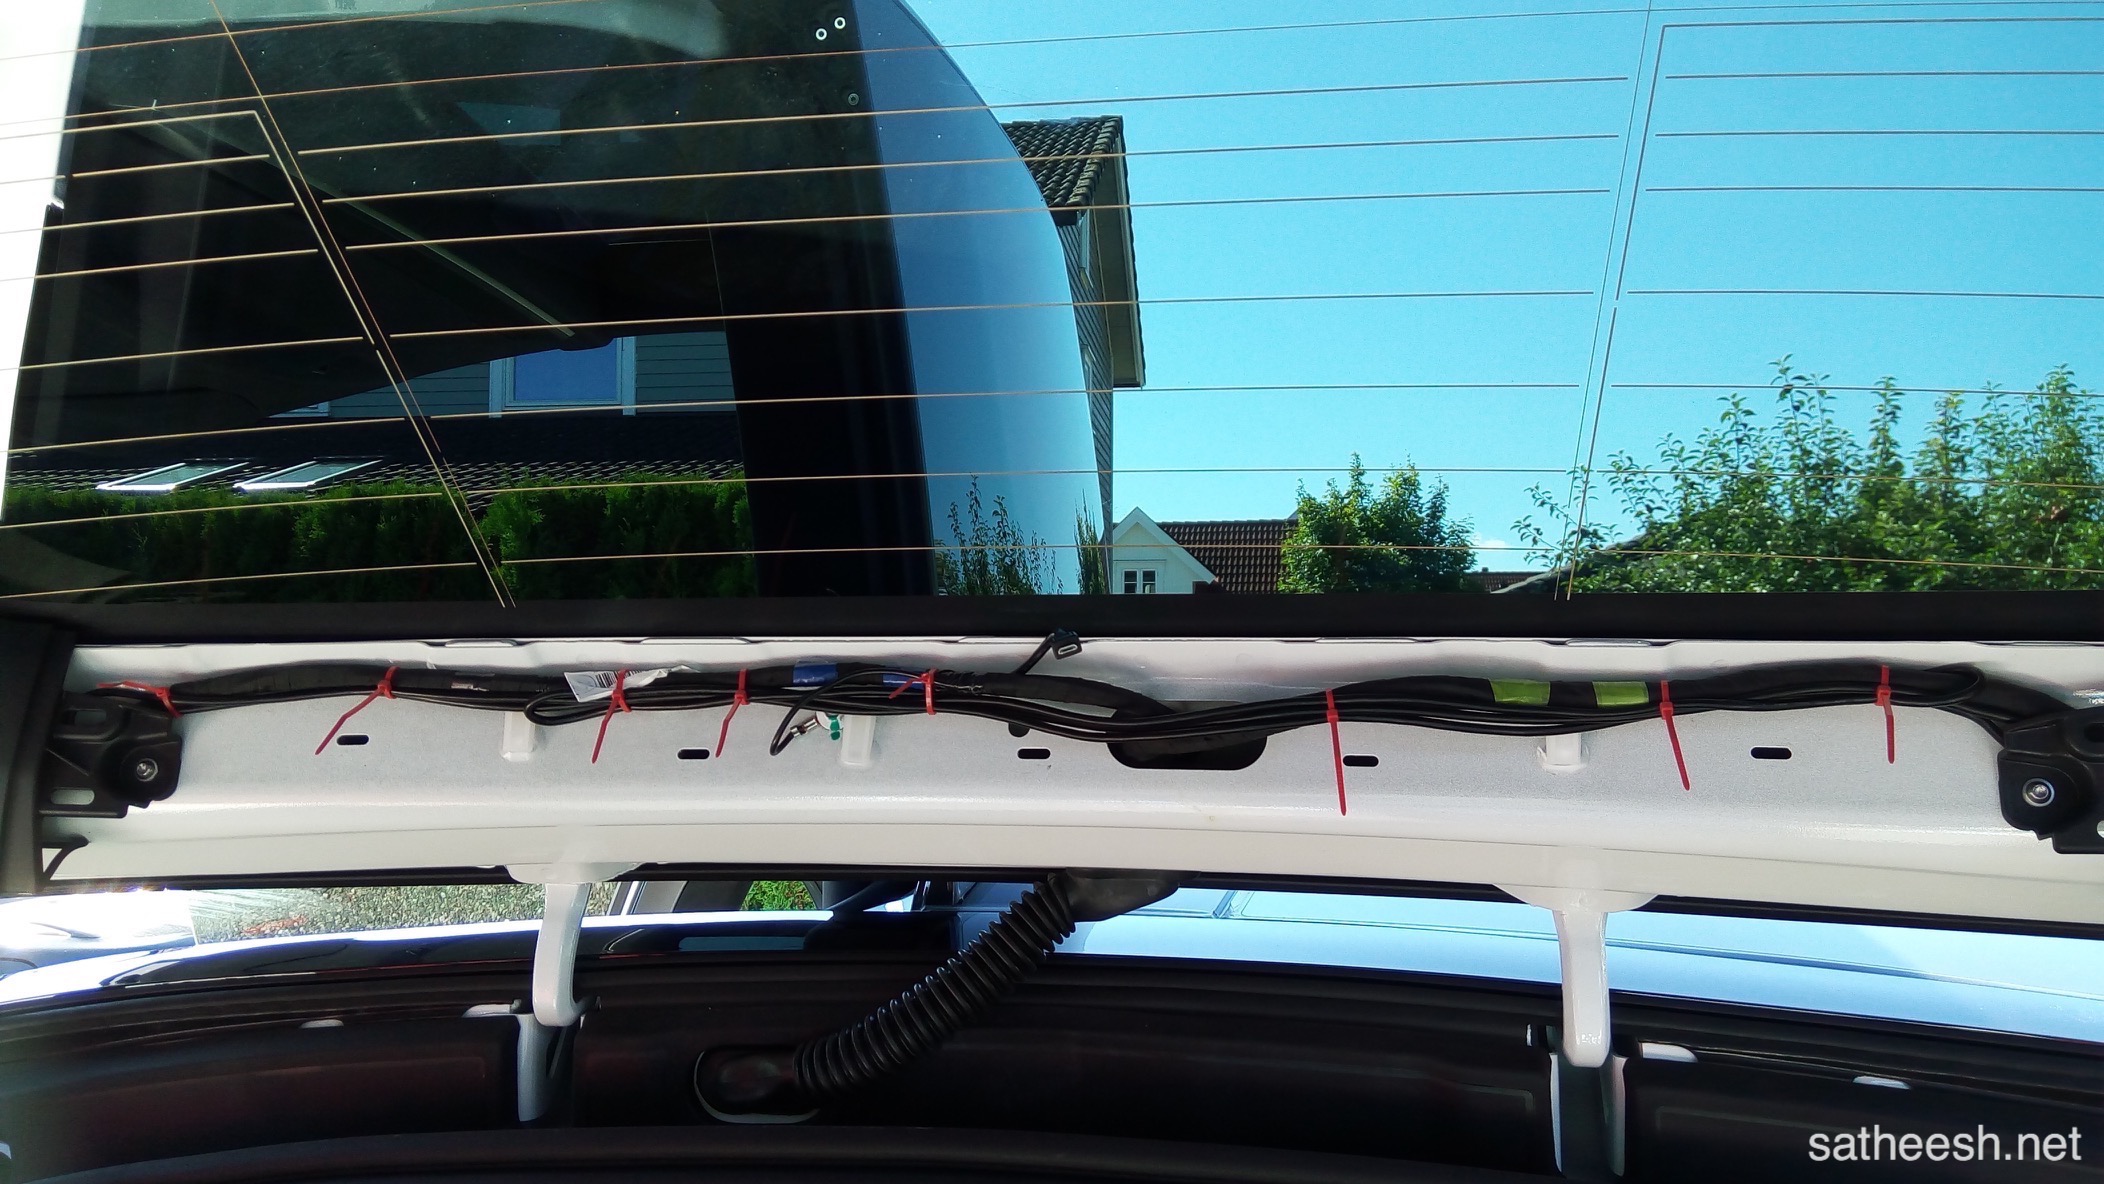
Close-up of clip. Run the cable to the rear camera alongside the headliner and use the already provided cable clips to keep them in place.
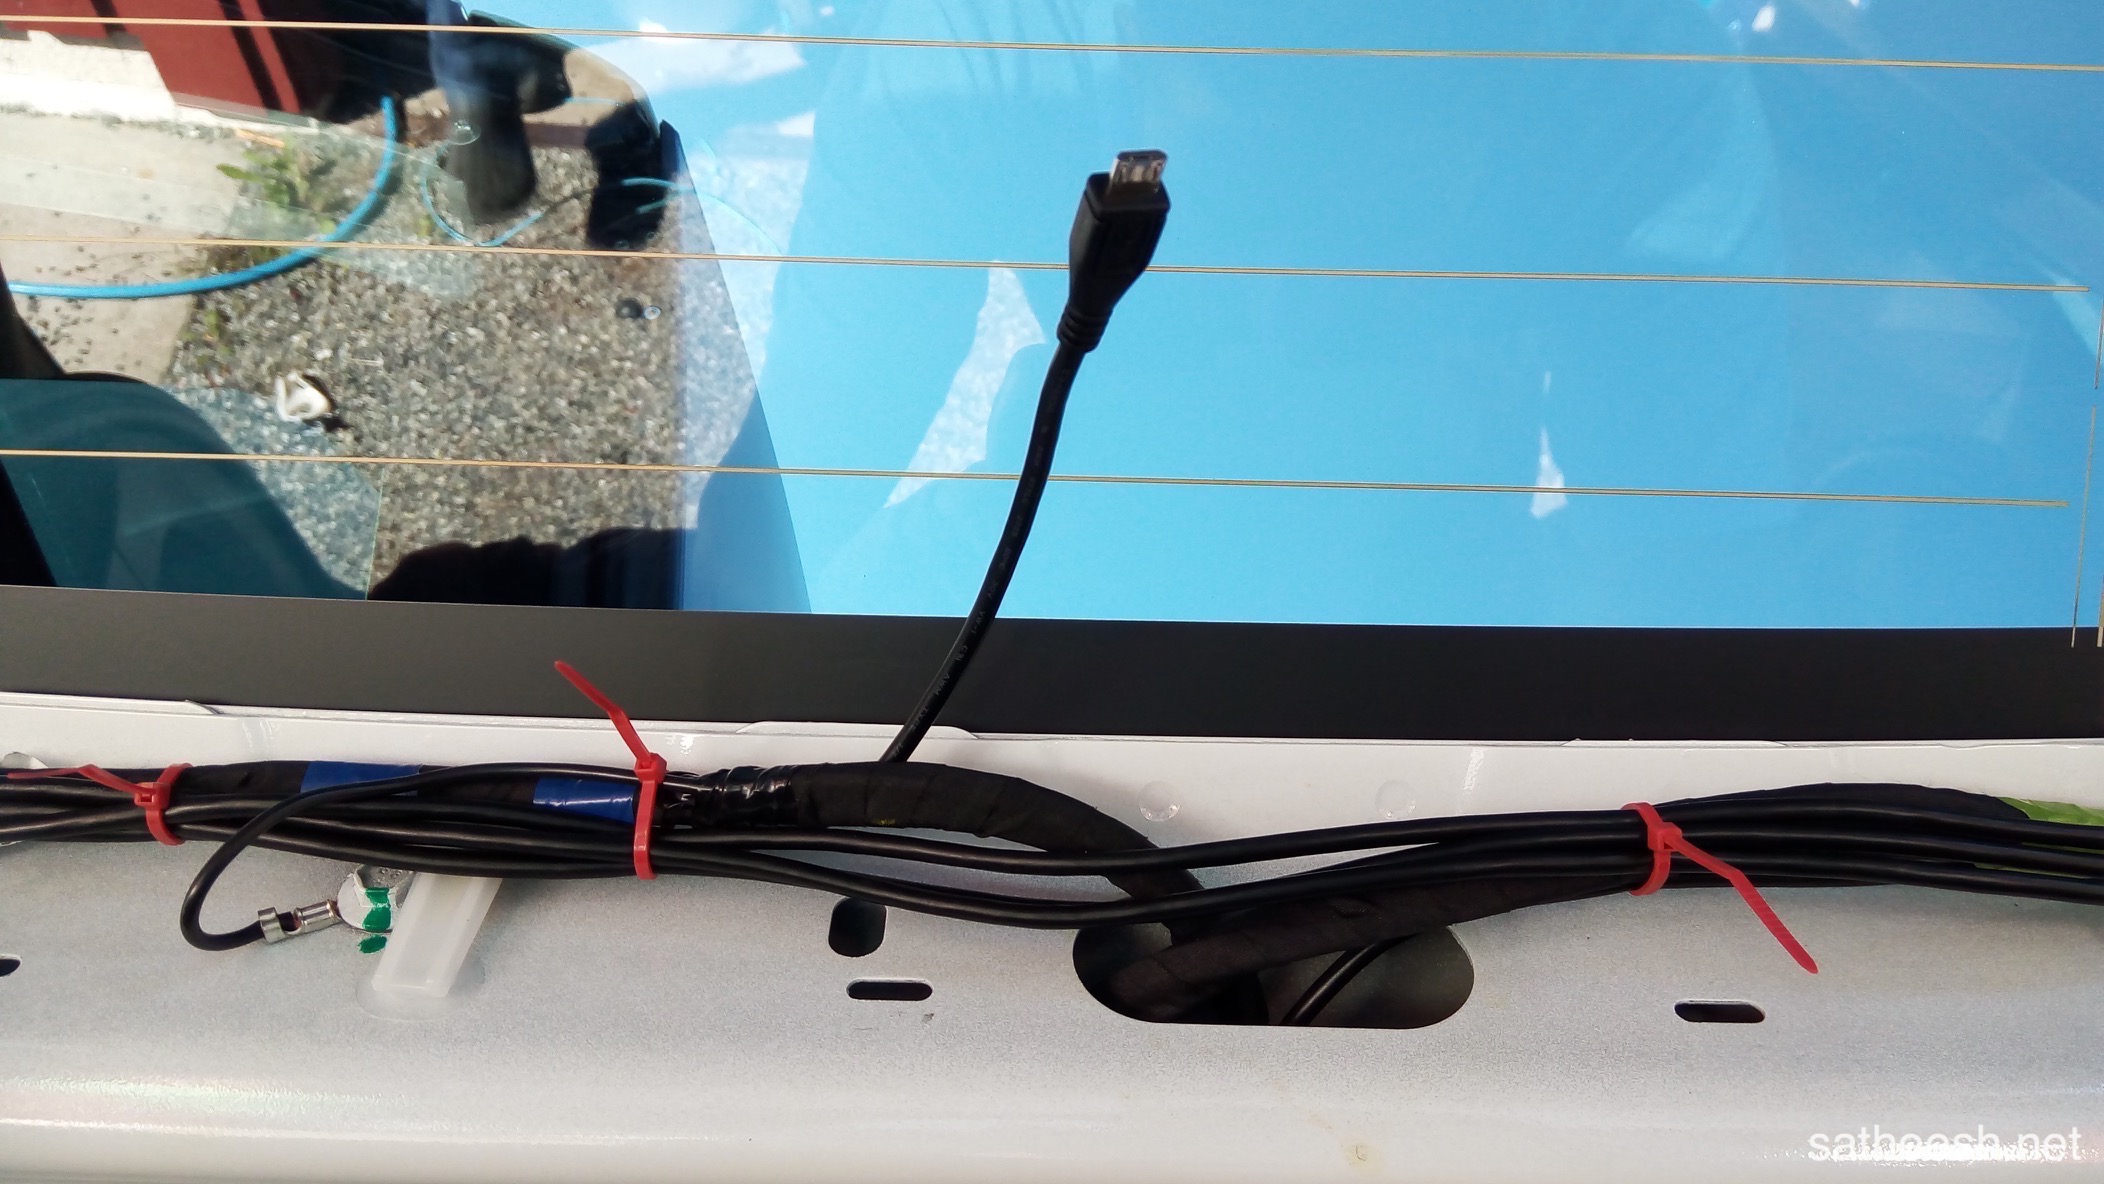
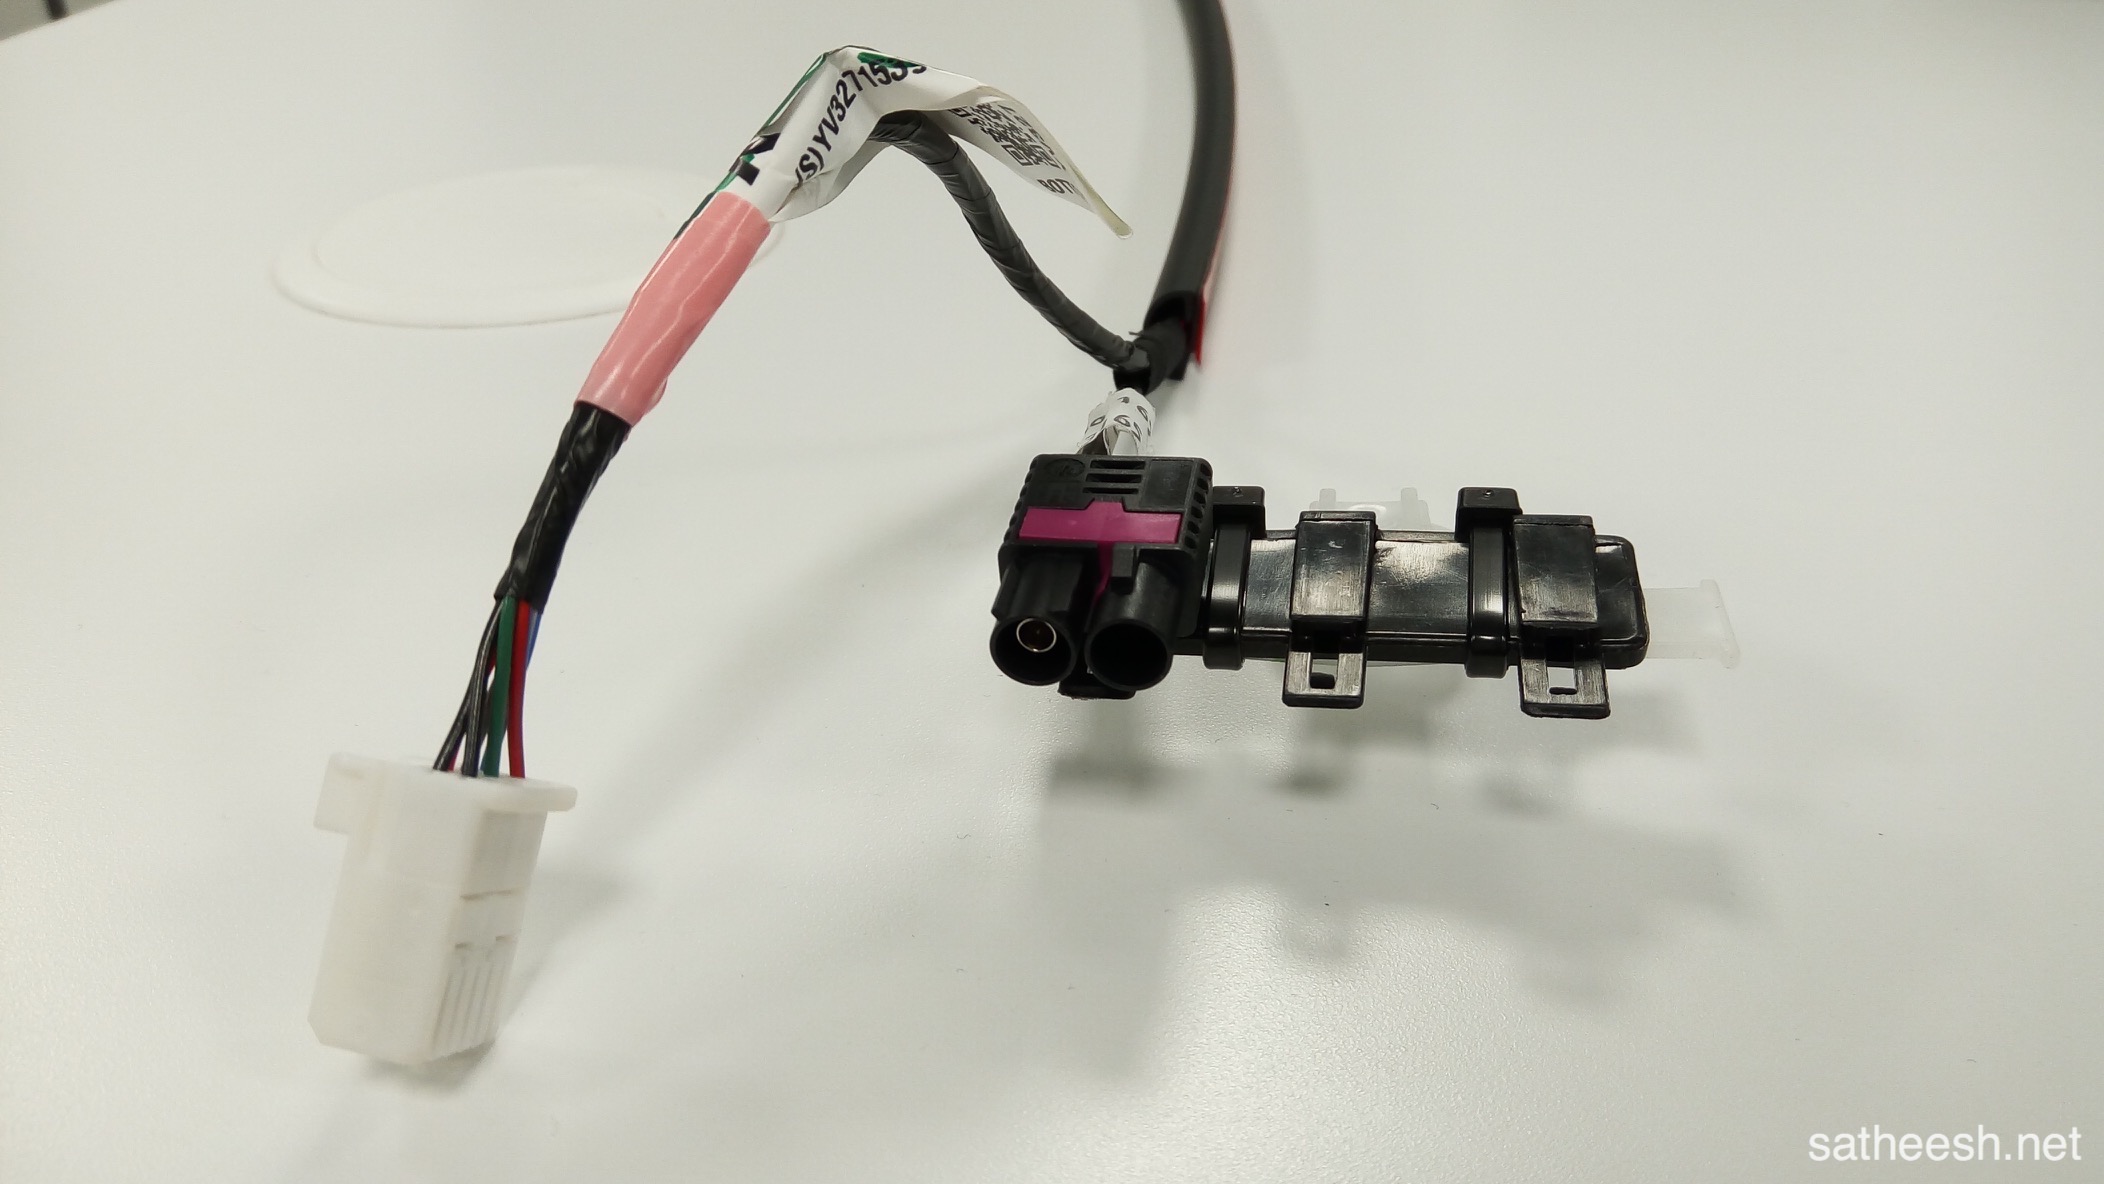
Ready for Autopilot v2.0 maybe? Coax cable ready to be used.
You can either use a fish tape to pull the cord through the back trunk cover housing (recommended!) or take it off. But when doing this it doesn’t seem to come off without breaking the housing for the clips.
Clips still inside. Need to pry out.
Some close-ups.
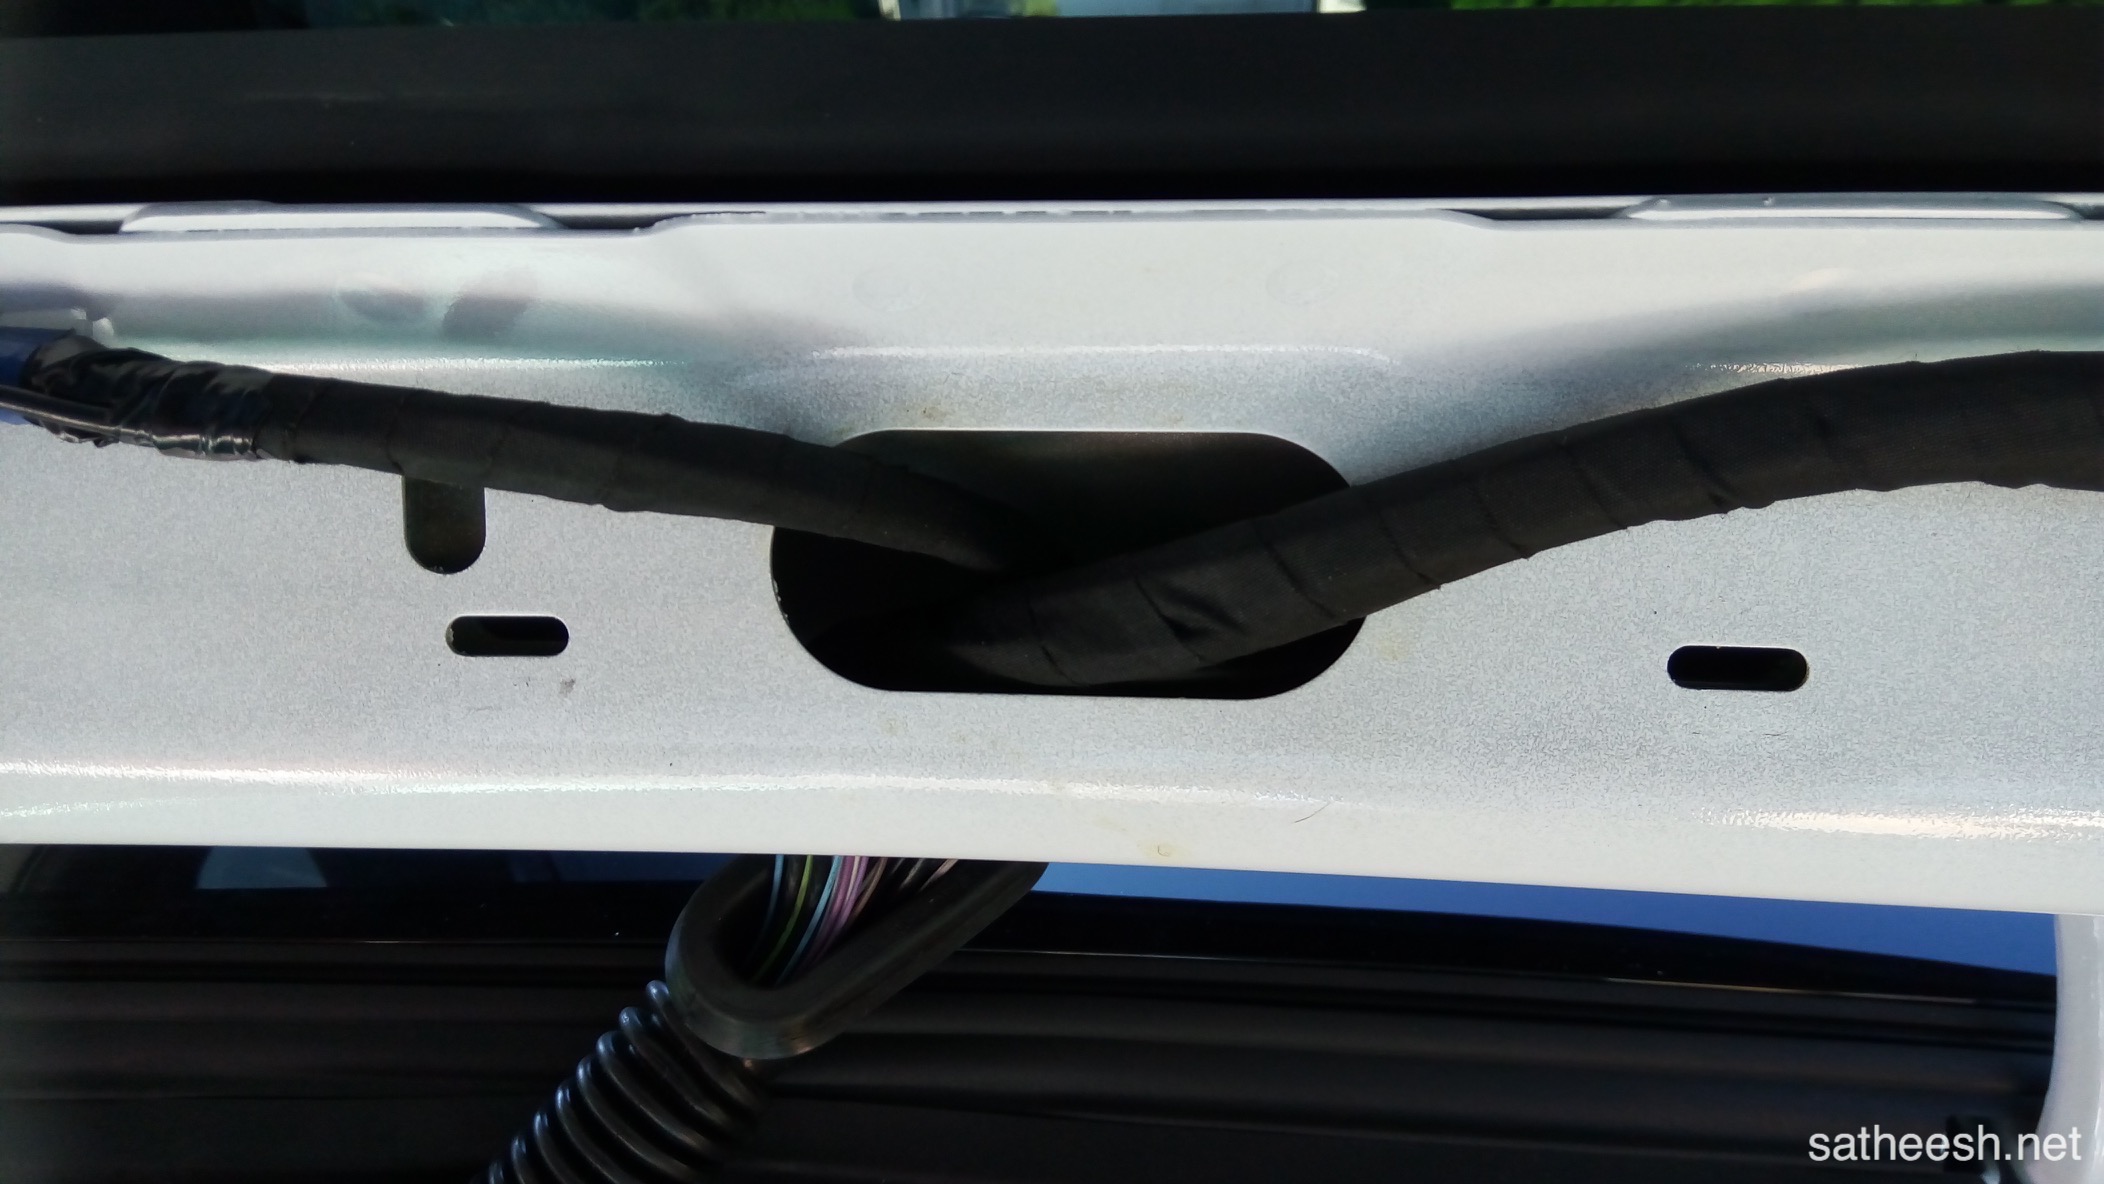
The rubber seals can be taken out and cable from the front can be tucked nicely inside.
Close-ups.
Bring rear camera cable through here.
The housing clips probably breaks. Use superglue to put it back on.
Wiring close-ups.
Strips is your best friend.
Close-up of rear camera cable.
Finished cabling and trimming of strips.
Housing clips back where they belong thanks to superglue. Like I said before, I recommend using a fish tape for the wiring and not this method.
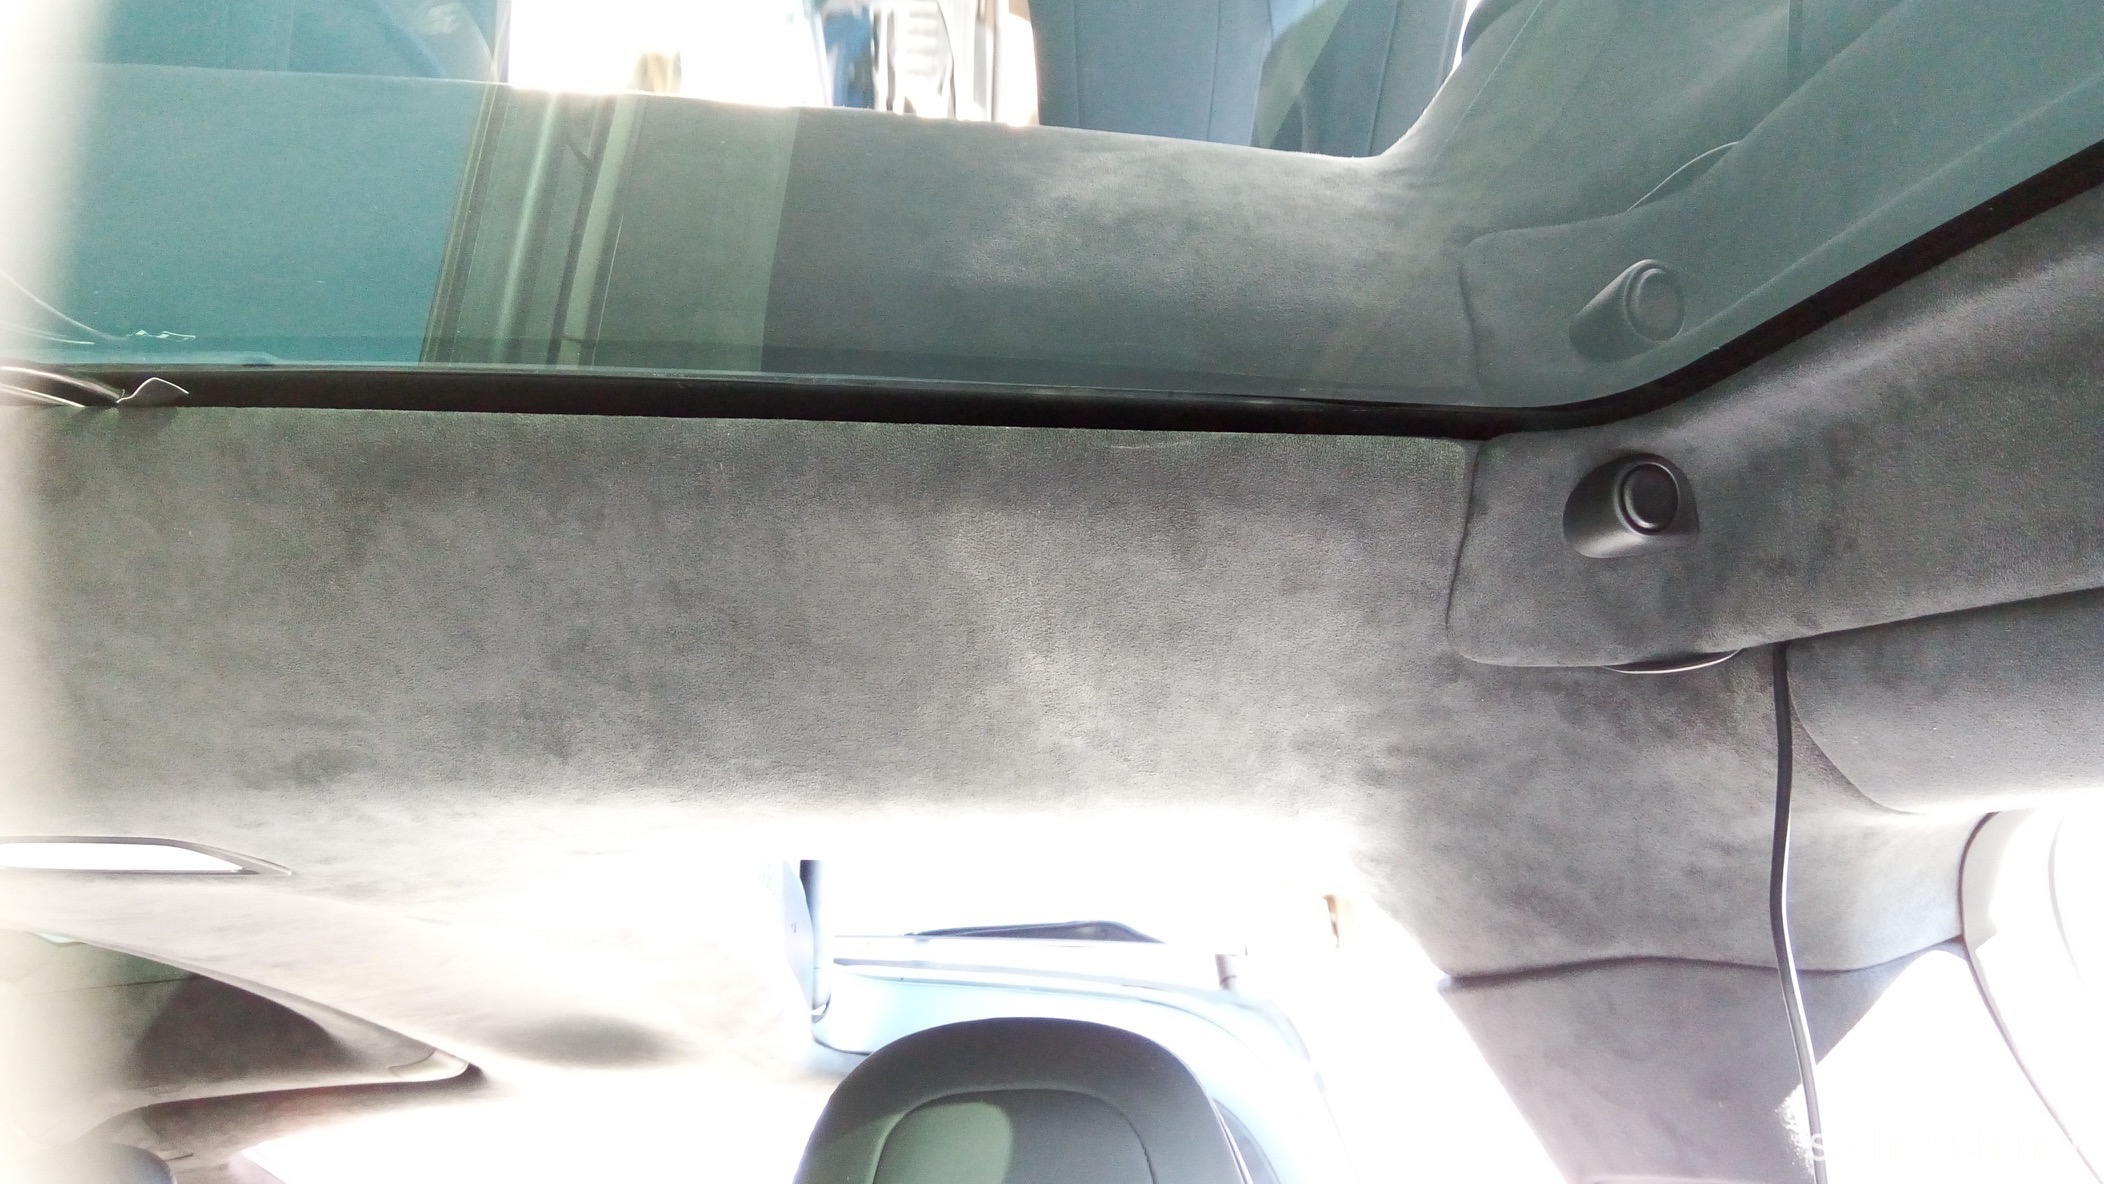
Wiring alongside the headliner.
Wiring alongside the headliner.
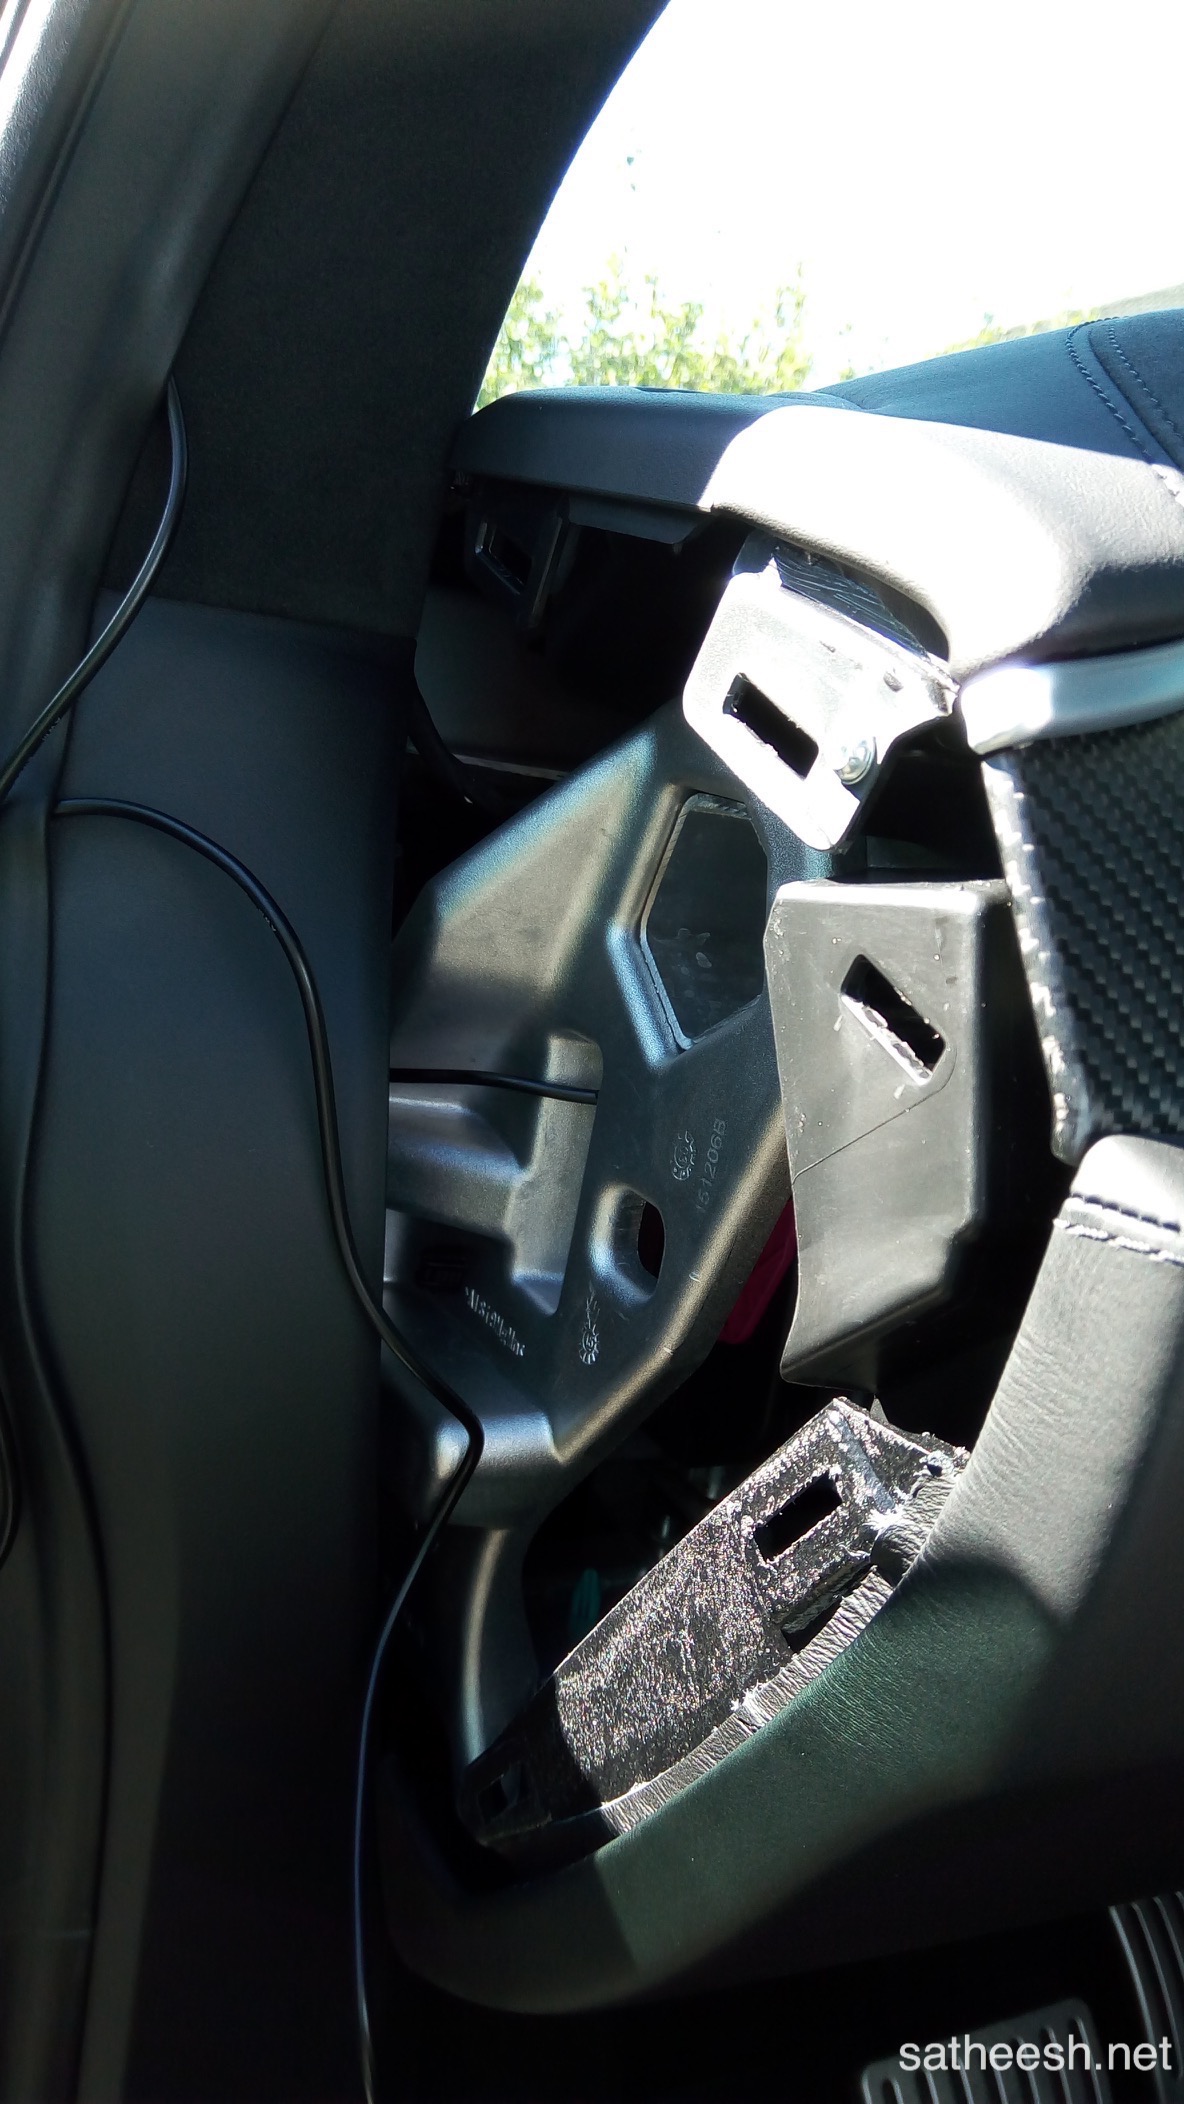
The side cover can easily be opened using a pry tool.
Wiring close-up.
The car has a lot of insulation already.
Insulation close-up.
Inside close-ups.
Inside close-ups.
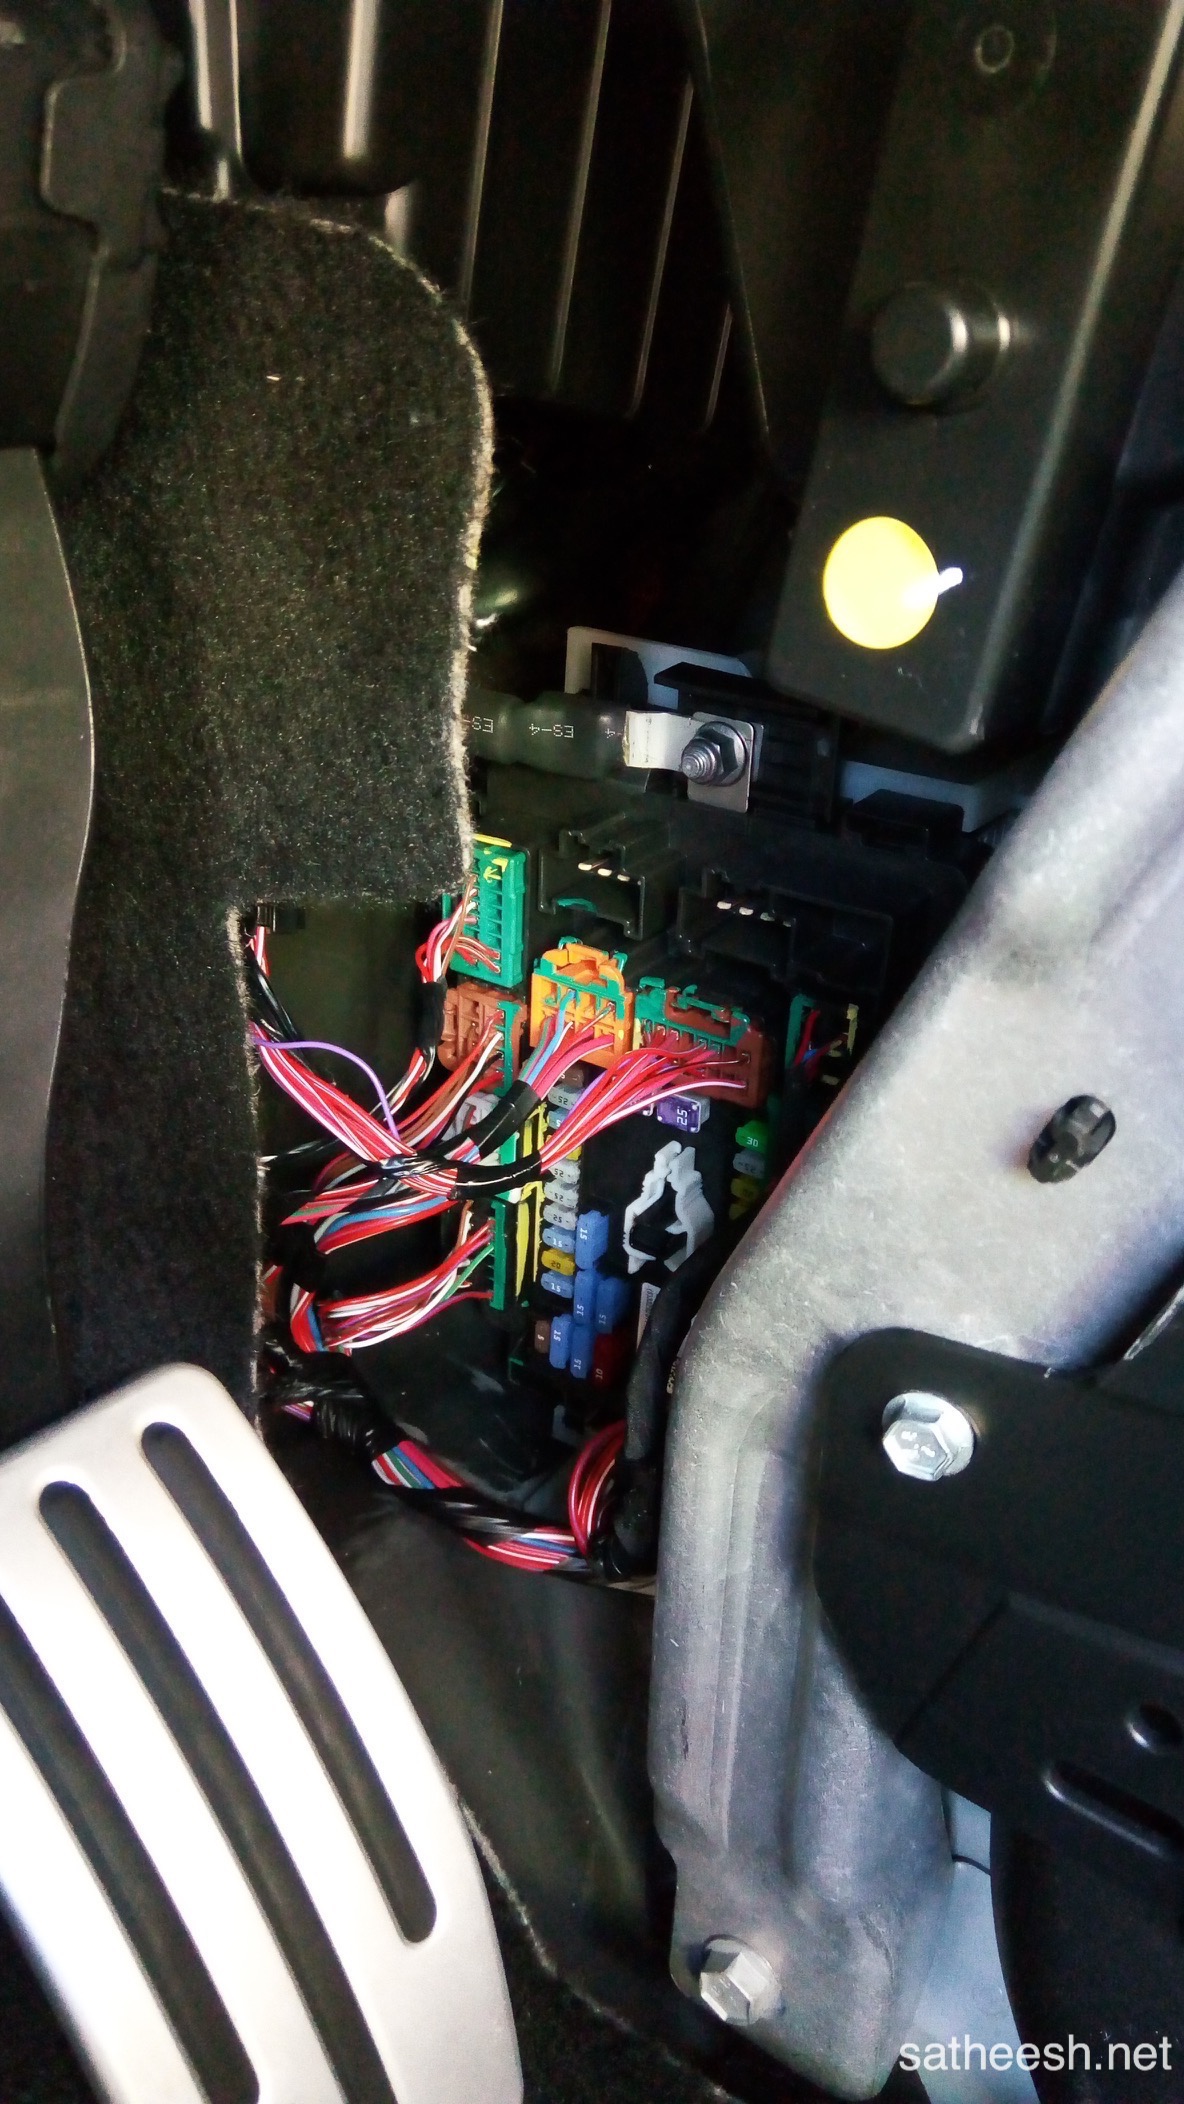
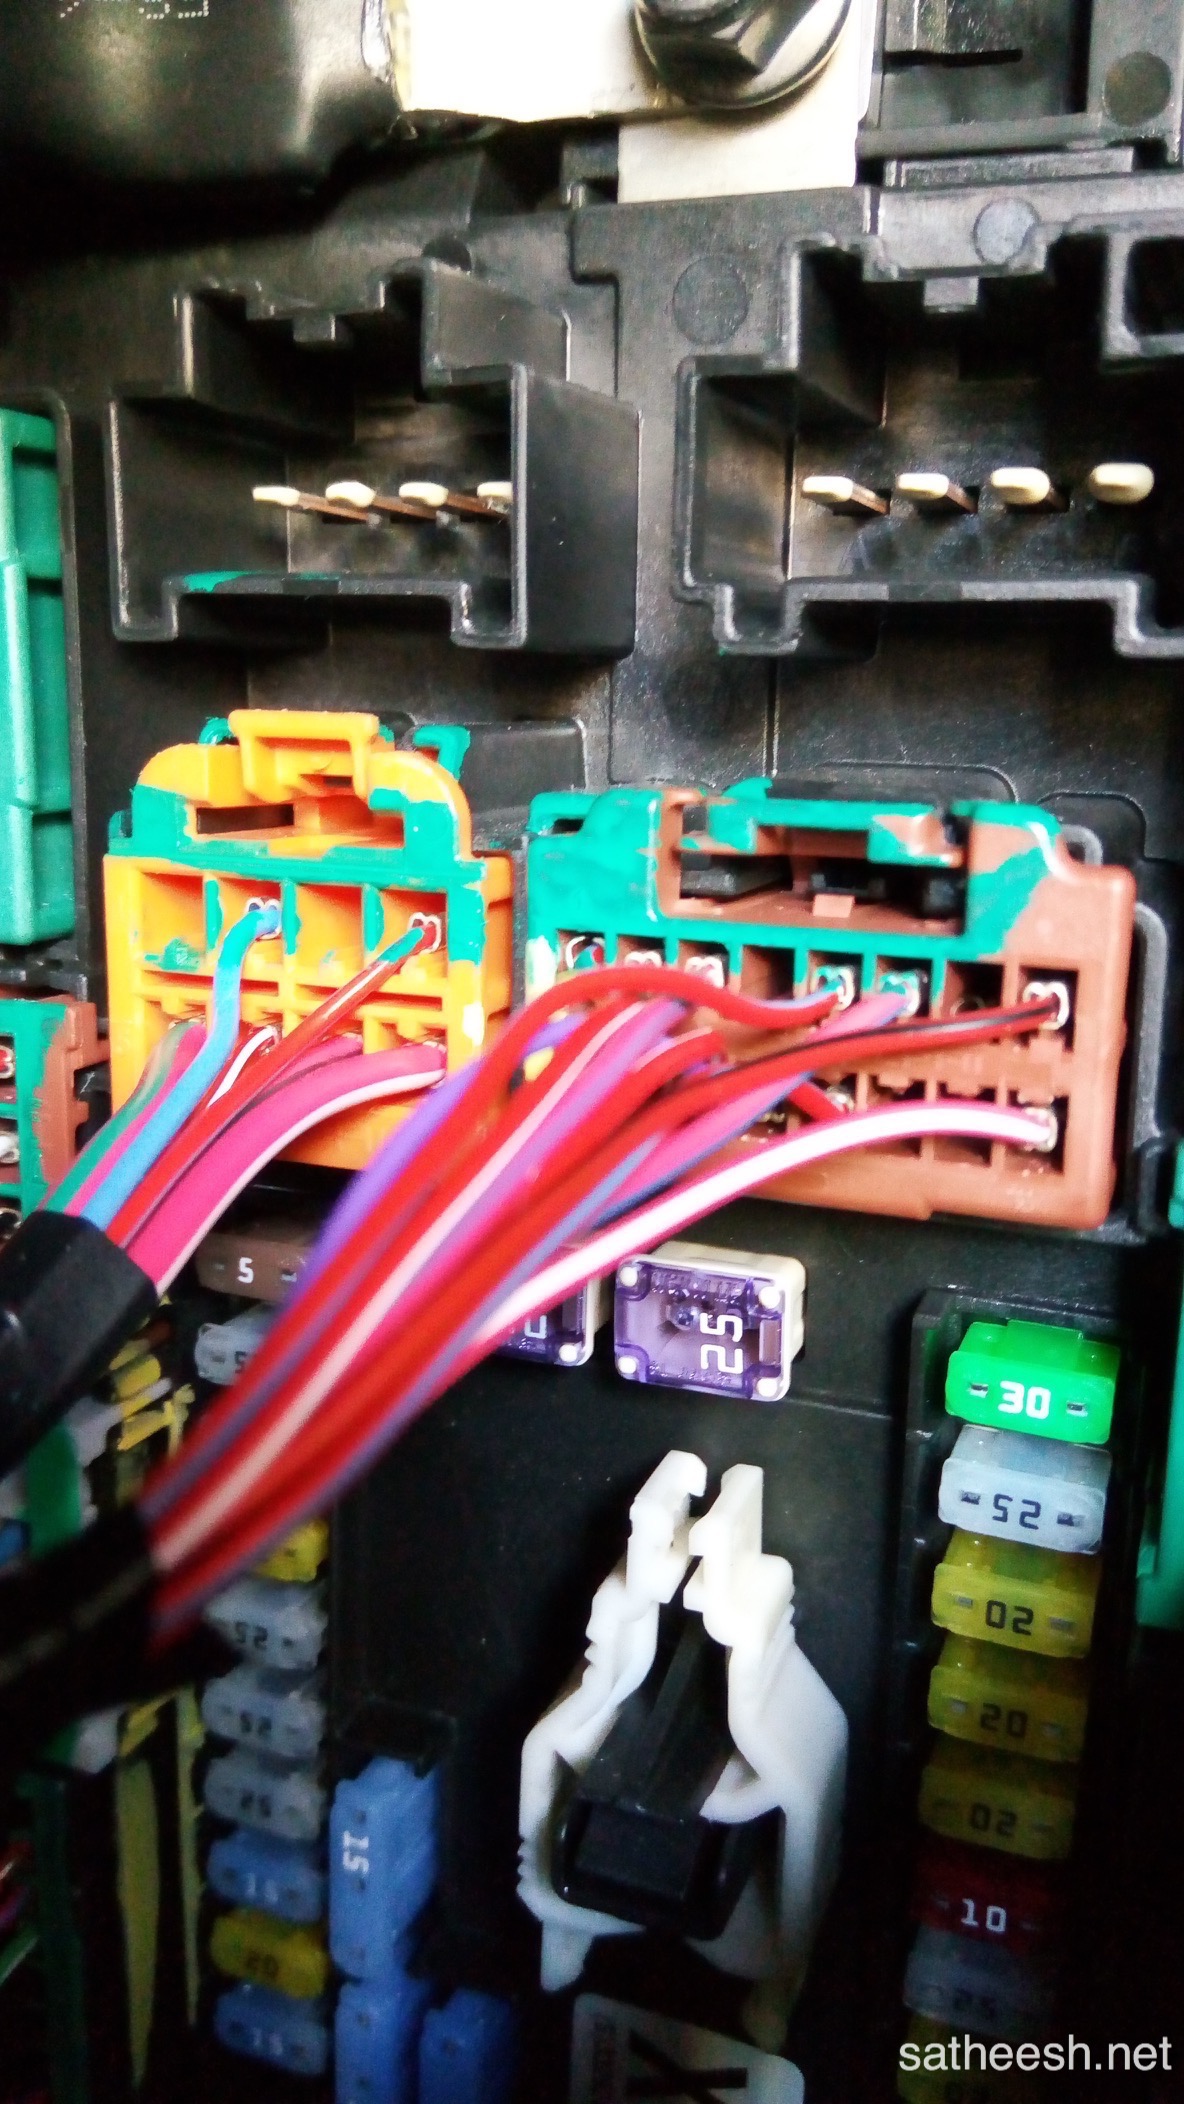
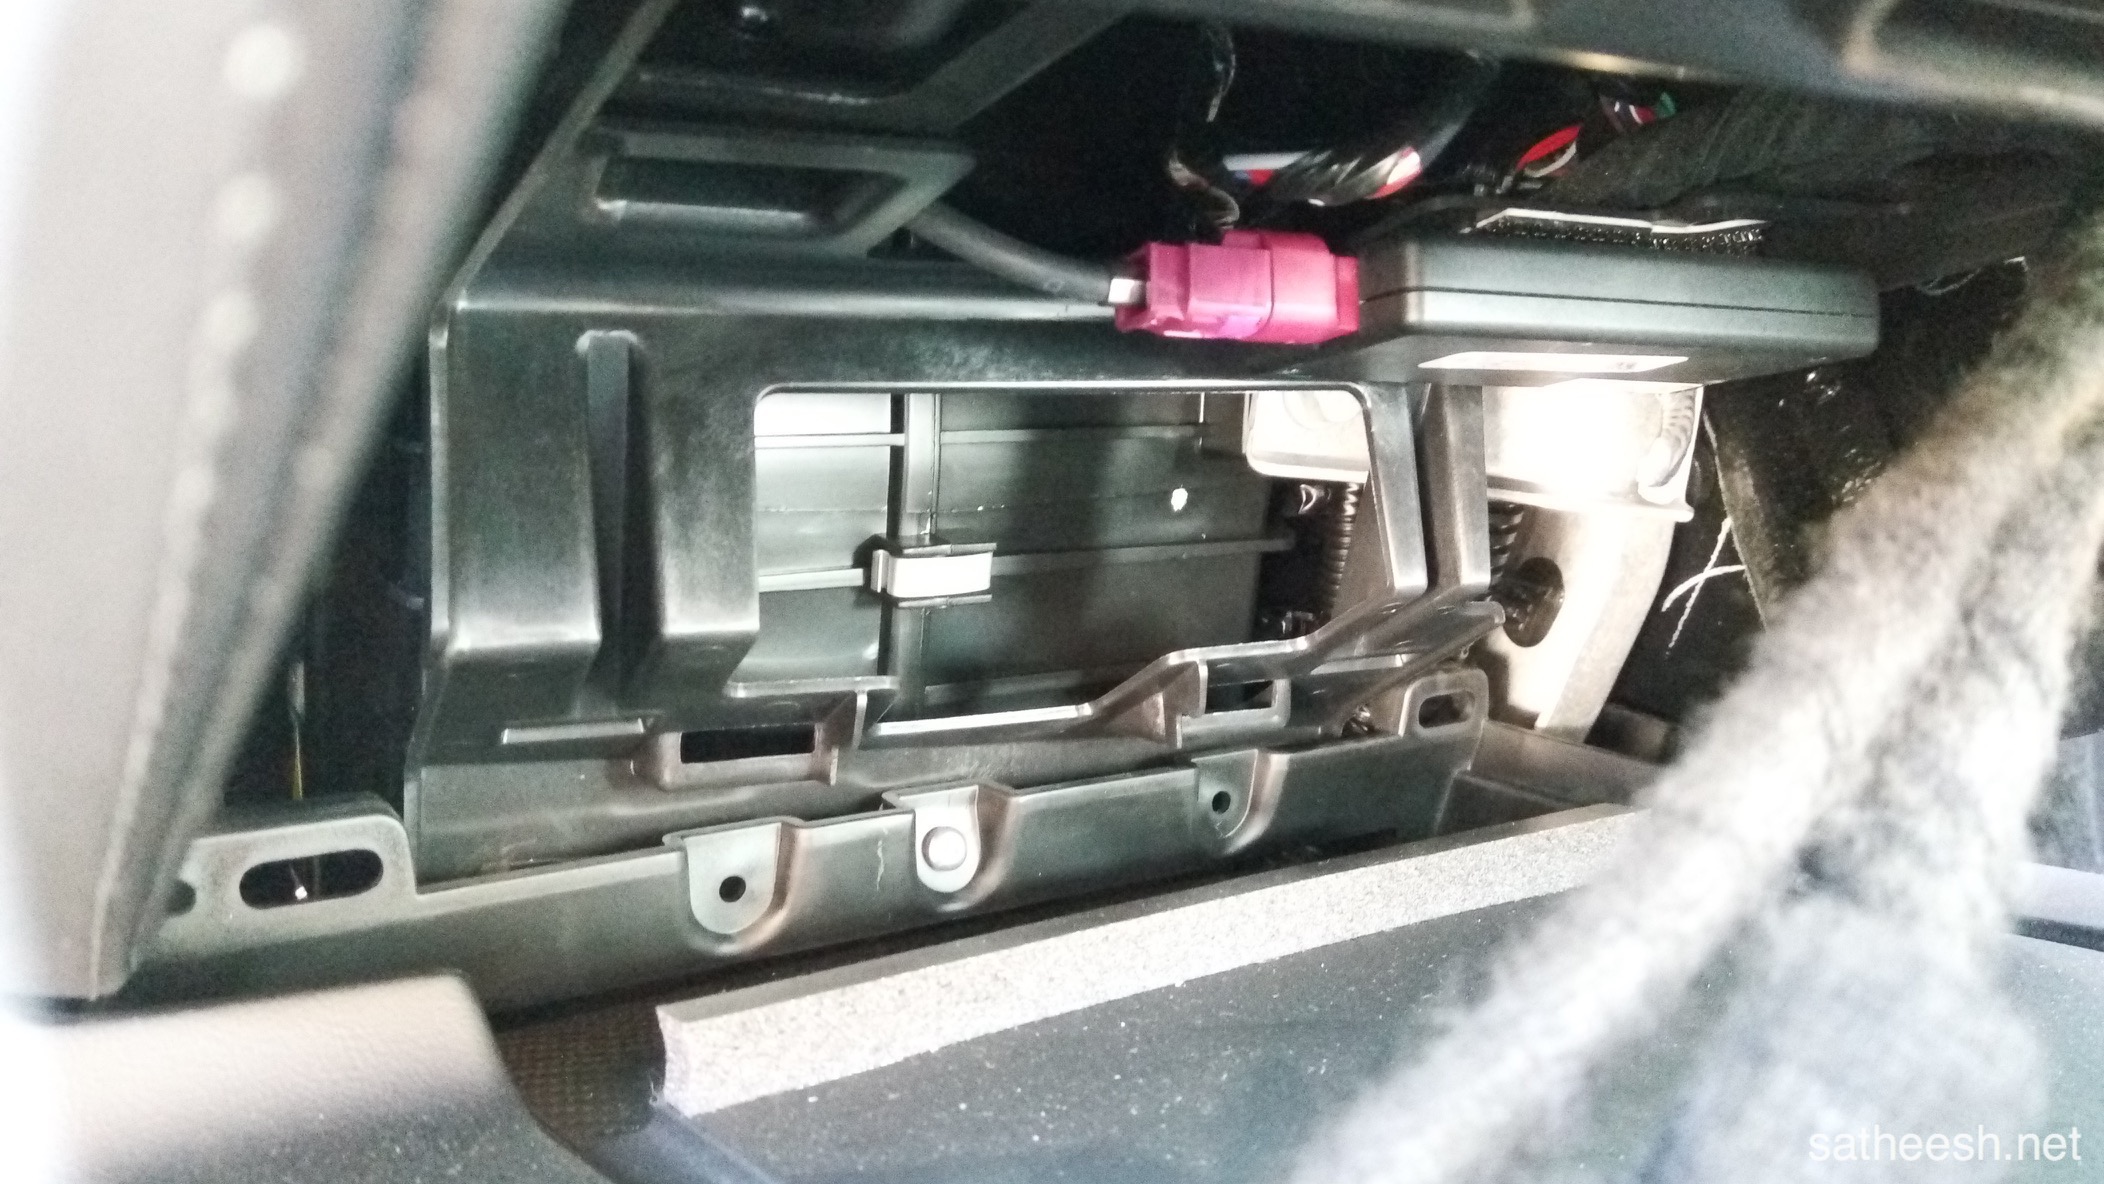
The inside fuse-box is located beside the pedals on the driver side.
Close-ups.
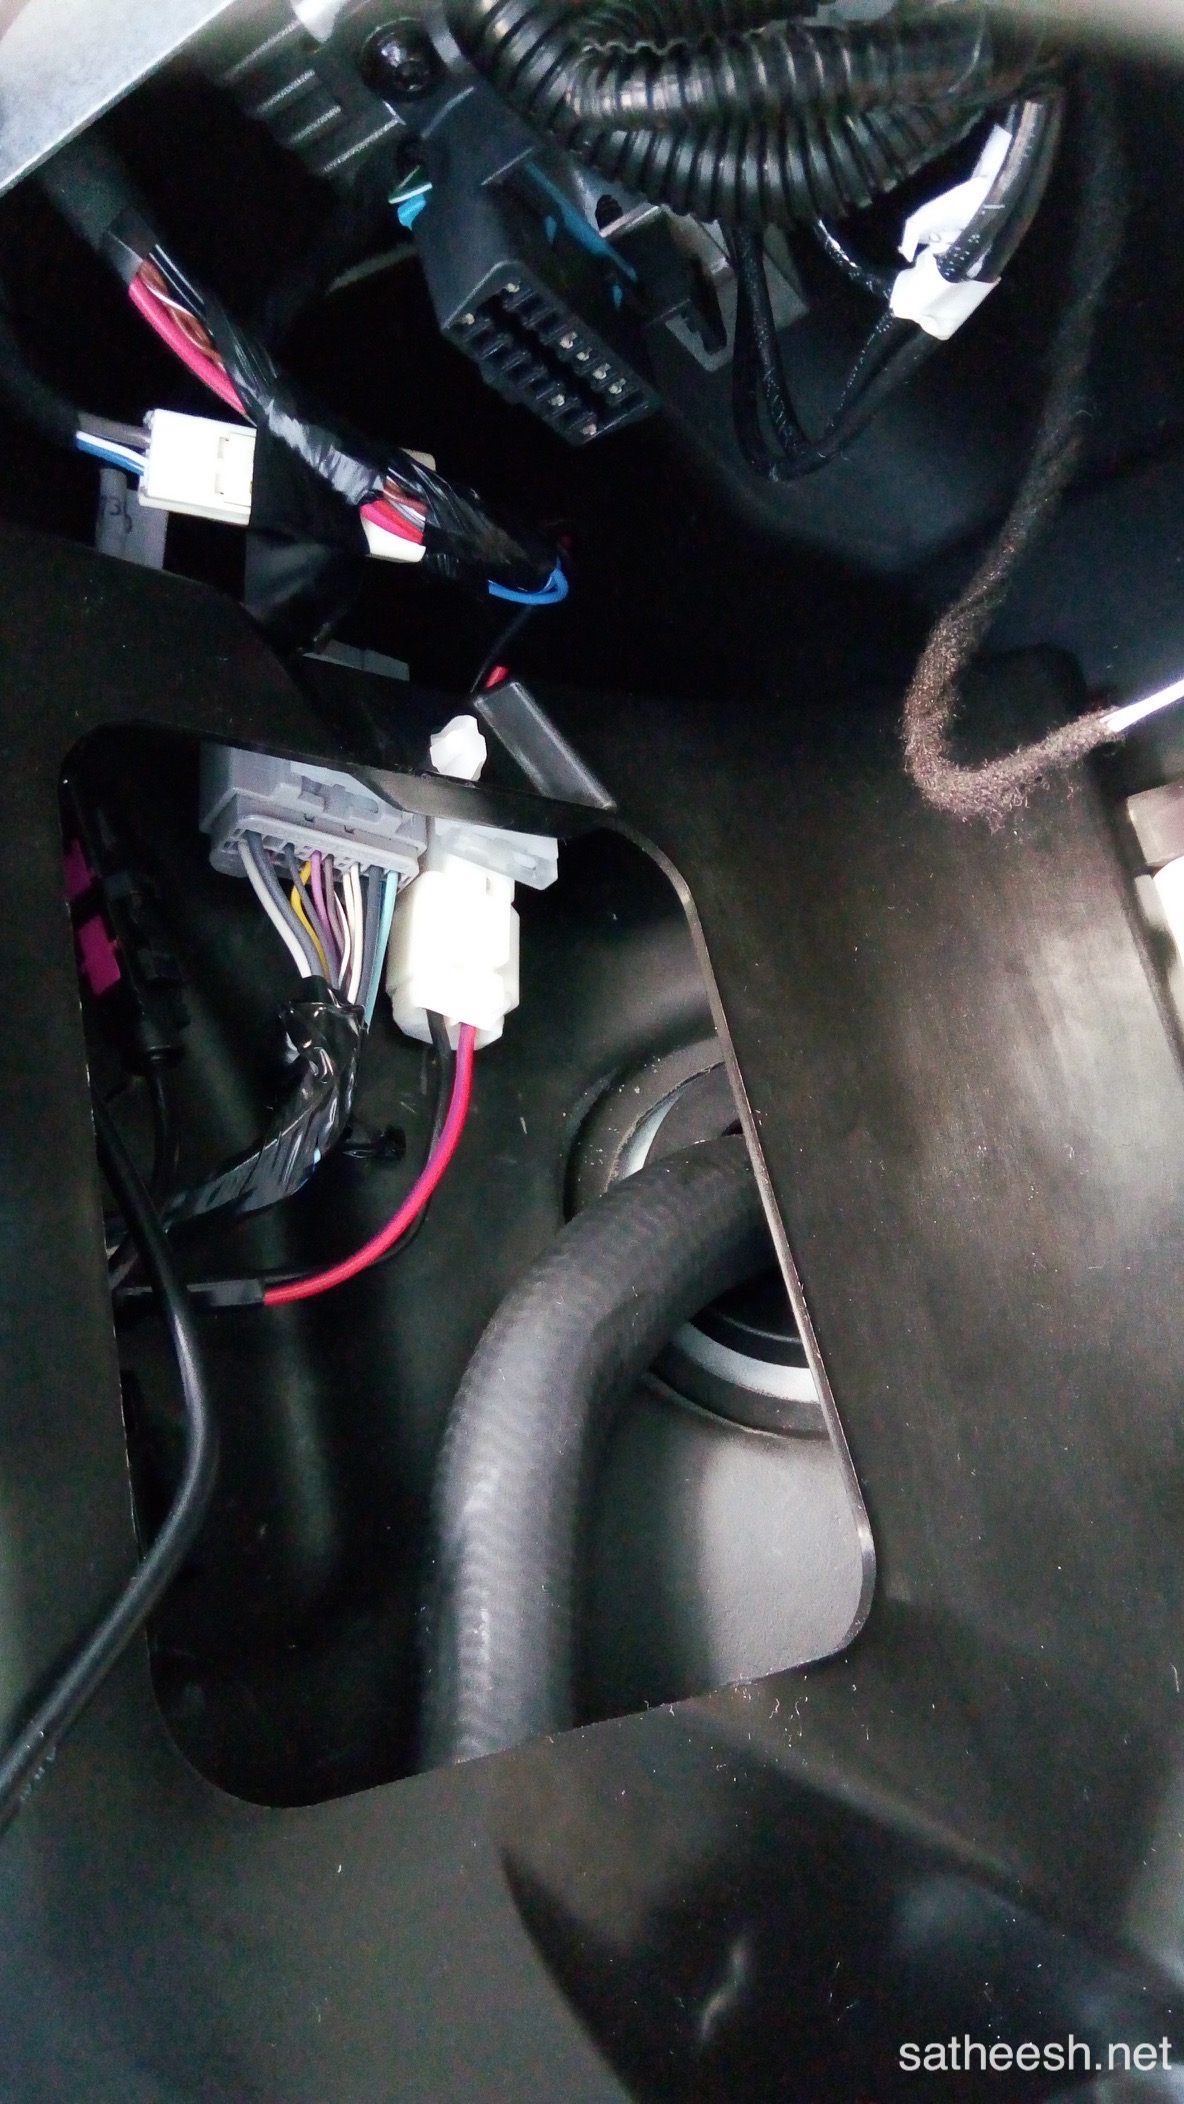
OBD-II plug close-up.
Close-up of the diagnostic plugs. These are located under the center console. Just press down firmly and it will come loose. Held up by two clips.
More close-ups.
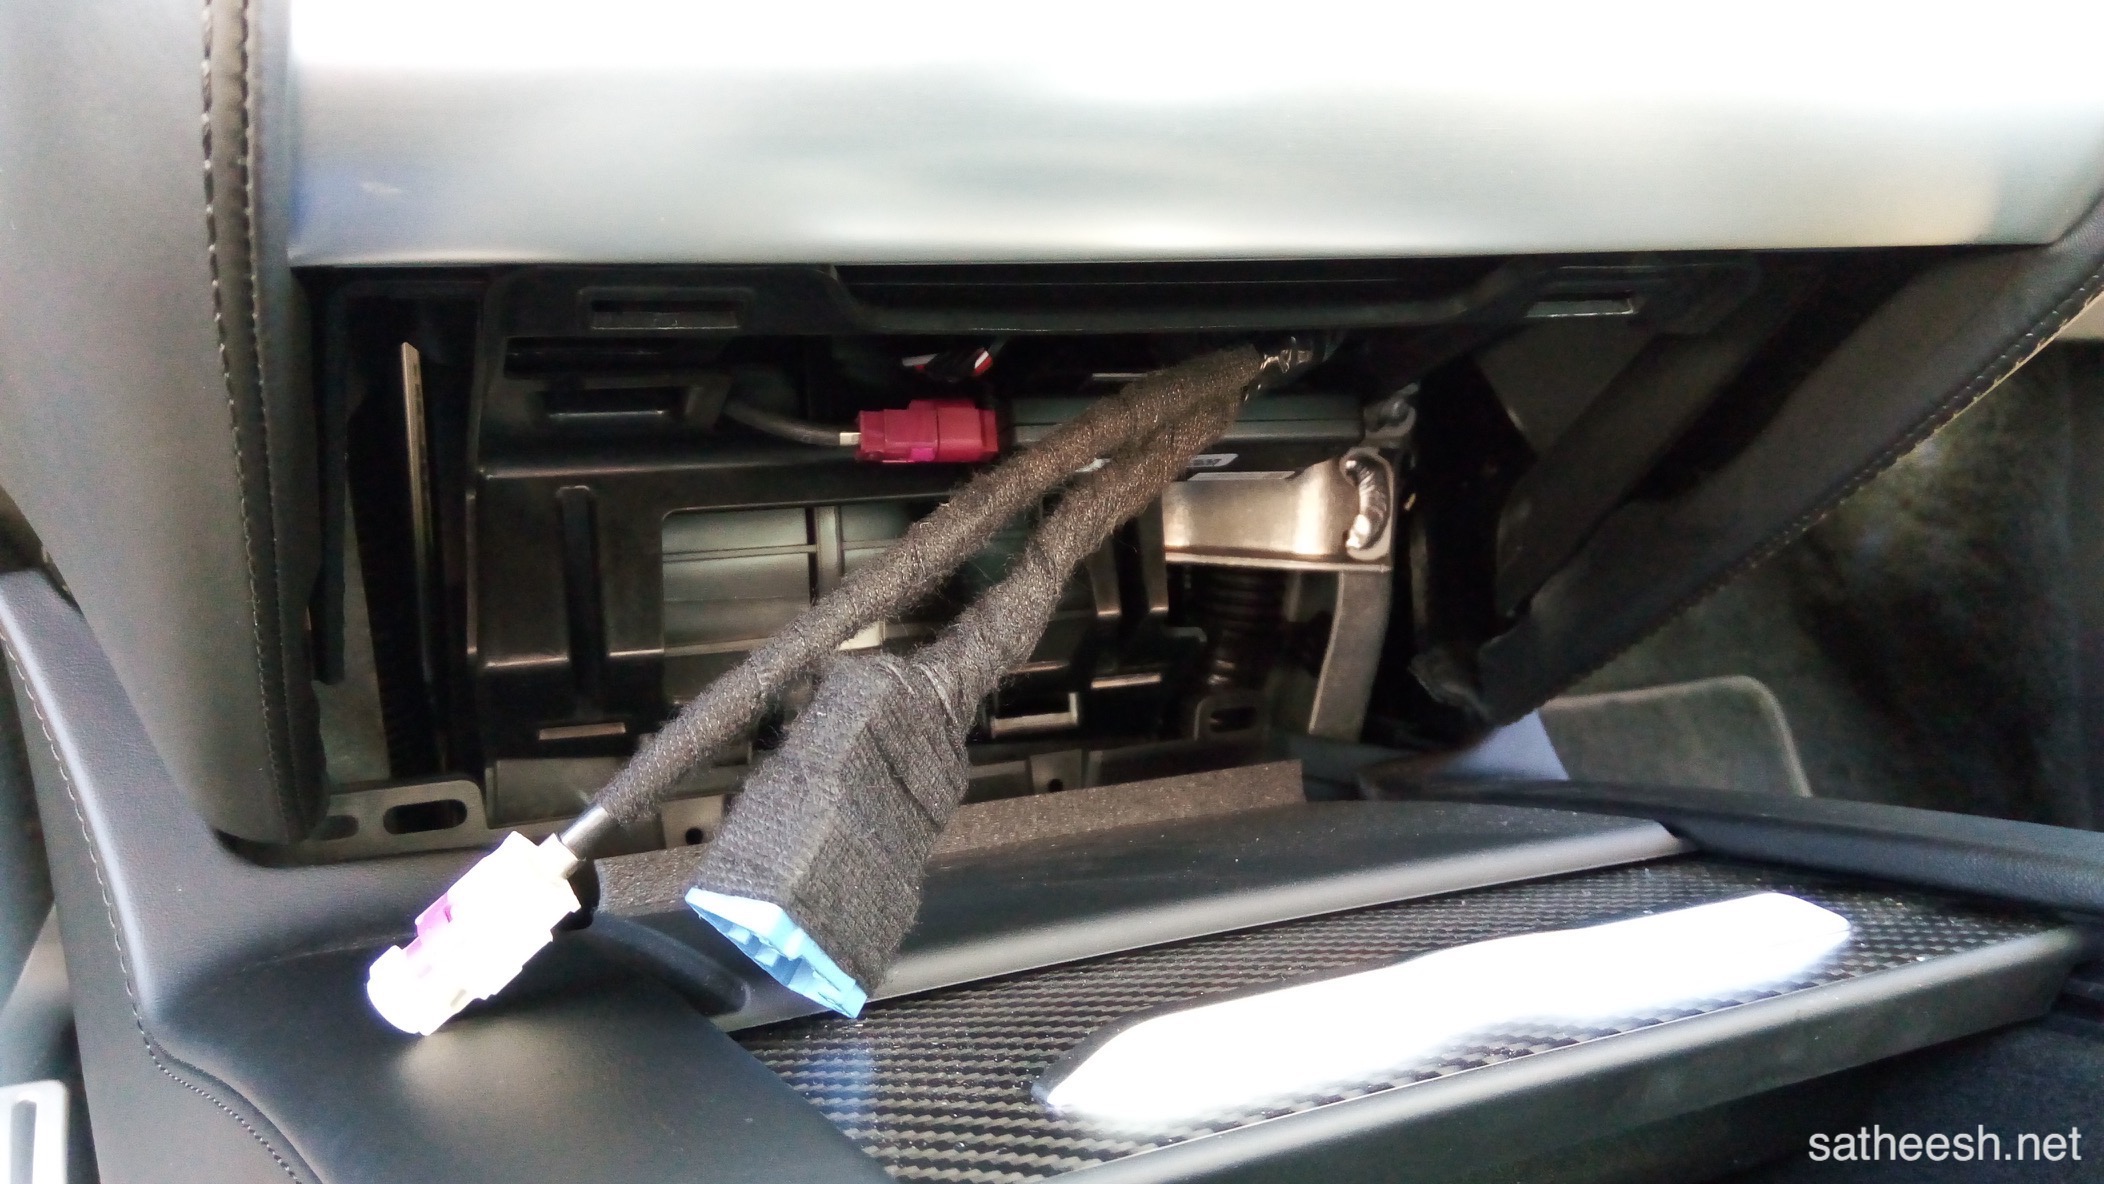
Finished mounting rear camera.
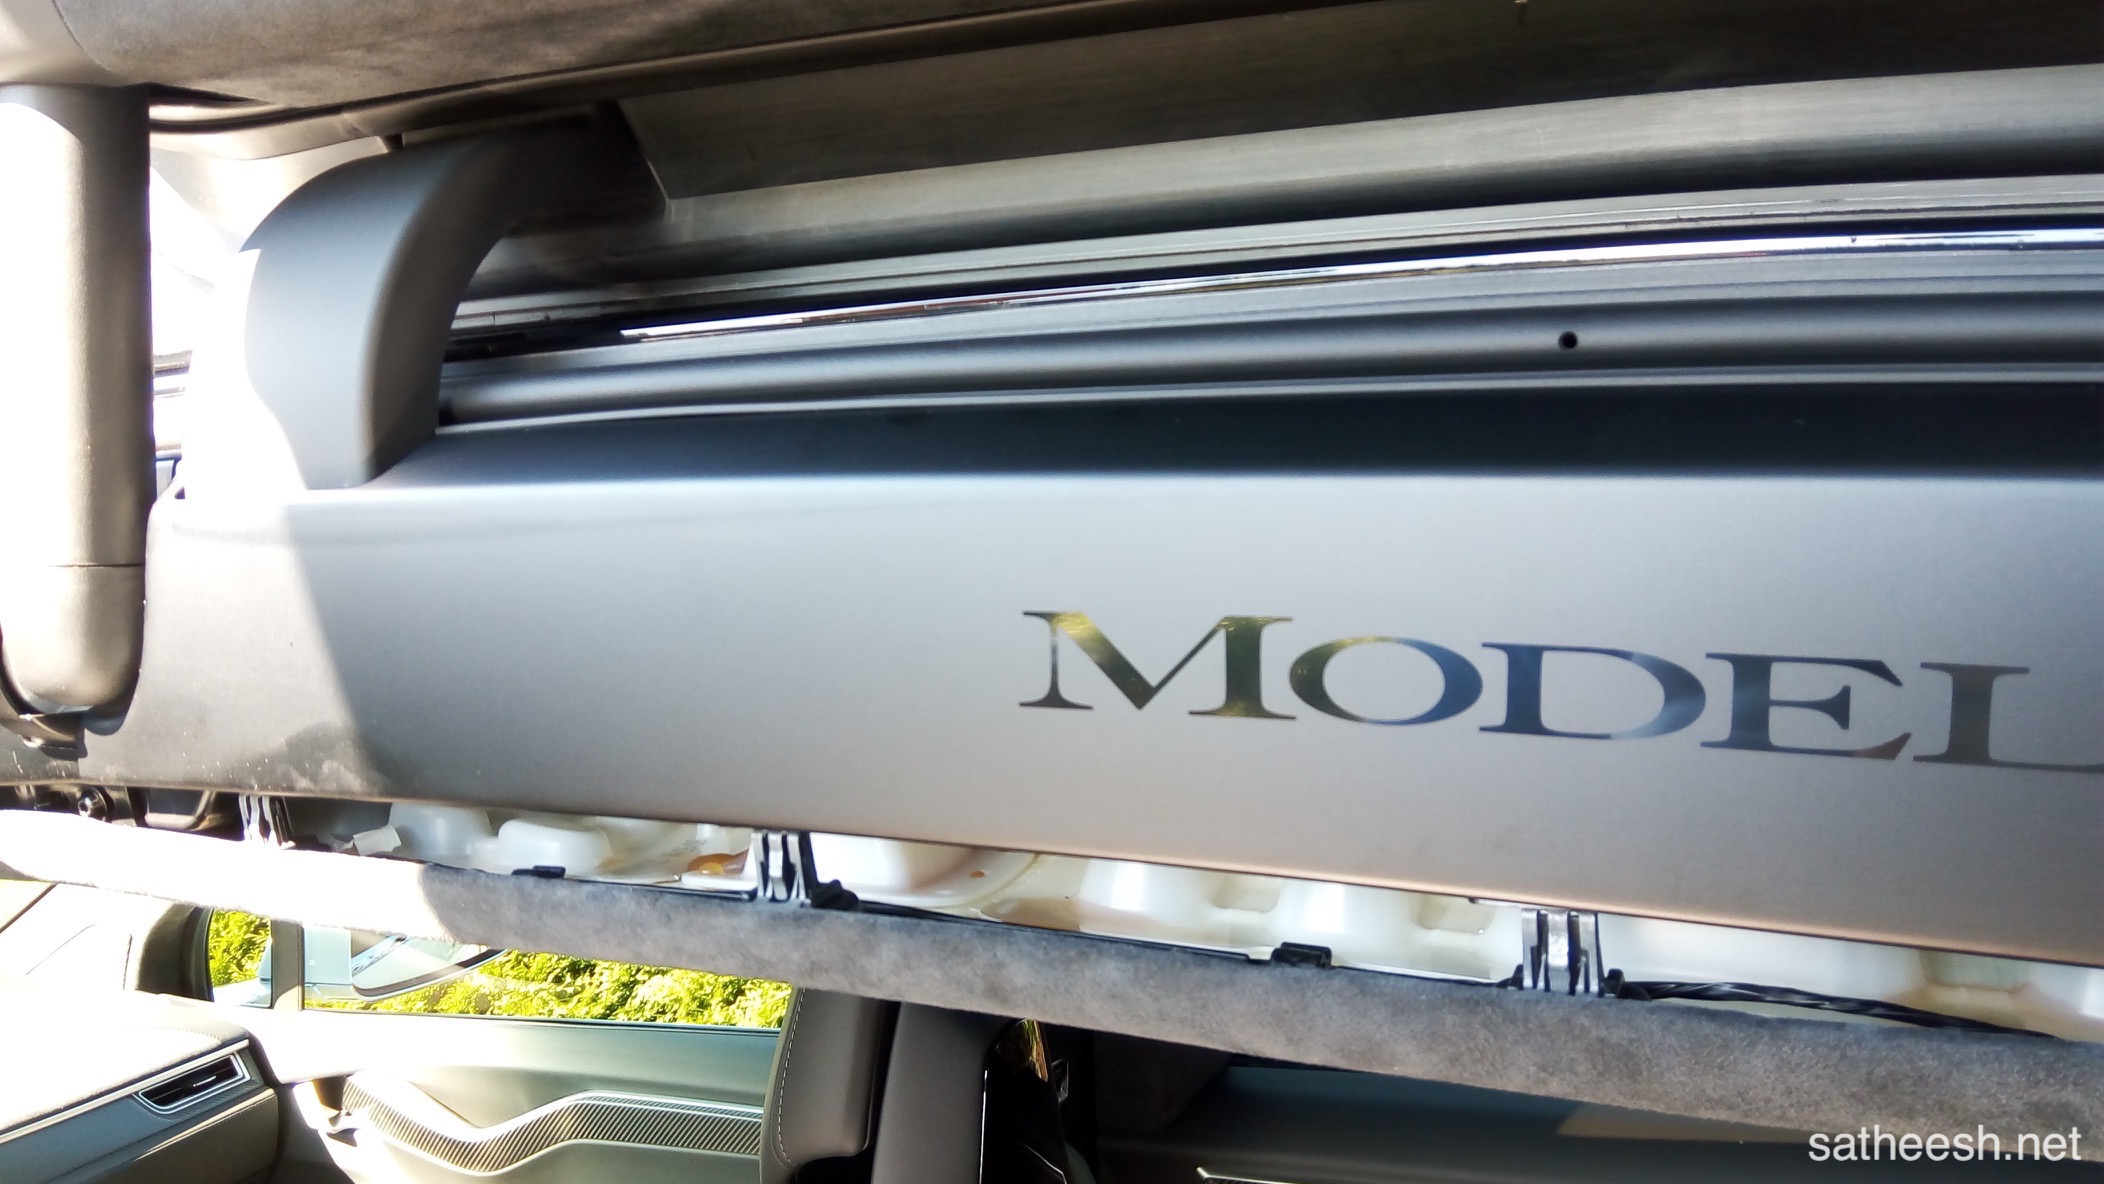
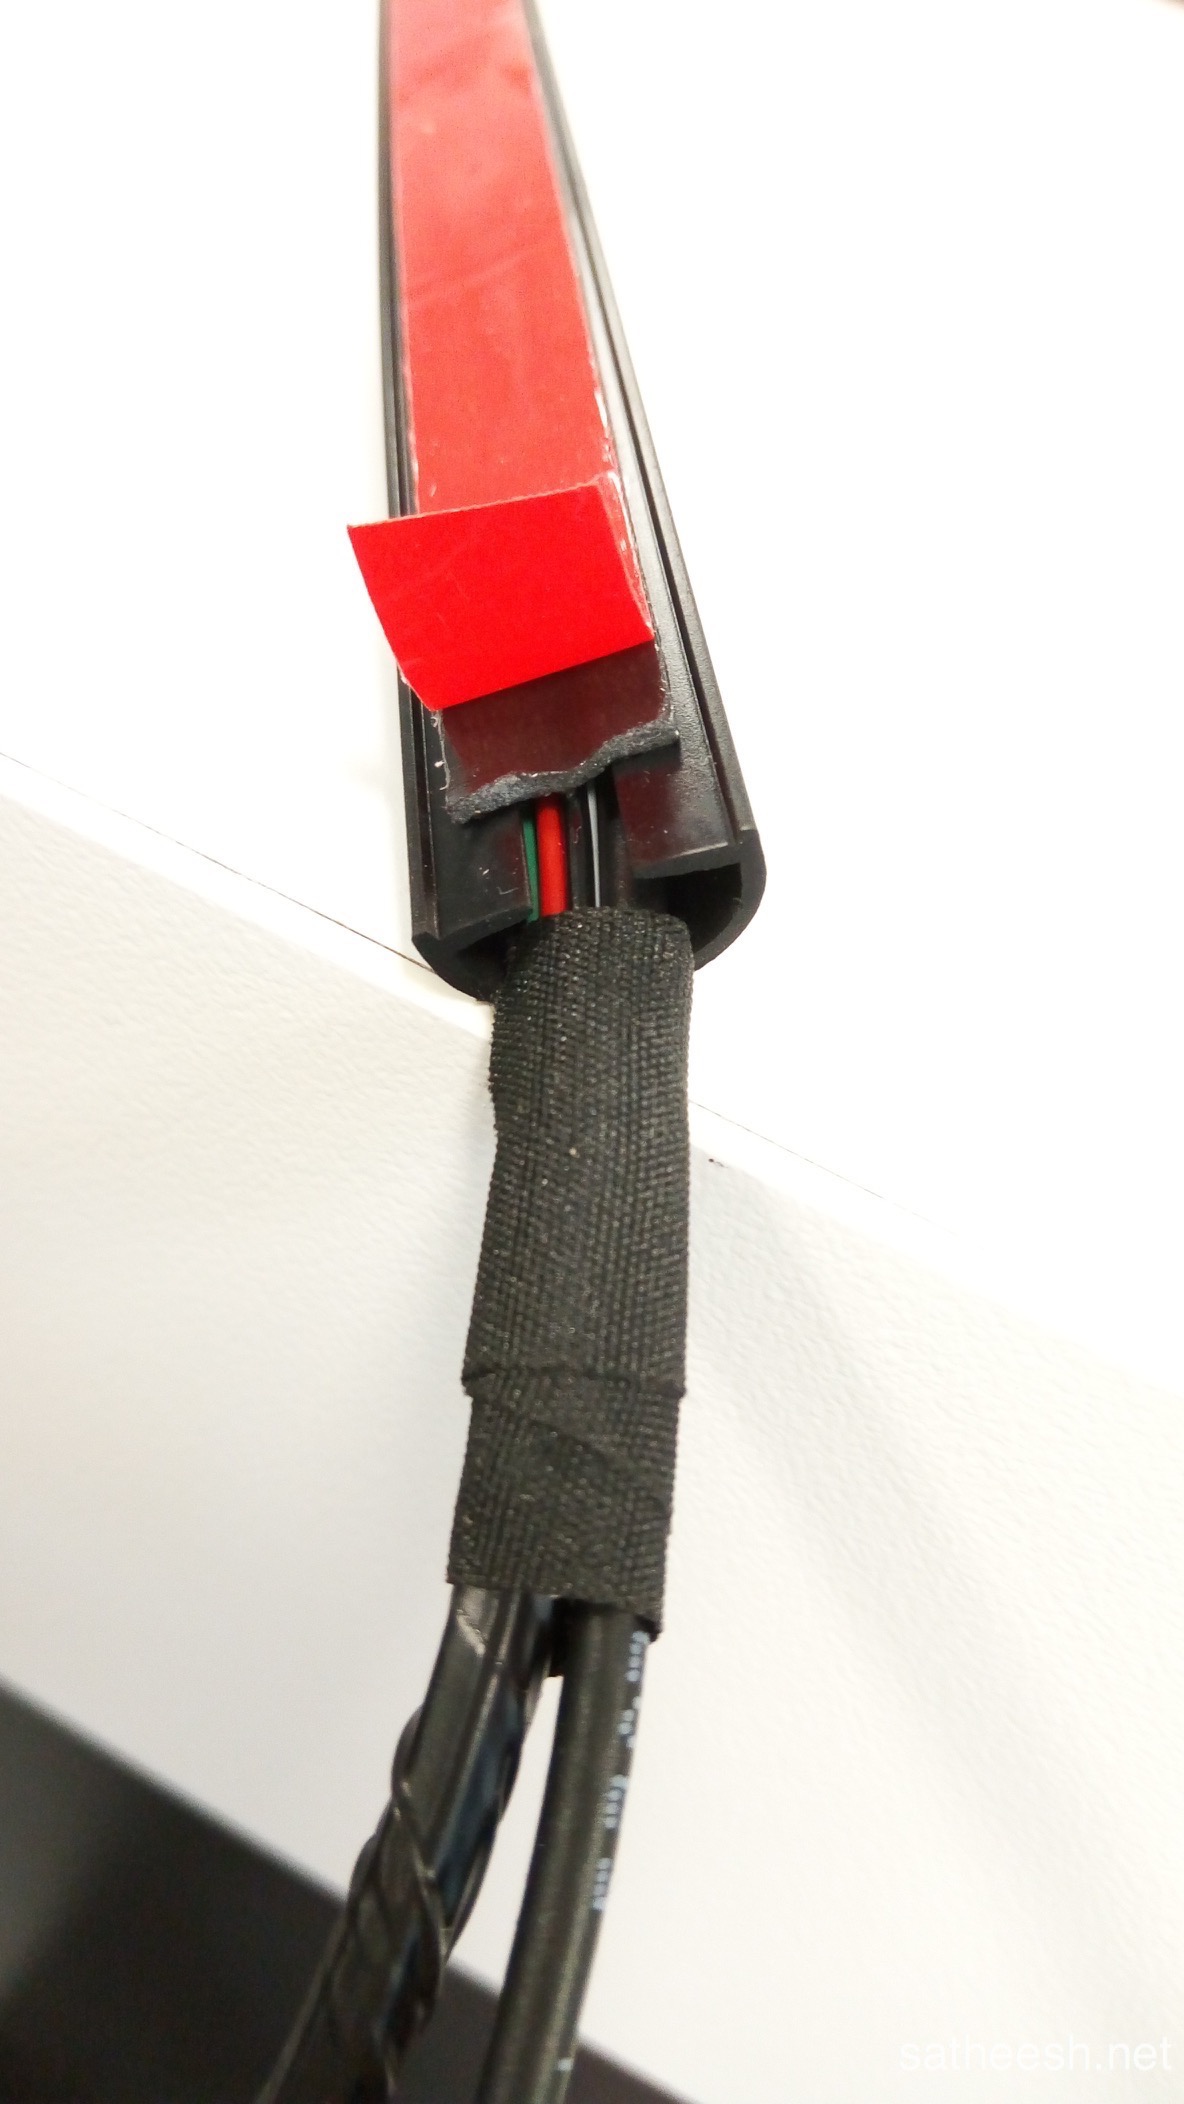
OEM cable channel from Tesla.
Close-up.
Remove the existing cable harness. I used a scissor to cut between and then removed the cables.
Put the cable channel beside the existing one.
Finished hiding cables inside second channel.
Almost looks stock!
Two clips (front and rear):
That’s all folks! Hope this helps you a little bit. And remember, please make sure you know what you are doing before tearing your beloved car apart. Everything needs a delicate touch and take your time!
PS! If you liked the snaps please leave a few comments. Buying a new Tesla and want to get $1.000 off? Please use my referral link if you like: http://ts.la/satheesh5341
4 thoughts on “Dashcam installation – Tesla Model X”
Thanks for sharing! I’m going to start my install soon so your photos will be very helpful! Where did you get another cable channel from? How much did it cost?
Thank you Brett. The cable channel is a OEM channel from Tesla. It costs approx. $63 or 519,- NOK.
Super!
How did you do the connection of the Hardwiring Cable on your Model X?
(In order to to get continuous recording in parking mode after the vehicle’s engine is turned off)
The frunk fuse box is easy enough to access, but I couldn’t figure out how to remove the carpet panel to access the interior fuse box. Any tips?