Installation procedure is the reverse of removal, except
for the following:
-
Remove all remaining adhesive from the applique and the tail/backup lamps.
-
Clean the mating surfaces and lenses on the applique and the tail/backup lamps
with an isopropyl alcohol-based solution. Allow the alcohol to fully dry before
moving forward with the procedure.
Caution: In order to prevent cracking the lens, only use isopropyl
alcohol to clean the lens.
-
Apply new applique tape when reinstalling the applique.
-
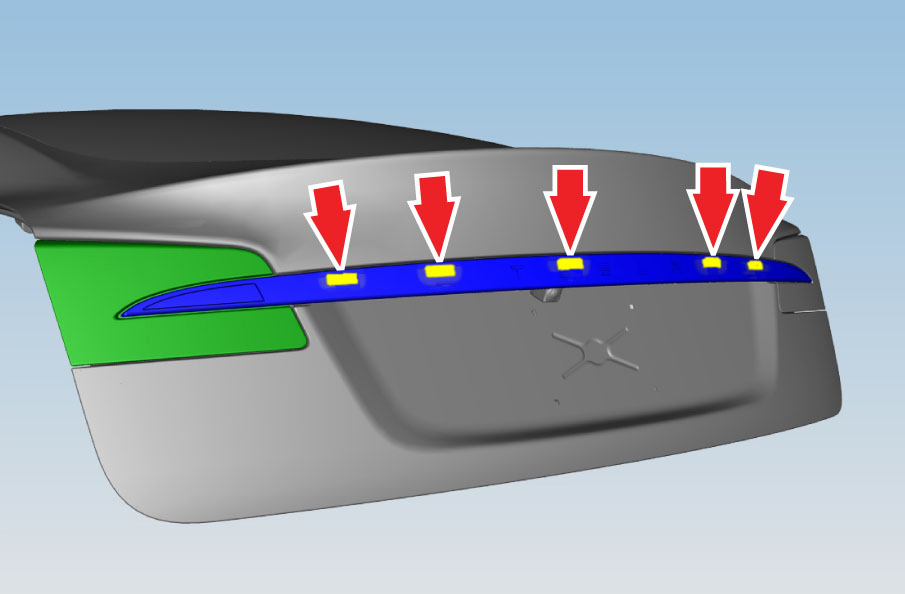
Working outwards from the center of the applique, press very firmly on the
applique using a silicone seam roller to completely seal the applique tape.
Caution: Do not damage the liftgate applique lenses.

| Top path
highlighted |
Bottom path
highlighted |

|

|
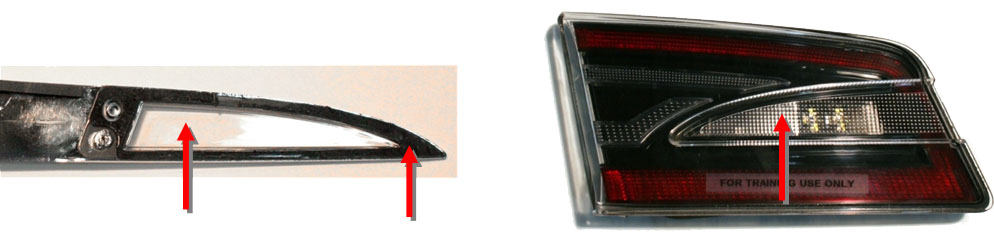
-
Apply pressure to both ends of the applique:
-
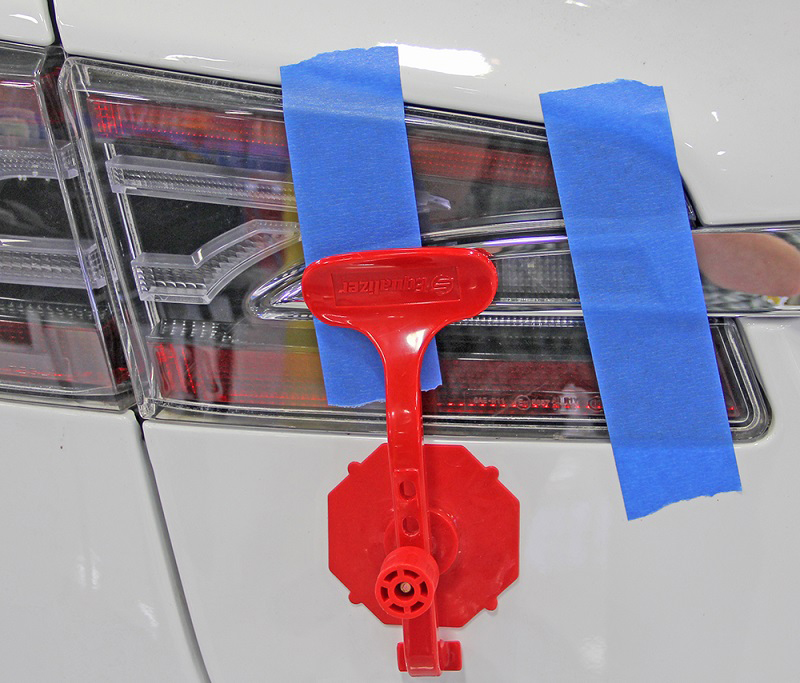
Secure both ends of the applique with tape.
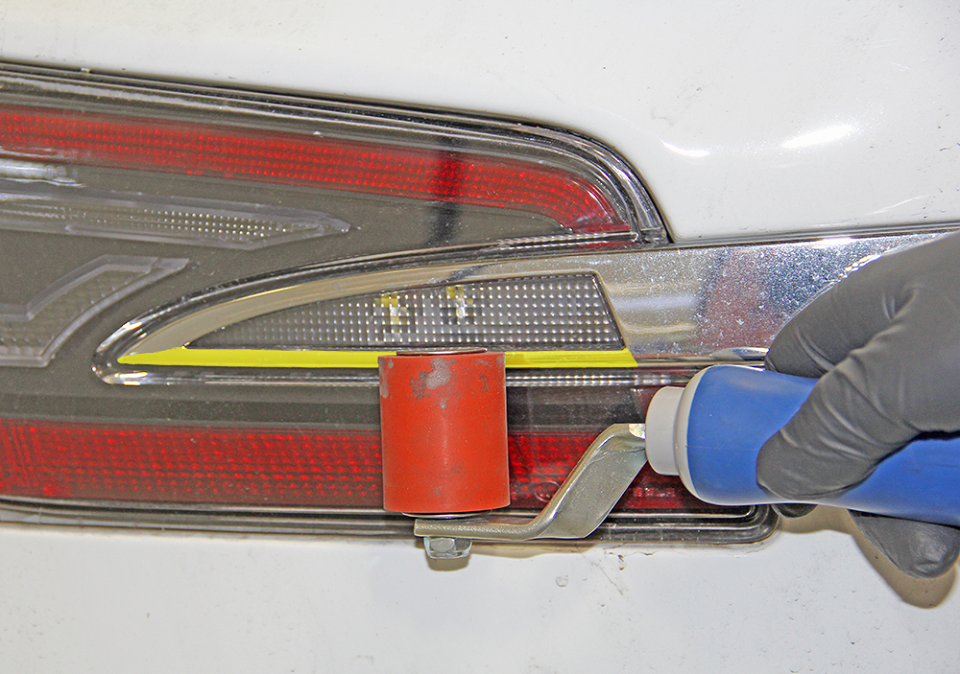
-
Use molding hold down tools to apply pressure to each end of the
applique.
Caution: Do not damage the liftgate applique lenses.
-
Wait at least 5 minutes before removing the molding hold down tools and
tape.
Caution: Failure to wait at least 5 minutes before removing the
molding hold down tool can result in improper adhesion of the applique
tape.