Module - Body Controller - BCM (Remove and Replace)

FRT No: 17152302

Warning: If the 12V power supply is disconnected, do not attempt to open any doors with door glass in closed position. Failure to follow this instruction could result in door glass shatter.
Note: Before disconnecting the 12V power supply, ensure that the driver’s door window is fully open. Failure to follow this instruction could result in vehicle lockout.

Removal

  1. Connect a laptop with Toolbox to the vehicle.
  2. In Toolbox, save the current hardware configuration:
    1. Select Views > Firmware and ECU Programming > Firmware Reflash.
      Note: Click the Question Mark icon for additional information.
    2. Click the Save button.
  3. Move the passenger seat fully rearward for access.
  4. Disconnect 12V power.
  5. Remove the RH center console closeout extension (refer to procedure).
  6. Remove the passenger side dash footwell closing trim (refer to procedure).
  7. Carefully peel back the carpet for access to the Body Control Module (BCM) cover.
    Caution: Take care not to damage component(s).
  8. Remove the bolts (x4) that secure the BCM cover to the mounting bracket (torque 5 Nm).
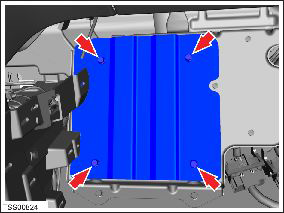
  9. Remove the BCM cover.
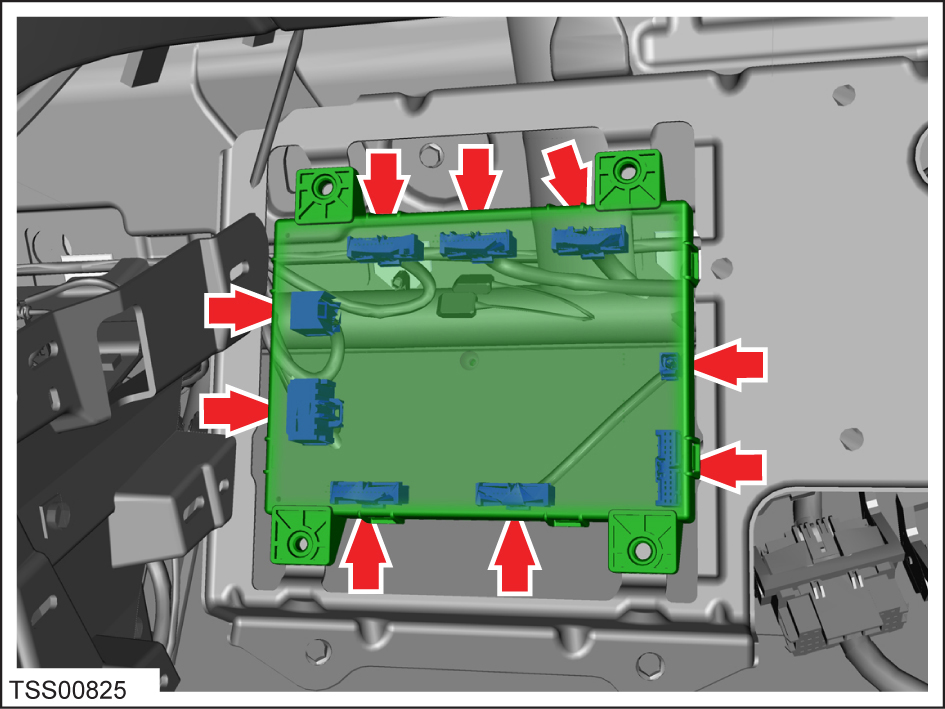
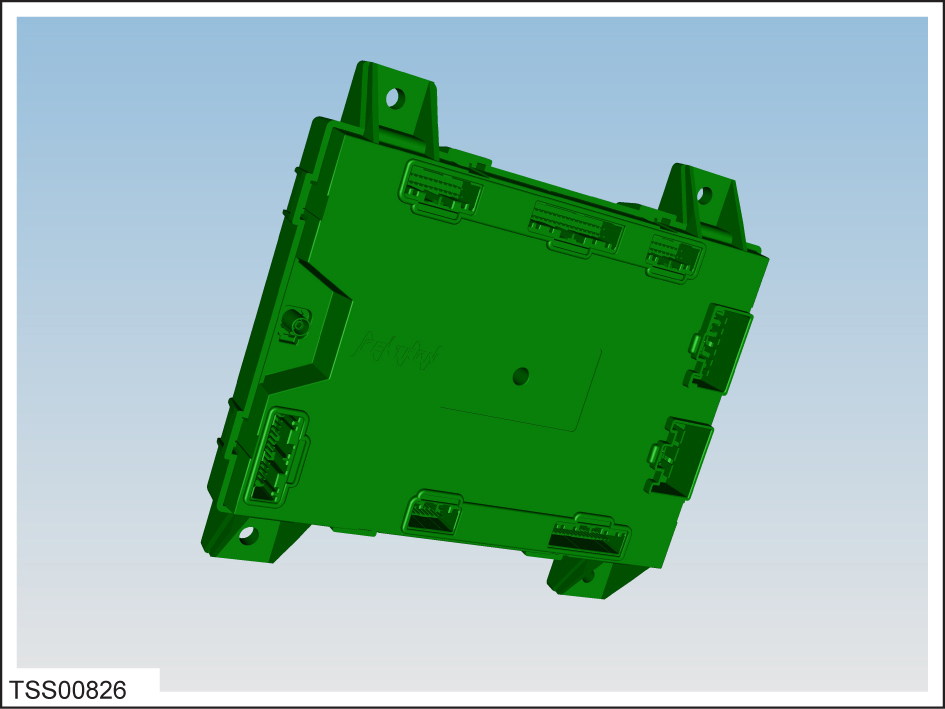
  10. Carefully release the BCM from the mount. Disconnect the harness connectors (x8) and the optical connector.
    Caution: Protect disconnected optical connectors from contamination and dirt ingress.
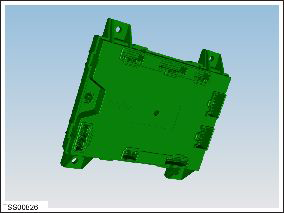
  11. Remove the BCM from the footwell.

Installation

Installation procedure is the reverse of removal, except for the following:

  1. Perform the VIN learn procedure:
    1. Connect a laptop with Toolbox 1.7 or later to the vehicle.
    2. In Toolbox, select Views > Firmware and ECU Programming > Body and Door Controller VIN Learn.
    3. Select BDY.
    4. Click the Start/Play button.
  2. Relearn all keys (refer to procedure).
  3. Use Toolbox to reset the immobilizer.