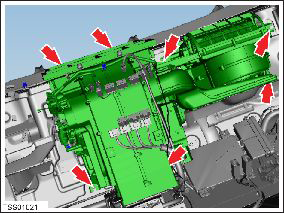
HVAC Assembly (Remove and Replace)

FRT No: 18101002

Removal

  1. Remove cross car beam (refer to procedure).
  2. Recover refrigerant from AC system (refer to procedure).
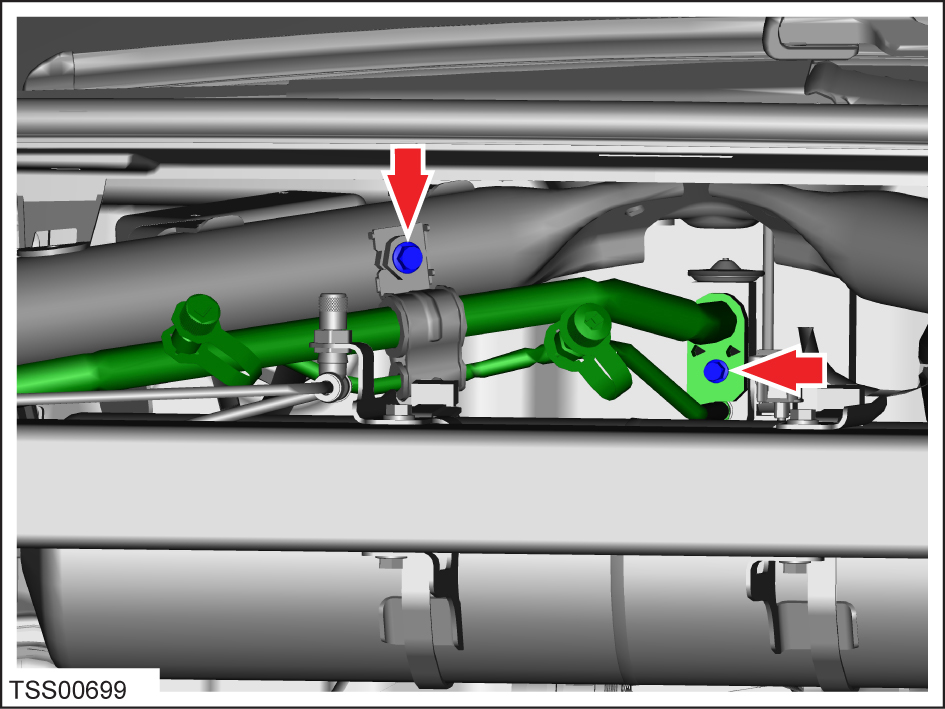
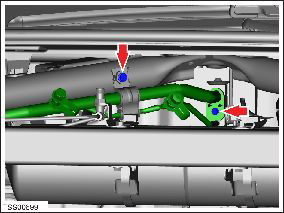
  3. Disconnect AC connection to HVAC, discard 'O' rings (torque 22 Nm).
  4. Remove screws (x2) securing bulkhead TXV valve to HVAC (torque 6 Nm).
  5. Disconnect TXV harness connector.
  6. Remove and discard 'O' ring.
    Caution: Lubricate new O-rings with clean refrigerant oil.
  7. Disconnect HVAC harness connectors (x10).
  8. LHD vehicles only: Remove the body controller (BCM) (refer to procedure).
  9. Remove bolts (x7) securing HVAC to bulkhead (torque 6 Nm).
  10. Disconnect HVAC drain tube.
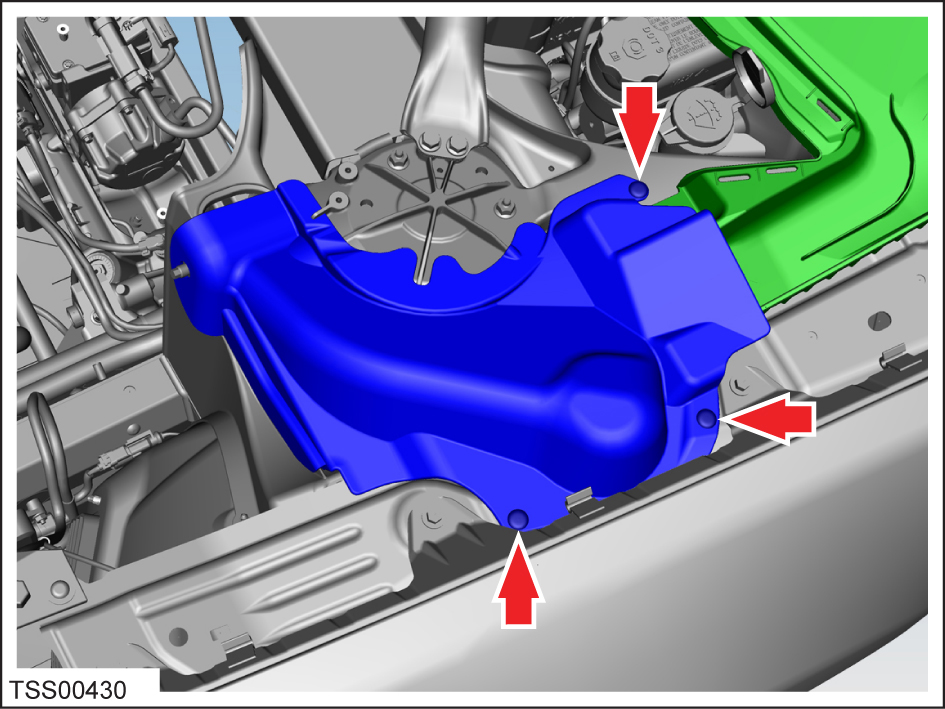
  11. Remove plastic rivets (x3) securing front LH shock tower cover to body. Release cover and remove.
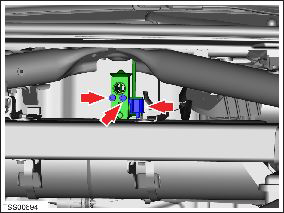
  12. Working from above, disconnect harness connector from DC-DC module.
    Note: Components have been removed in this graphic to aid clarity.
  13. Attach a tether to the PTC heater harness.
  14. With assistance carefully release PTC harness from bulkhead and withdraw into footwell.
  15. Disconnect tether from harness connector. Note: Do not withdraw tether from bulkhead.
  16. Carefully remove HVAC and place on padded surface to prevent damage.
    Caution: Plug pipe connections to prevent ingress of moisture or dirt.

Installation

  1. Installation procedure is the reverse of removal.
    Caution: Lubricate new O-rings with clean refrigerant oil.
  2. With assistance carefully pull DC-DC harness through bulkhead. Follow route left by tether, check surrounding components are not compromised. Cable tie and clip harness and hoses to avoid rubbing.
  3. Disconnect tether from harness connector.