Removal
-
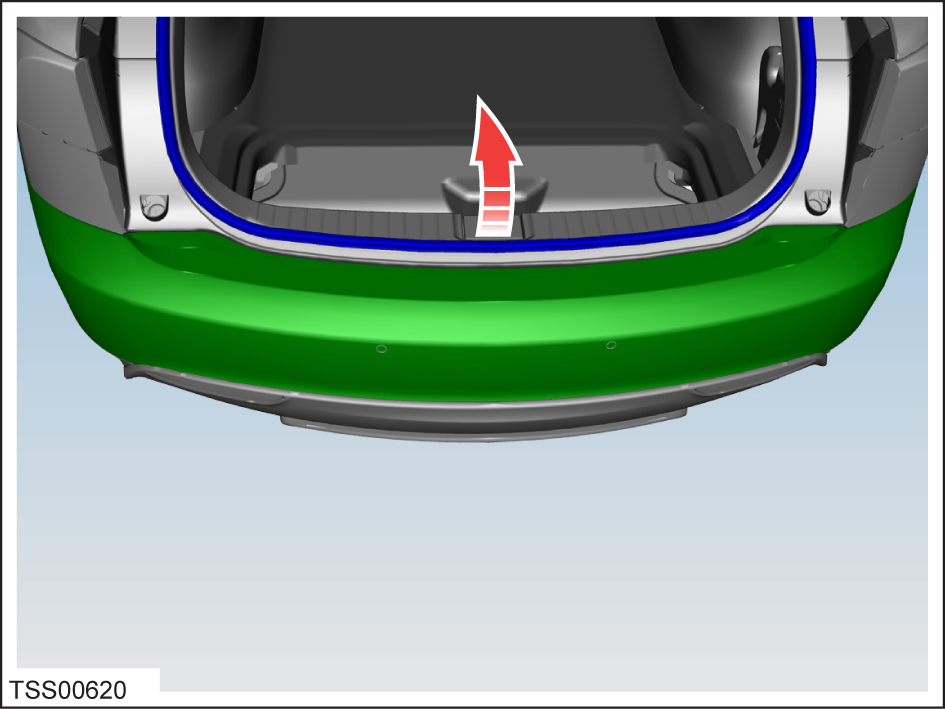
Peel back the bottom of the liftgate seal. Place a cover over the seal area to
avoid getting adhesive on clothing and interior panels.

-
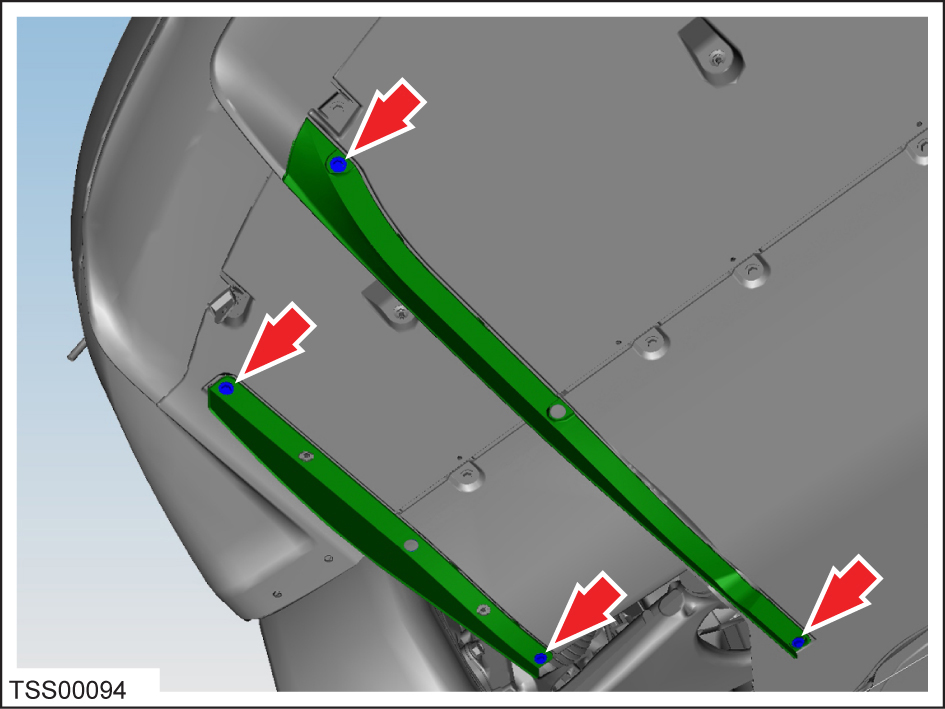
Remove the fasteners (x4) that secure the diffuser tray rails to the rear
diffuser.
Note: The rear diffuser and fascia are removed as an assembly.

-
Remove the bolts (x6) that secure the mid aeroshield to the rear diffuser
(torque 12 Nm).

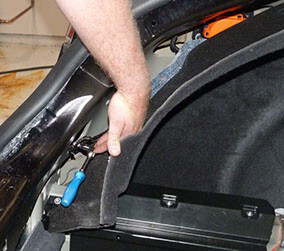
-
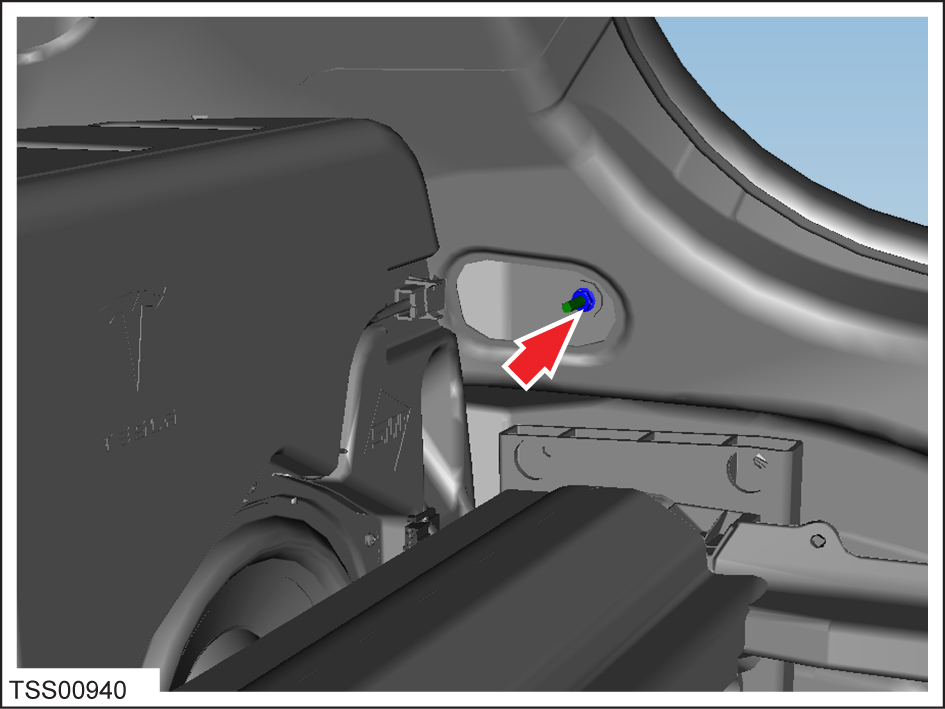
Pull back the rear edge of each wheel arch liner. Remove the screws that secure
the rear fascia to the LH and RH fenders (torque 1.5 Nm).

-
Disconnect the rear parking assist harness connector, if equipped.
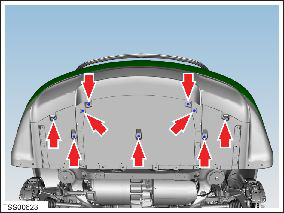
-
Remove the bolts (x6) that secure the diffuser and applique to the body (torque
4 Nm).
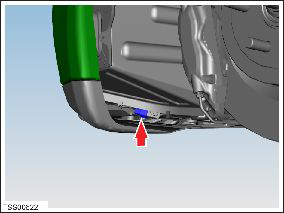
-
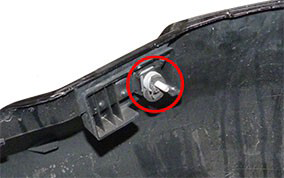
Remove the nuts (x2) that secure the fascia to the body (torque 4 Nm).
Note: The nuts are hard to recover if they are dropped. Start loosening the nuts with a wrench, then perform the final loosening by hand.

-
With assistance, release the rear fascia from the body. Remove the fascia slowly
and tilt the outer side down as it is removed to avoid dropping any shims that are
hanging on the studs.