Removal
-
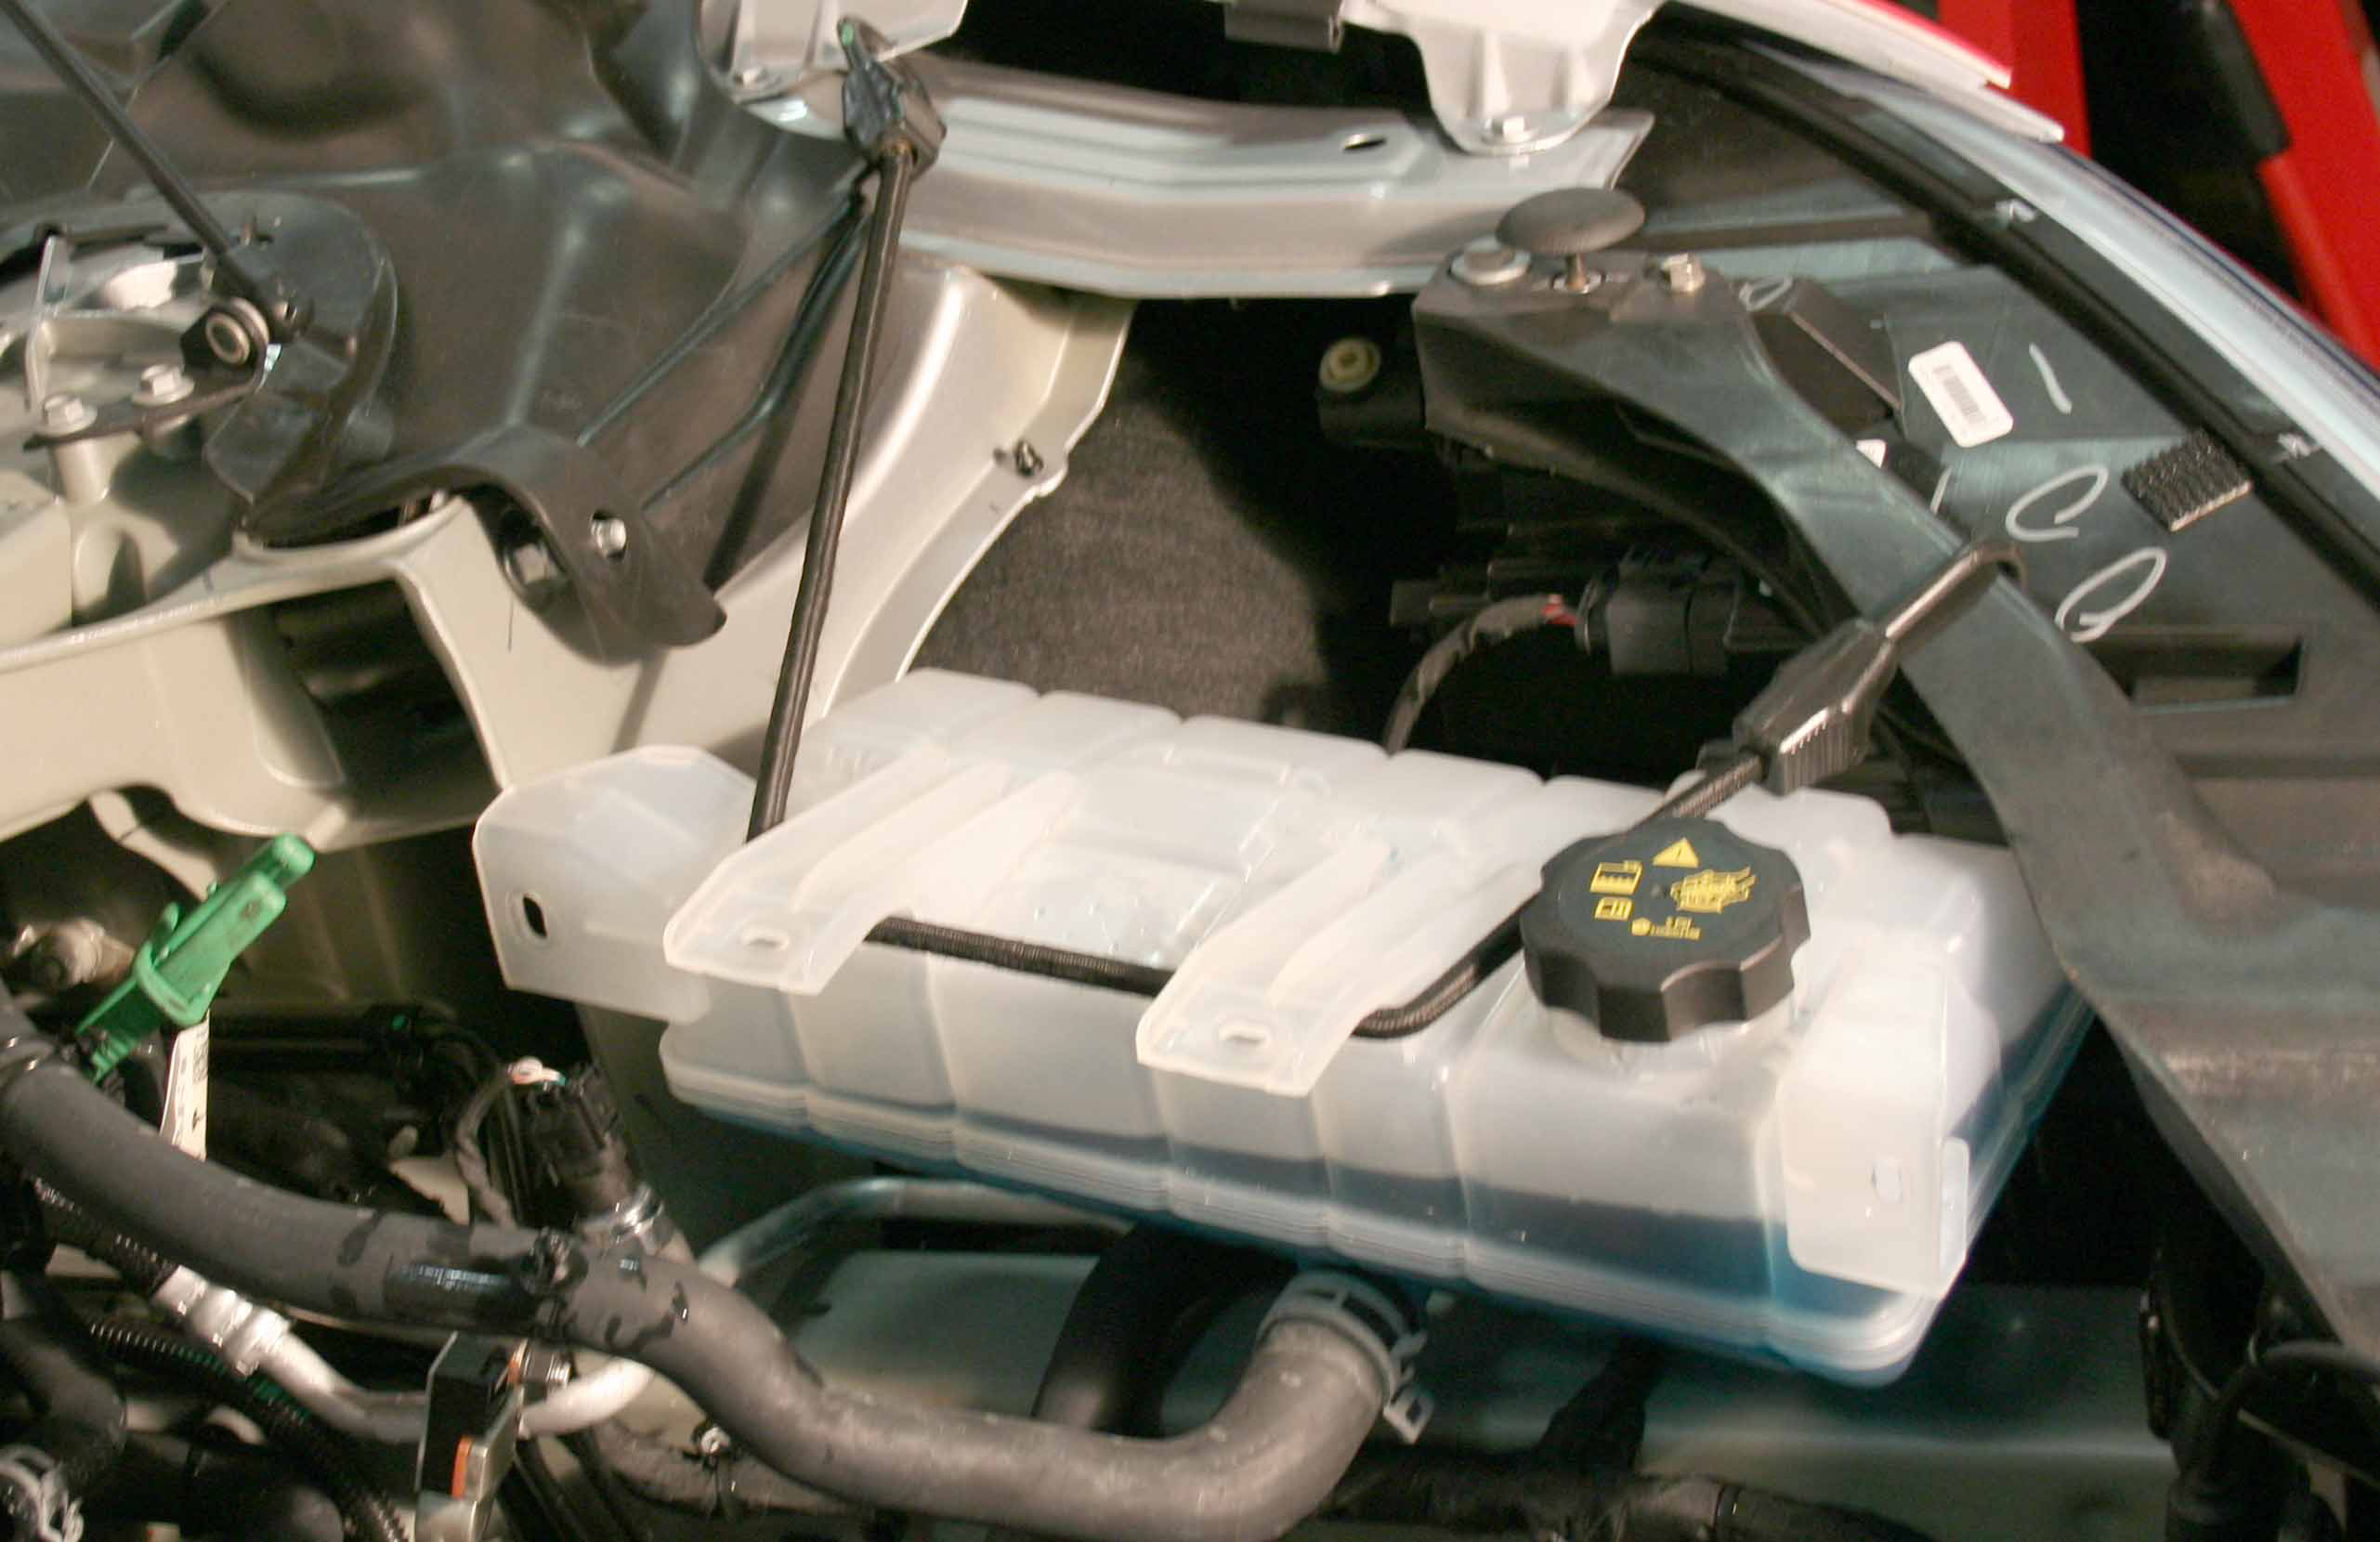
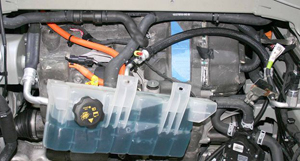
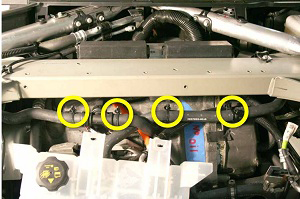
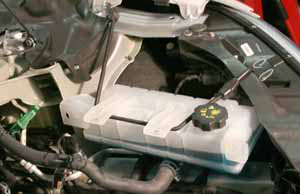
Release the bolts (x4) that secure the coolant reservoir to the front
crossmember (torque 6 Nm). Do not remove the reservoir at this time.


Note: At this point in the
procedure, there are still 2 coolant hoses and 1 harness attached to the
reservoir.
-
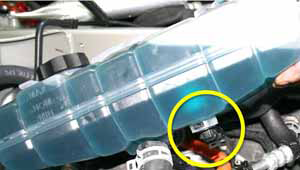
Carefully lift up the coolant reservoir and disconnect the coolant level
sensor harness.
-
Pull the reservoir forward into the underhood area.
Note: The reservoir hose is routed behind the hose that connects to the gearbox. Note the routing of the hoses and ensure that they are routed correctly during reinstallation.
-
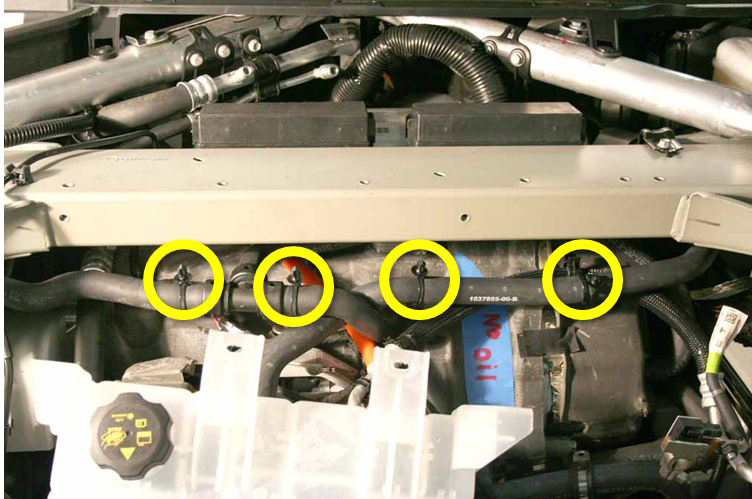
Gently pull down on the 2 coolant hoses to release the clips (x4) that
secure them to the front crossmember.
-
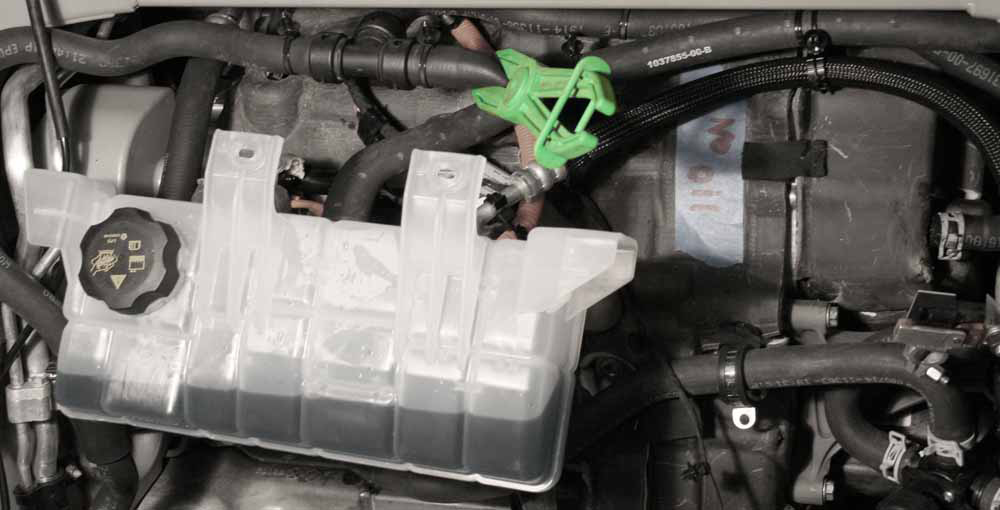
Release the clip that secures the coolant reservoir hose to the A/C
line.
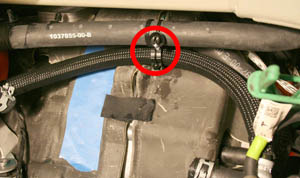
-
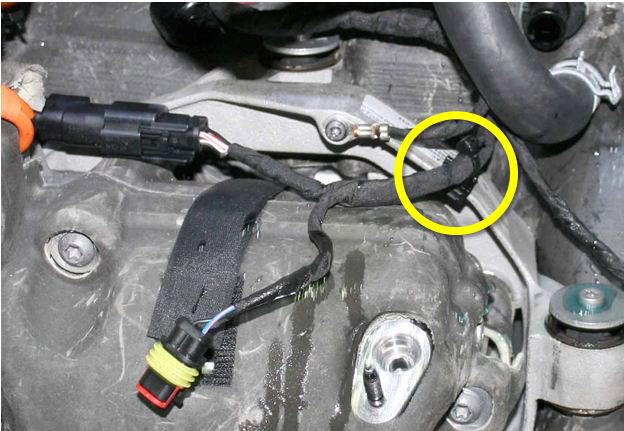
On the LH side of the 3-way fitting, clamp the coolant hose that leads to
the differential housing. Remove the hose from the front drive unit and and
plug the nipple.


Note: Disconnect the A/C machine from the vehicle at this time.
-
Move the coolant reservoir to the LH side of the vehicle and secure it out
of the working area.
Caution: The reservoir is still secured to 2 coolant hoses.
-
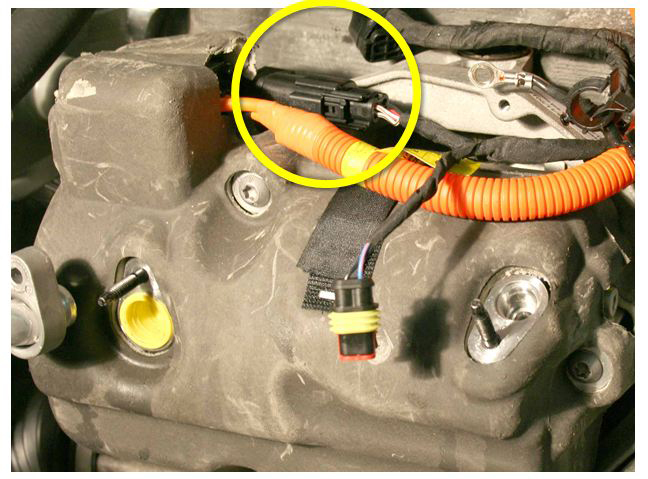
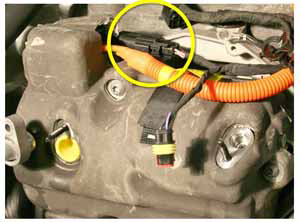
Disconnect the compressor connector from the forward junction box
(FJB).

-
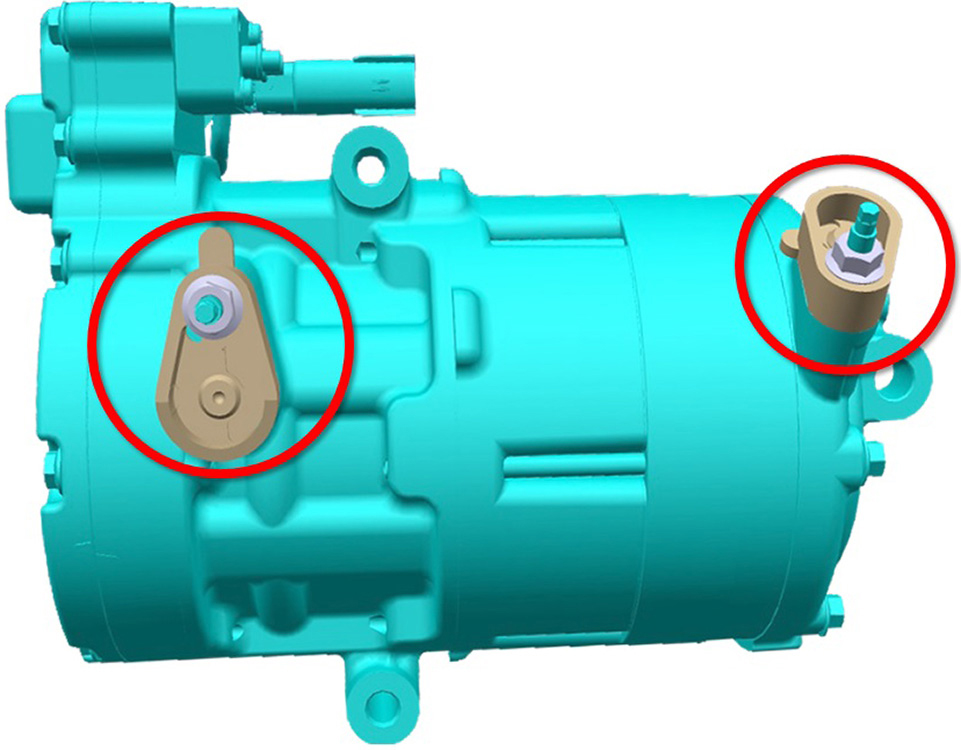
Remove the nuts (x2) that secure the A/C suction and discharge lines to the
compressor (torque 10 Nm). Release the lines and remove the seals. Plug the
holes.
Caution: The holes must be plugged to prevent contamination.Caution: Remove and discard O-rings.

-
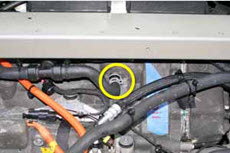
Disconnect the compressor LV harness.
-
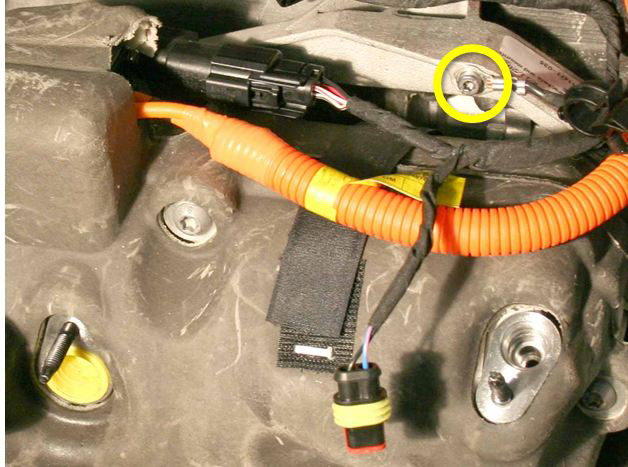
Release the ground strap from the A/C compressor bracket (torque 7
Nm).

-
Release the edge clip that secures the LV harnesses to the compressor
bracket.

-
Release the fir tree clip that secures the LV harnesses to the top of the
front drive unit.

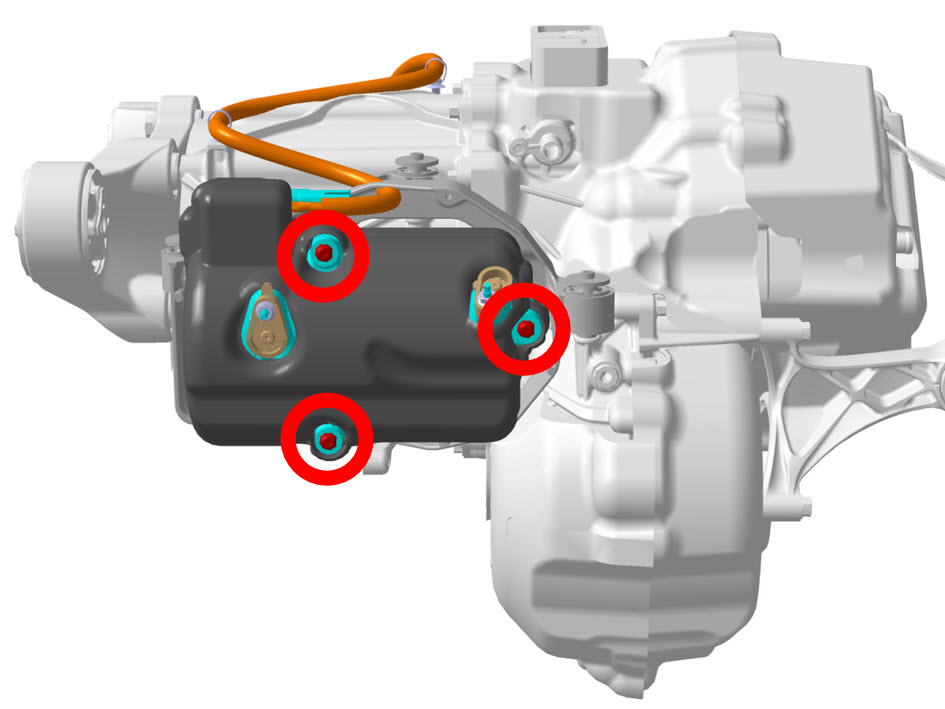
-
Release the bolts (x3) that secure the compressor to the bracket (torque 20
Nm).
 Caution: Do not spill oil from the compressor when removing it. The amount of oil remaining in the old compressor needs to be measured when the new compressor is installed.