Removal
-
Set the fluid transfer pan into position beneath the drain plug. Ensure that the
pan is level, then route the drain hose between the subframe and aeroshield so
that it will drain into an oil drain pan.

-
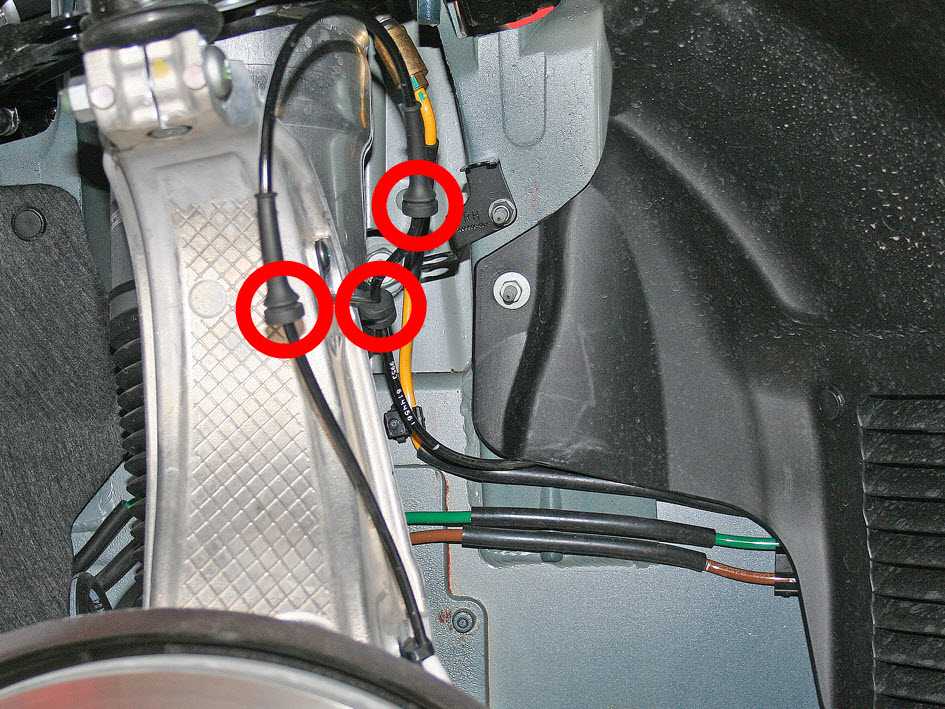
Working in the RH wheelwell, release the rubber grommets that secure the front
wheel speed sensor harness to the body (x2) and the knuckle (x1).

-
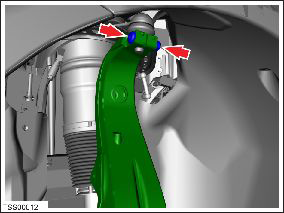
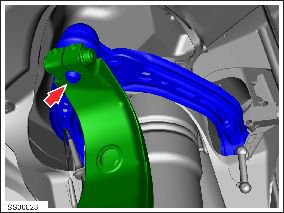
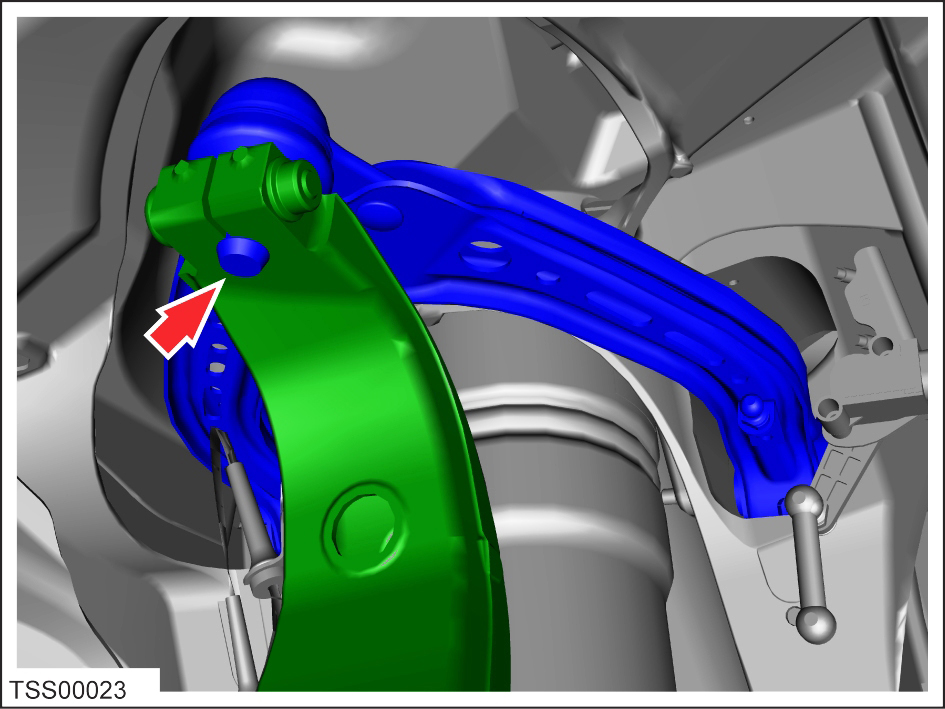
Remove the bolt and nut that secure the knuckle to the upper control arm ball
joint (torque 60 Nm).
-
Disconnect the upper control arm from the knuckle.
-
Restrain the tie rod ball joint pin, then remove the nut that secures the tie
rod end to the knuckle (torque 103 Nm).
Caution: To prevent ball joint damage, always hold the ball joint pin with a wrench while loosening or tightening the lock nut.

-
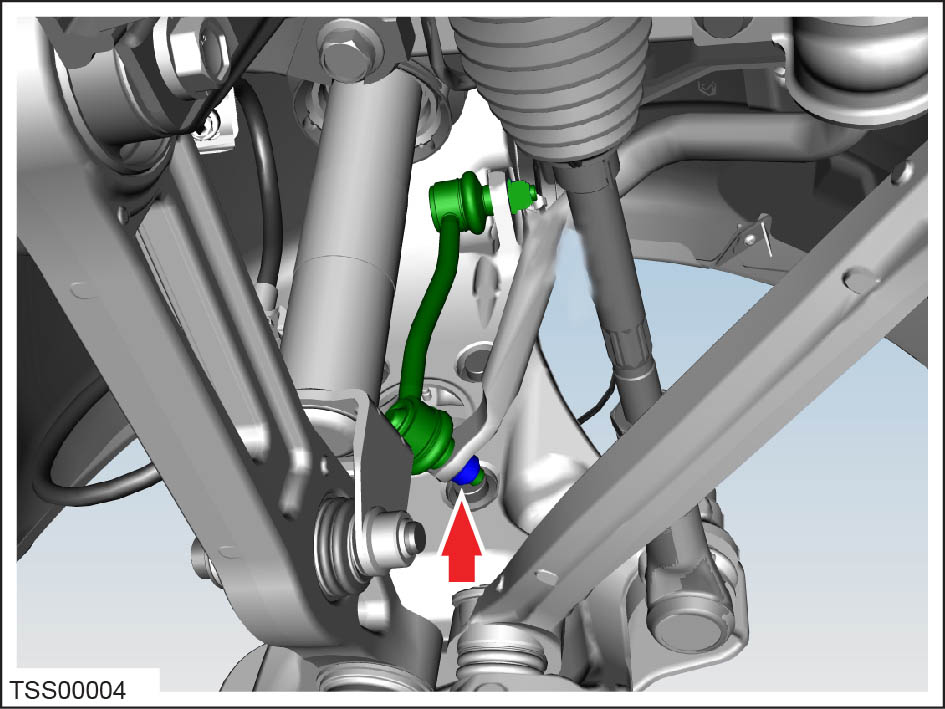
Remove and discard the bolt that secures the sway bar to the sway bar end link
(torque 70 Nm).

-
Remove the RH driveshaft from the jackshaft.
Tip: Use a deadblow hammer to separate the driveshaft.
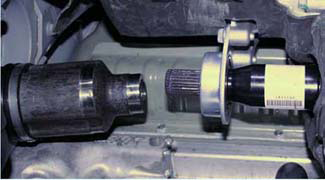


Caution: To avoid damage to the driveshaft boots and oil seals, exercise
caution when removing and installing drive shafts.
Note: Place suitable absorbent material around the affected area to
absorb any fluid spillage.
-
Remove the nut and bolt that secure the spring and damper assembly to the lower
arm (torque 140 Nm).
Caution: Take care not to damage component(s).Caution: Replace all nylon-insert locknuts.Note: The following image shows a rear wheel drive (RWD) assembly. The assembly in a dual motor (DM) vehicle looks different.

