Removal
-
Release the clamps (x2) that secure the feed and return hoses to the radiator.
Release the hoses from the radiator.
Note: Place suitable absorbent material around the affected area to absorb any possible fluid spillage.

-
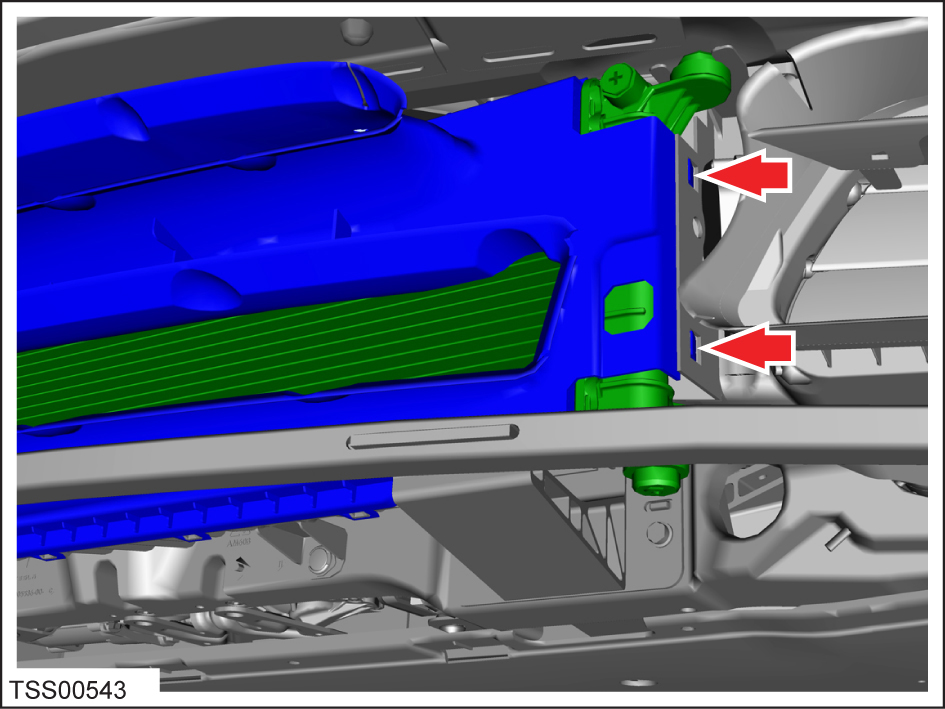
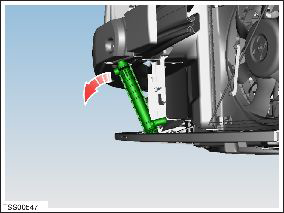
Carefully release the clips (x2) that secure the front LH duct to the rear duct.
Repeat on the RH side.

-
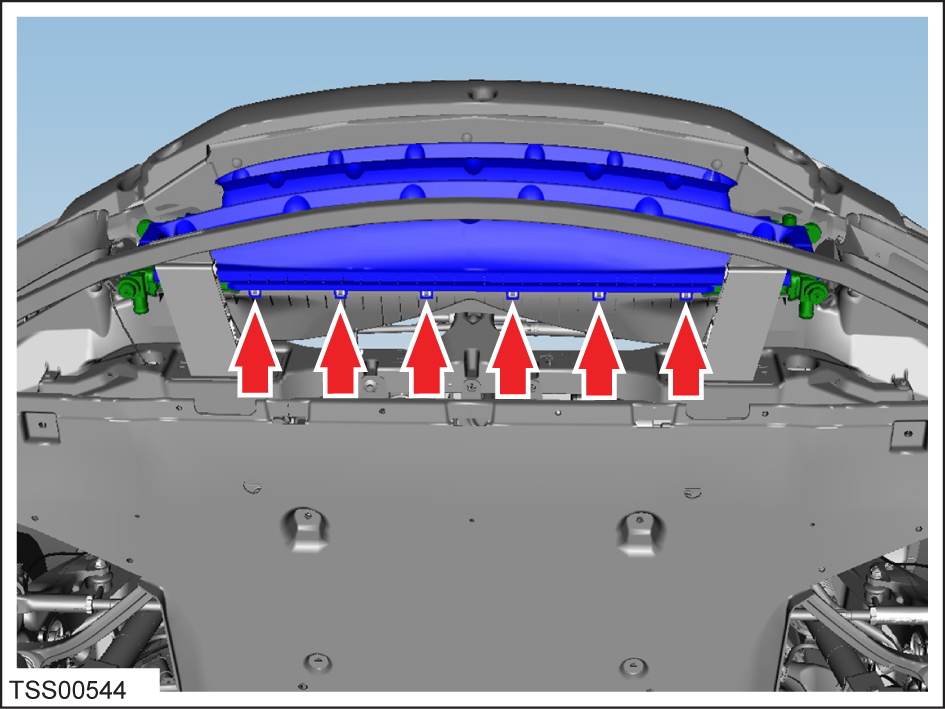
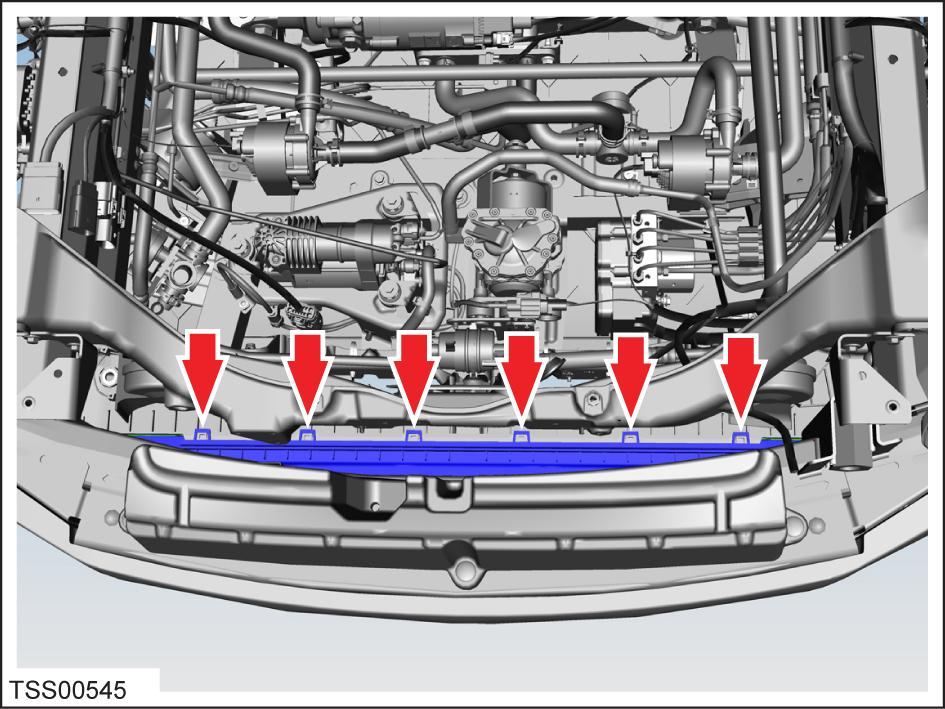
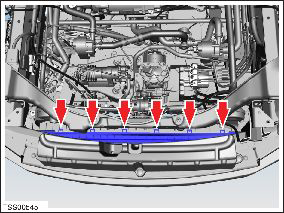
Carefully release the clips (x6) that secure the radiator front duct lower
fixings to the rear duct.

-
Carefully release the clips (x6) that secure the radiator front duct upper
fixings to the rear duct.
-
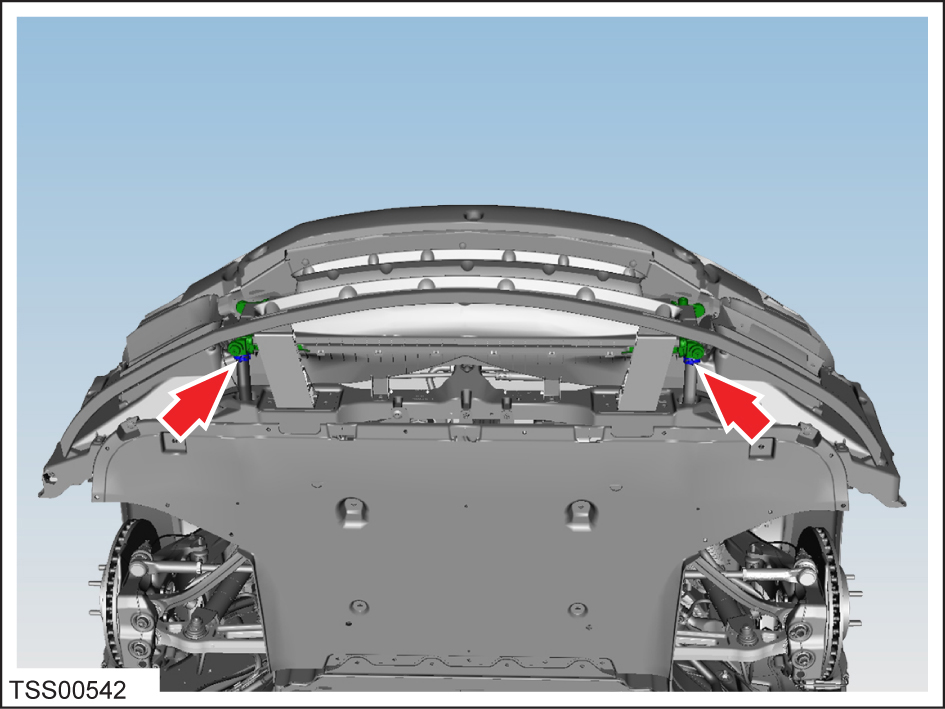
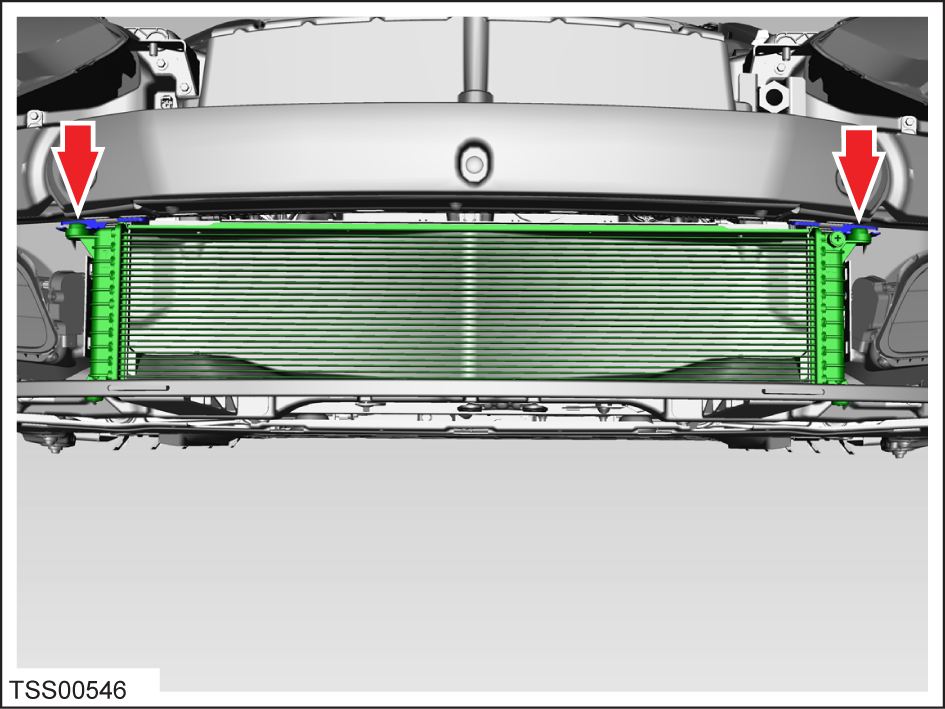
Release the radiator from the upper mounting brackets (x2).
Caution: Be careful not to damage the radiator during this procedure.

-
Maneuver the top of the radiator forwards and lift up the bottom to clear the
ankle catcher.
Note: If necessary, remove the ankle catcher (refer to procedure).
-
Remove the radiator.