Headlining (Remove and Install)

FRT No: 15201001

Note: This procedure does not remove headlining from vehicle, the headlining remains captive within the body.

Removal

  1. Remove LH 'A' post trim (refer to procedure)
  2. Remove RH 'A' post trim.
  3. Release the LH upper 'B' post trim (refer to procedure).
  4. Release the RH upper 'B' post trim.
  5. Remove LH 'C' post trim (refer to procedure)
  6. Remove RH 'C' post trim.
  7. Remove driver sun visor (refer to procedure)
  8. Remove passenger sun visor.
  9. Remove rear view mirror (refer to procedure)
  10. Carefully release clips (x4) securing headlining center trim to cross rail.
    Caution: Take care not to damage component(s).
    Caution: Replace any broken clips.
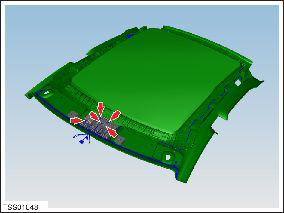
  11. Release spigots (x3) and remove center headlining trim.
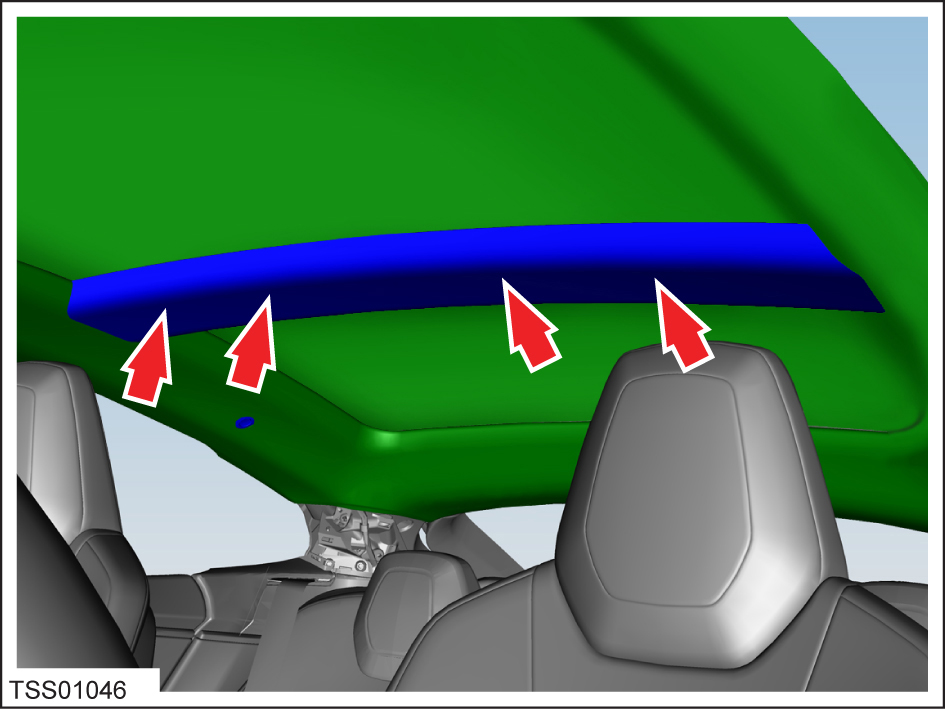
  12. Carefully release clips (x9) securing headlining to front header.
    Note: Components have been removed in this graphic to aid clarity.
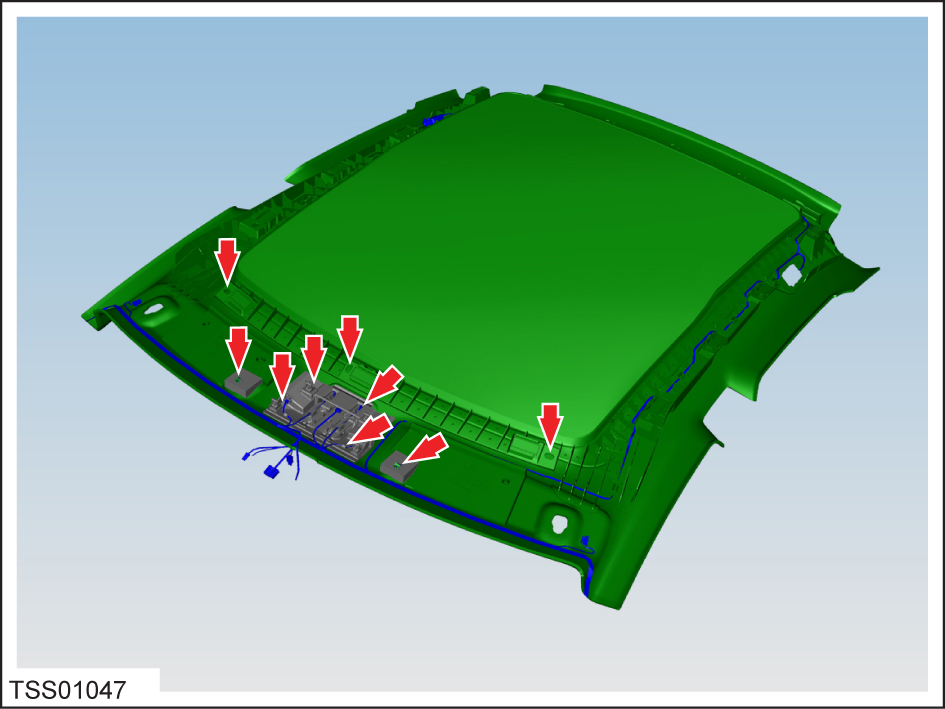
  13. Disconnect harness connectors (x5) from overhead console.
  14. Working front to back, release wiring harness from headlining and clips (x3).
  15. Release rear header clips (x3) and remaining cantrail clips (x6).
  16. Disconnect harness connectors from both rear map lights.
  17. Release wiring harness from rear headlining clips (x2).
  18. Position wiring harness aside for access.
  19. Cover and support headlining.

Installation

Installation procedure is the reverse of removal.
Note: The windshield must be removed for access, if headlining is being replaced.