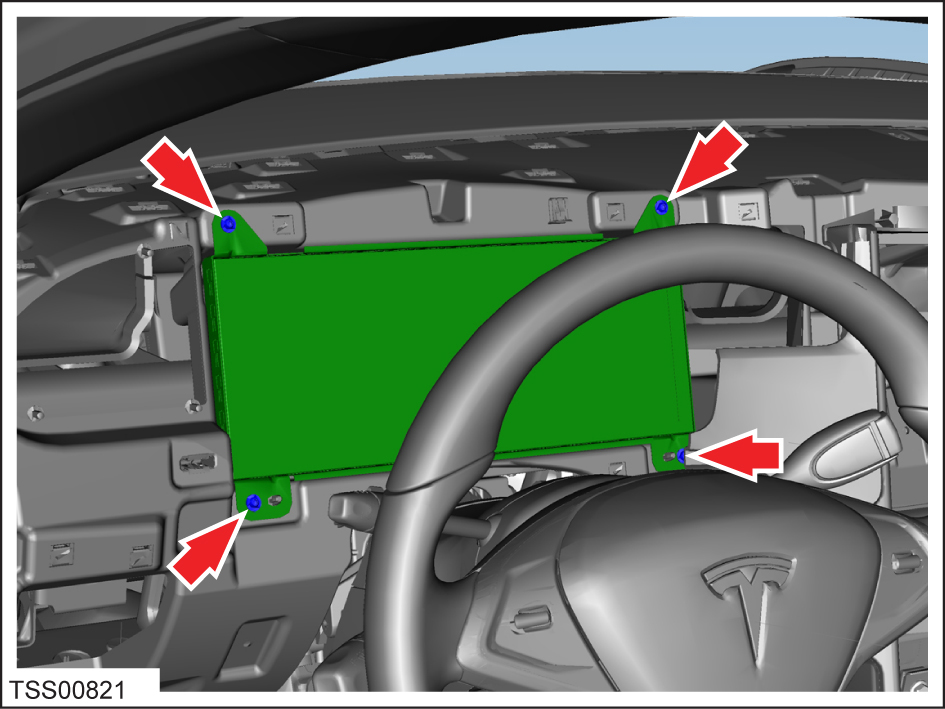
Instrument Cluster (Remove and Replace)

FRT No: 21050202

Caution: Before beginning this procedure, prepare a protected surface to set instrument cluster on when it is removed, such as placing a fender cover, towel, or other soft material onto a workbench.
Caution: The screen on the instrument cluster is very easy to scratch. When handling the instrument cluster, only touch the metal frame that surrounds the screen. Do not touch the screen, even when wearing gloves.

Removal

  1. Disconnect 12V power.
  2. Remove the driver's outboard face level vent (refer to procedure).
  3. Remove driver's inboard face level vent (refer to procedure).
  4. Remove the screws (x4) that secure the instrument cluster to the IP carrier (torque 2 Nm).
  5. Carefully release the instrument cluster from the IP carrier to access the harness connections.
    Caution: Do not touch the screen.
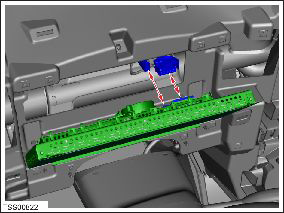
  6. Disconnect the electrical connectors (x2) from the rear of the instrument cluster.
    Caution: Protect the harnesses connectors from contamination and dirt ingress.
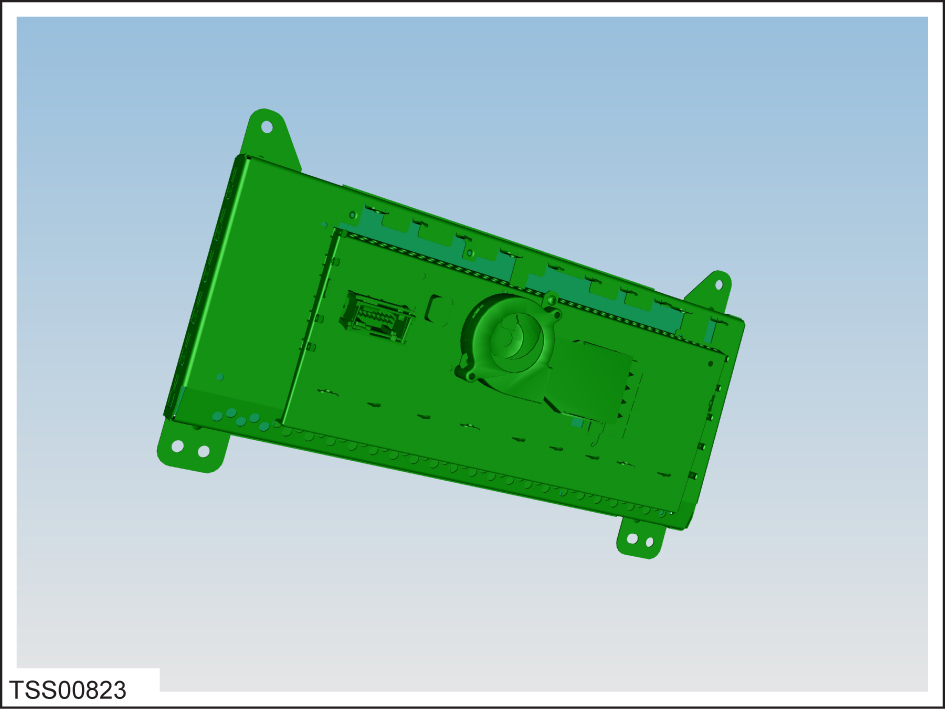
  7. Carefully remove the instrument cluster and put it onto a protected surface.
    Caution: Do not touch the screen.

Installation

Installation procedure is the reverse of removal, except for the following:

Update the vehicle firmware.