Master Charger - RH - 1st Generation (Remove and Replace)

FRT No: 44100202

Note: This procedure describes how to remove and install the 1st generation master charger. If the vehicle is equipped with a 2nd generation master charger, refer to procedure 44102202 (refer to procedure).
Warning: Only technicians who have been trained in High Voltage Awareness are permitted to perform this procedure. Proper personal protective equipment (PPE) and insulating HV gloves with a minimum rating of class 00 (500V) must be worn any time a high voltage cable is handled. Refer to Tech Note TN-15-92-003, "High Voltage Awareness Care Points" for additional safety information.
Warning: To avoid personal injury, eye protection must be worn while using compressed air.

Removal

Note: The slave charger is not installed in the vehicle unless it was requested as an option. The graphics may show both options, Master and Slave chargers, during this procedure.
  1. Remove the HV junction box (refer to procedure) .
  2. Disconnect the harness.
  3. Peel back the carpet for access to the bolts.
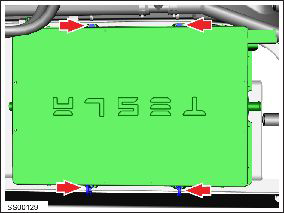
  4. Remove the nuts (x4) that secure the charger to the floor panel (torque 6.5 Nm).
  5. Remove the bolt that secures the ground strap to the charger casing (torque 6.5 Nm).
  6. Position the ground strap aside.
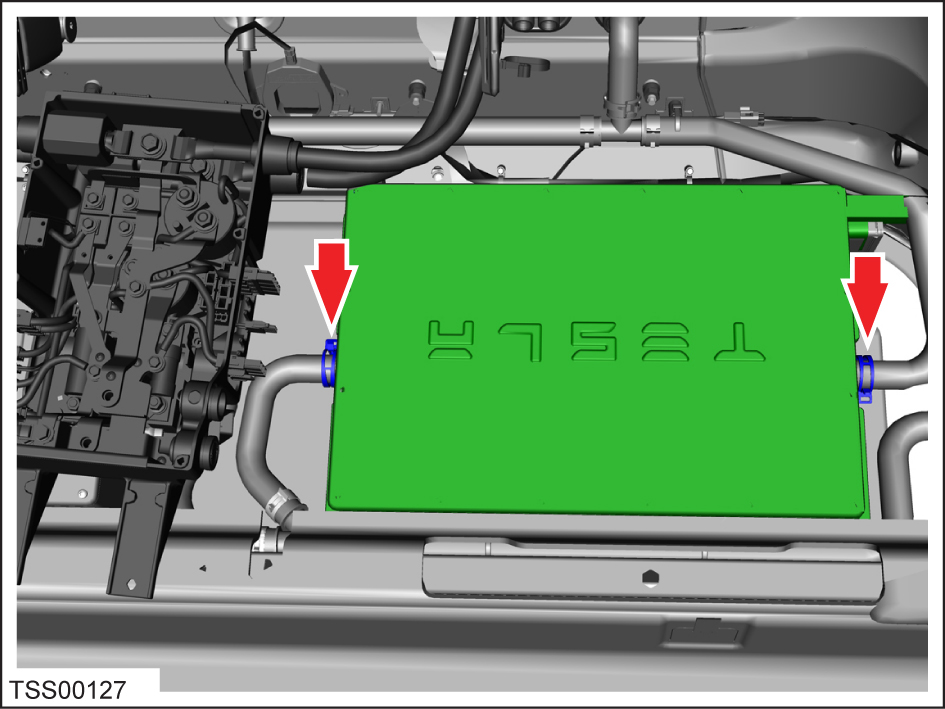
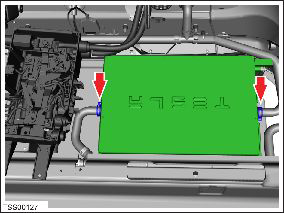
  7. Clamp both hoses as close to the charger as possible to minimize coolant loss. Release the hose clips (x2).
    Note: Place suitable absorbent material around the affected area to absorb any possible fluid spillage.
    Caution: Plug component open ports and disconnected hoses to prevent coolant loss.
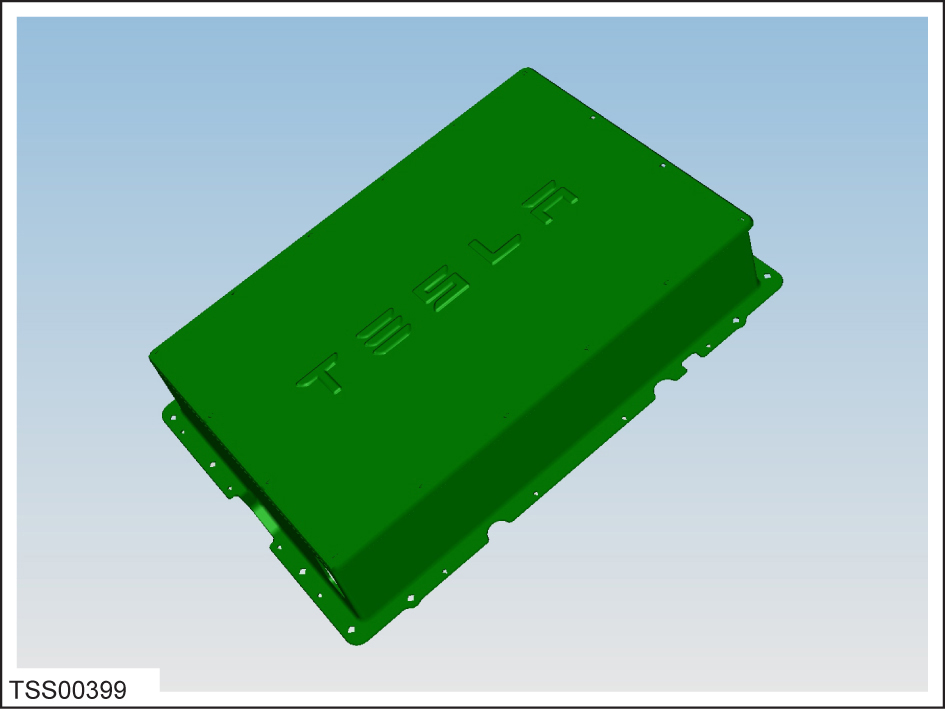
  8. Disconnect both coolant hoses, tilt the charger ports upward, and plug immediately.
  9. Remove the charger.
  10. If the charger is being shipped or stored, allow the coolant to drain from the charger, then use compressed air lightly to blow out any remaining coolant.
    Caution: Do not exceed 25 PSI when using compressed air to blow out any remaining coolant.

Installation

Installation procedure is the reverse of removal, except for the following:
  • Refill and bleed the cooling system (refer to procedure) .
  • If either charger is being replaced, it will be necessary to update the vehicle firmware using Tesla Diagnostic Tool.
  • Use Toolbox to update or redeploy the firmware:
    • If the vehicle is not running the latest firmware, run the "Vehicle Firmware Update" procedure.
    • If the vehicle is running the latest firmware, run the "Firmware Redeploy" procedure.
  • If possible, charge the vehicle at above 40 A for several minutes and verify that there are no alerts.