Rear Lettering (Remove and Replace)

FRT No: 12050602

Special tool(s) required for this procedure:

Supplier Part Number Template color Description Applies to
Tesla 1024723-00-A Black MODEL S BADGE LOCATION FIXTURE All Model S
Tesla 1024725-00-A Black MODEL S BATTERY BADGE LOCATION FIXTURE (UPPER DESIGN) P85+
Tesla 1065134-00-A Light gray MODEL S, BATTERY BADGE FIXTURE, SINGLE MOTOR 60, 70, 85, P85
Tesla 1065135-00-A Red MODEL S, BATTERY BADGE FIXTURE, DUAL MOTOR 70D, 85D, P85D, 90D, P90D
Tesla 1067207-00-D Blue MODEL S, BATTERY BADGE FIXTURE, LUDICROUS P85D, P90D

Removal

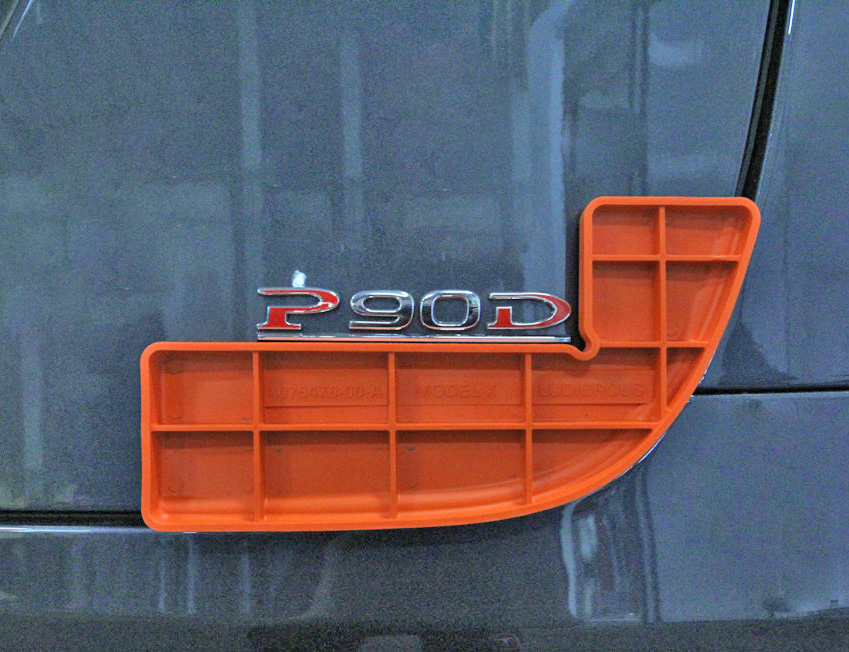
Note: If retrofitting a Ludicrous Speed badge on a vehicle that already has a Performance battery badge installed., refer to procedure 12051006 (refer to procedure).
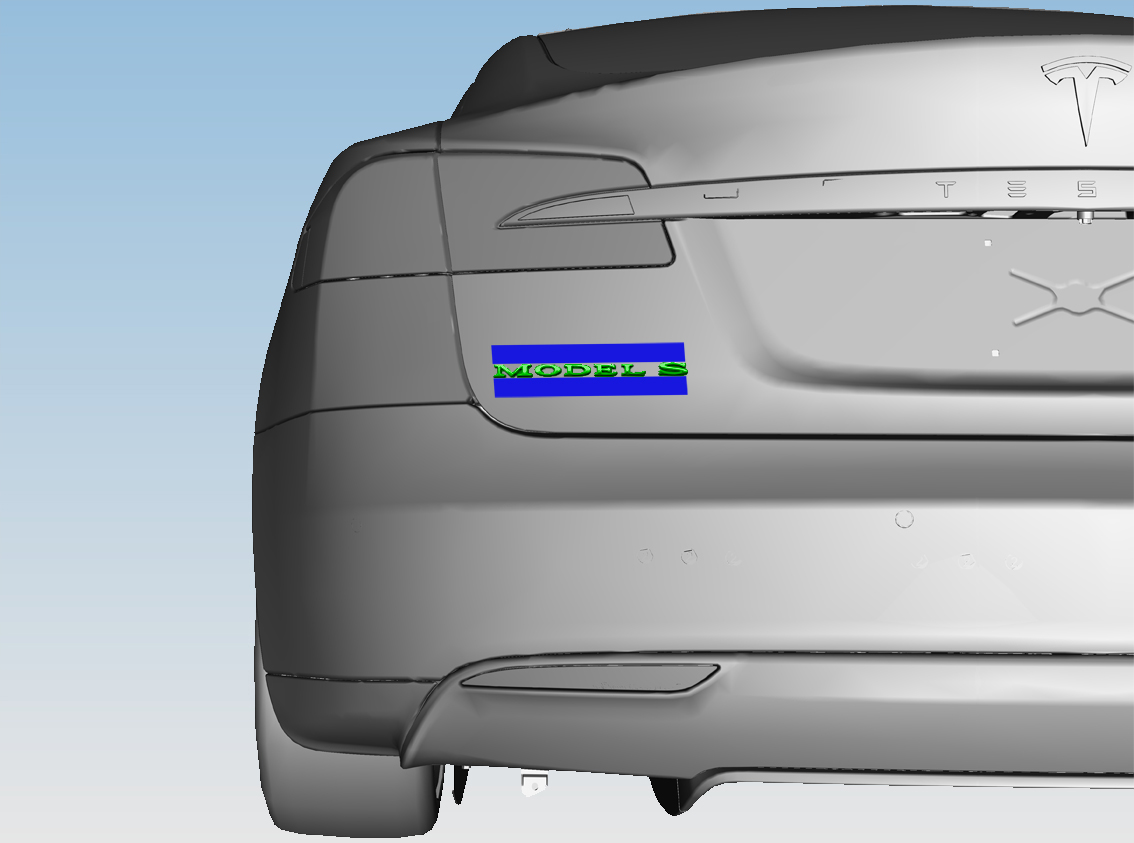
  1. If the fixture tools are not available, use masking tape to mark the position of the badge.
  2. Using a suitable tool, carefully remove the lettering.
    Caution: Care must be taken to avoid damage to paintwork and exterior trim.
  3. Clean the affected area(s) with alcohol wipes.

Installation Using Fixture Tools

  1. On the touchscreen, touch the Tesla logo to verify the battery size and Performance level.
  2. Open the liftgate to a convenient working height.
  3. Clean the affected area(s) of the liftgate with alcohol wipes.
    Note: Allow the alcohol to completely dry before continuing to the next step of this procedure.

Note: If installing both a battery badge and a Ludicrous Speed badge, install the battery badge first.

  1. Place the template into position on the corner of the liftgate. Set the badge against the corner of the template.
    Tip: Use tape or a non-marring plastic clamp to hold the template in place.
    Caution: Care must be taken to avoid damage to paintwork and exterior trim.
    Model X template Battery template Ludicrous Speed template
  2. Peel the backing strip off from the lettering.
  3. Press firmly on the badge to completely seal the badge to the liftgate.
  4. Remove the template
  5. Peel off the plastic front badge carrier from the badge.

Installation Using Masking Tape

Note: If the fixture tools are available, refer to “Installation Using Fixture Tools”.
  1. On the touchscreen, touch the Tesla logo to verify the battery size and Performance level.
  2. Open the liftgate to a convenient working height.
  3. Clean the affected area(s) of the liftgate with alcohol wipes.
    Note: Allow the alcohol to completely dry before continuing to the next step of this procedure.
  4. Peel the backing strip off from the lettering.
  5. Position the lettering using the masking tape as a guide and press firmly to ensure that the lettering is fully seated.
  6. Peel off the plastic front badge carrier from the badge.
  7. Remove the masking tape from the vehicle.