-
Remove the hood assembly (refer to
procedure).
-
Remove the cowl screen panel (refer to
procedure).
-
Apply painter's tape to the panels that are adjacent to the windshield.
-
Remove the LH and RH upper B-pillar trim panels (refer to procedure).
-
Remove the LH and RH sun visors (refer to
procedure).
-
Remove the screws that secure the front of the headliner to the body (torque 2
Nm).
-
Release the clips that secure the front of the headliner to the roof and
partially lower the headliner.
-
Disconnect the electrical connectors at the front of the headliner.
-
Move the harness out of the working area. Secure it with tape, as necessary.
-
Remove the light/rain sensor (refer to
procedure).
-
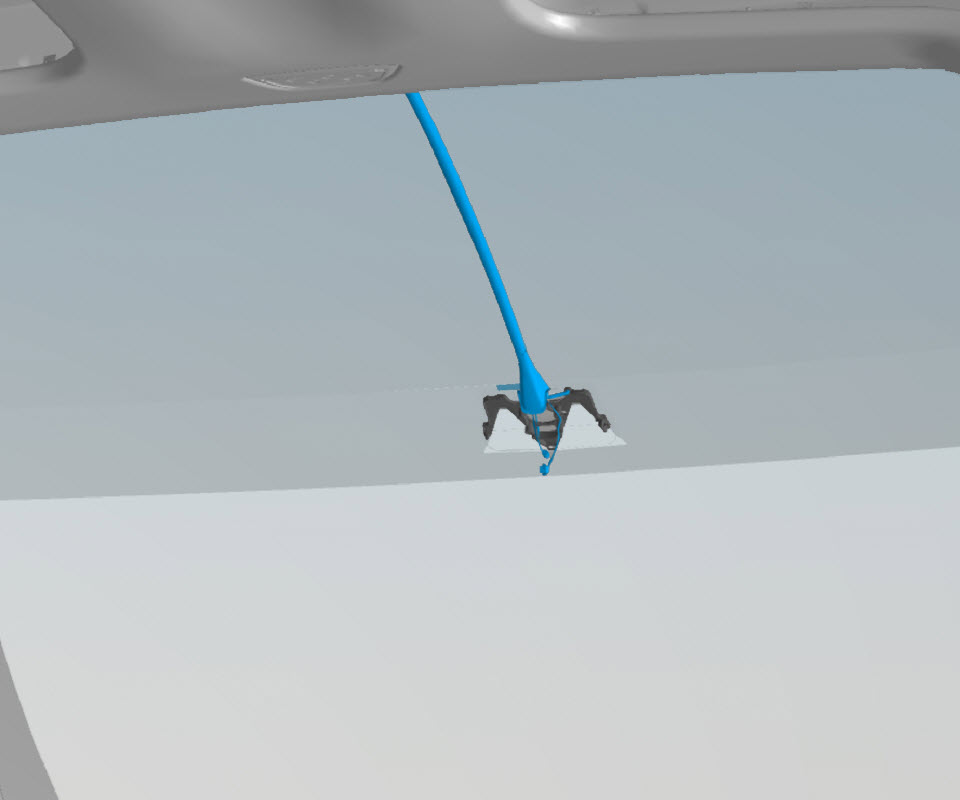
Release the overhead console harness assembly from the windshield.
-
Cut an appropriate length of square wire and insert the wire into the
Centerstart tool.
-
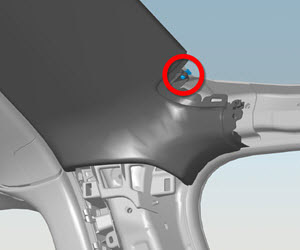
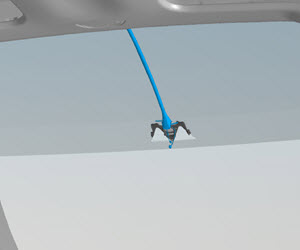
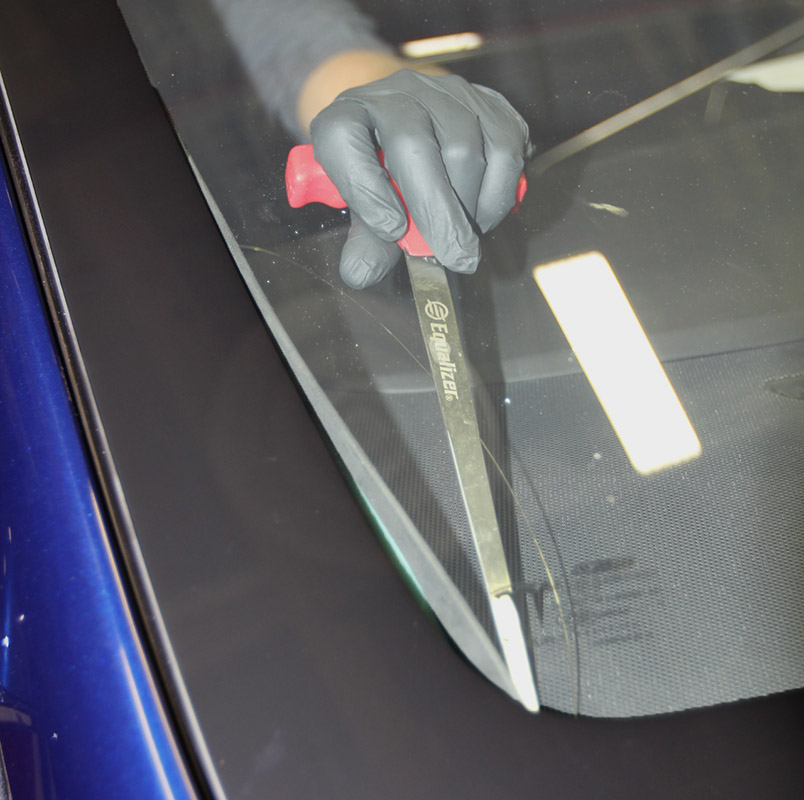
Push the tool through the adhesive near the lower RH corner of the windshield.
Puncture both lines of
adhesive.
Caution: Insert the tool on the RH side of the defrost mesh grille to
avoid damaging the grille.
-
Pull the wire through and remove the tool.
-
Connect the T-handles to the wire.
Note: Use an assistant for the
remainder of the removal steps to make removal easier.
-
Cut out the windshield.
Warning: To avoid personal injury, eye protection
must be worn when performing this operation.
Caution: Take care not to damage
component(s).
-
Clean the windshield with glass cleaner and a clean cloth.
-
Remove the covers from the vacuum cups on the windshield lift tool, then use
glass cleaner and a clean cloth to clean the vacuum cups.
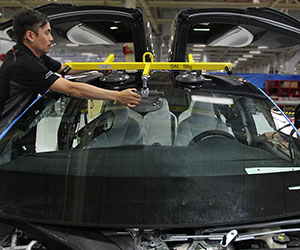
Warning: The windshield and vacuum cups must be cleaned with glass
cleaner before continuing. Dirt and oil on the windshield or vacuum cups can cause
the vacuum cups to lose vacuum, possibly causing the windshield to fall and cause
injury.
-
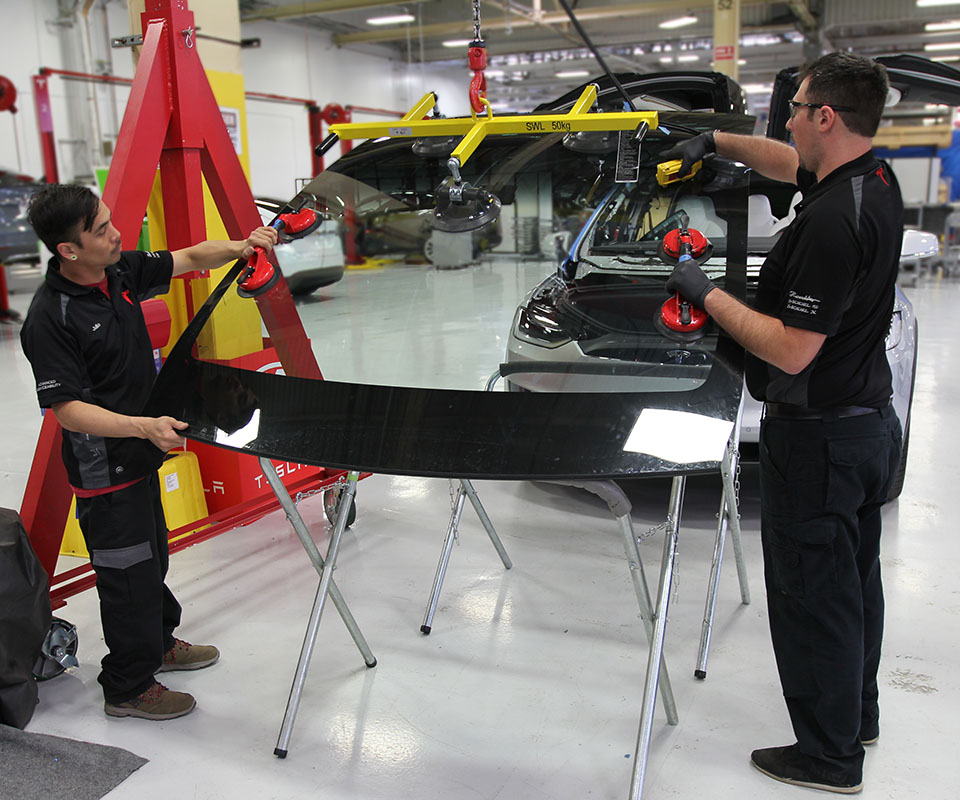
Position the windshield lift tool over the mount for the forward-facing camera,
with the center cup toward the front of the vehicle.
Warning: Ensure that none of the vacuum cups are positioned over a
crack in the windshield. The vacuum cup will not attach securely, possibly
causing the windshield to fall and cause injury.
-
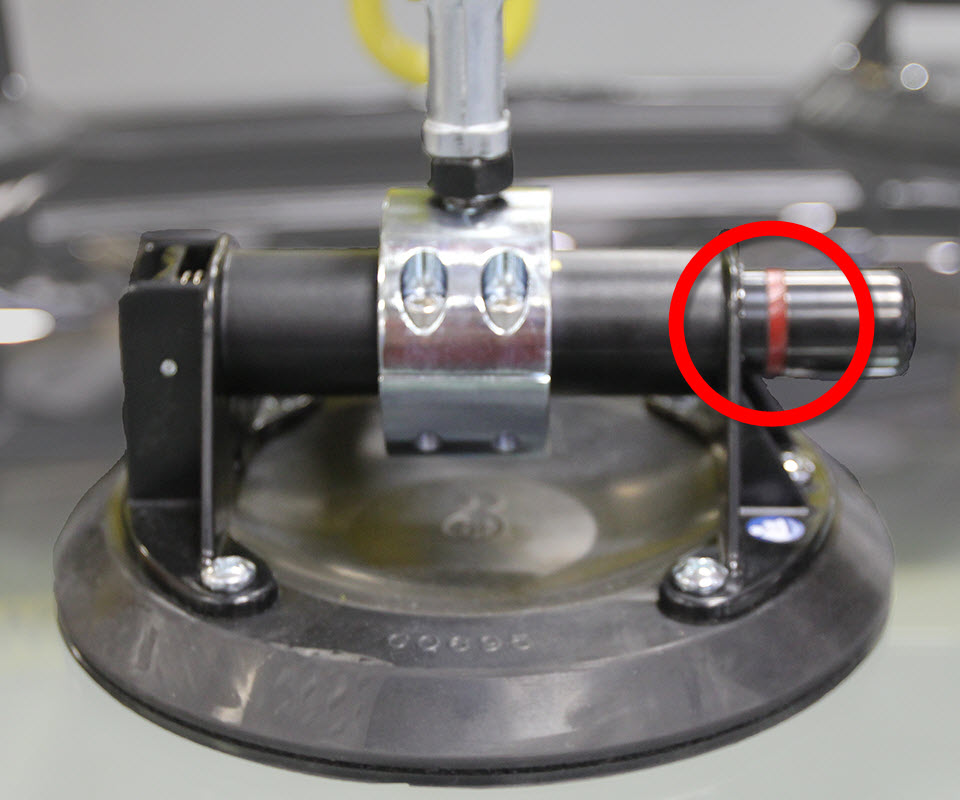
Attach the vacuum cups of the windshield lift tool to the outer surface of the
windshield. Pump each vacuum cup until the red line disappears.
-
If the windshield lift tool is not centered on the windshield, attach vacuum cup
handles to the outer surface of the windshield to help guide the windshield when
it is removed.
-
Connect the windshield lift tool to the gantry.
-
Raise the windshield off of the body, then roll the gantry away from the
vehicle.
-
Place the windshield in a disposal container, on a workbench, on 2 windshield
stands, or in another safe storage area.
Warning: Do not allow the windshield to be supported by the vacuum
cups for an extended period of time. The vacuum cups eventually lose vacuum,
possibly causing the windshield to fall and cause injury.