Removal
- Remove the middle liftgate trim (refer to procedure).
- Remove the liftgate applique (refer to procedure).
- Remove the screws (x4) that secure the liftgate applique bracket (torque 4 Nm).
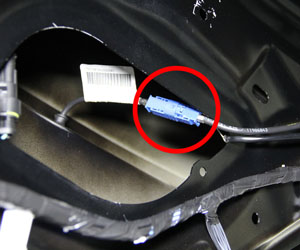
- Reach inside the LH side of the liftgate and disconnect the backup camera harness.
Note: At this point in the procedure,
the camera is still attached to the applique bracket.
- Remove the liftgate applique bracket from the vehicle.
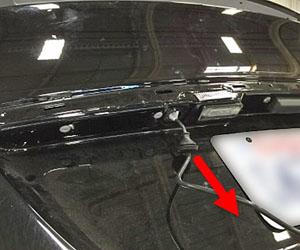
- Pull the camera harness through the opening in the liftgate body.
-
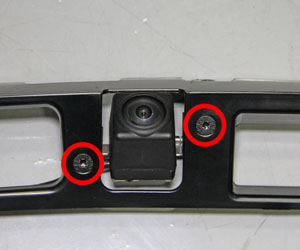
Release the screws (x2) that secure the camera to the liftgate applique bracket
(torque 2.8 Nm).
Note: Components have been removed in this graphic to aid clarity.


