Remove
- Remove the 2nd row middle floor panel (refer to procedure).
- Move the 2nd row seats to their forwardmost position.
-
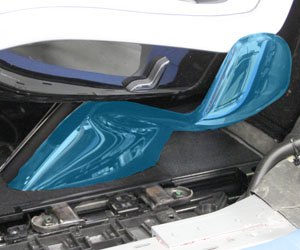
Pull outward on the outboard LH podium trim to release the clips that secure it
to the seat.
Caution: Replace any broken clips.
- Move the RH 2nd row seat to the Easy Entry position.
- Working from the RH side of the vehicle, pull outward on the inboard LH podium trim to release the clips that secure it to the seat.
-
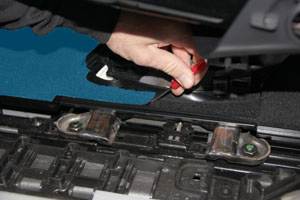
Using a pick or similar tool, remove the carpet at the base of the LH seat
forward to access the screws underneath.
Note: This carpet is a one time use component. Ensure that a new carpet is installed during reinstallation.
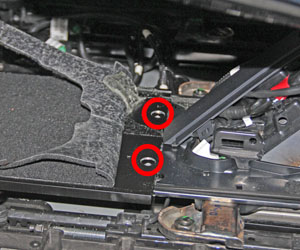
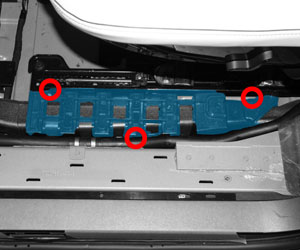
- Release the screws (x2) that secure the front sliding panel to the seat tracks (torque 2.5 Nm).
- Release the sliding panel from the seat tracks.
- Move the LH 2nd row seats to the Easy Entry position.
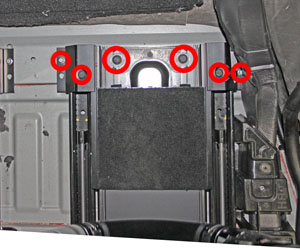
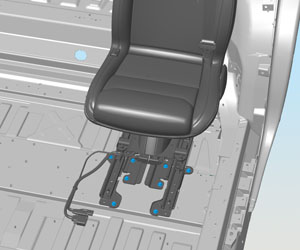
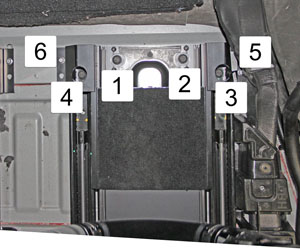
- Remove the bolts (x6) that secure the rear of the seat tracks.
- Move the 2nd row seats to their rearmost position.
- Release the fasteners that secure the LH outboard support bracket (torque 2.5 Nm).
- Remove the rocker duct.
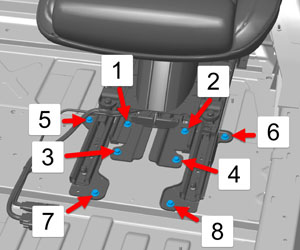
- Remove and discard the bolts (x8) that secure the front of the seat tracks.
- Disconnect 12V power (refer to procedure).
Warning: Wait at least 2 minutes before continuing to allow the airbag
circuits to fully discharge.
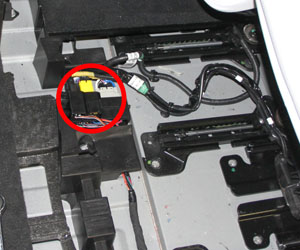
- Release the clip that secures the harnesses to the bracket in front of the seat.
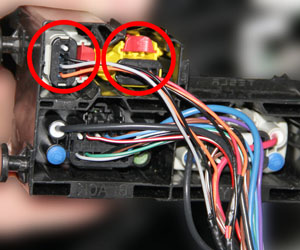
- Working from the bottom of the harness block, use a pick or similar tool to release the locking tabs to disconnect the small yellow and gray harnesseses.
- Working from the top of the harness block, disconnect the large black harness.
- Prepare a padded surface for the seat when it is removed in the next step.
- With an assistant, carefully remove the seat from the vehicle and place it on the padded surface with the outboard side of the seat facing up.
