Fascia Assembly - Front (Remove and Install)

FRT No: 10011001

Removal

  1. Prepare a soft, clean area on which to set the fascia after it is removed.
  2. Remove the front underhood apron (refer to procedure).
  3. Remove the LH front fender garnish (refer to procedure).
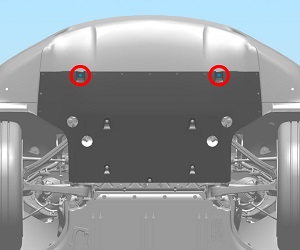
  4. Remove the screw that secures the fascia to the LH fender (torque 1.5 Nm).
  5. Remove the RH front fender garnish (refer to procedure).
  6. Remove the screw that secures the fascia to the RH fender (torque 1.5 Nm).
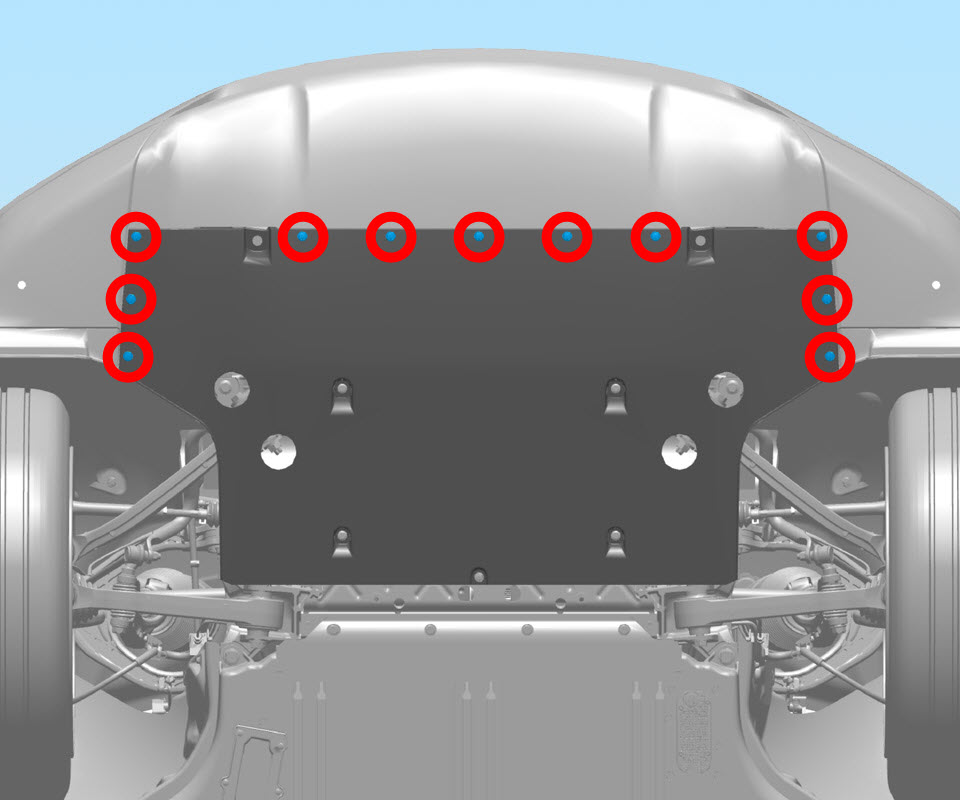
  7. Remove the push clips (x11) that secure the front aero shield to the fascia.
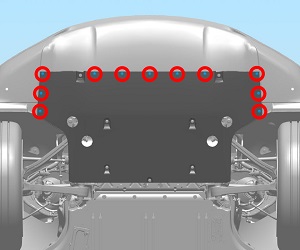
  8. Remove the bolts (x2) that secure the front aero shield to the fascia (torque 3 Nm).
  9. Remove the bolts (x2) that secure the top of the front fascia to the upper grille.
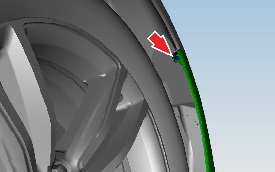
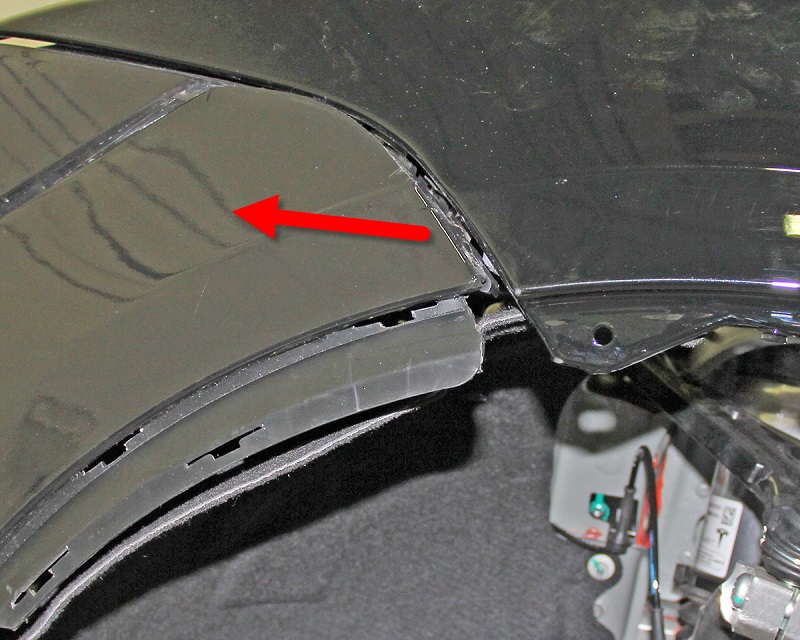
  10. Release the rear portion of the fascia by pulling the rear corners away from the fenders.
  11. Starting on the LH side of the vehicle, release the clips that secure the front fascia by pulling the fascia up and away from the vehicle.
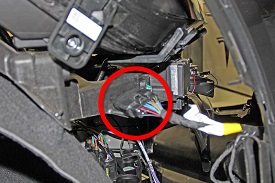
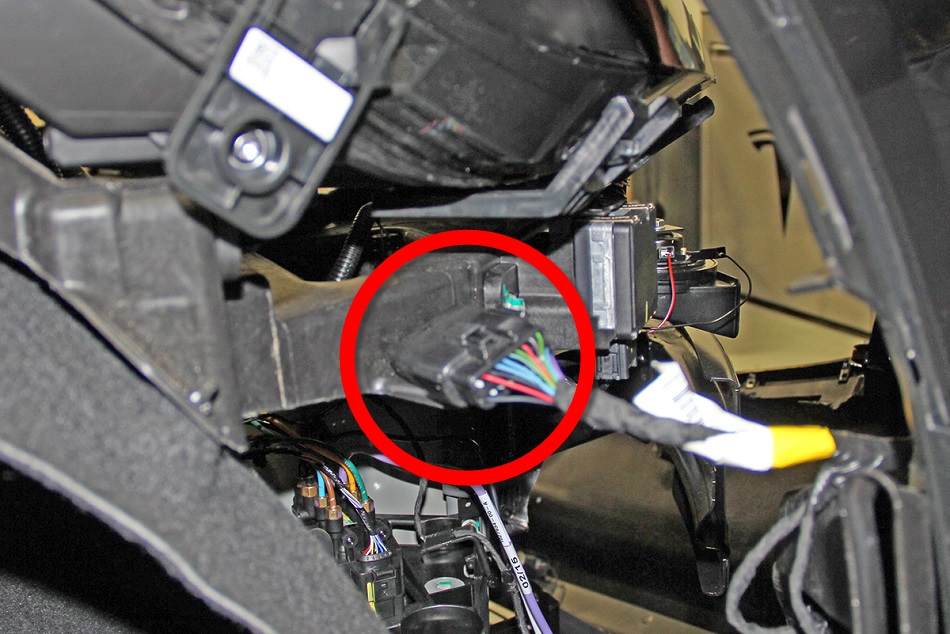
  12. Disconnect the harness connector on the RH side of the vehicle.
  13. With an assistant, remove the front fascia from the vehicle.

Installation

Installation procedure is the reverse of removal, except for the following:

Inspect the routing of the hood actuator release cable after the installation of the front fascia assembly.