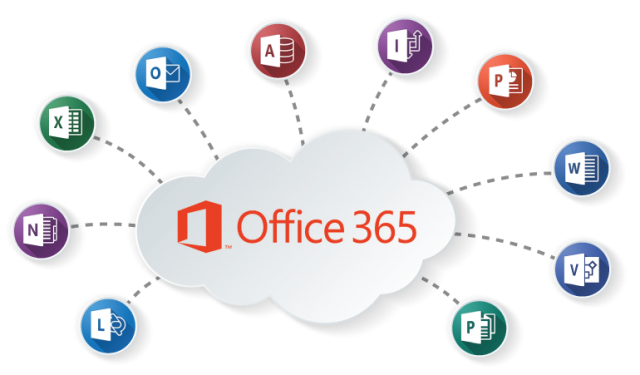
Microsoft Office 365 has the ability to run Office 365 ProPlus on a RDS Server using a feature called Shared Computer Activation. In this short and straight to the point walkthrough I will guide you step-by-step on how to achieve this. Please do exactly as instructed and this should work without any problems.
IMPORTANT: For this to work you must have Enterprise E3 or a higher level of subscription licensed to your account.
[UPDATE 23rd. March 2019]
Go directly to the Office Customization Tool to create your configuration.xml. Then use that in step 3.
Instructions:
-
- Make sure all users logged out and only Administrator (or user with equal rights) is logged in. If the server has been running for a long time, I would recommend a reboot before starting as well.
-
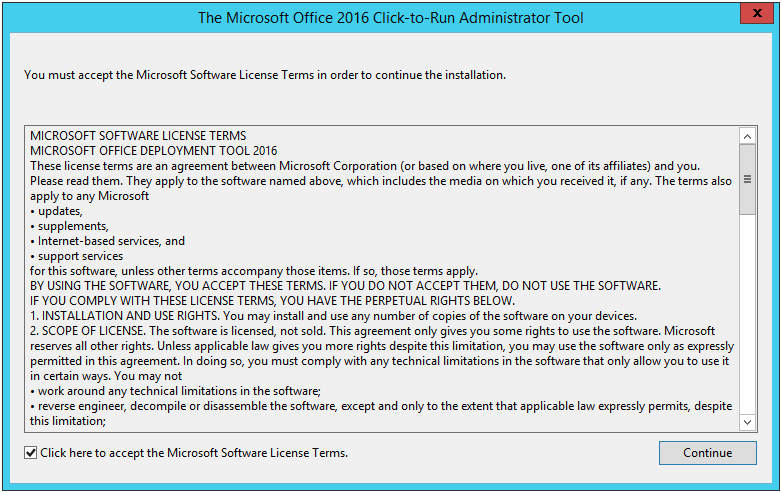
- Download the Office Deployment Tool:
For Office 2016: https://www.microsoft.com/en-us/download/details.aspx?id=49117
For Office 2013: https://www.microsoft.com/en-us/download/details.aspx?id=36778
- Download the Office Deployment Tool:
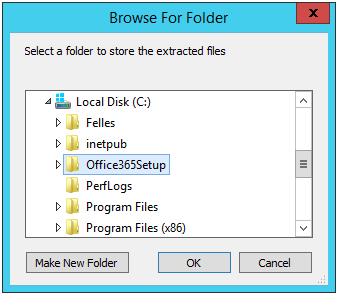
- Run and extract the tool (.exe file) to a folder on your RDS. For instance C:\Office365Setup
- Edit and configure the configuration.xml file as follows (replace everything in the original file if you want):
<Configuration><Add OfficeClientEdition="32" >
<Product ID="O365ProPlusRetail">
<Language ID="en-us" />
</Product></Add><Display Level="None" AcceptEULA="True" />
<Property Name="SharedComputerLicensing" Value="1" />
<Logging Path="%temp%" /></Configuration> - From an elevated Command Prompt, run Setup to download the installation files:
setup.exe /download configuration.xml
The Office365 ProPlus installation files will be downloaded to the current folder.
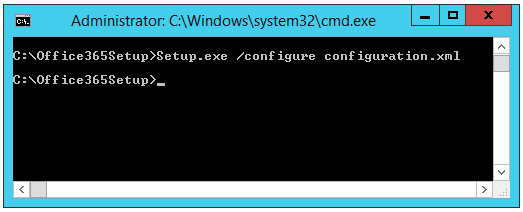
- From an elevated Command Prompt, run Setup to install Office:
setup.exe /configure configuration.xml
- When the installation is complete, the Office suite will be available for use. Remember that the installation is run in silent-mode, that means that there will be no indication that Office is being installed. (You can look at Task Manager for running processes if you want.) When the command prompt returns to normal and you see the Office shortcut icons, setup is finished.
- On starting the one of the applications, you will be prompted to Activate Office. Click Next and Sign in with your Office 365 account.
- Once signed in, you are ready to go. Office will automatically activate and configure the applications as needed.