Removal
-
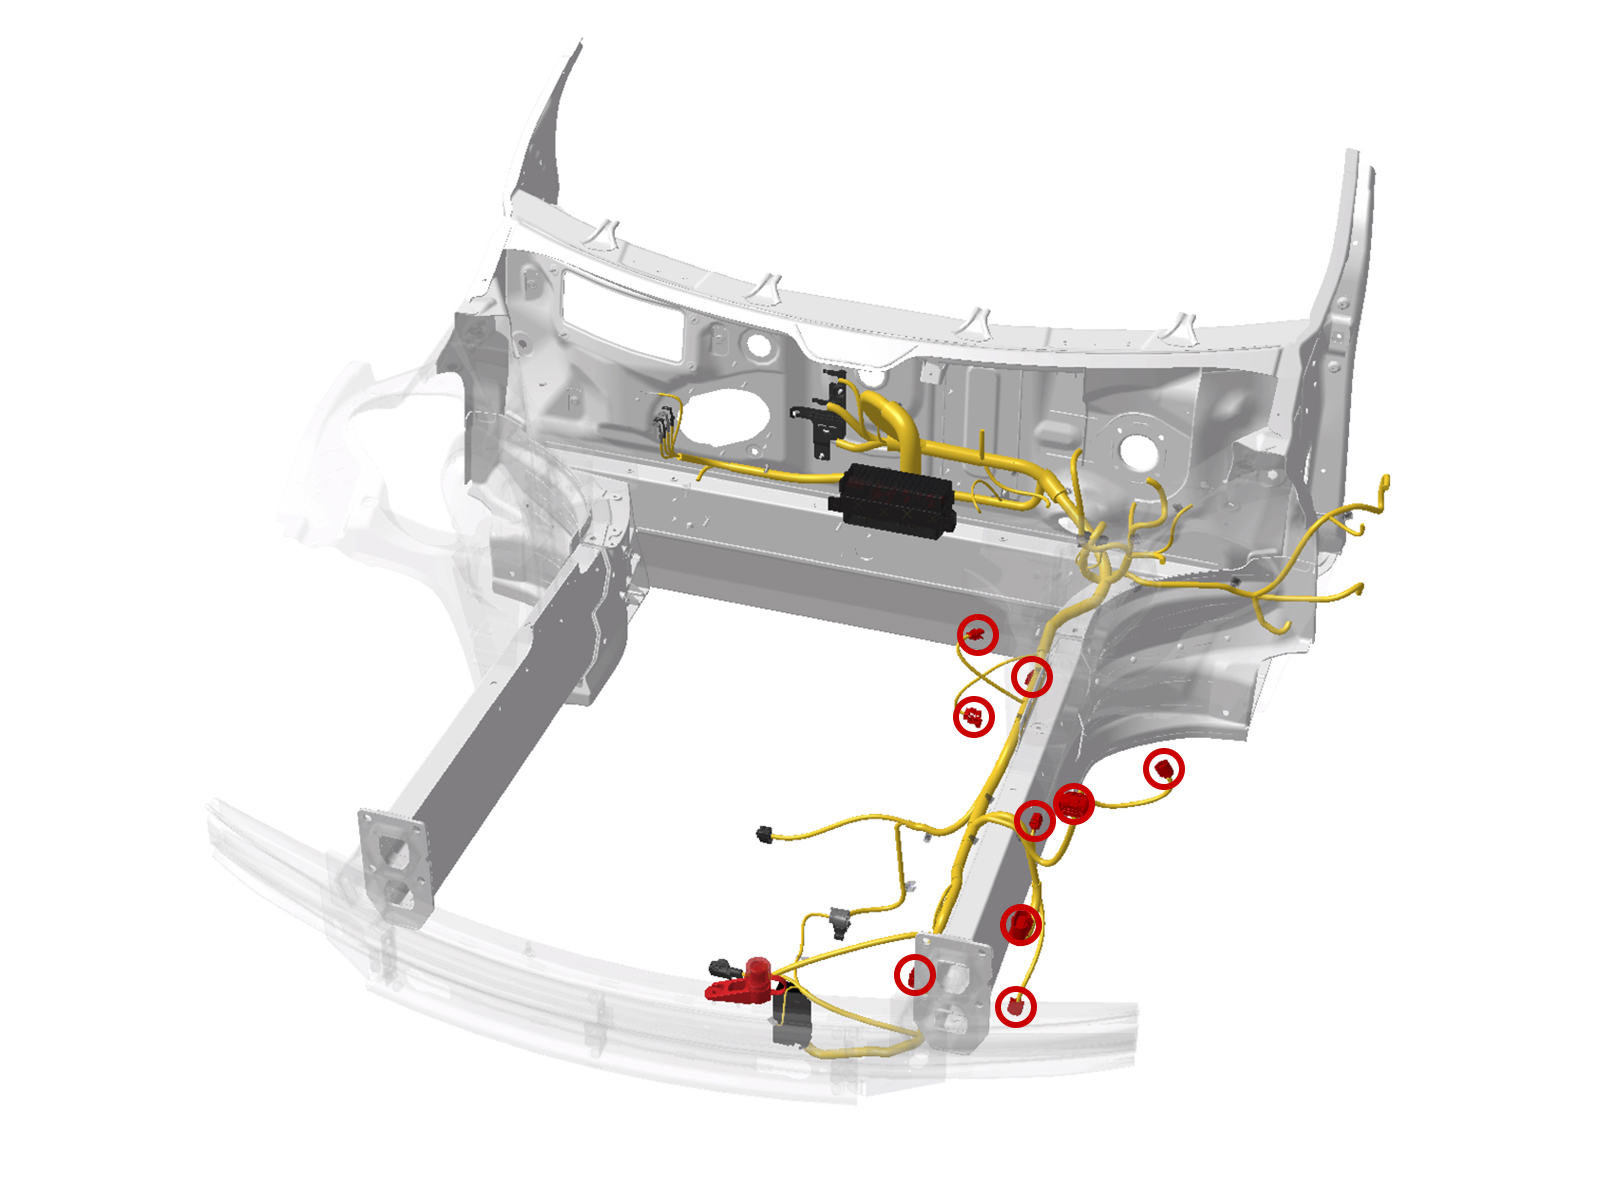
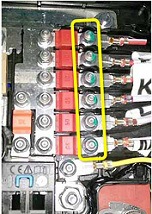
Release the nuts (x6) that secure the top layer of harnesses to the 12V fusebox
(torque 5 Nm). Release the harnesses from the fuse box.
-
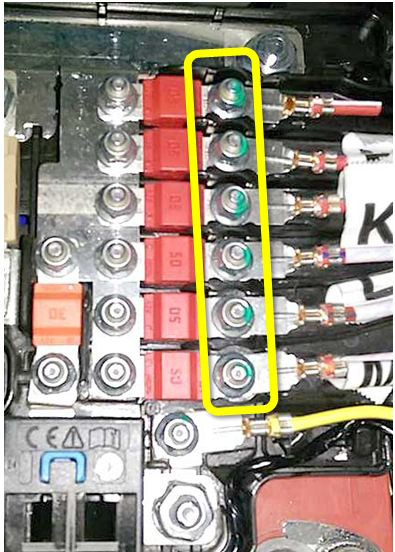
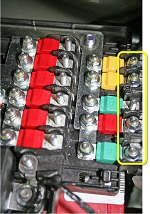
Release the nuts (x5) that secure the lower layer of harnesses to the 12V
fusebox (torque 5 Nm). Release the harnesses from the fuse box.
-
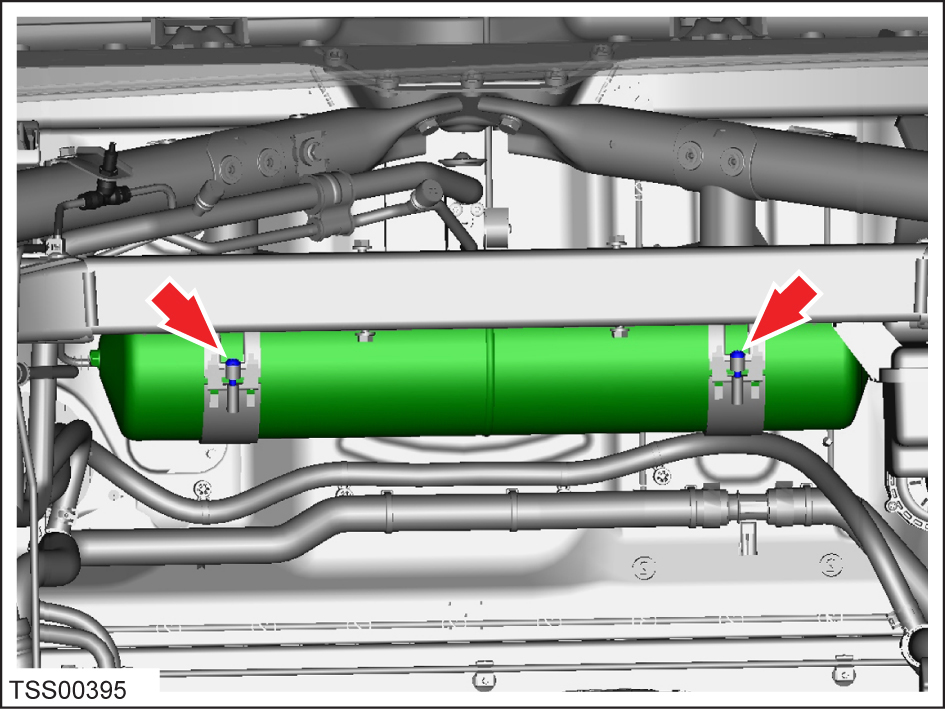
If the vehicle is equipped with air suspension, release the bolts (x2) that
secure the air reservoir (torque 2.5 Nm). Carefully set the reservoir in the RH
side of the frunk.
Note: It is not necessary to disconnect the air lines.

-
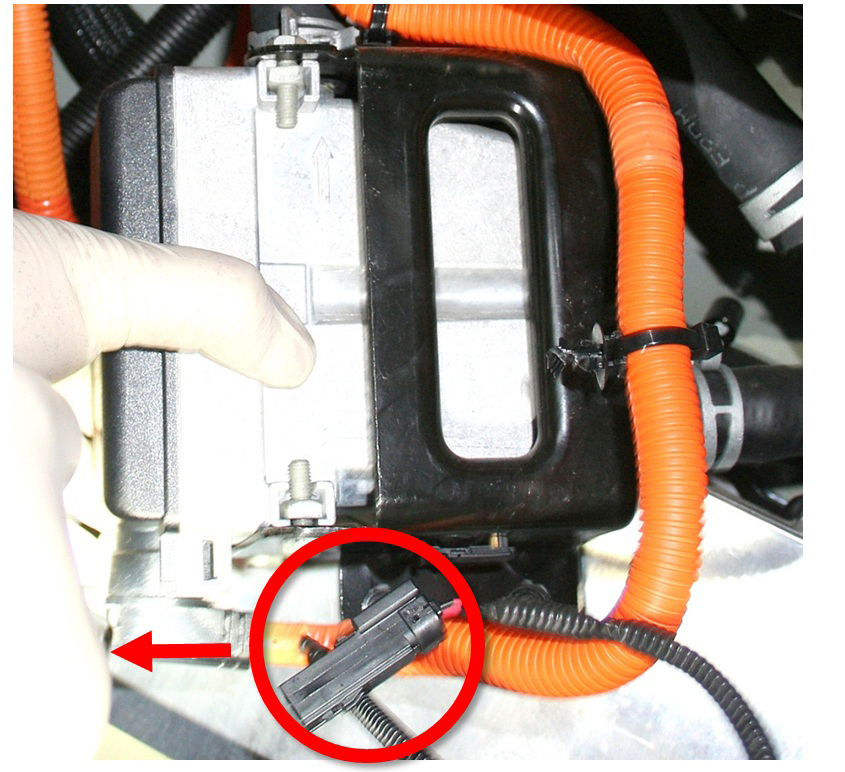
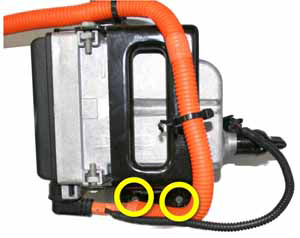
Slide the harness connector off of the base of the coolant heater
assembly.

-
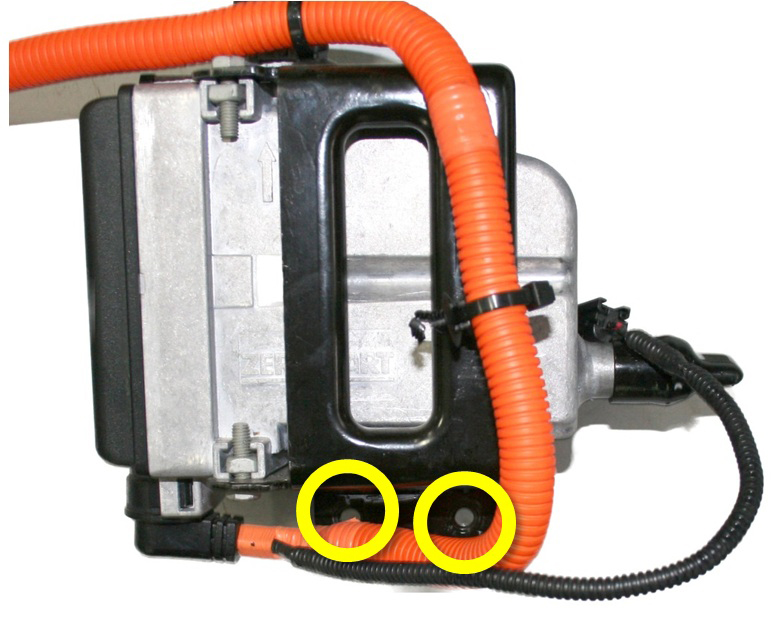
Release the bolts (x2) that secure the coolant heater assembly to the
crossmember (torque 8 Nm). Carefully set the coolant heater assembly aside.
-
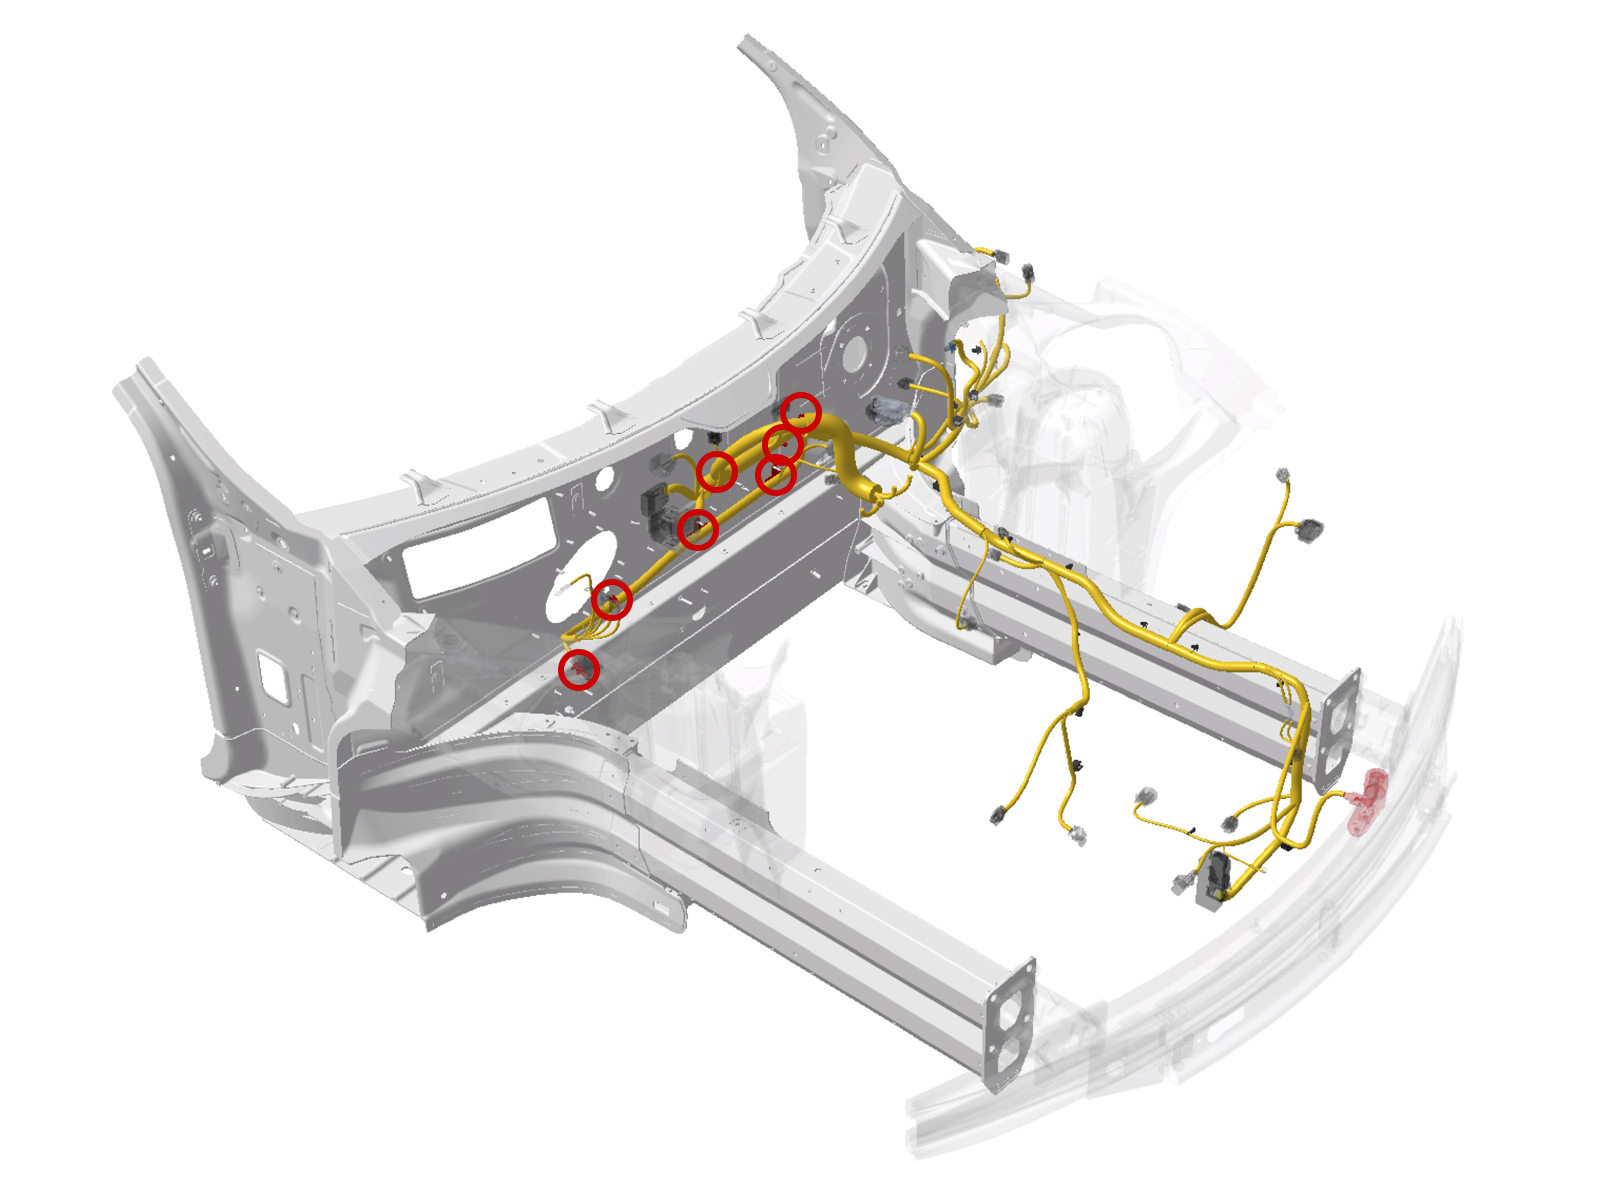
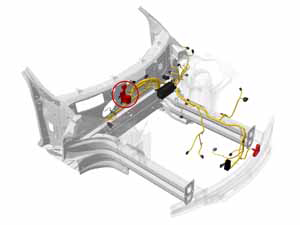
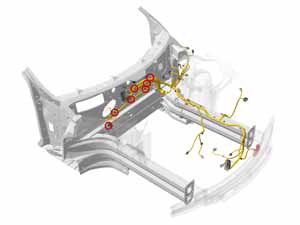
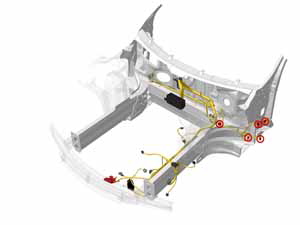
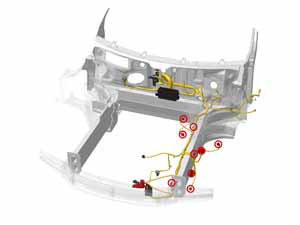
On the firewall above the forward junction box, disconnect the 3 power transfer
connectors.
-
Release the RH side of the harness from the supports on the firewall.
-
Disconnect the remaining connectors on the firewall.
-
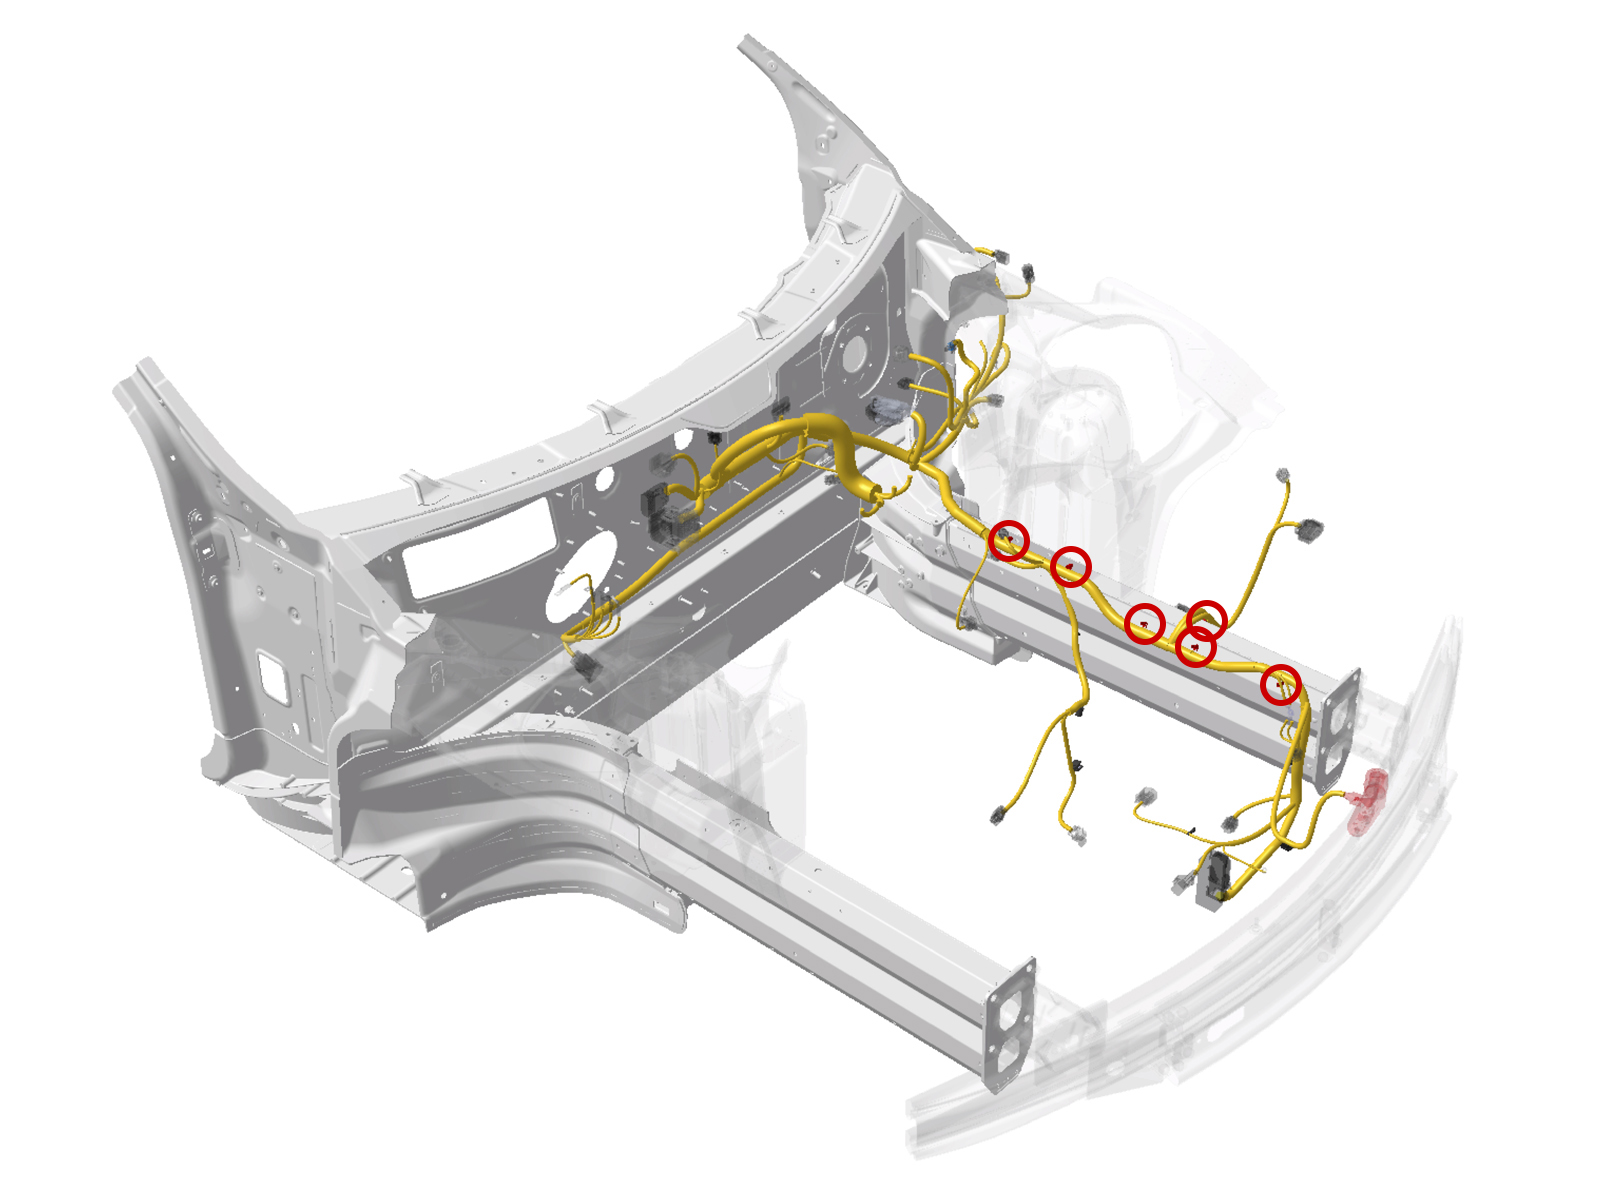
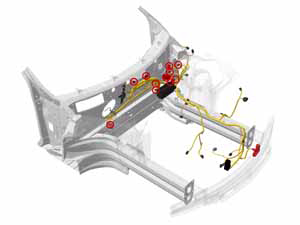
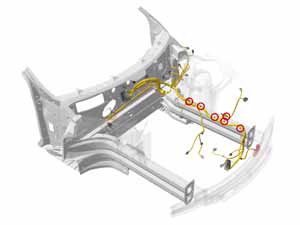
Working from the front LH wheelwell, disconnect the connectors shown.
-
Release the harness from the supports on the RH side of the firewall.

-
Release the harness from the supports inside the wheelwell.
-
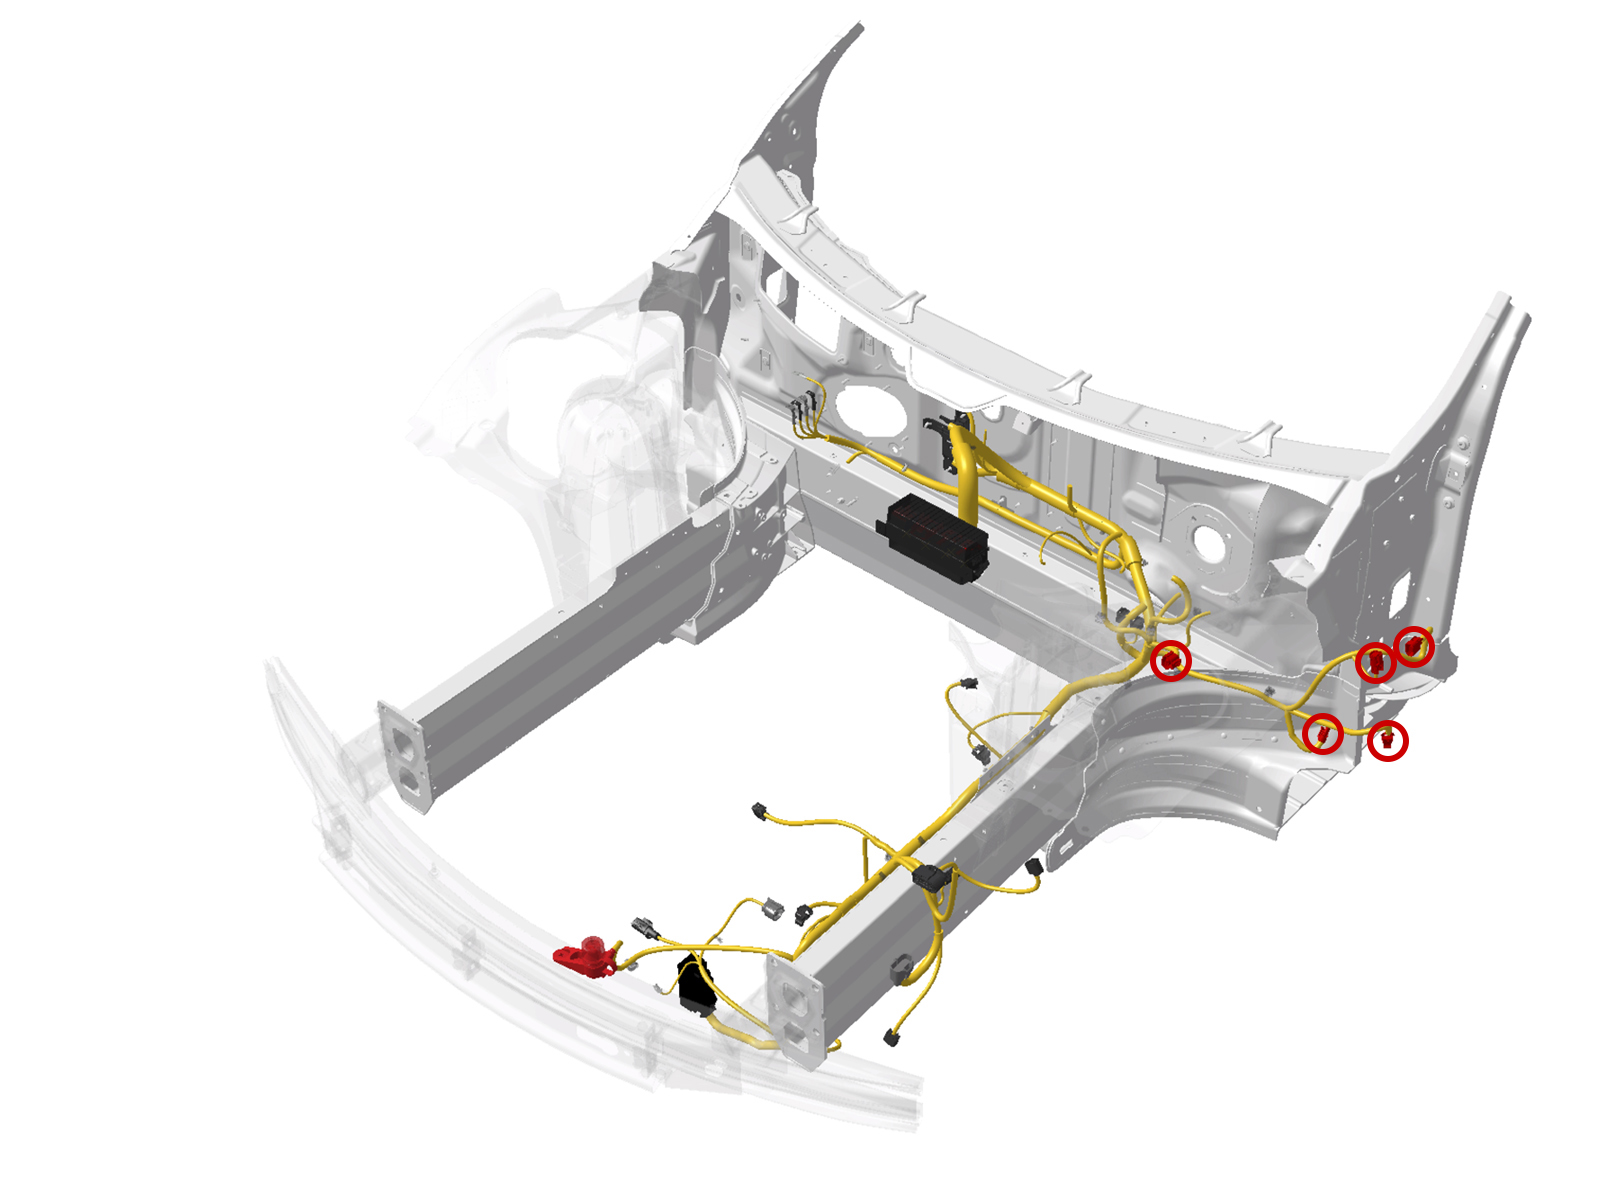
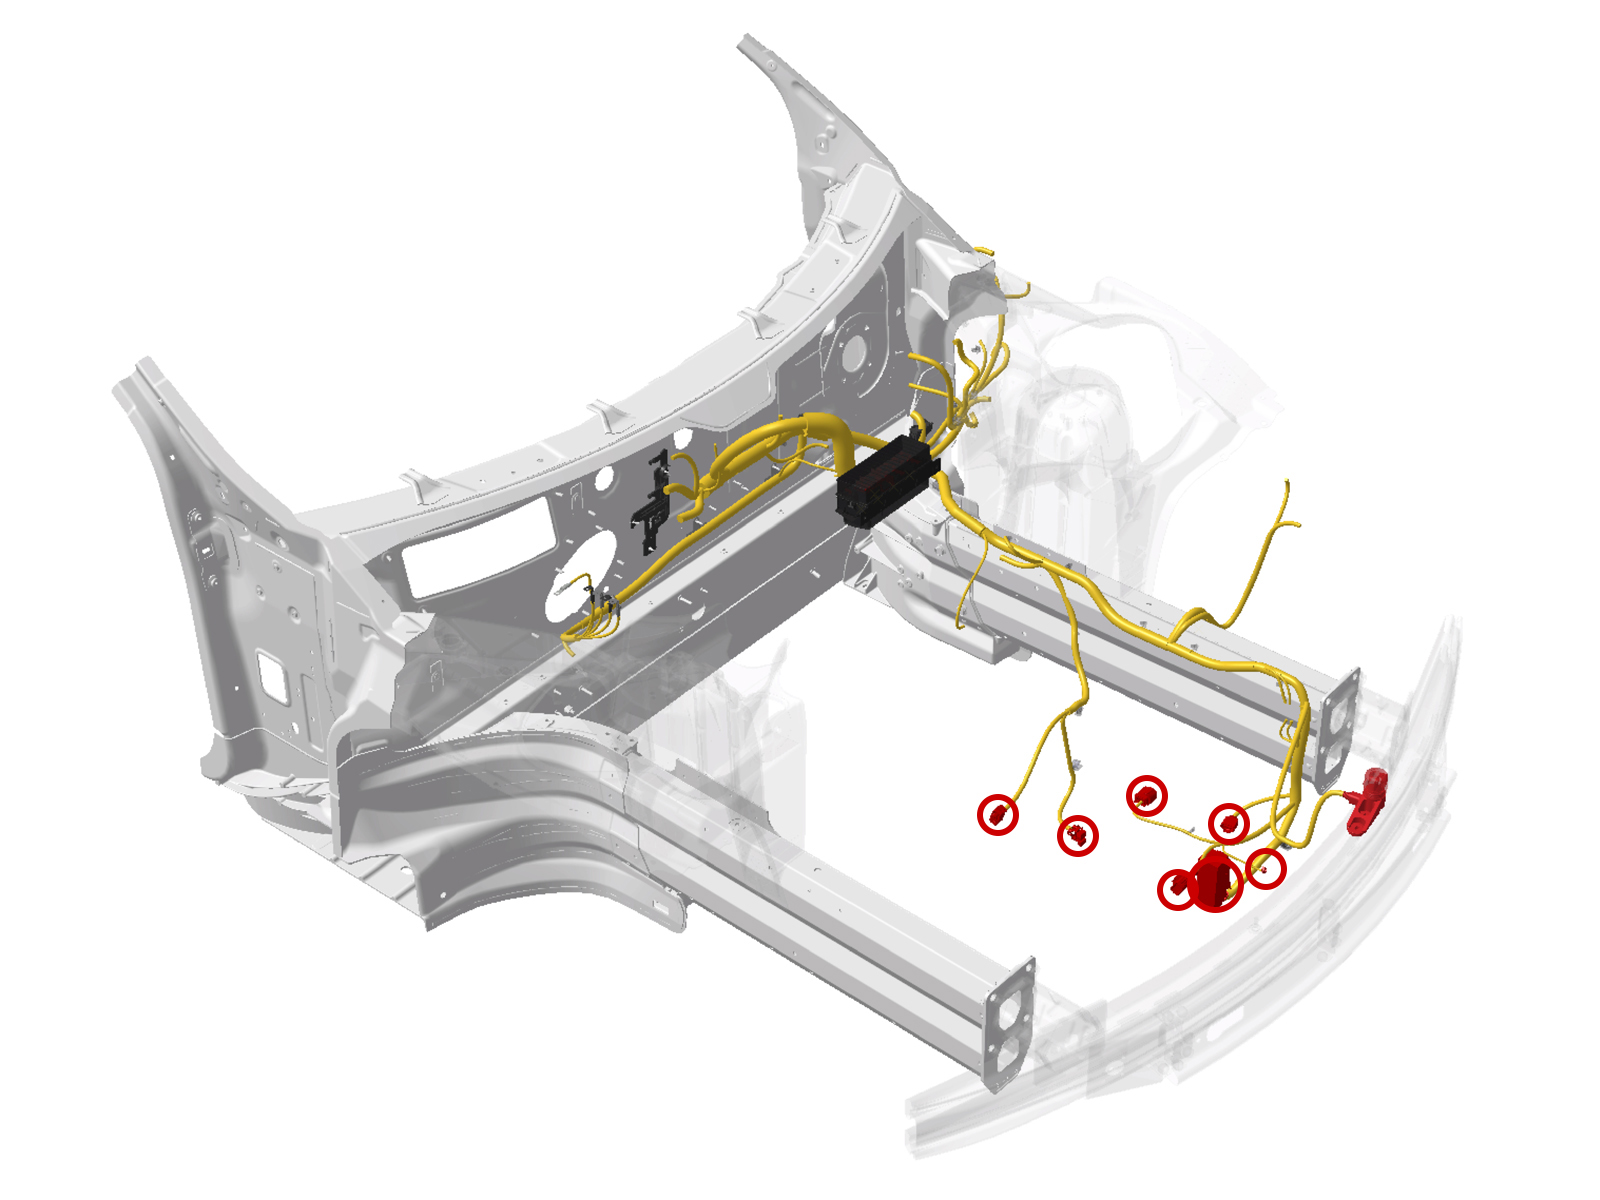
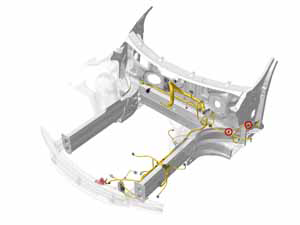
Release the screws (x2) that secure the 12V positive jump post to the bumper
(torque 3 Nm).

-
Release the nut that secures the ground connections on the LH side rail (torque
9 Nm). Remove the ground connections from the stud.
-
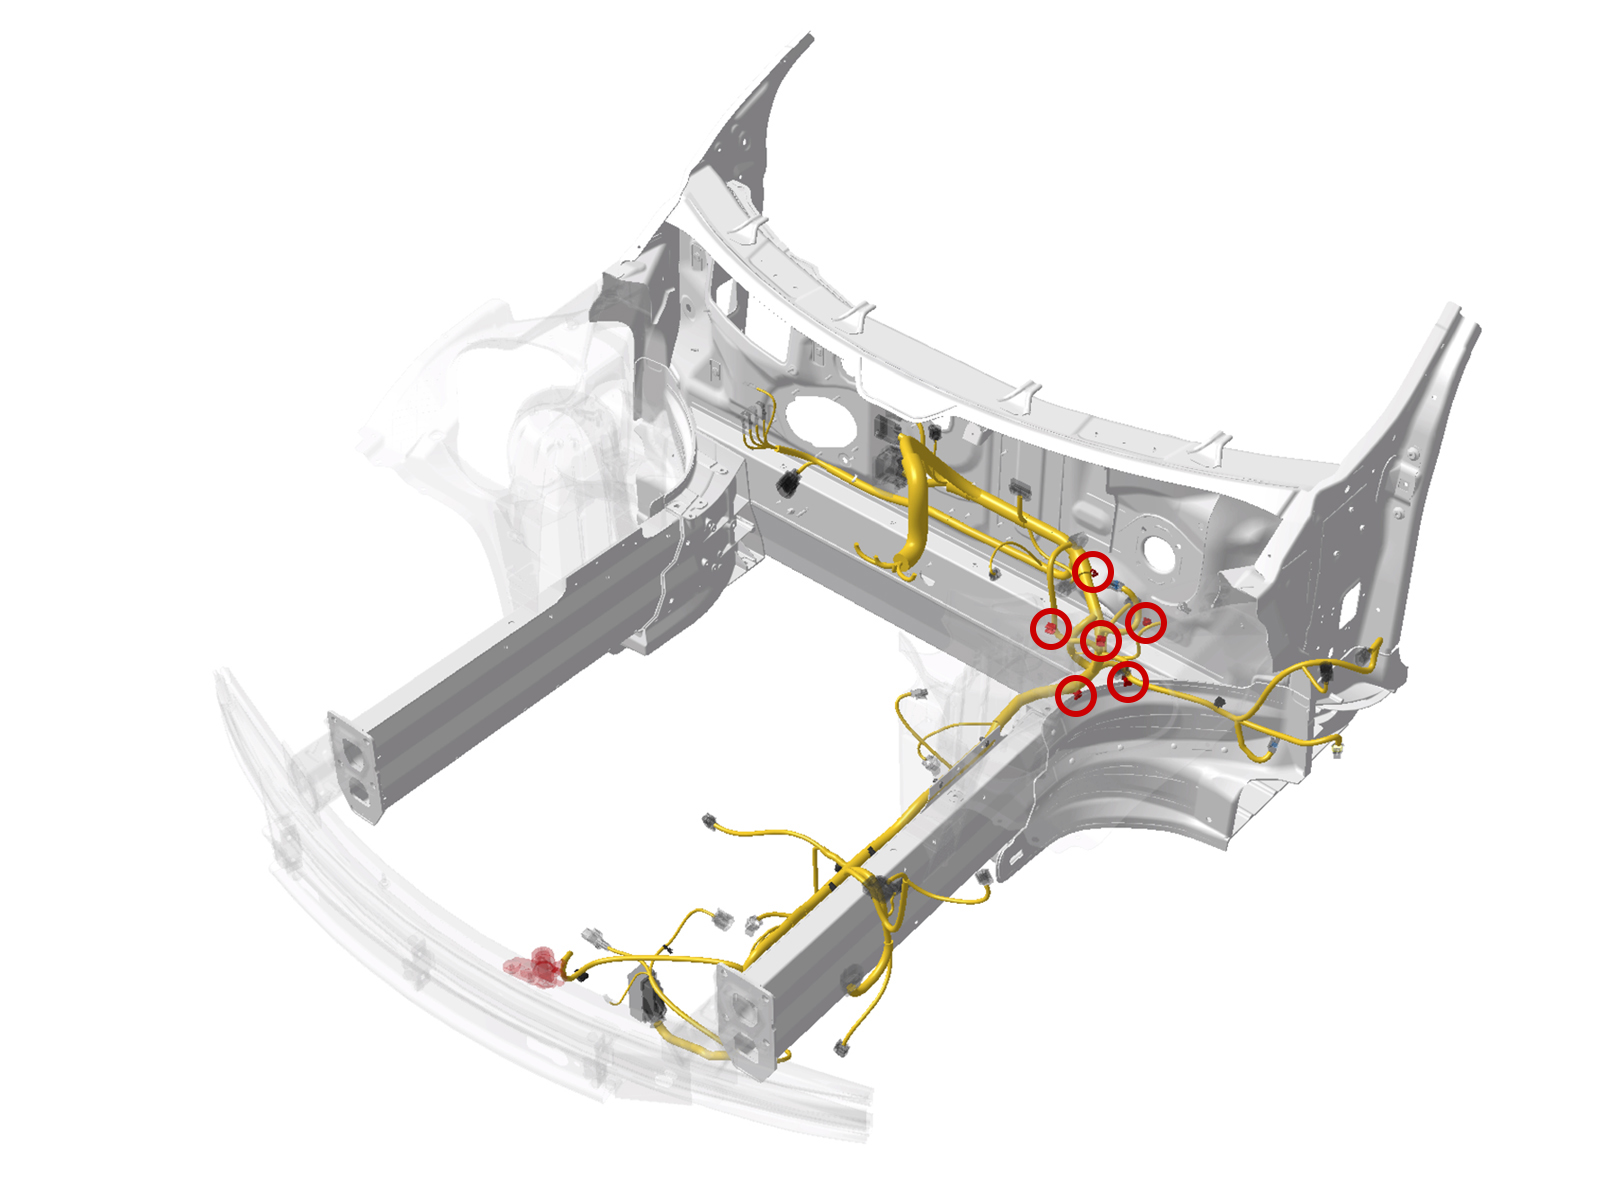
Disconnect all the connectors on the LH side rail.
-
Release the harness from the supports on the LH side rail.
-
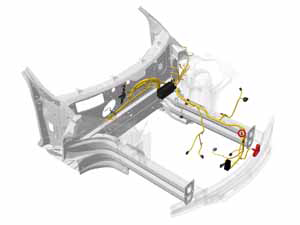
Disconnect the connectors on the front of the harness.

-
Release the harness from the supports at the front of the vehicle.