Removal
-
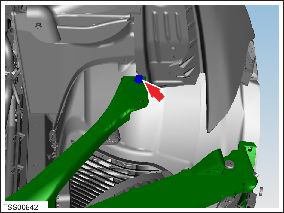
Remove the bolts (x2) that secure the front bumper carrier to the body (torque 4
Nm).
Note: LH bolt shown for clarity.
-
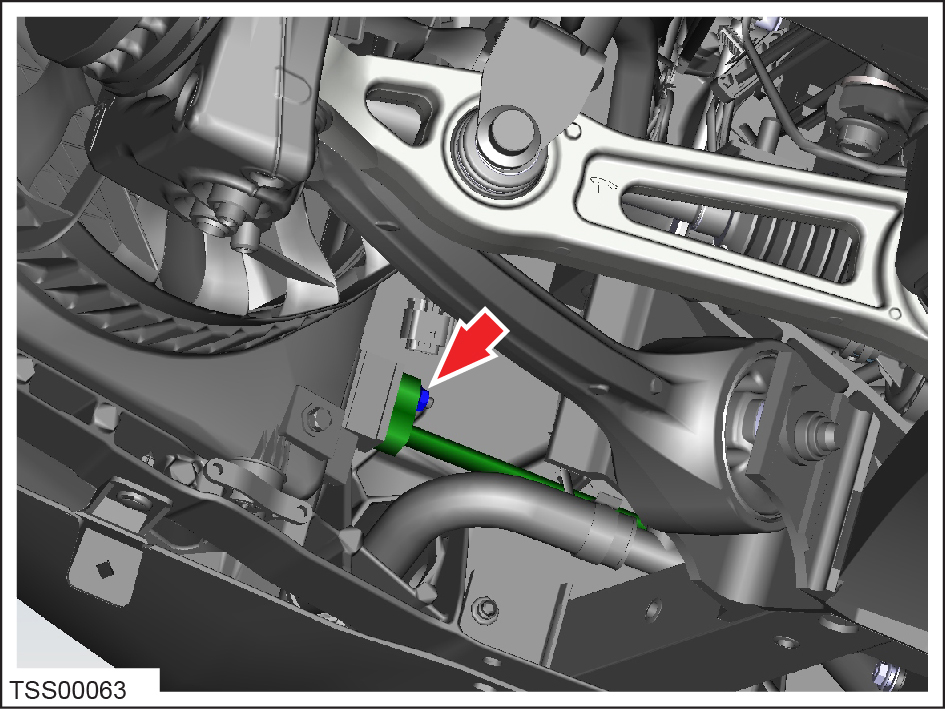
Remove the bolt that secures the LH staybar to the carrier (torque 11 Nm).
-
Remove the nut that secures the air conditioning pipe to the LH condenser
(torque 8 Nm).
-
Disconnect the pipe from the condenser and tie aside.

-
Remove the screws (x4) that secure the condenser mounting clamps (torque 3
Nm).

-
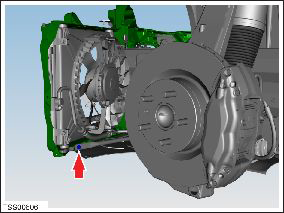
Remove the following hardware:
- the bolt that secures the air suspension compressor bracket to the carrier (red arrow) (torque 6 Nm)
- the bolts (x2) that secure the vacuum pump mounting bracket to the front bumper carrier (blue arrows) (torque 6 Nm)
-
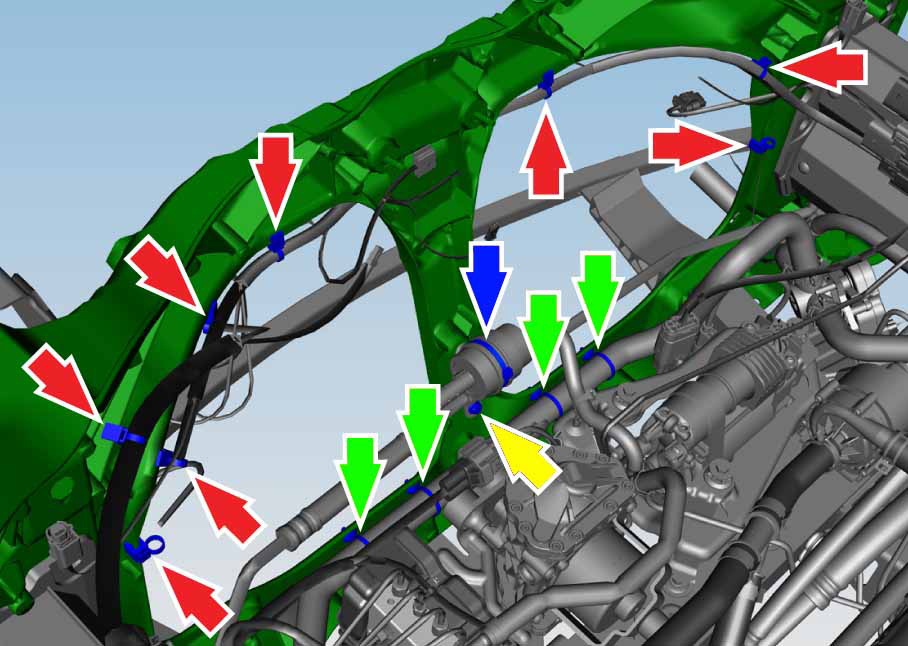
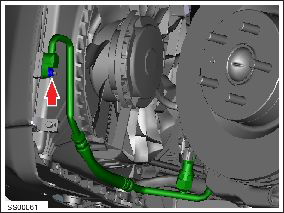
Remove the following hardware:
- the clip that secures the air suspension compressor pump valve to the carrier (blue arrow). Tie the valve aside
- the bolt that secures the inboard air conditioning link pipe to the carrier (yellow arrow) (torque 11 Nm). Remove the pipe
- the clips (x4) that secure the coolant hose to the carrier (green arrows)
- the harness clips (x8) that secure the harness to the carrier (red arrows)

-
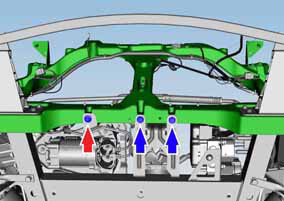
Remove the following hardware:
- the LH and RH ankle catcher end screws (x2) (blue arrows) (torque 11 Nm)
- the bolts (x6) that secure the ankle catcher to the crash structure (red arrows) (torque 11 Nm)
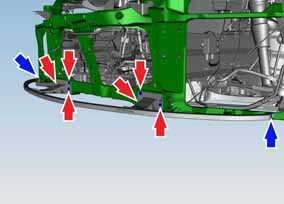
-
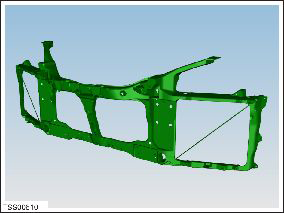
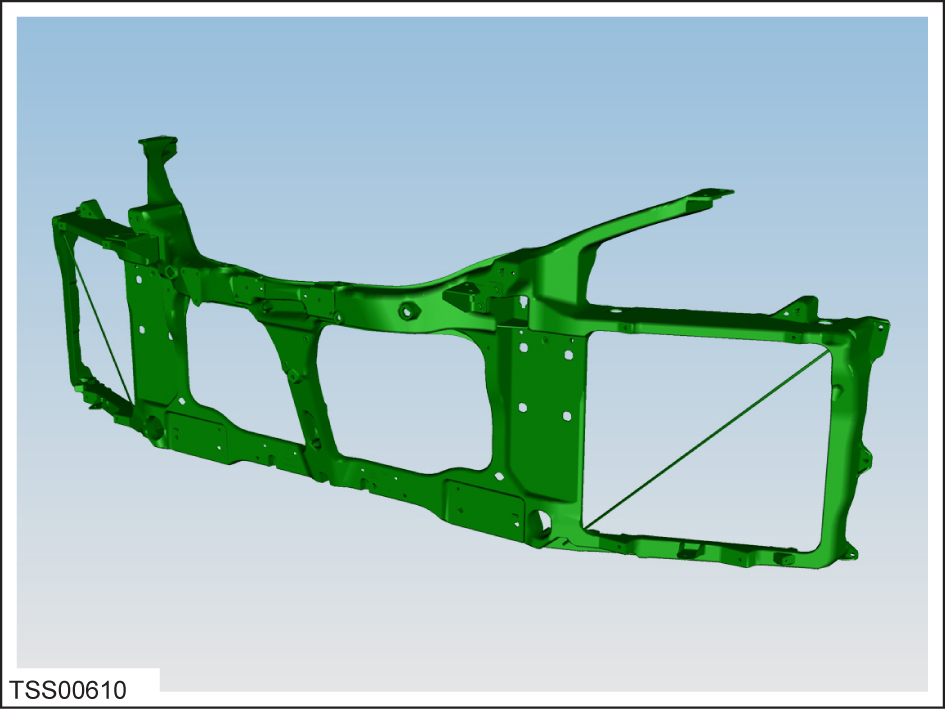
Remove the front bumper carrier.