Removal
-
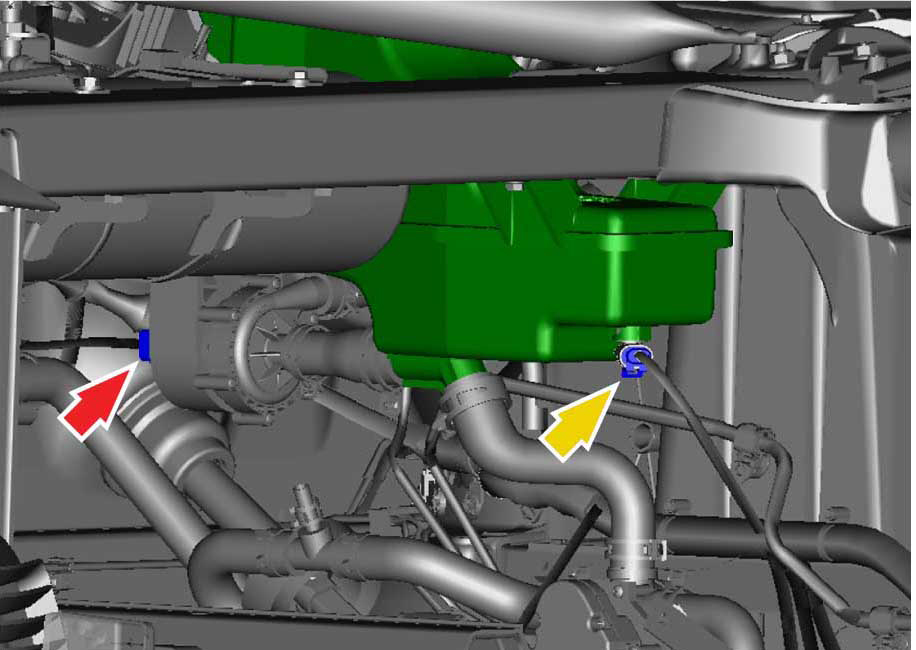
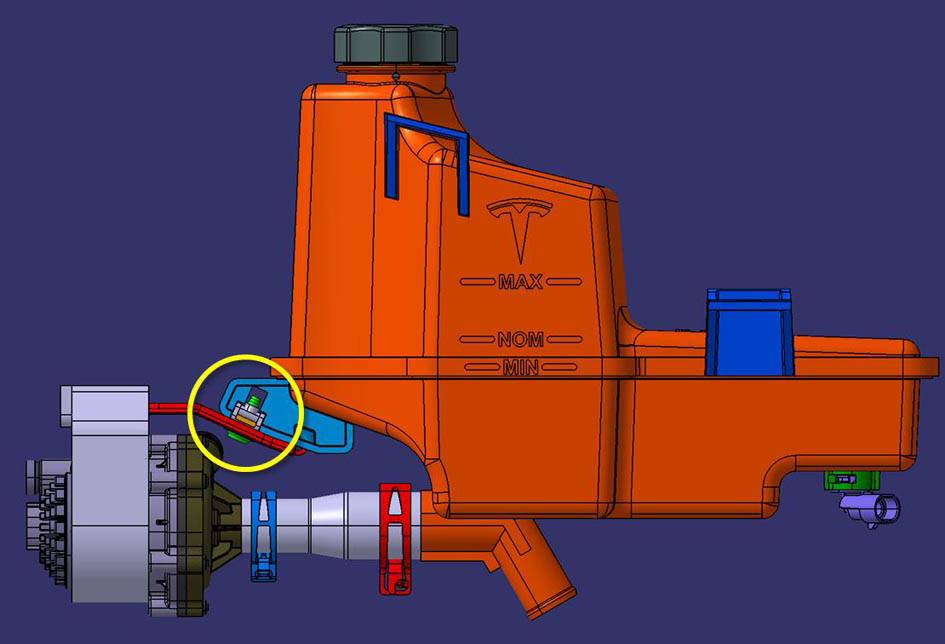
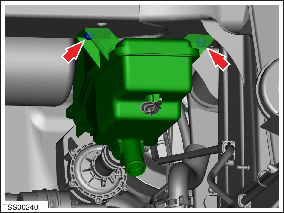
Disconnect the harness connections (x2):
- Powertrain coolant pump connector (red arrow)
- Coolant level sensor connector (yellow arrow)

-
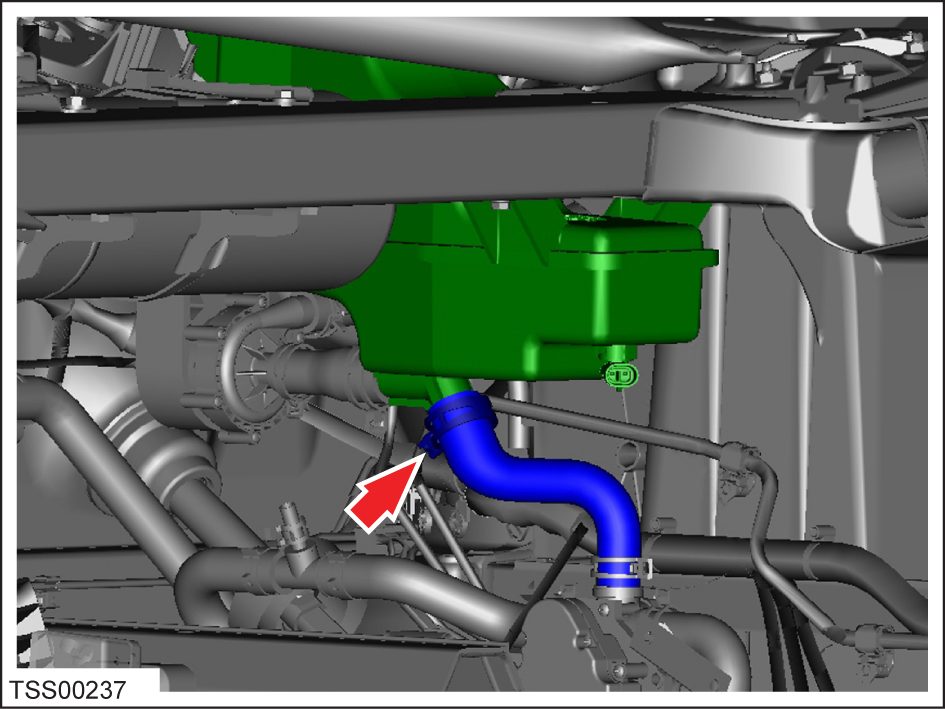
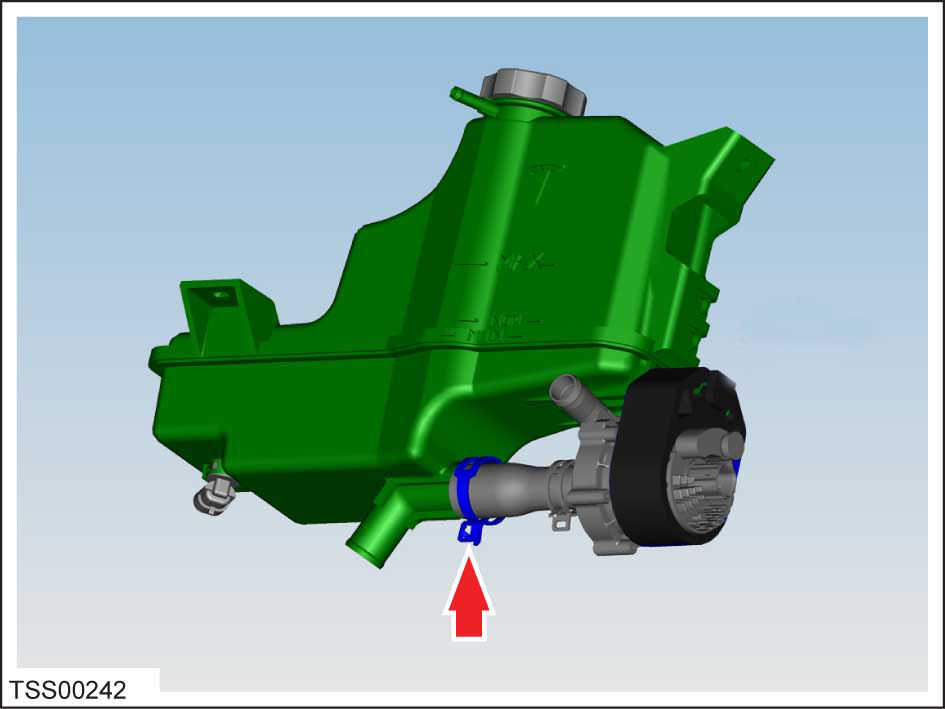
Clamp the hose from the reservoir to the 4-way valve. Ensure that the clamp is
placed just below the spring clamp on the reservoir.

-
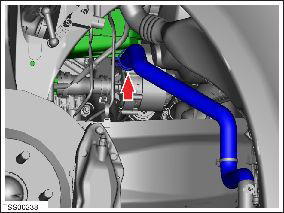
From the LH wheelwell (RH for RHD), clamp the hose from the powertrain coolant
pump to the rocker hose. Ensure that the clamp is placed just outside of the
spring clamp.
-
For RHD vehicles: release the bolt that secures the coolant reservoir upper
bracket to the strut brace (torque 5 Nm).
-
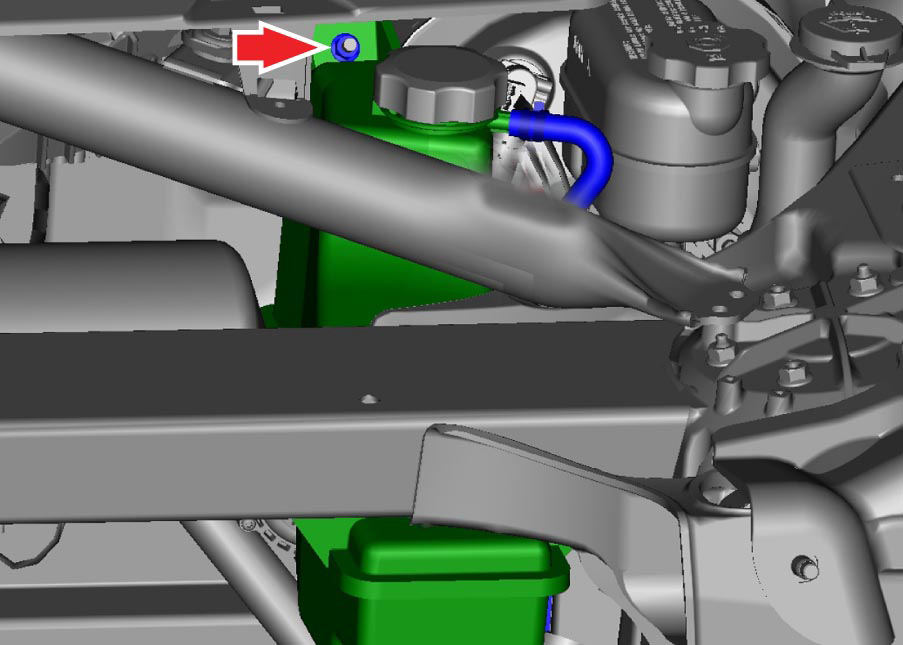
Release the 1 nut that secures the coolant reservoir upper bracket (torque 5
Nm).

-
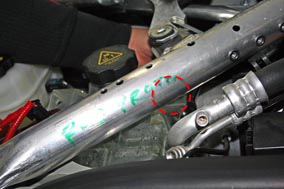
Release the bolts (x2) that secure the coolant reservoir to the crossmember
(torque 5 Nm).
Note: RHD vehicles have a refrigerant pipe routed very close to these bolts. Use a long extension to remove the bolts.
-
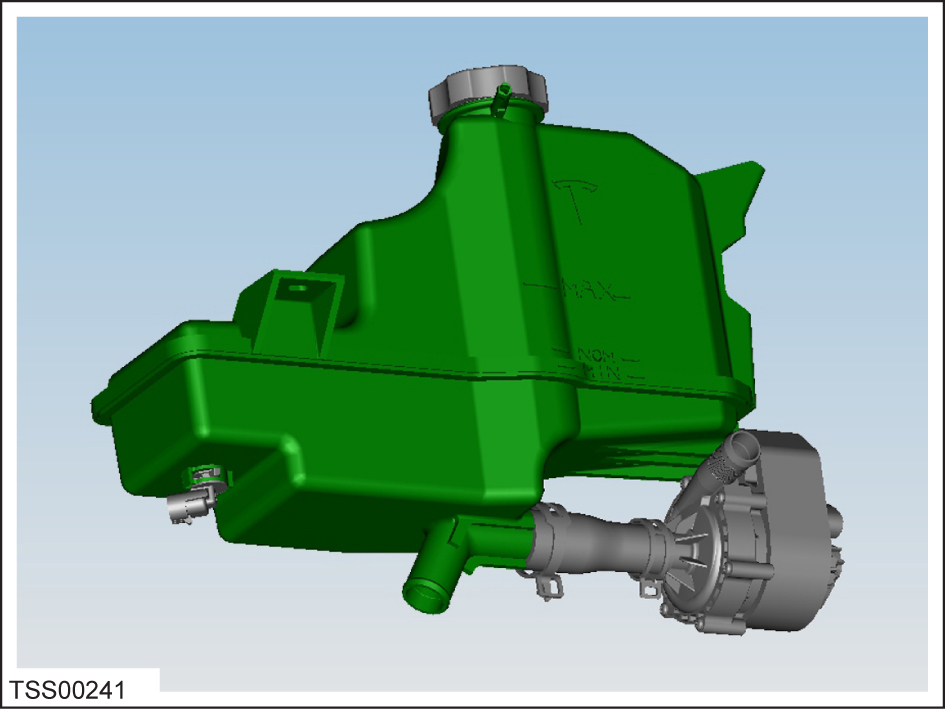
Remove the coolant reservoir and powertrain coolant pump assembly from the
vehicle.
Caution: Plug the hoses to prevent ingress of moisture or dirt.

-
For RHD vehicles, remove the bolt that secures the bracket to the pump (torque 4
Nm).

-
Release the spring clamp that secures the hose to the coolant pump
assembly.