Link - Lower - Fore - LH (Remove and Replace)

FRT No: 31013402

Warning: If the vehicle has air suspension, activate "Jack" mode on the touchscreen before raising and supporting the vehicle.

Removal

  1. Loosen the front LH lug nuts.
  2. Raise and support the vehicle (refer to procedure)
    Warning: Do not work on an incorrectly supported vehicle.
  3. If the vehicle is equipped with air suspension, depressurize the air spring .
  4. Remove the road wheel (refer to procedure) .
  5. Remove the front aero shield panel (refer to procedure) .
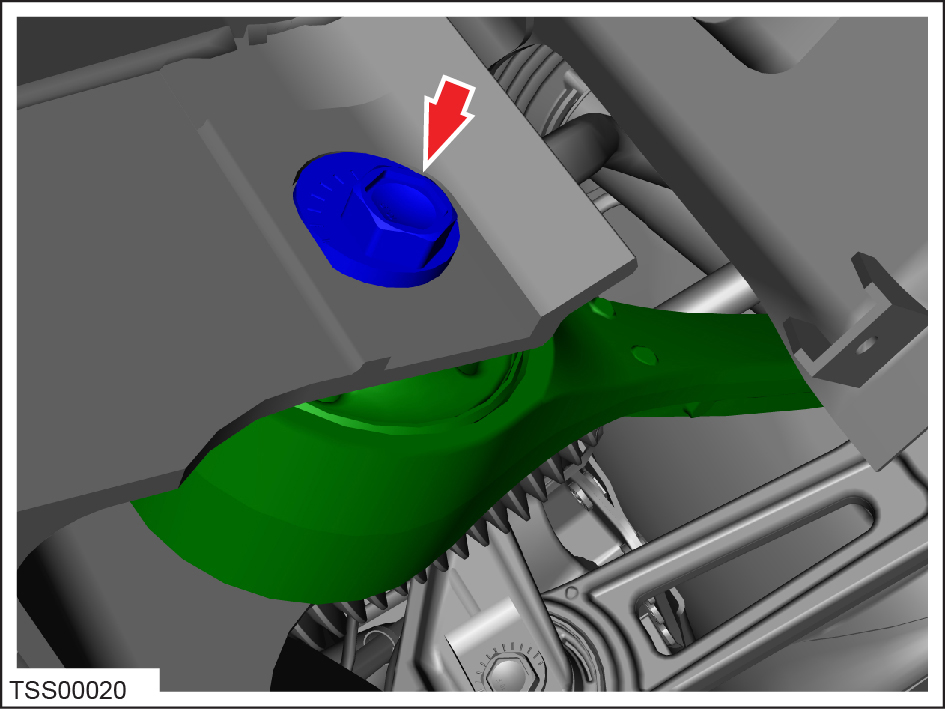
  6. Remove the nut and disconnect the tie rod from the knuckle (torque 105 Nm).
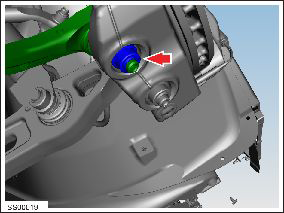
  7. Remove and discard the nut that secures the front control arm to the knuckle (torque 195 Nm).
    Caution: To prevent ball joint damage, always hold the ball joint pin with a wrench while loosening or tightening the lock nut.
  8. Release the front control arm from the knuckle.
  9. Mark a witness line on the subframe cam to aid installation.
  10. Remove the bolt and nut that secure the front lower arm to the subframe (torque 130 Nm).
  11. Release the front lower arm and remove it from the vehicle.

Installation

  1. Installation procedure is the reverse of removal, except for the following:
    Caution: Replace all nylon-insert locknuts.
    Caution: Only fully tighten suspension nuts and bolts when the vehicle is on a 4-post lift and the suspension is in the ride height position.
    Note: Clean the affected areas before installation.
  2. Align the control arm to the subframe and set the cam to the previously marked position. Do not fully tighten at this time.
  3. Transfer the vehicle to a 4 post lift (refer to procedure)
  4. Pressurize the air spring, if the vehicle has air suspension (refer to procedure)
  5. Perform a four wheel alignment check (refer to procedure)