Remove
-
Prepare the vehicle for lifting:
- Air suspension vehicles only: Put the vehicle into Jack mode.
- Put the vehicle into Tow mode.
- Support the vehicle, but do not lift it at this time.
- Remove the rear wheels (refer to procedure).
- Perform the electrical isolation procedure (refer to procedure).
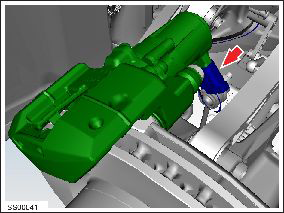
- On both sides of the vehicle, disconnect the electric parking brake caliper harness connector.
-
On both sides of the vehicle, pull back the rear section of the rear wheel
arch liner for access.
Note: It is not necessary to remove the wheel arch liner completely.
-
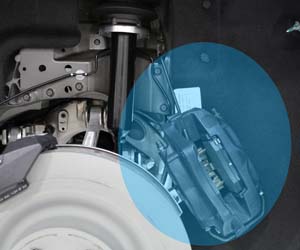
On both sides of the vehicle, release the bolts (x2) that secure the brake
caliper to the knuckle (torque 120 Nm). Release the calipers and use the
S-hooks to support them.
Caution: To avoid damage to the brake line, the brake caliper must be supported at all times.
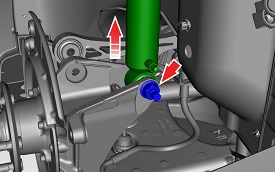
- Release the nut on the bolt that secures the shock tower to the knuckle (torque 140 Nm), but do not remove the bolt at this time.
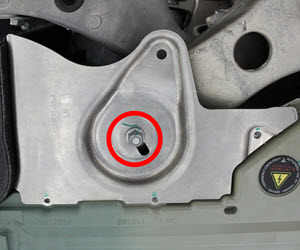
- On both sides of the vehicle, remove the nut that secures the shear plate to the subframe (torque 35 Nm).
- Remove the mid aero shield (refer to procedure).
- Disconnect the subframe harness from the body harness at the rear left corner of the vehicle.
-
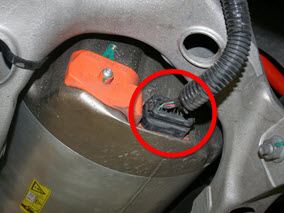
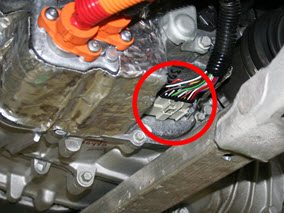
On the RH side of the drive unit, disconnect the logic connector.
- Large drive unit:
- Small drive unit:
-
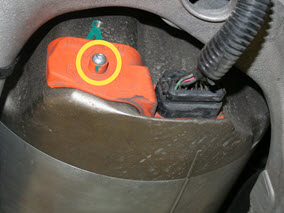
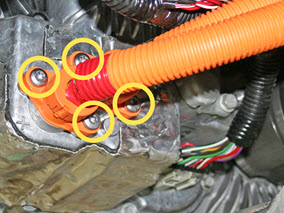
Release the HV inverter cables (x2).
- Large drive
unit:
- Release the bolt that secures the drive inverter cover (torque 3 Nm).
- Remove both O-rings from the drive inverter cover and discard.
- Release the 2 fasteners that secure the HV cables (torque 9 Nm). Do not remove the cables at this time.
- Small drive unit: Remove and discard the 4 screws that retain the HV cables (torque 7 Nm). Move the cables away from the drive unit and install the protective covers.
- Large drive
unit:
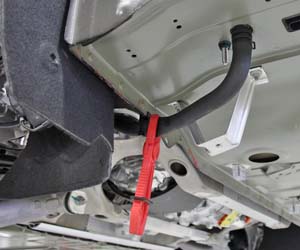
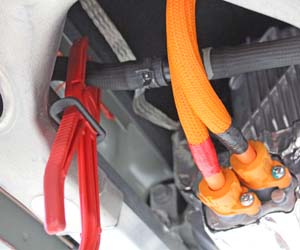
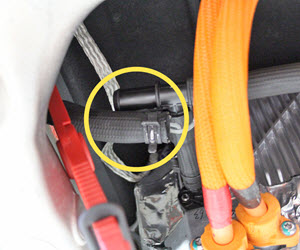
- On the LH side of the vehicle, clamp the coolant hose that routes through the body into the charger.
-
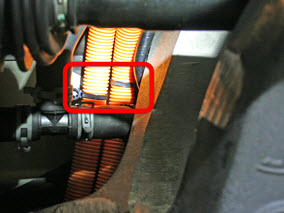
Release the clips that secure the HV cables to the subframe:
- Large drive unit: 2 clips to the subframe
- Small drive unit: 2 clips to the body
-
Drain the coolant from the drive unit.
- Large drive unit: Clamp and release the hoses from the transmission and drive inverter.
- Small drive unit:
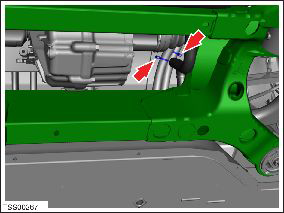
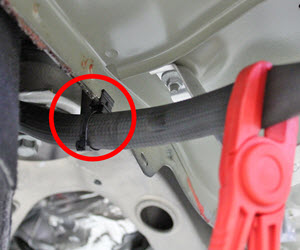
- On the LH side of the vehicle, release the edge clip that secures the coolant hose to the body.
- Clamp the coolant hose that routes through the rear of the body as shown.
- Release the coolant hose from the junction.
- On the RH side of the vehicle, clamp the coolant hose as shown.
- Release the coolant hose from the junction.
- Release the ground strap from the drive unit (torque 16 Nm).
- Remove the rear skidplate (refer to procedure).
- Position the subframe fixture beneath the subframe.
- Carefully lower the vehicle and/or raise the subframe table so that the subframe table supports the subframe.
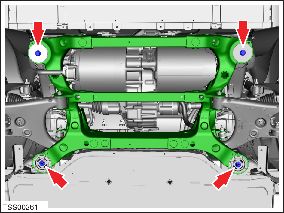
- Remove the bolts (x4) that secure the rear subframe to the body (torque 140 Nm).
-
Slowly raise the vehicle or lower the subframe lift table.
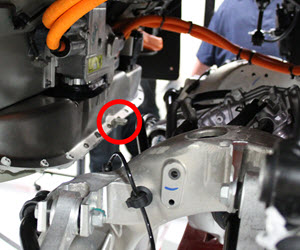
Caution: While raising the vehicle, have an assistant monitor the underside of the vehicle. Ensure that there is no interference between any vehicle-side components and components that are secured to the subframe. Pay special attention to the following:
- Shock towers
- HV cables
- Tab on rear of battery pack
