
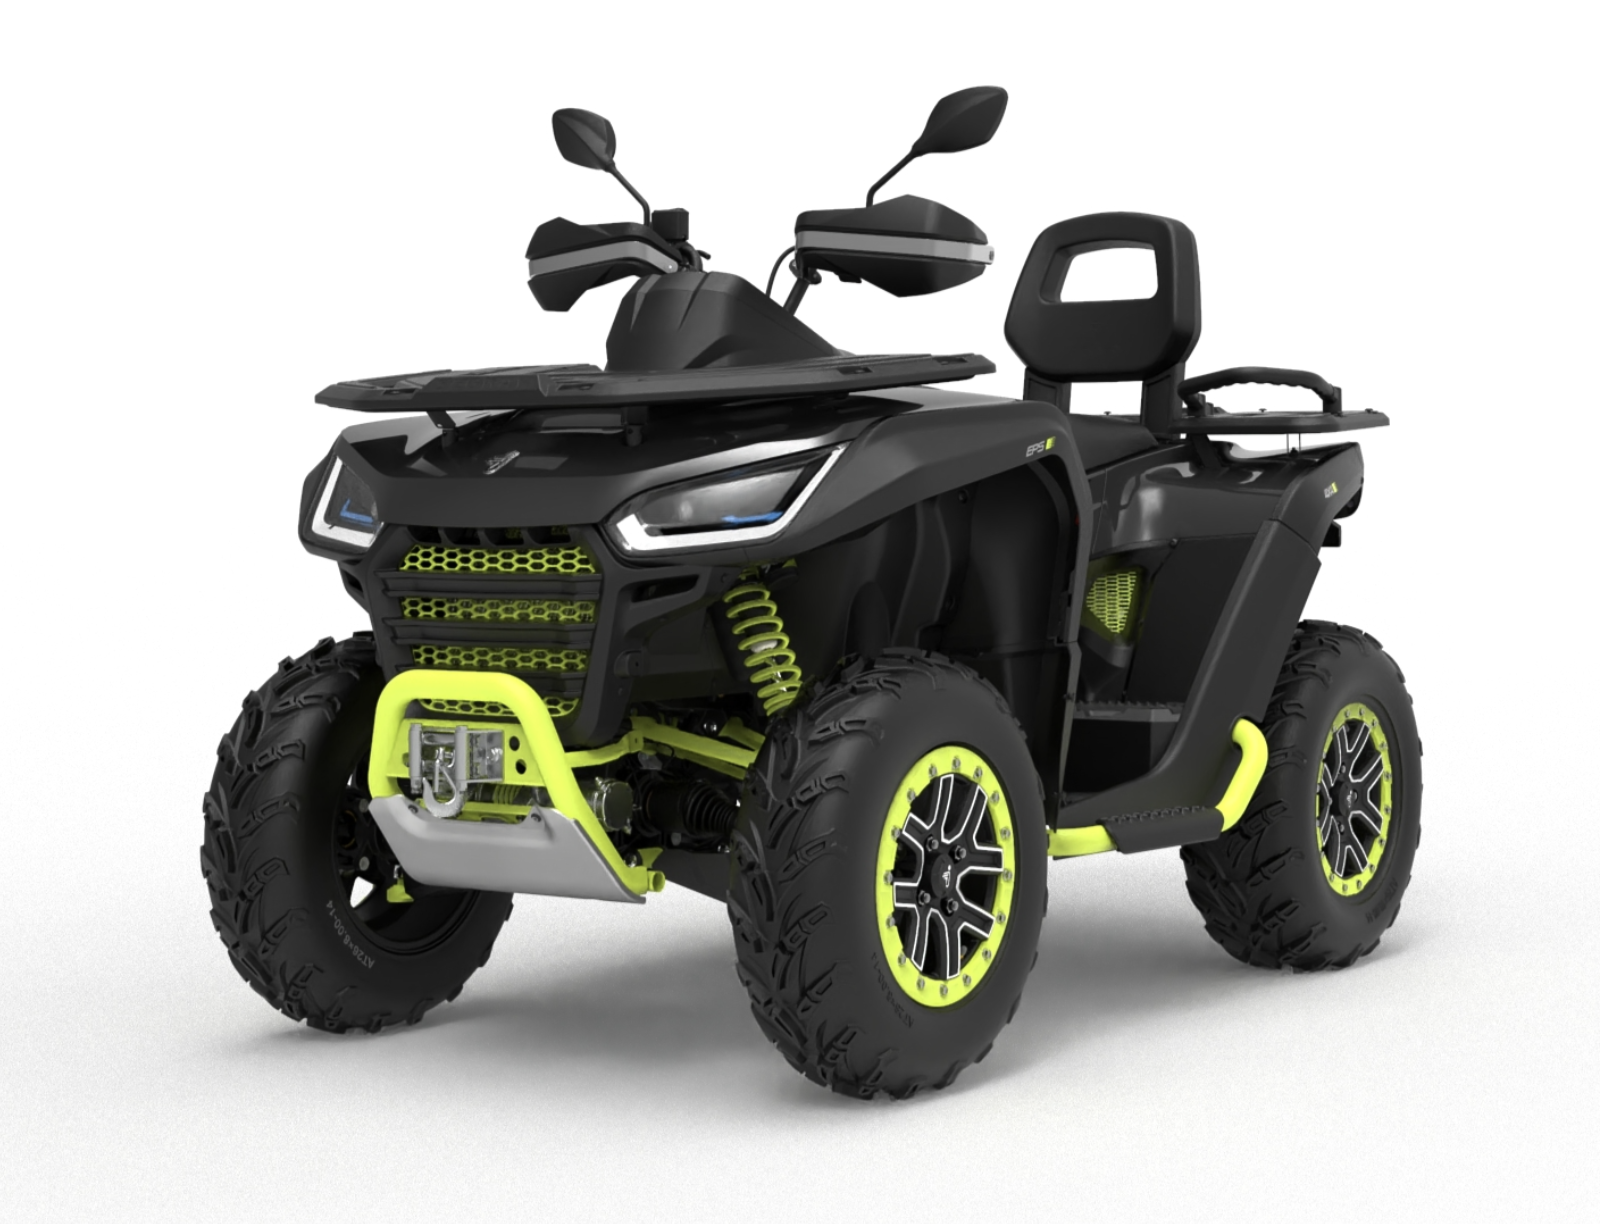
The Segway Snarler is a fun and versatile ATV. Like all ATV’s the 12V battery tends to drain easily if not maintained properly, meaning using a trickle charger. The ideal time to use a trickle charger is when you are finished using your ATV for the day. The best thing an owner can do is to keep a trickle charger on the battery whenever you are not using the vehicle. When it comes to batteries, there are really only two constants: Either your battery is getting charged or your battery is self-discharging. A properly sized trickle charger will have sufficient amperage to keep the battery fully charged and ready to go for the next use.
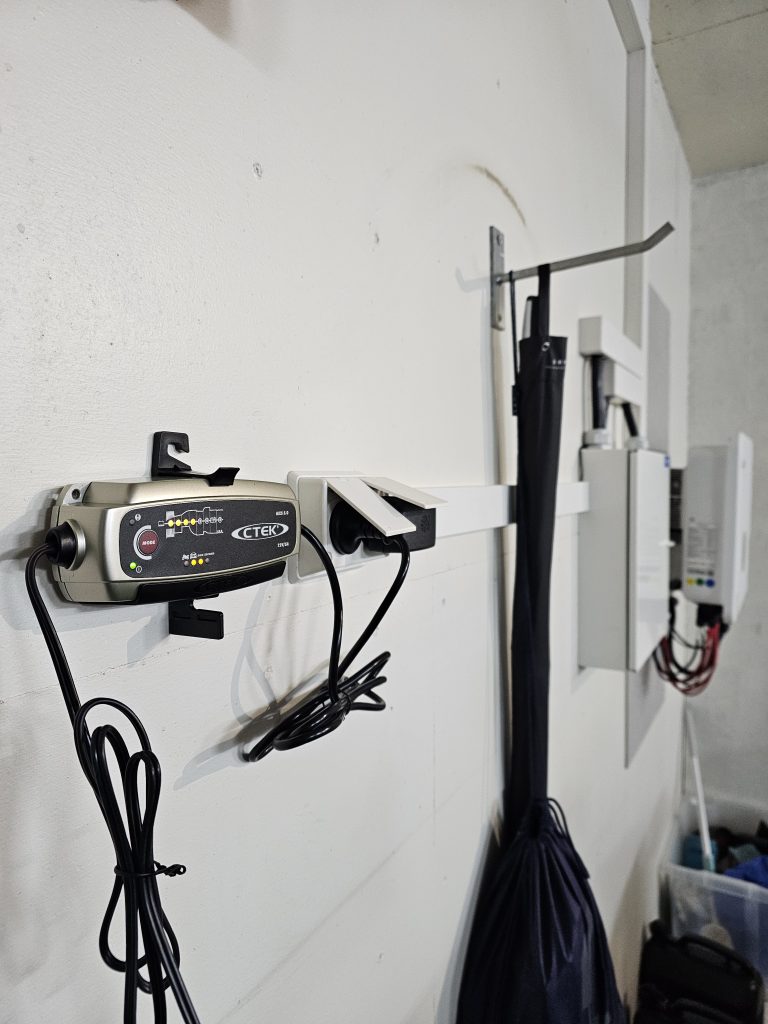
Whenever I’m done using my Segway Snarler AT6 L for the day, I always put the 12V battery on charge. The only hassle is that I need to remove the seat, get the charger, connect the correct wires to the 12V battery pins and start charging. When done – I need to reverse this process to be able to get going again. I found a much easier way to put the ATV on charge and it’s quick, safe and easy to manage.
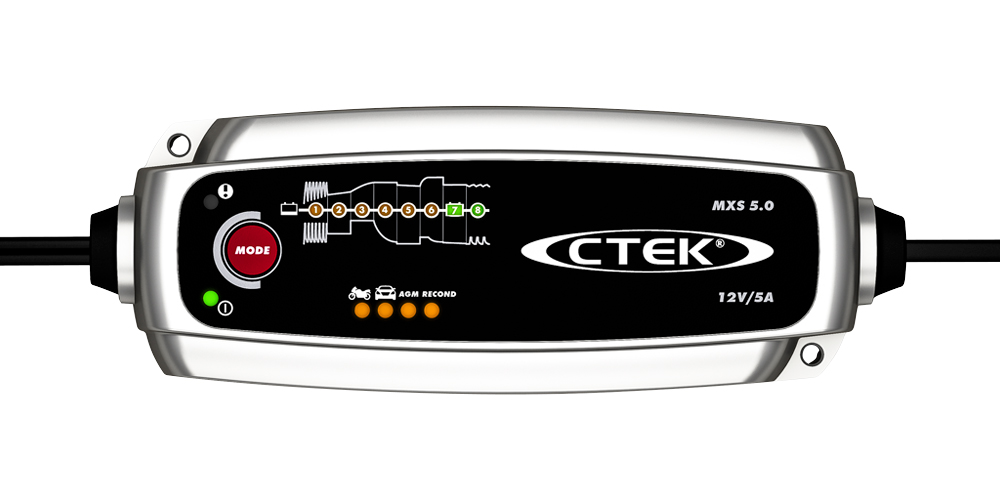
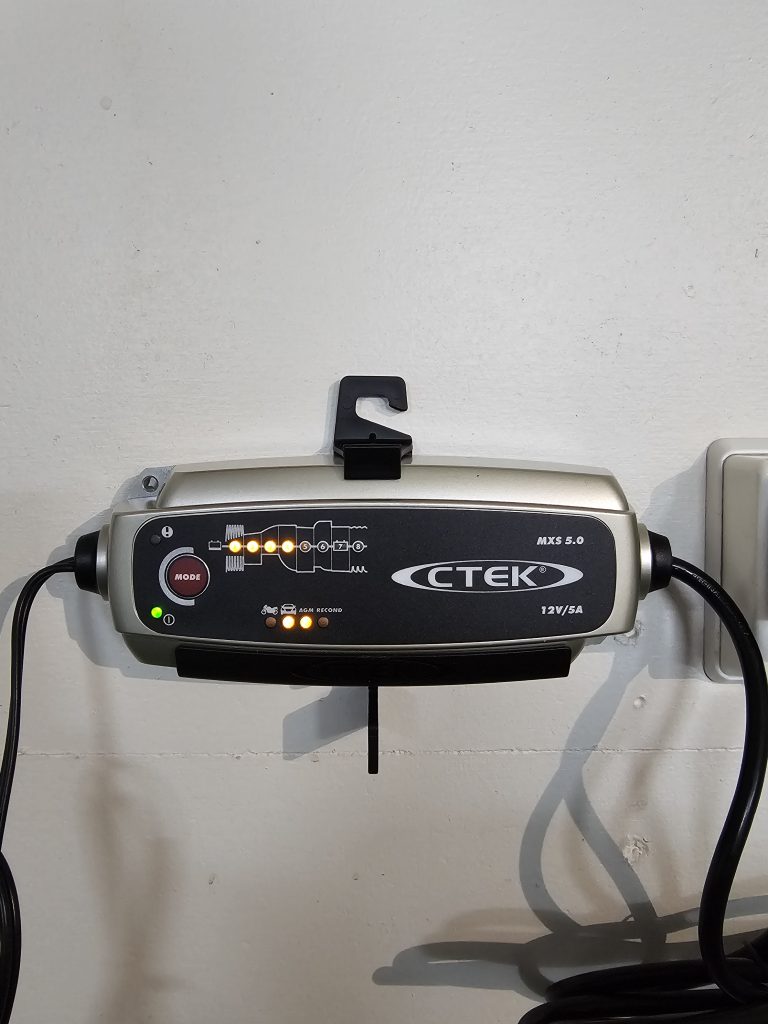
In this guide I’ll give step-by-step instructions on how to install a CTEK Comfort Indicator Panel, with a compatible CTEK charger (in this case the CTEK MXS 5.0 charger). You can probably use other variants of chargers and/or hot-plugs for quick-charging.
What you need:
- CTEK charger
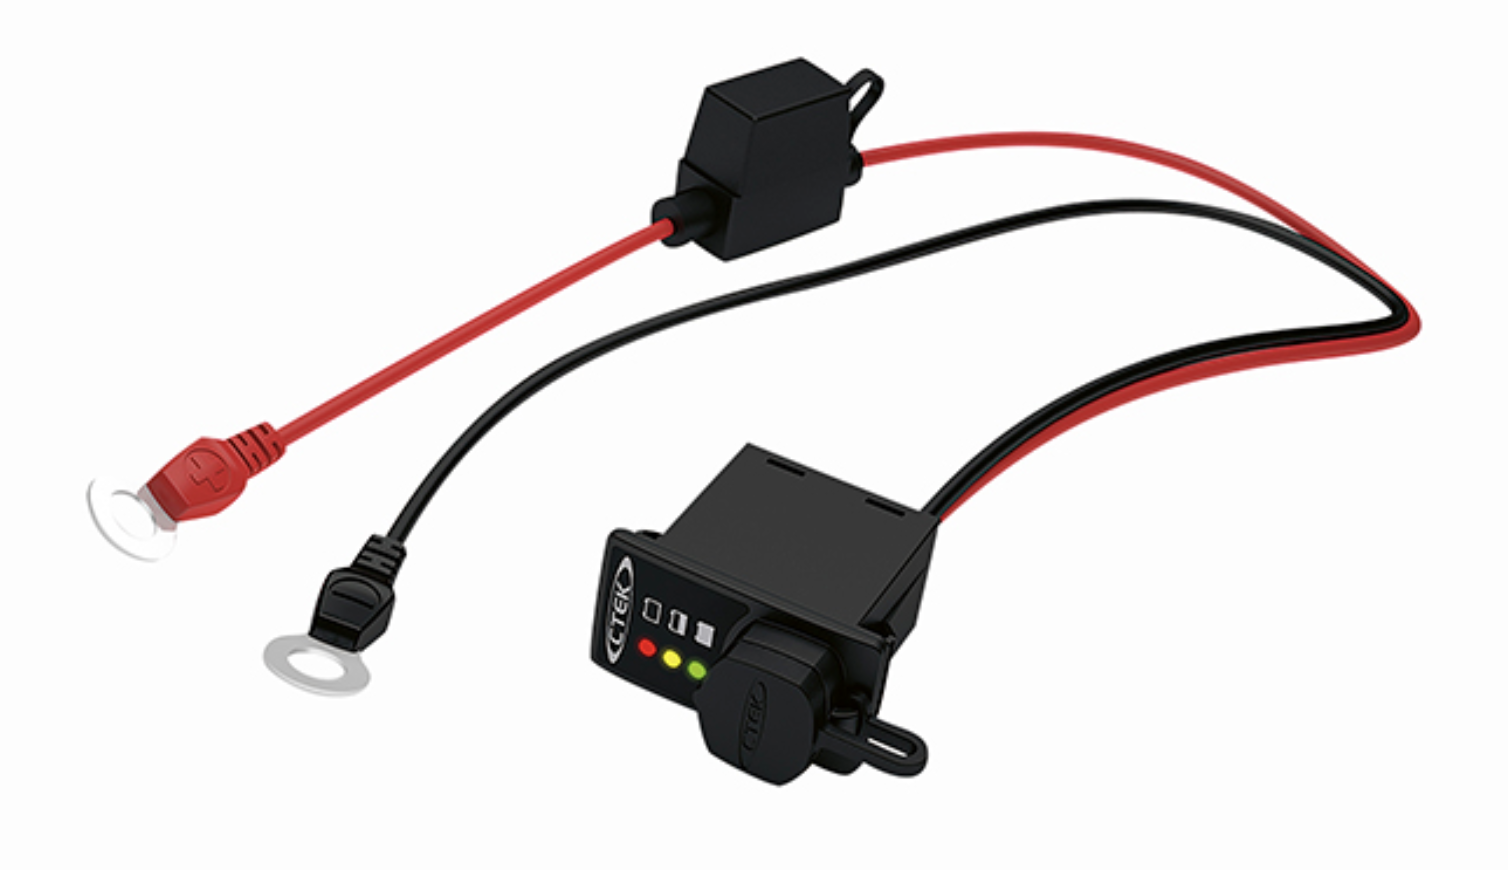
- CTEK Comfort Indicator Panel (hot-plug)
- Some tools (screwdrivers, knife, etc)
- Some basic wiring and technical skills
Approx time used:
- About 1 to 2 hours
Our main goal is to go:
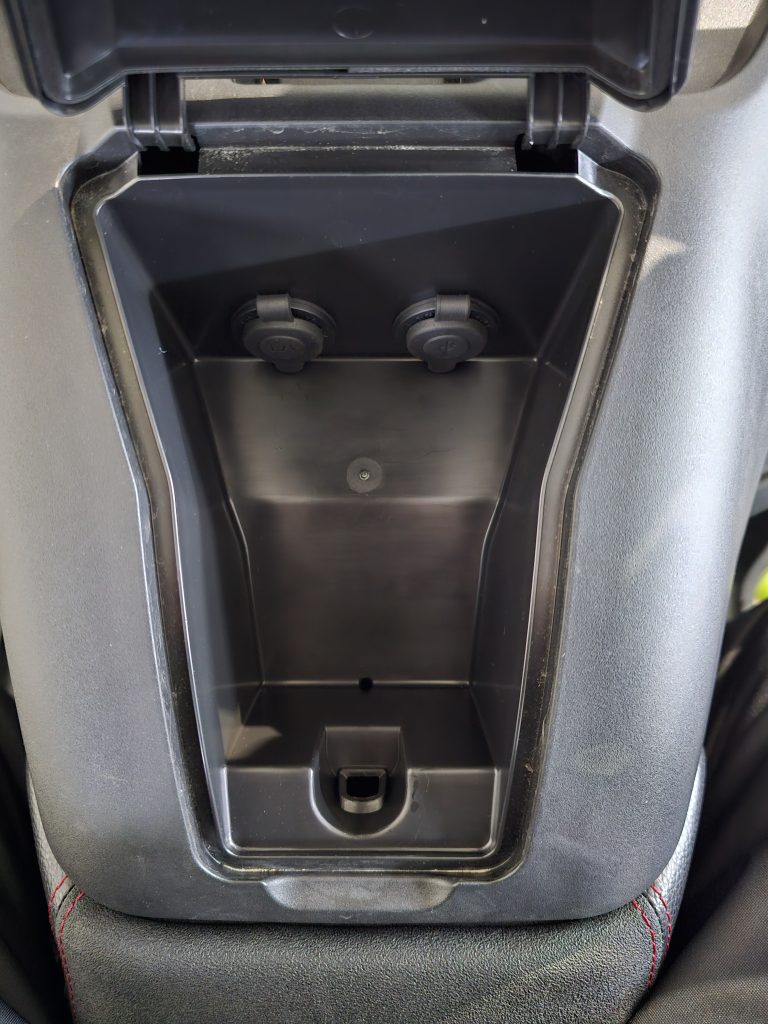
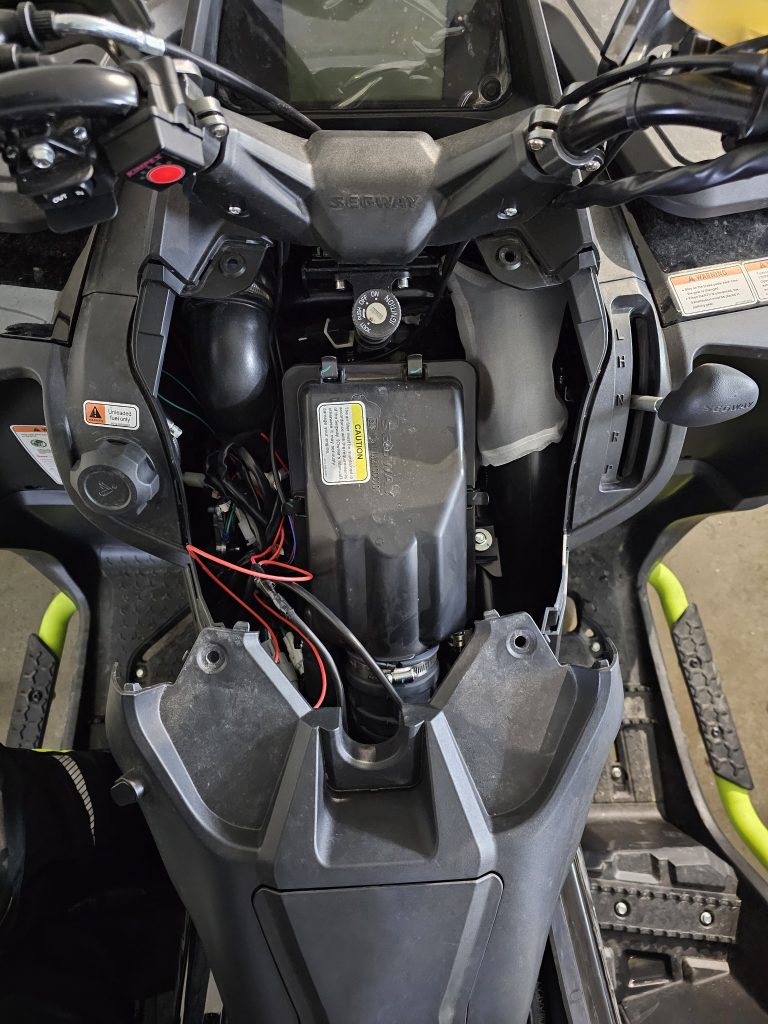
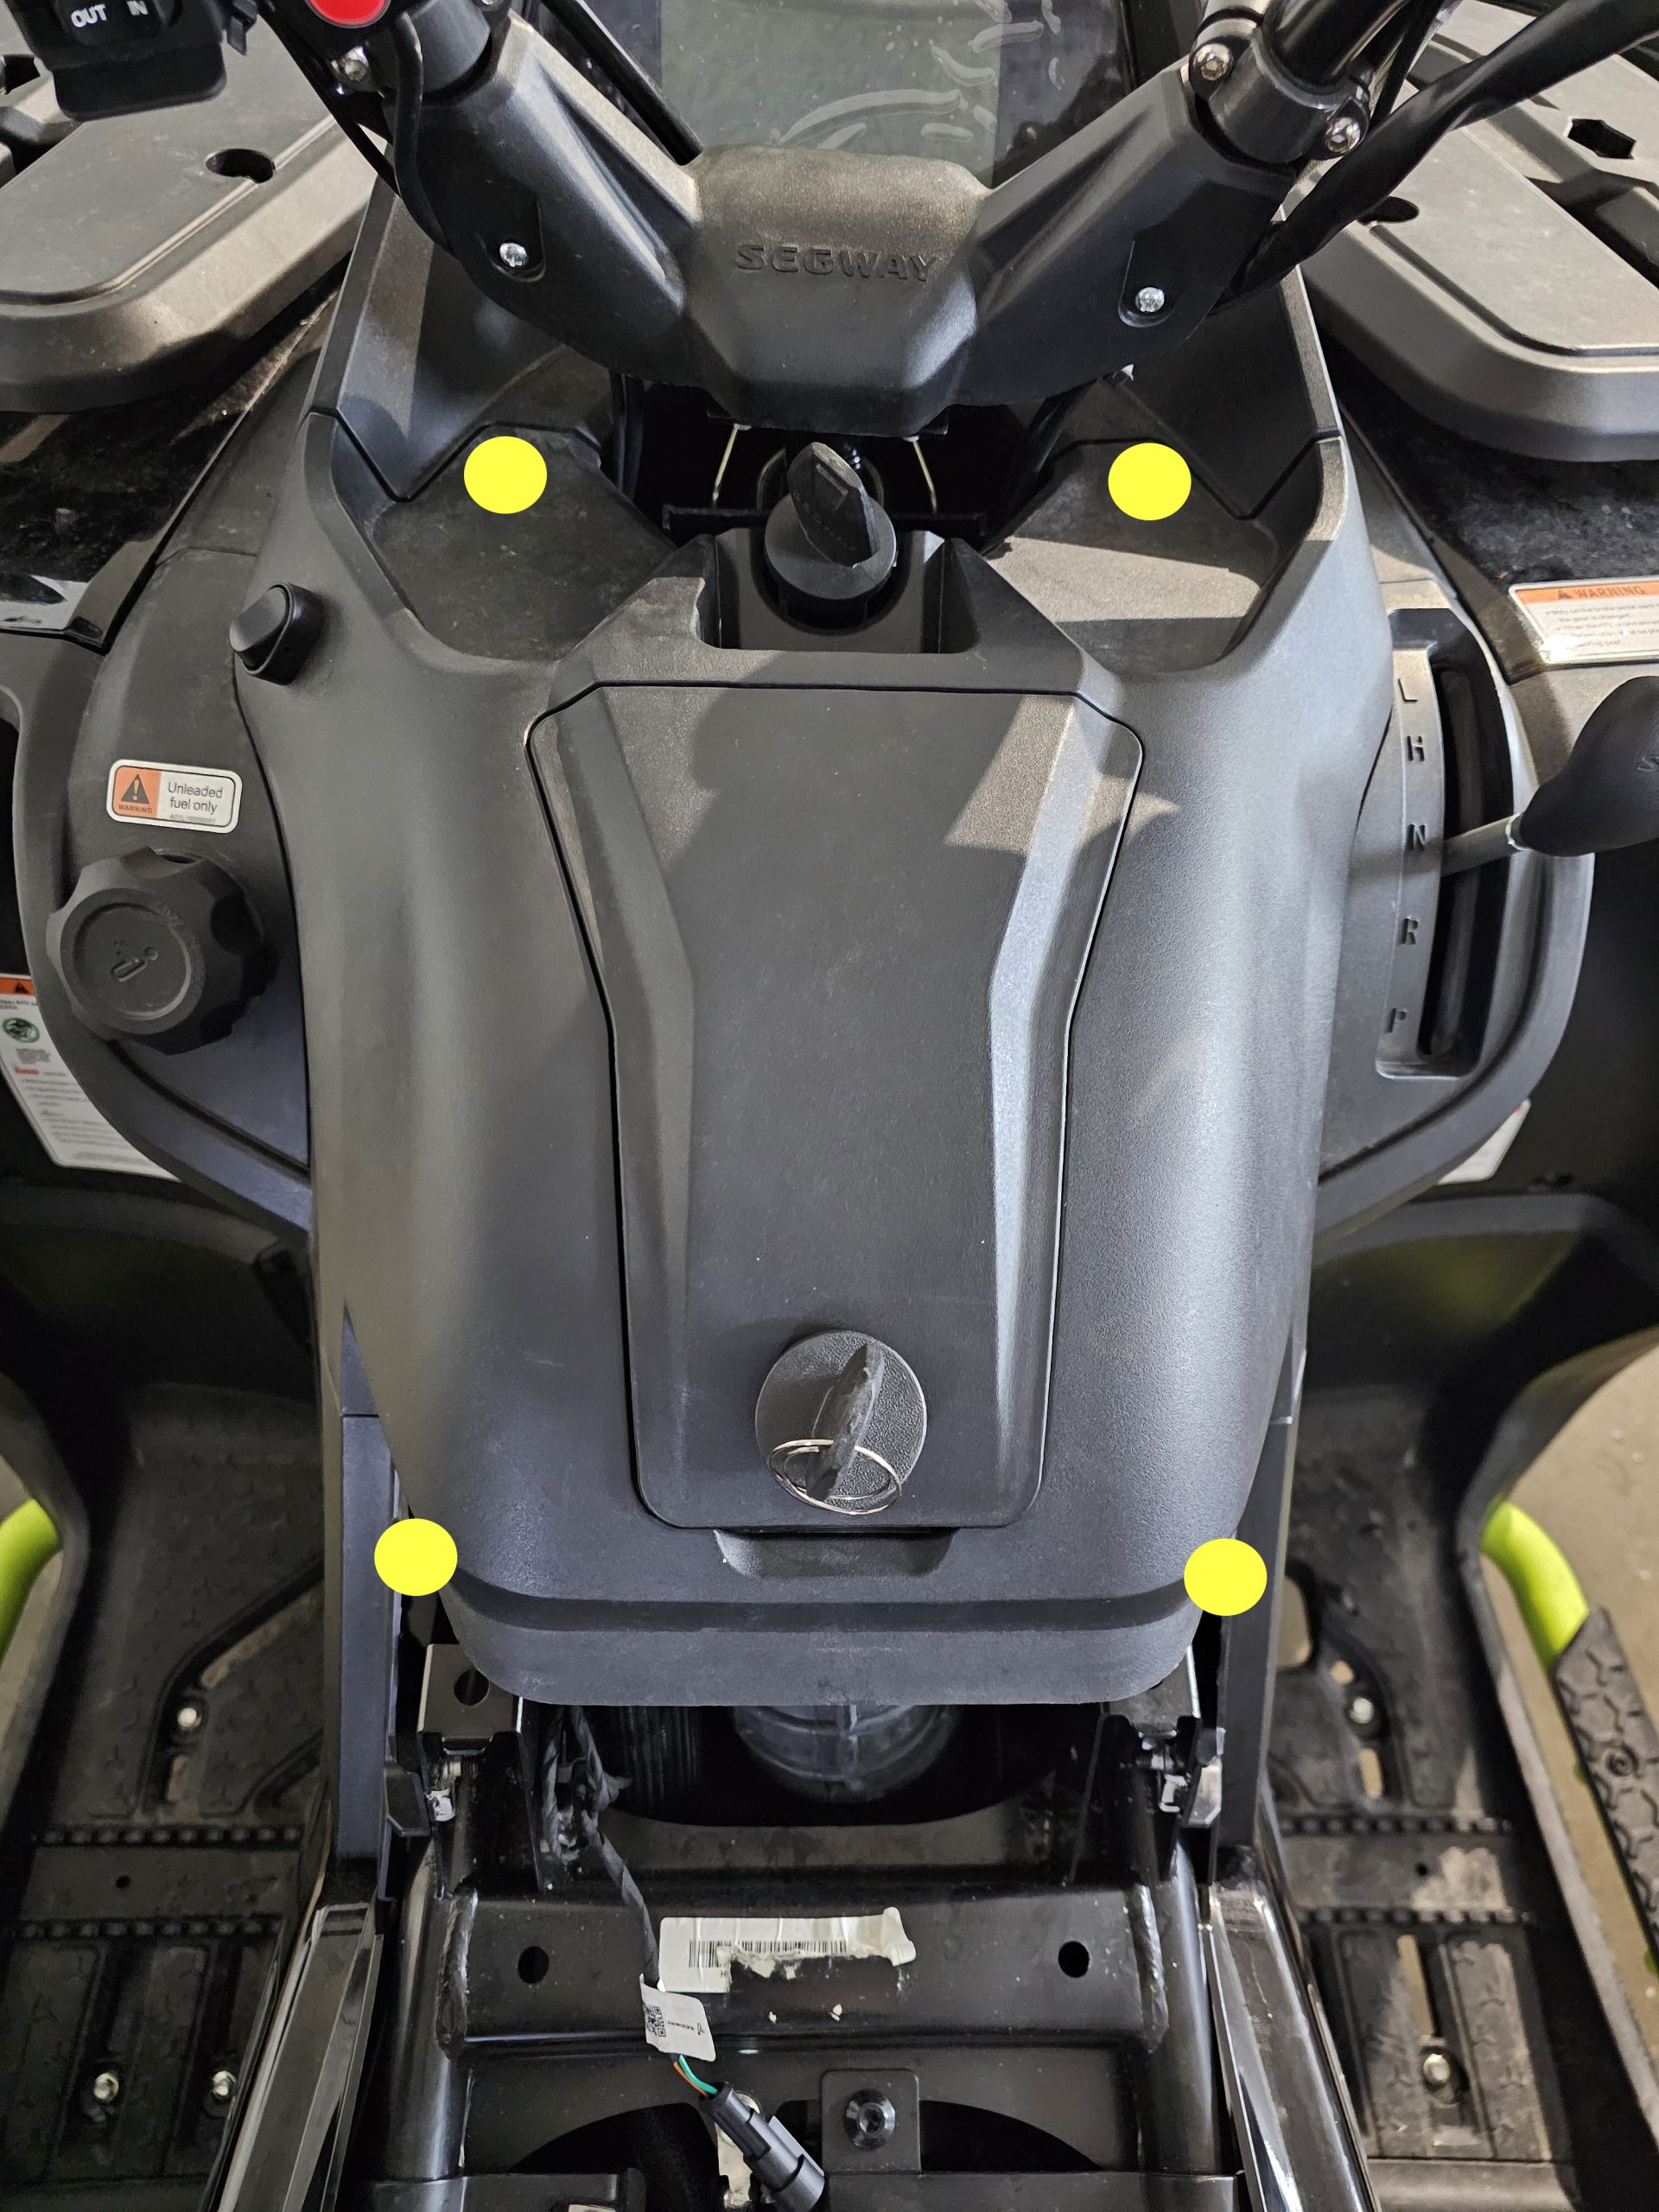
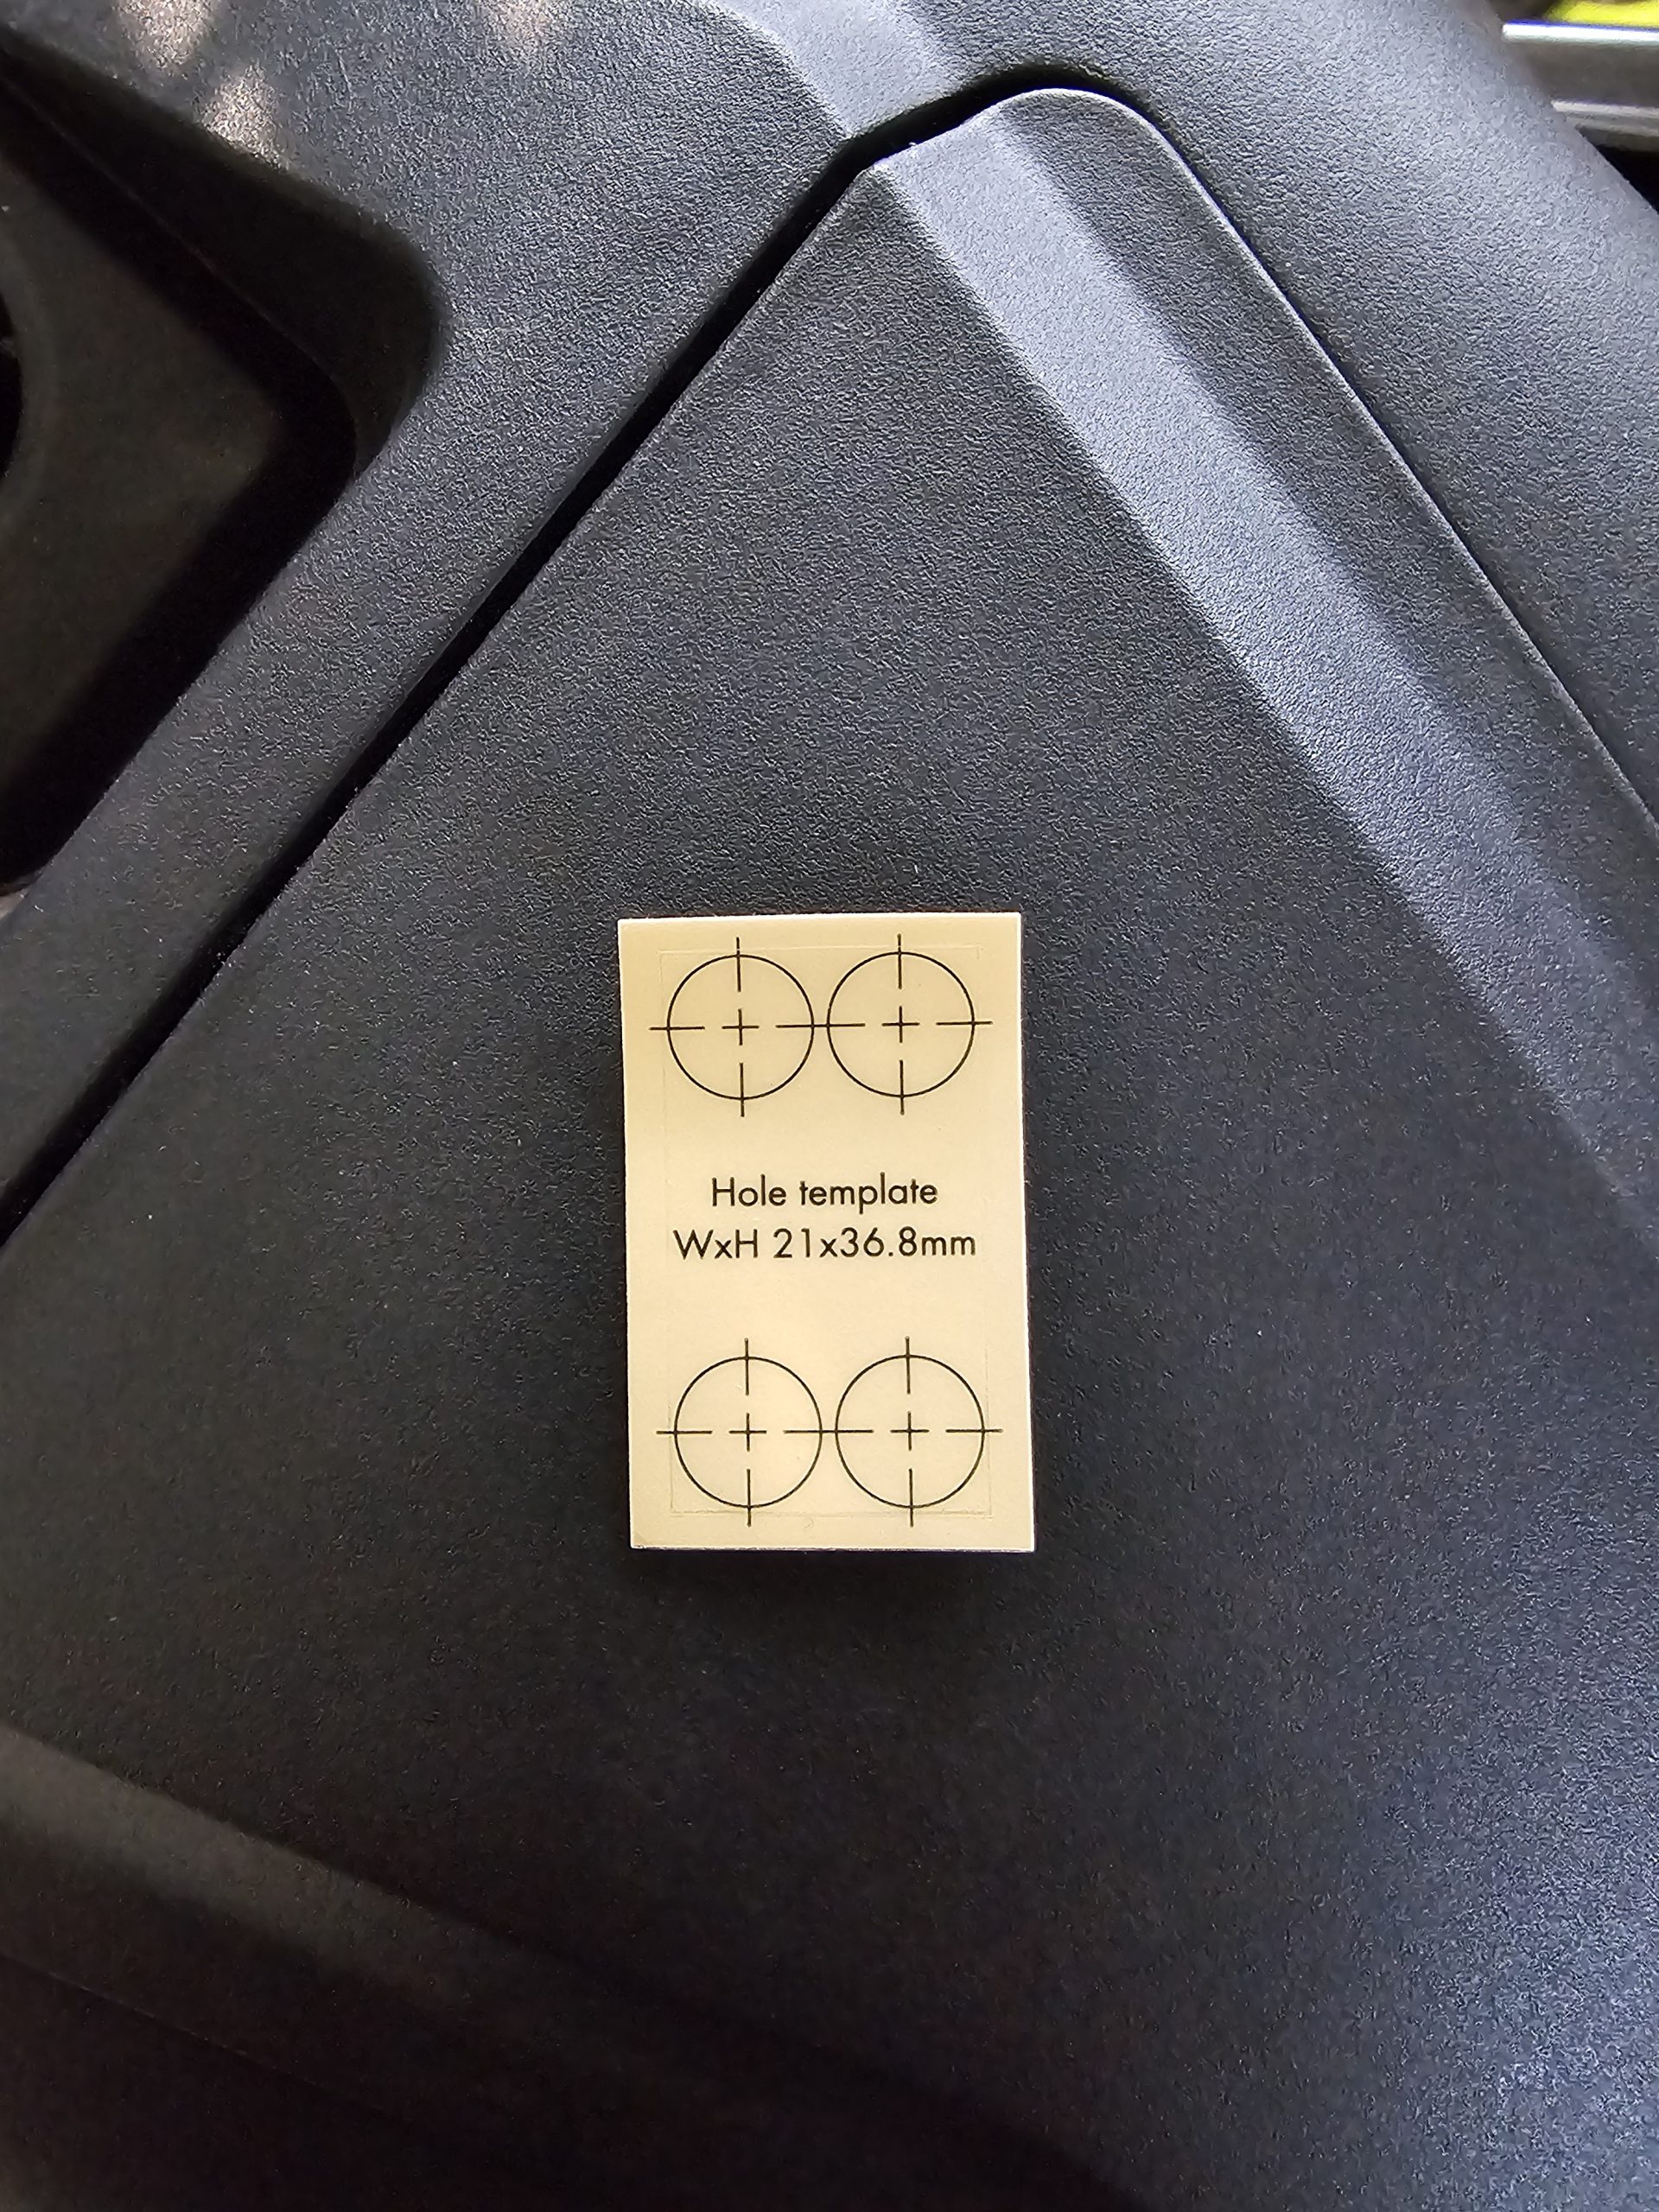
- Before we start, make sure to take the seat off the ATV and have a look at the task ahead.

- Unplug the seat sensor from the connector and put the seat somewhere out of the way, so you may work more efficiently.
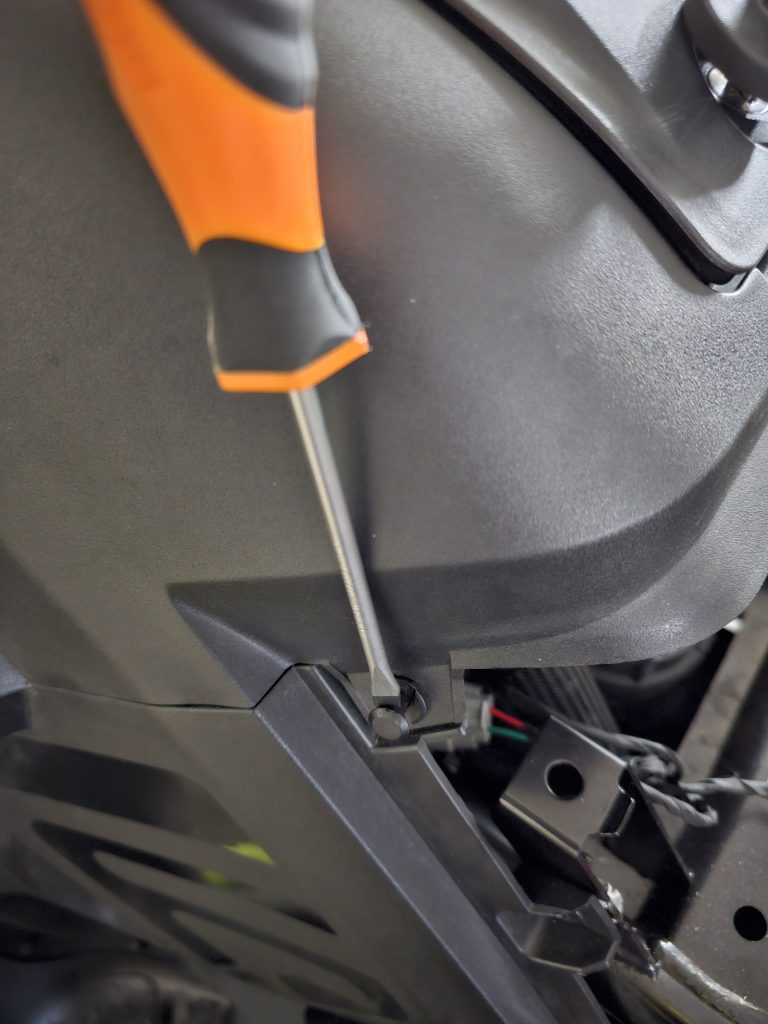
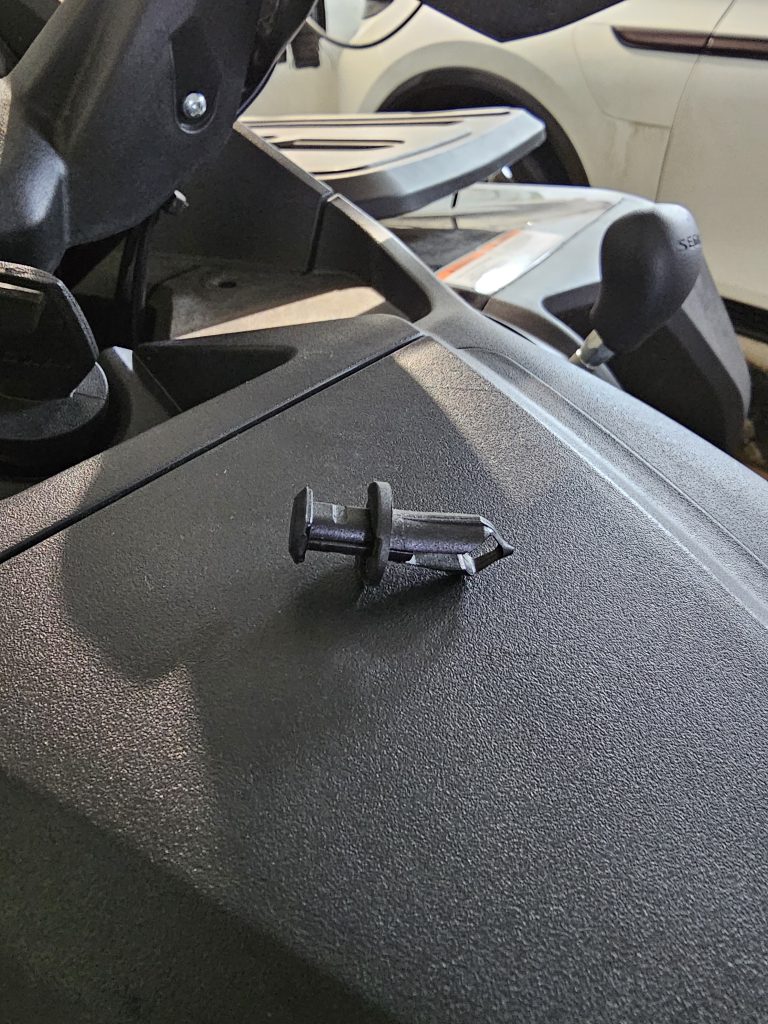
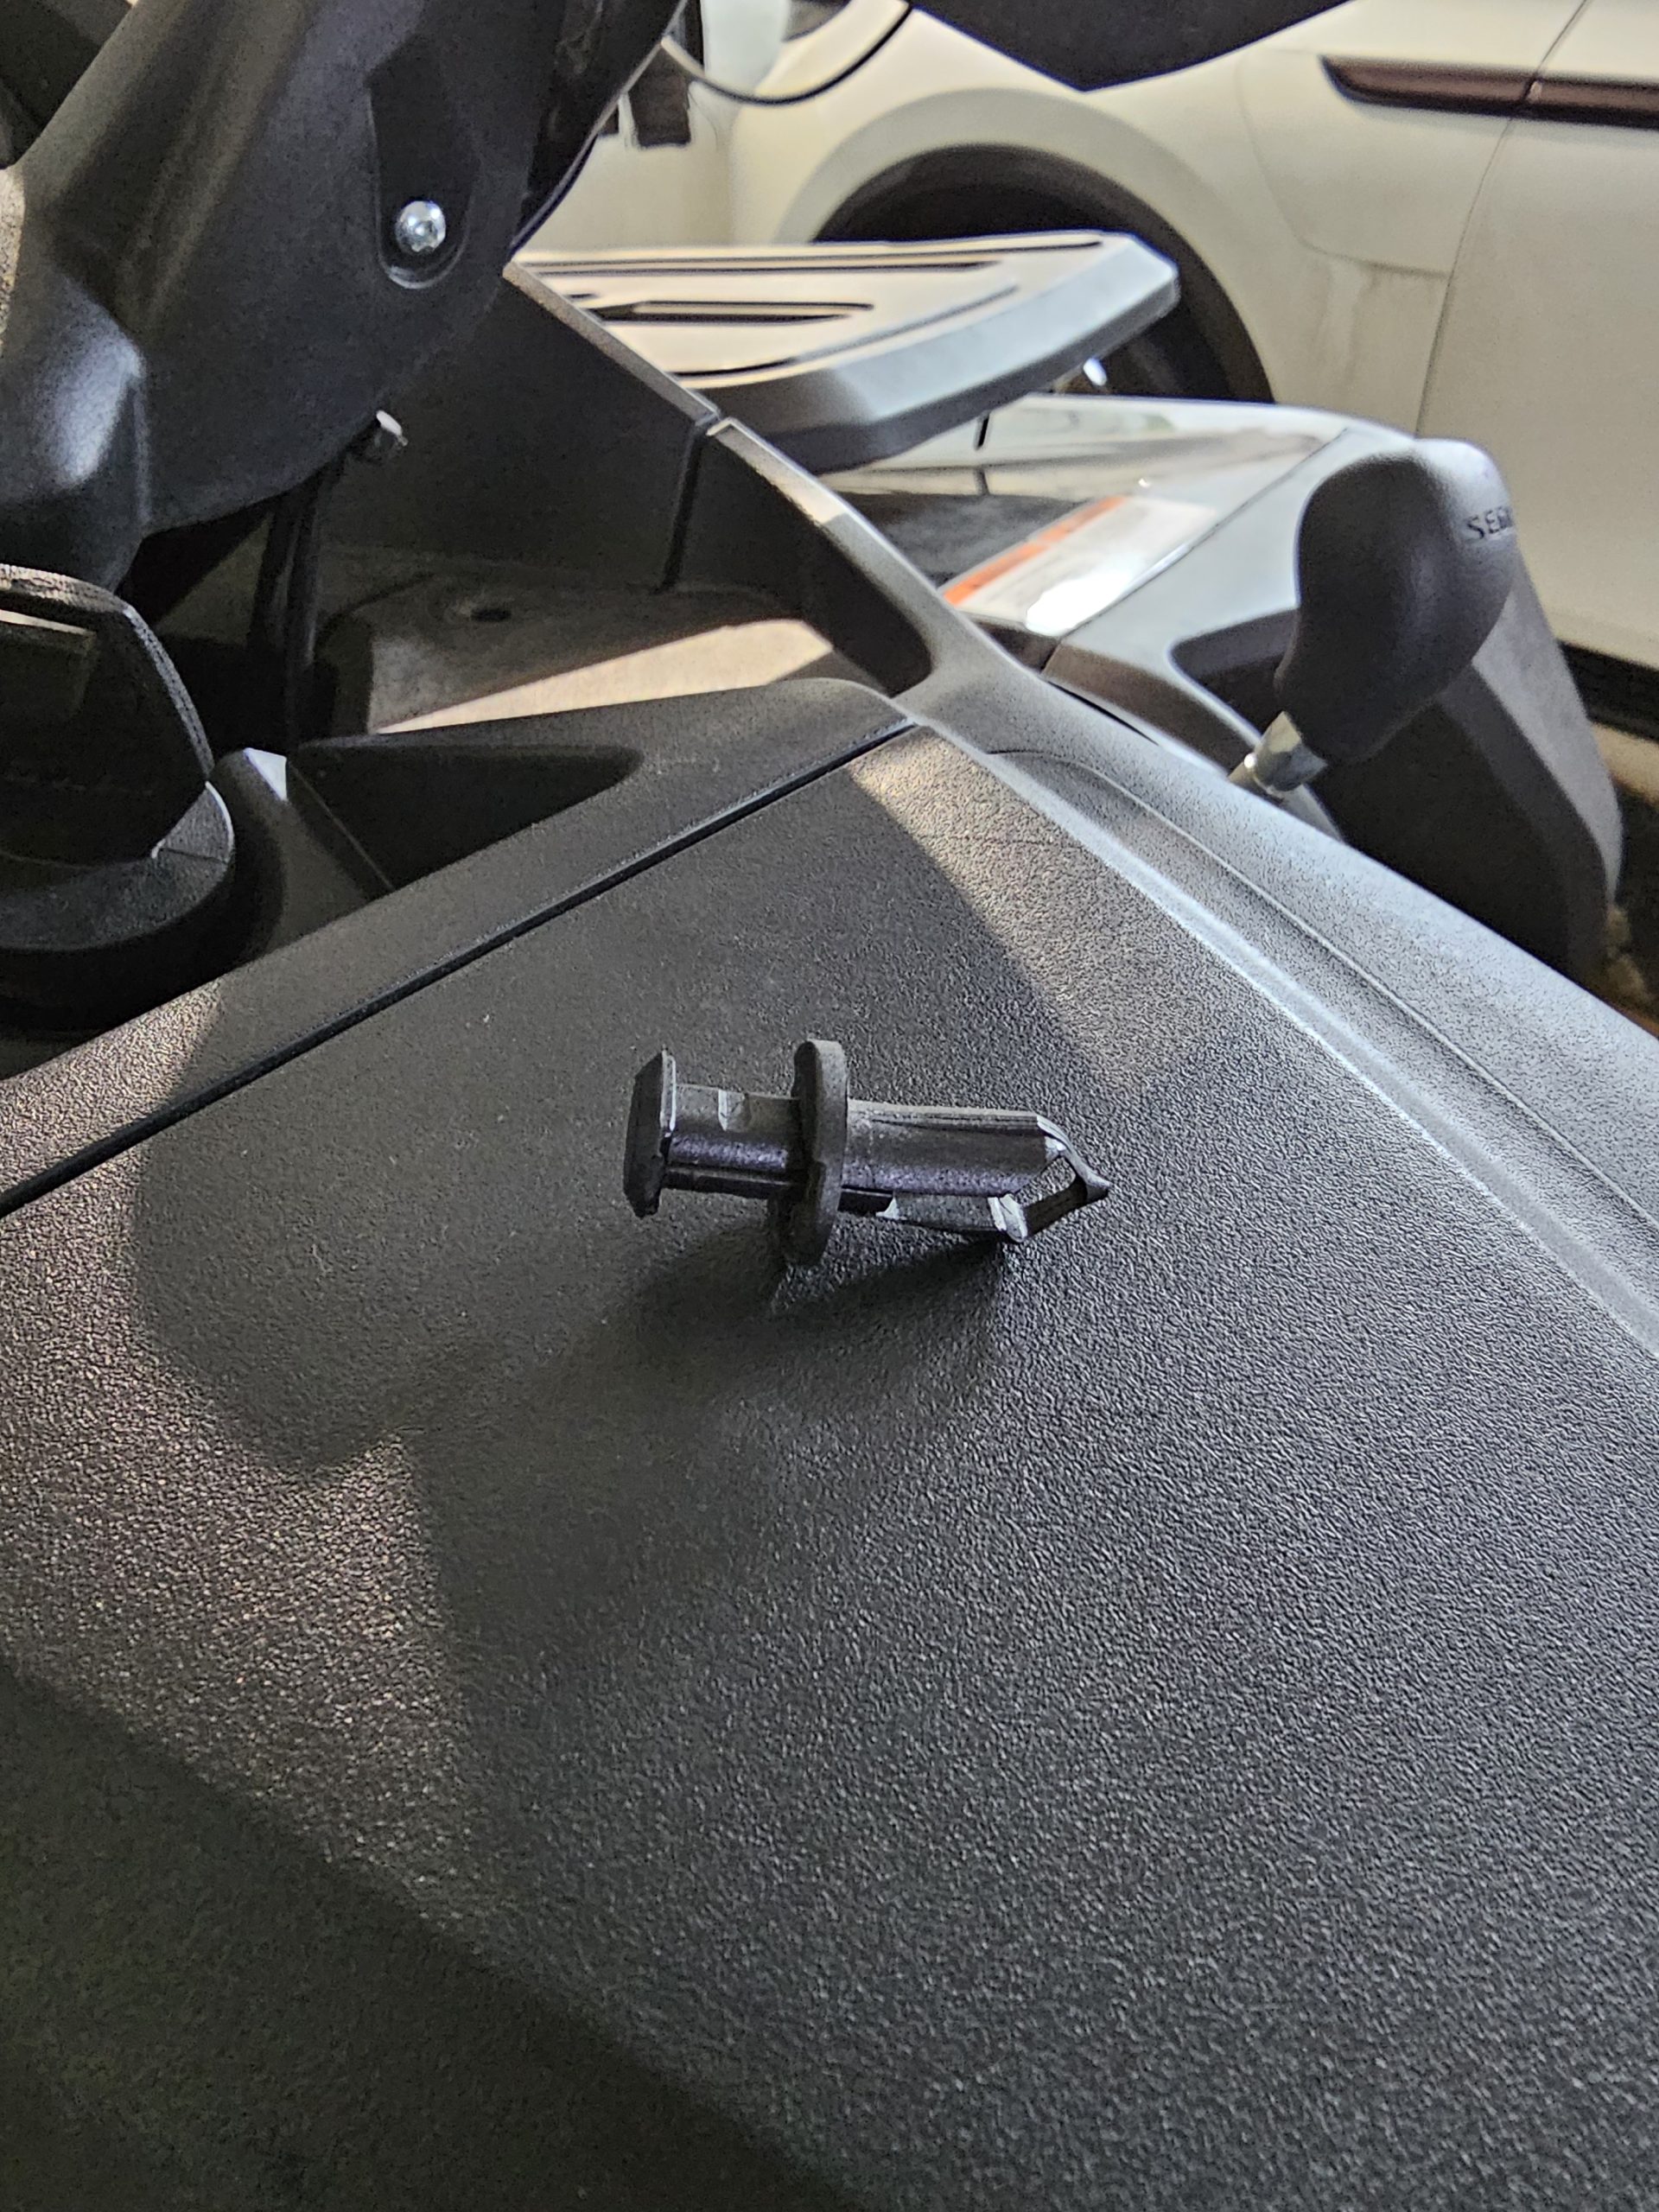
- Remove the four plugs that holds the front cover in place, use a flat screwdriver and pull gently. (You are reusing these, so be careful not to damage them.)

- Getting the cover off is quite straight forward, you just have to pull hard on the sides and press down. Eventually it should come off. (Don’t be afraid to use some muscle – nothing should be able to break, but use caution.)
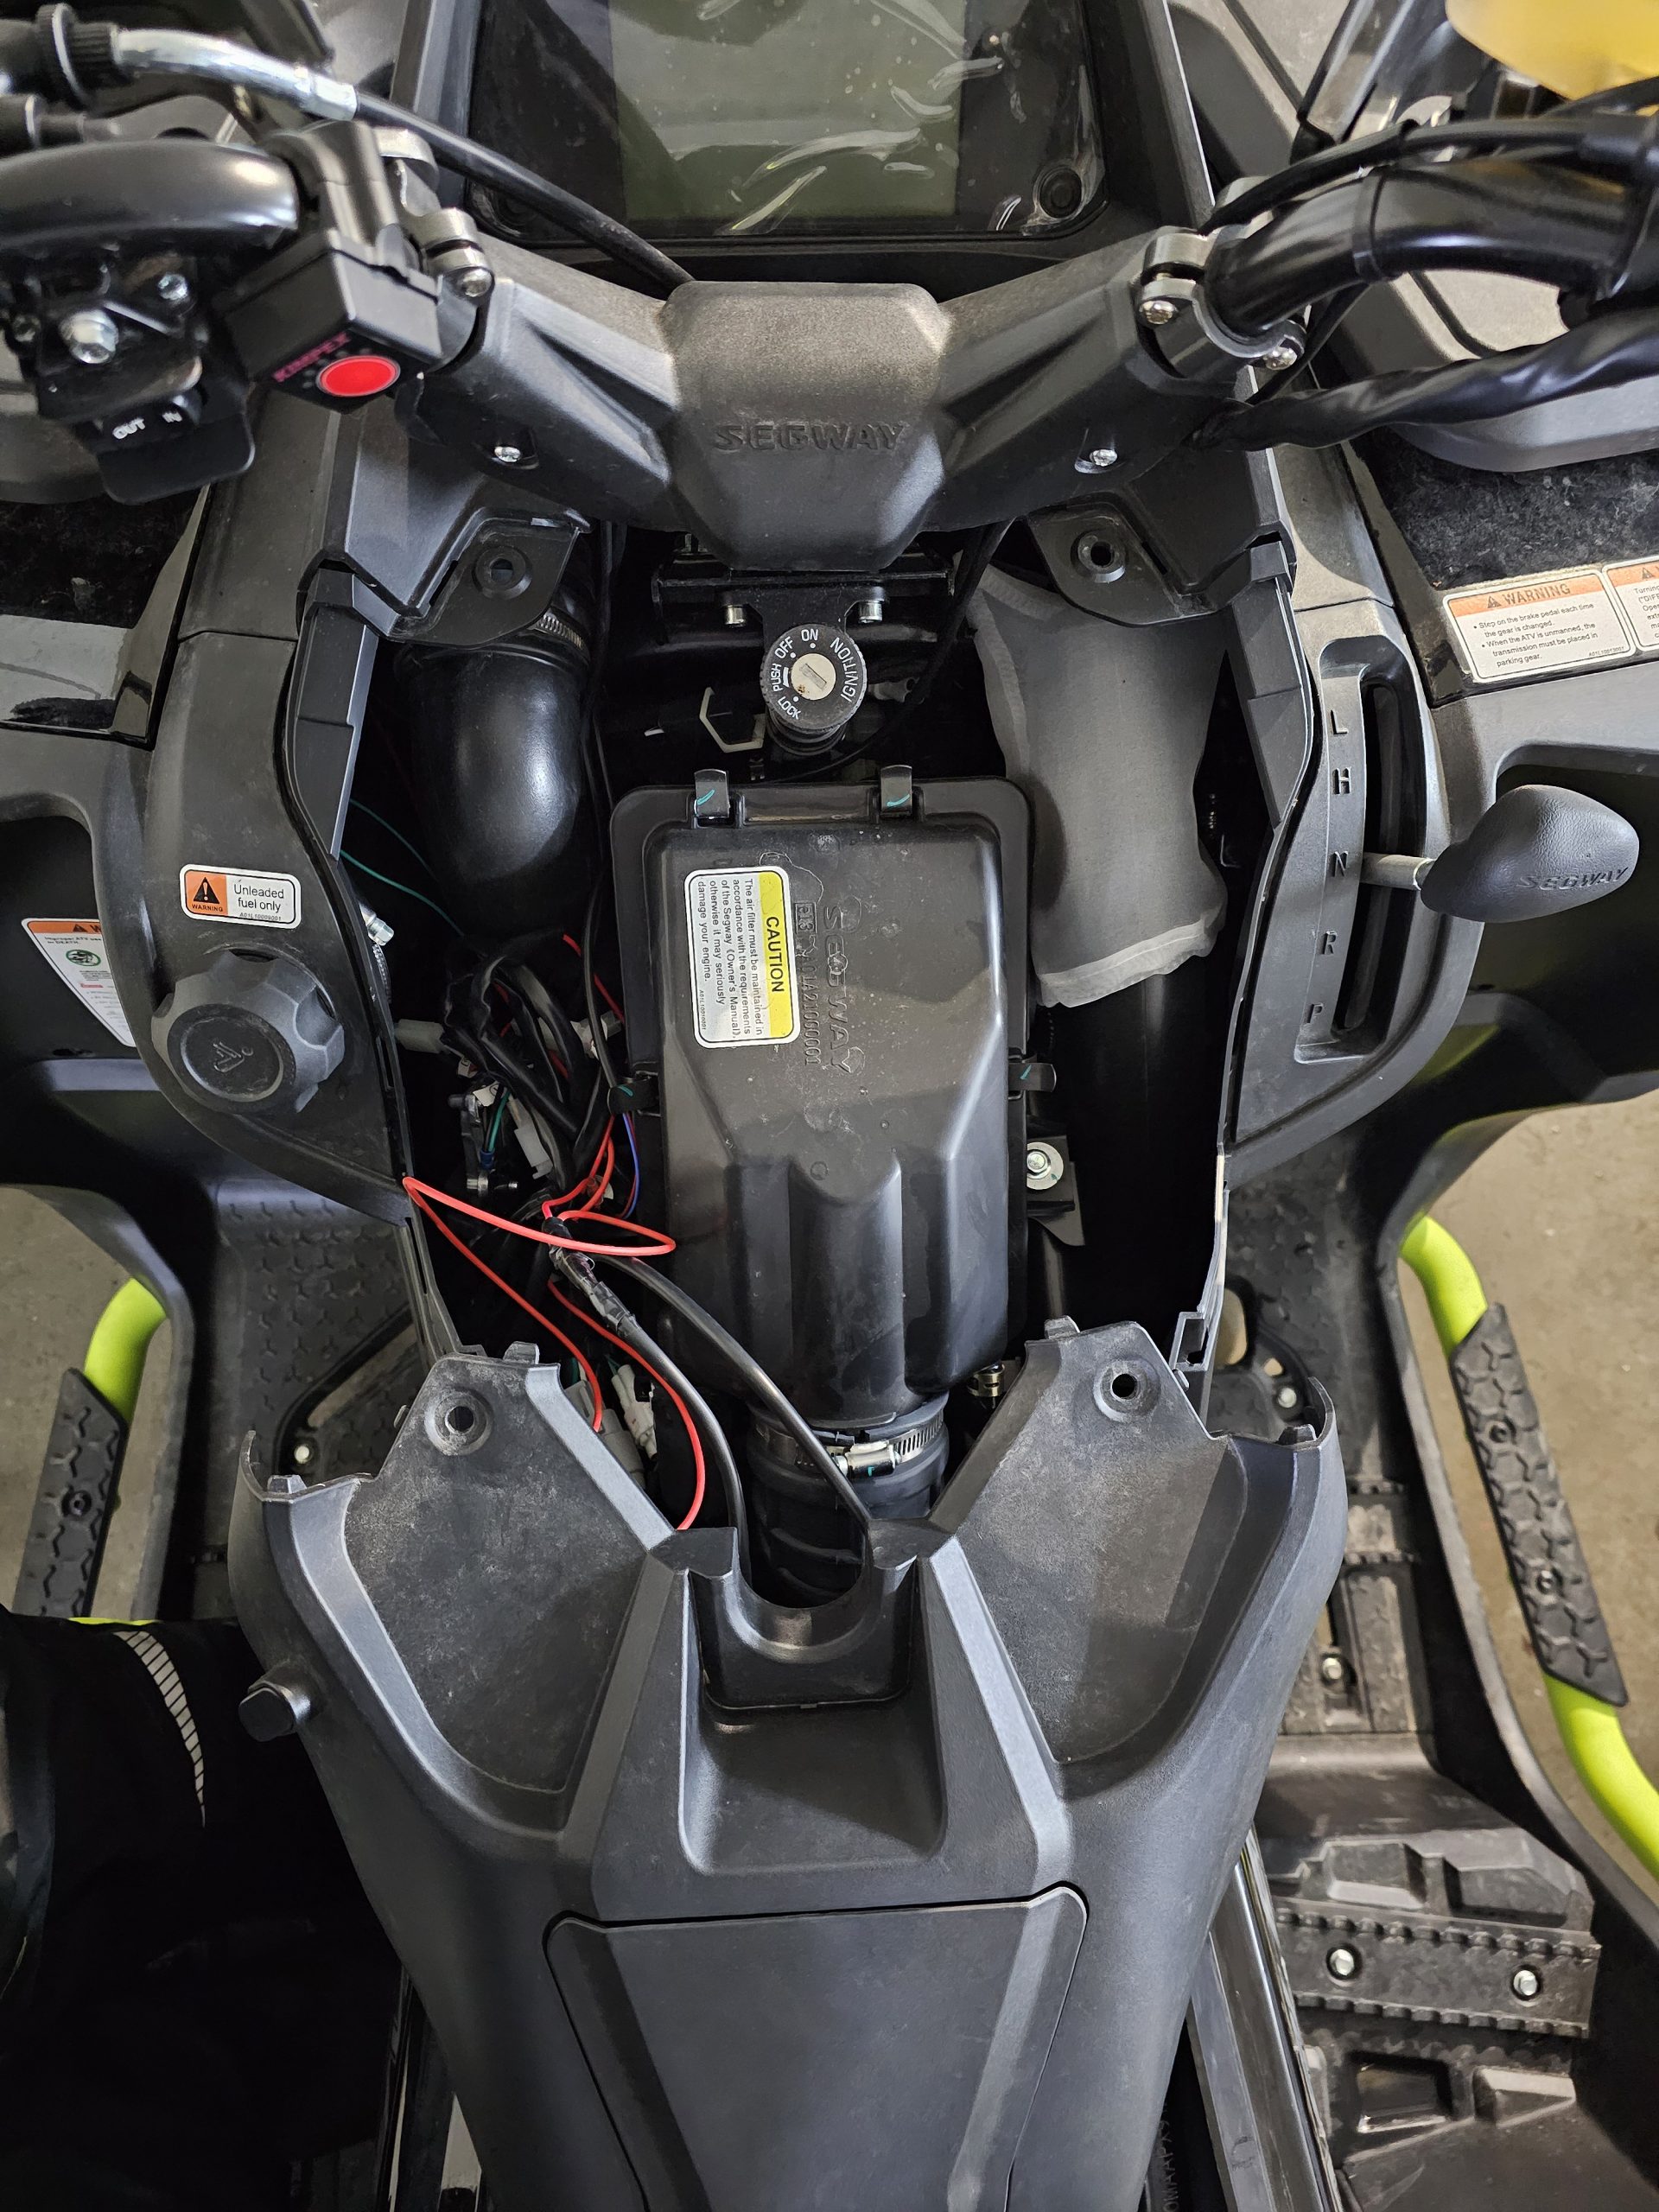
- Flip the cover around – gently minding the existing wires.

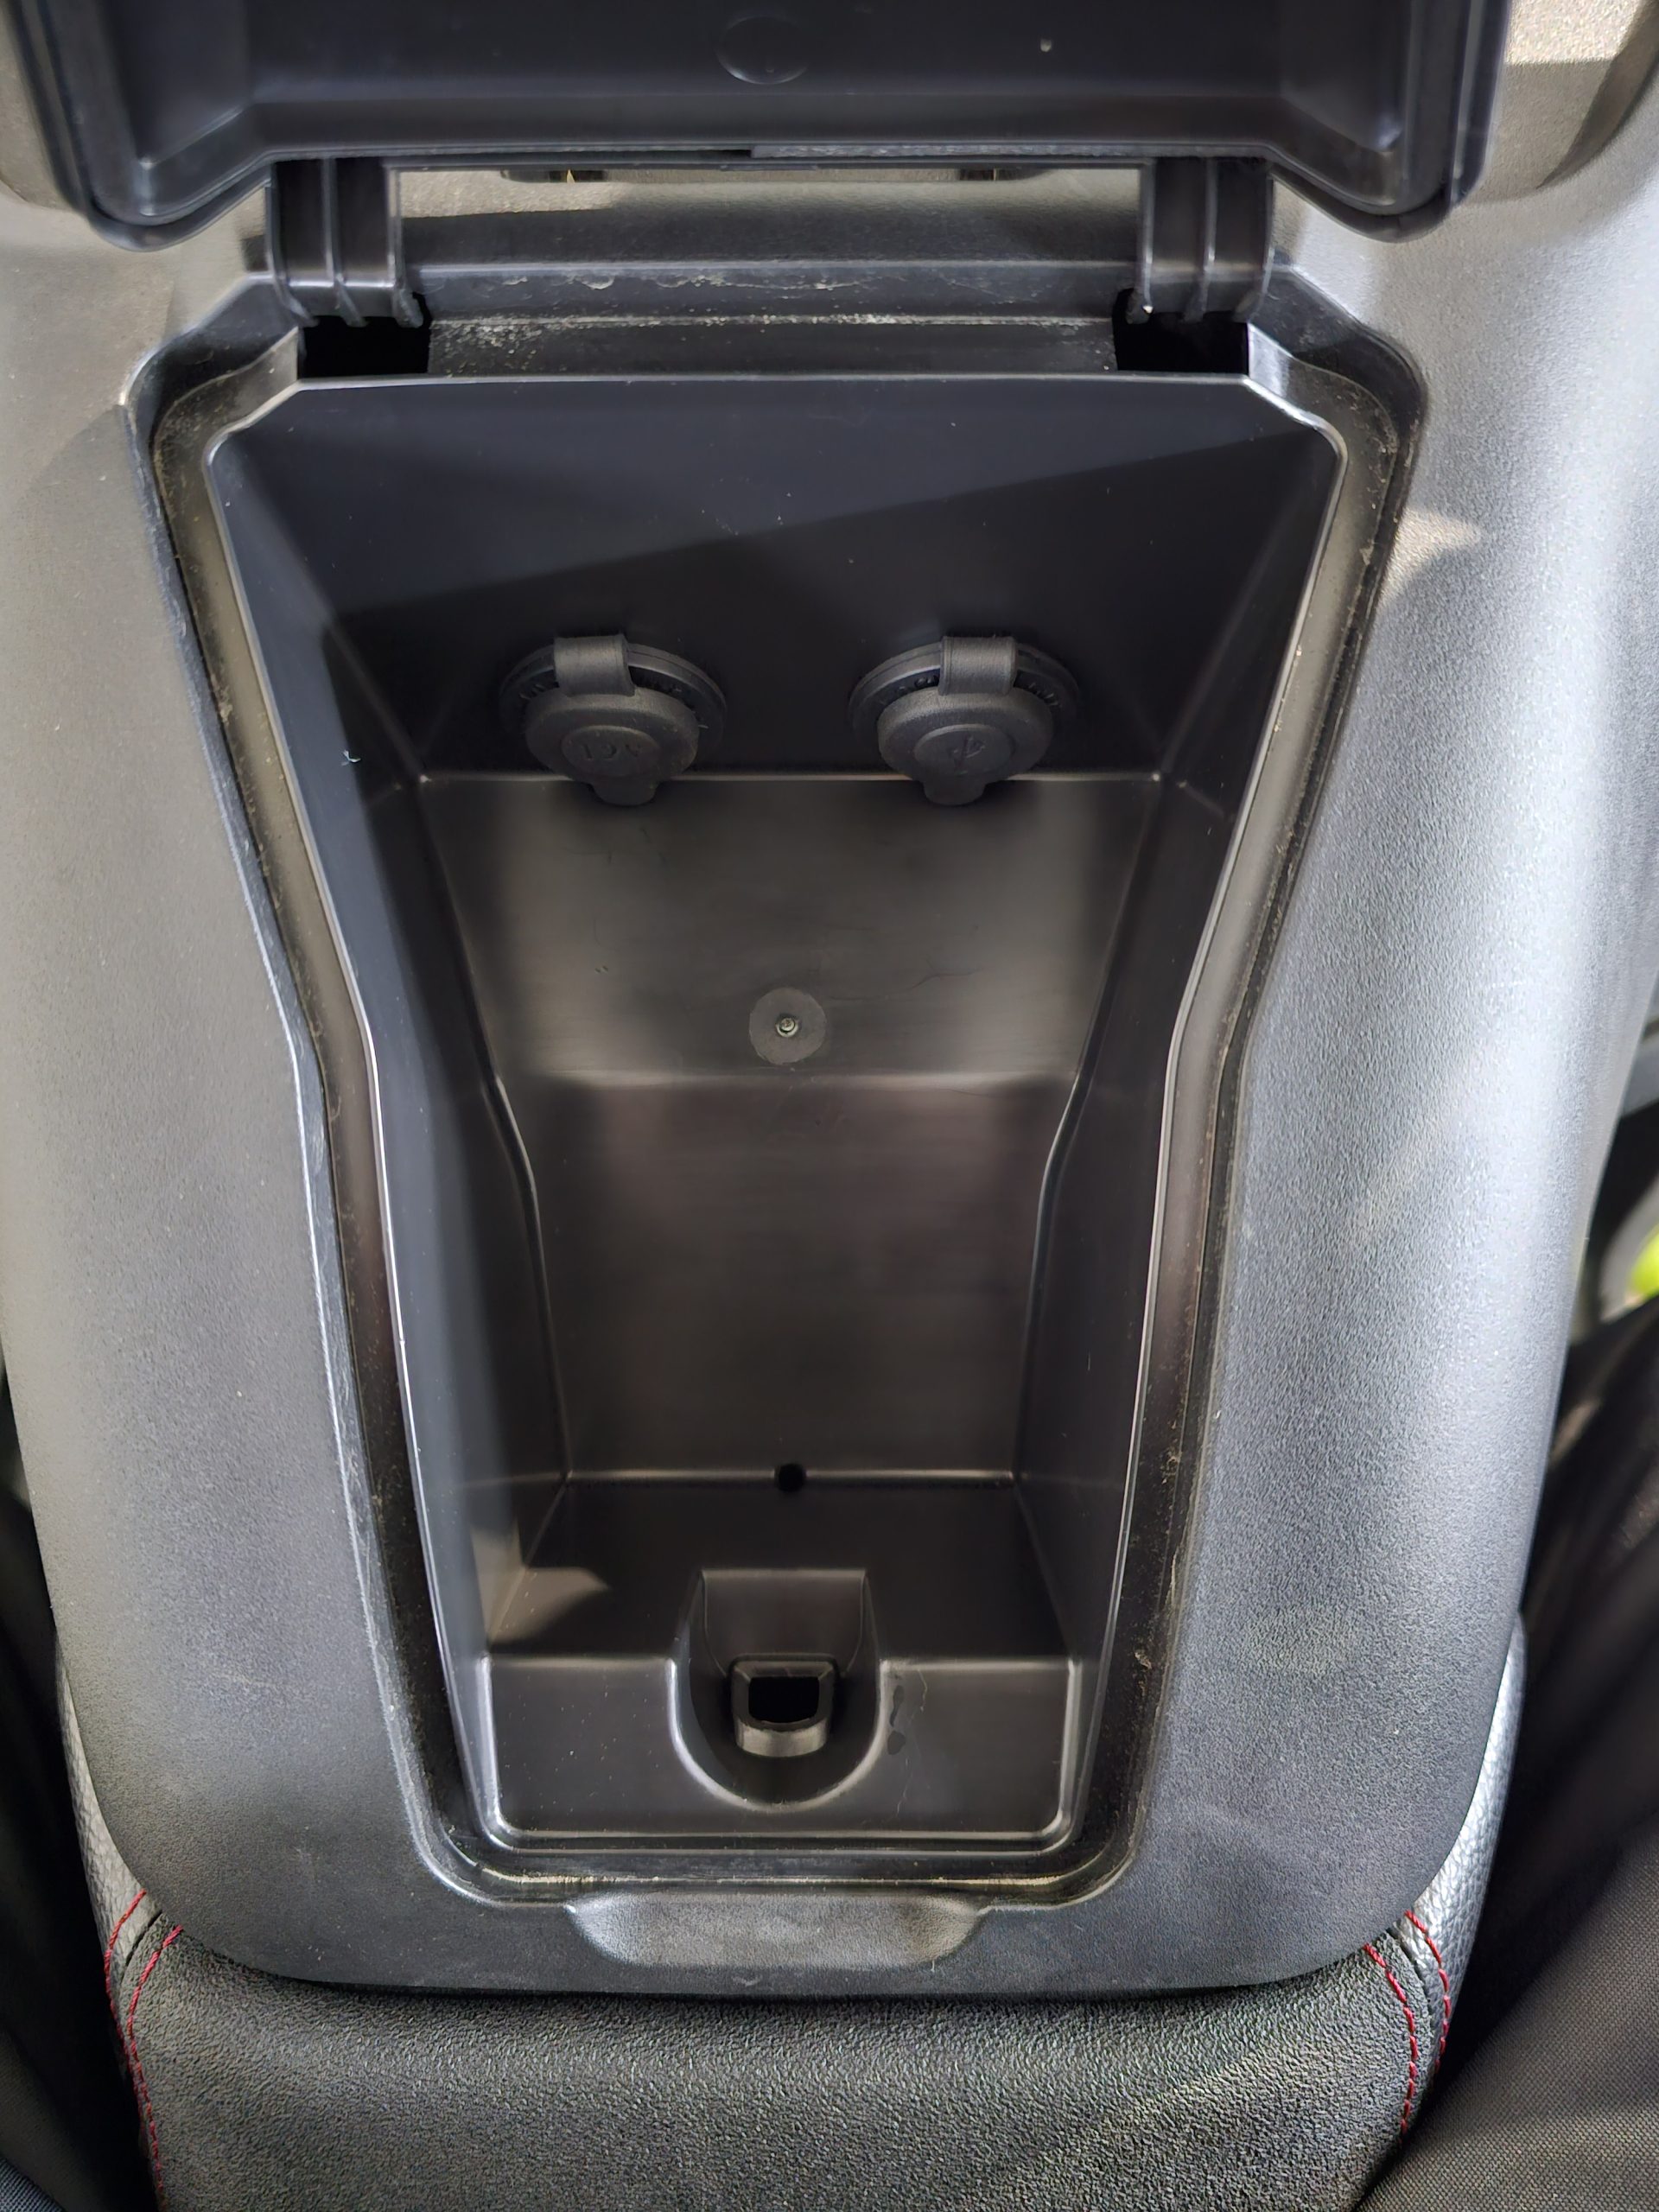
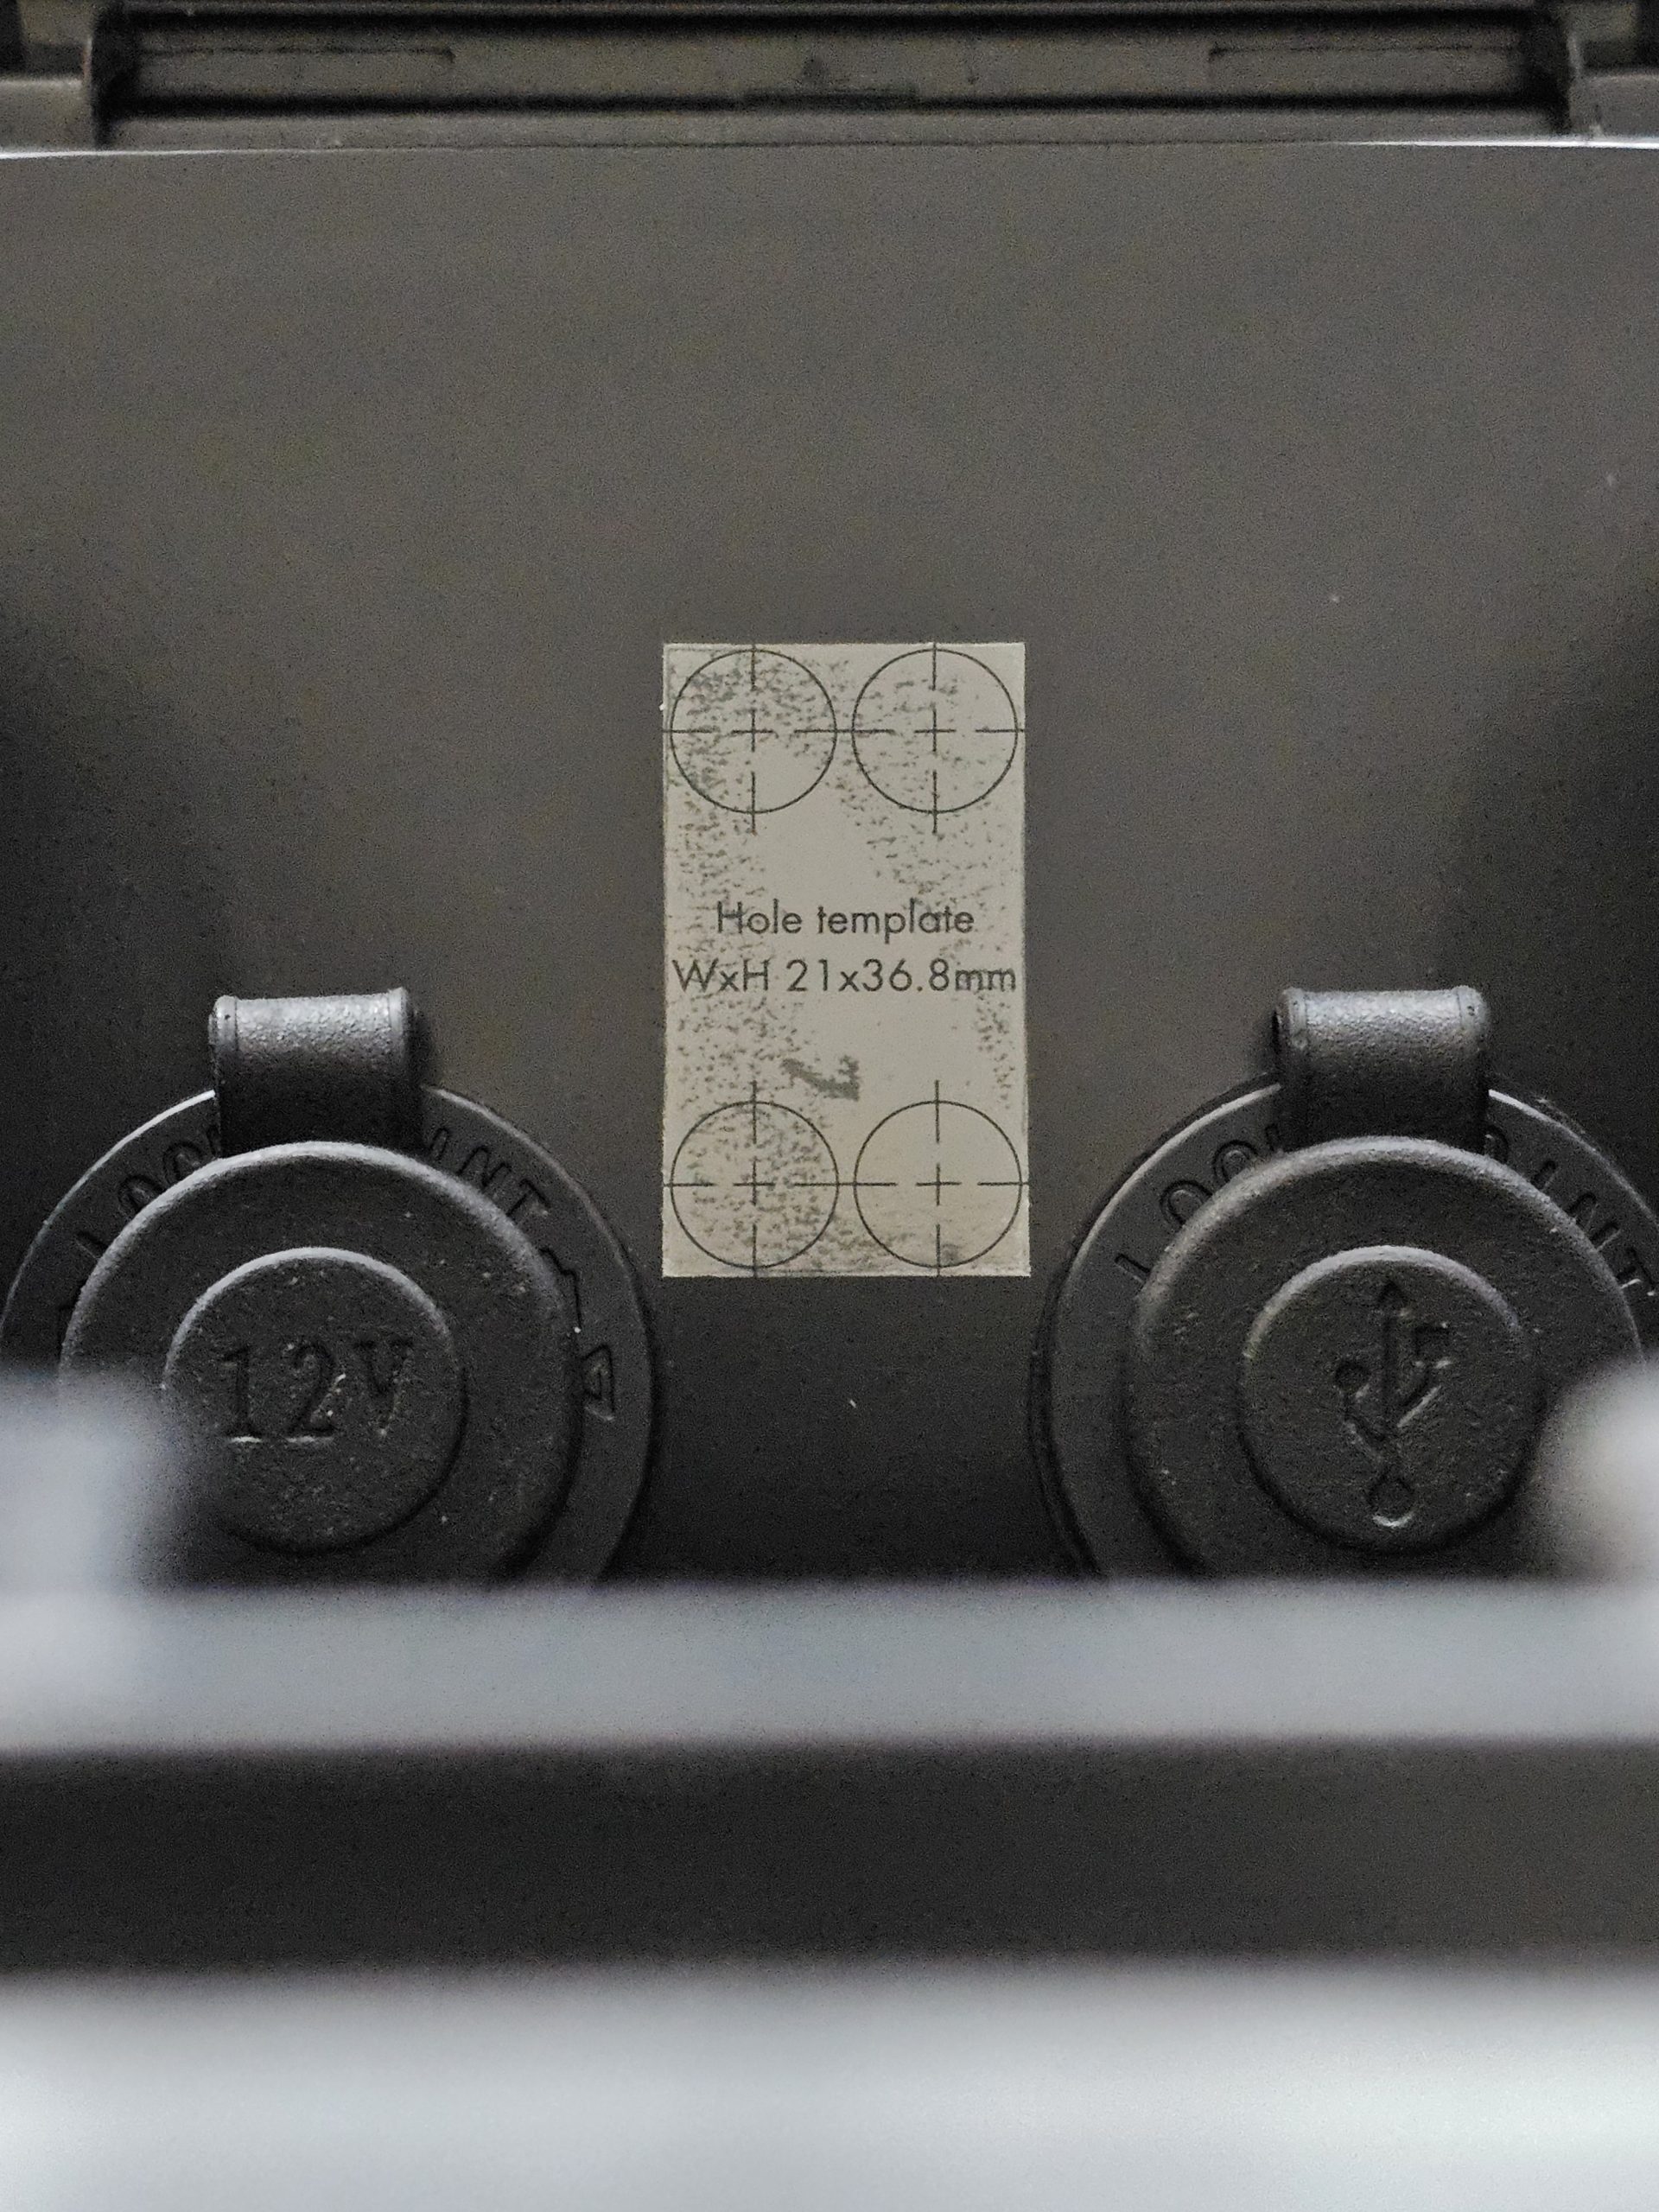
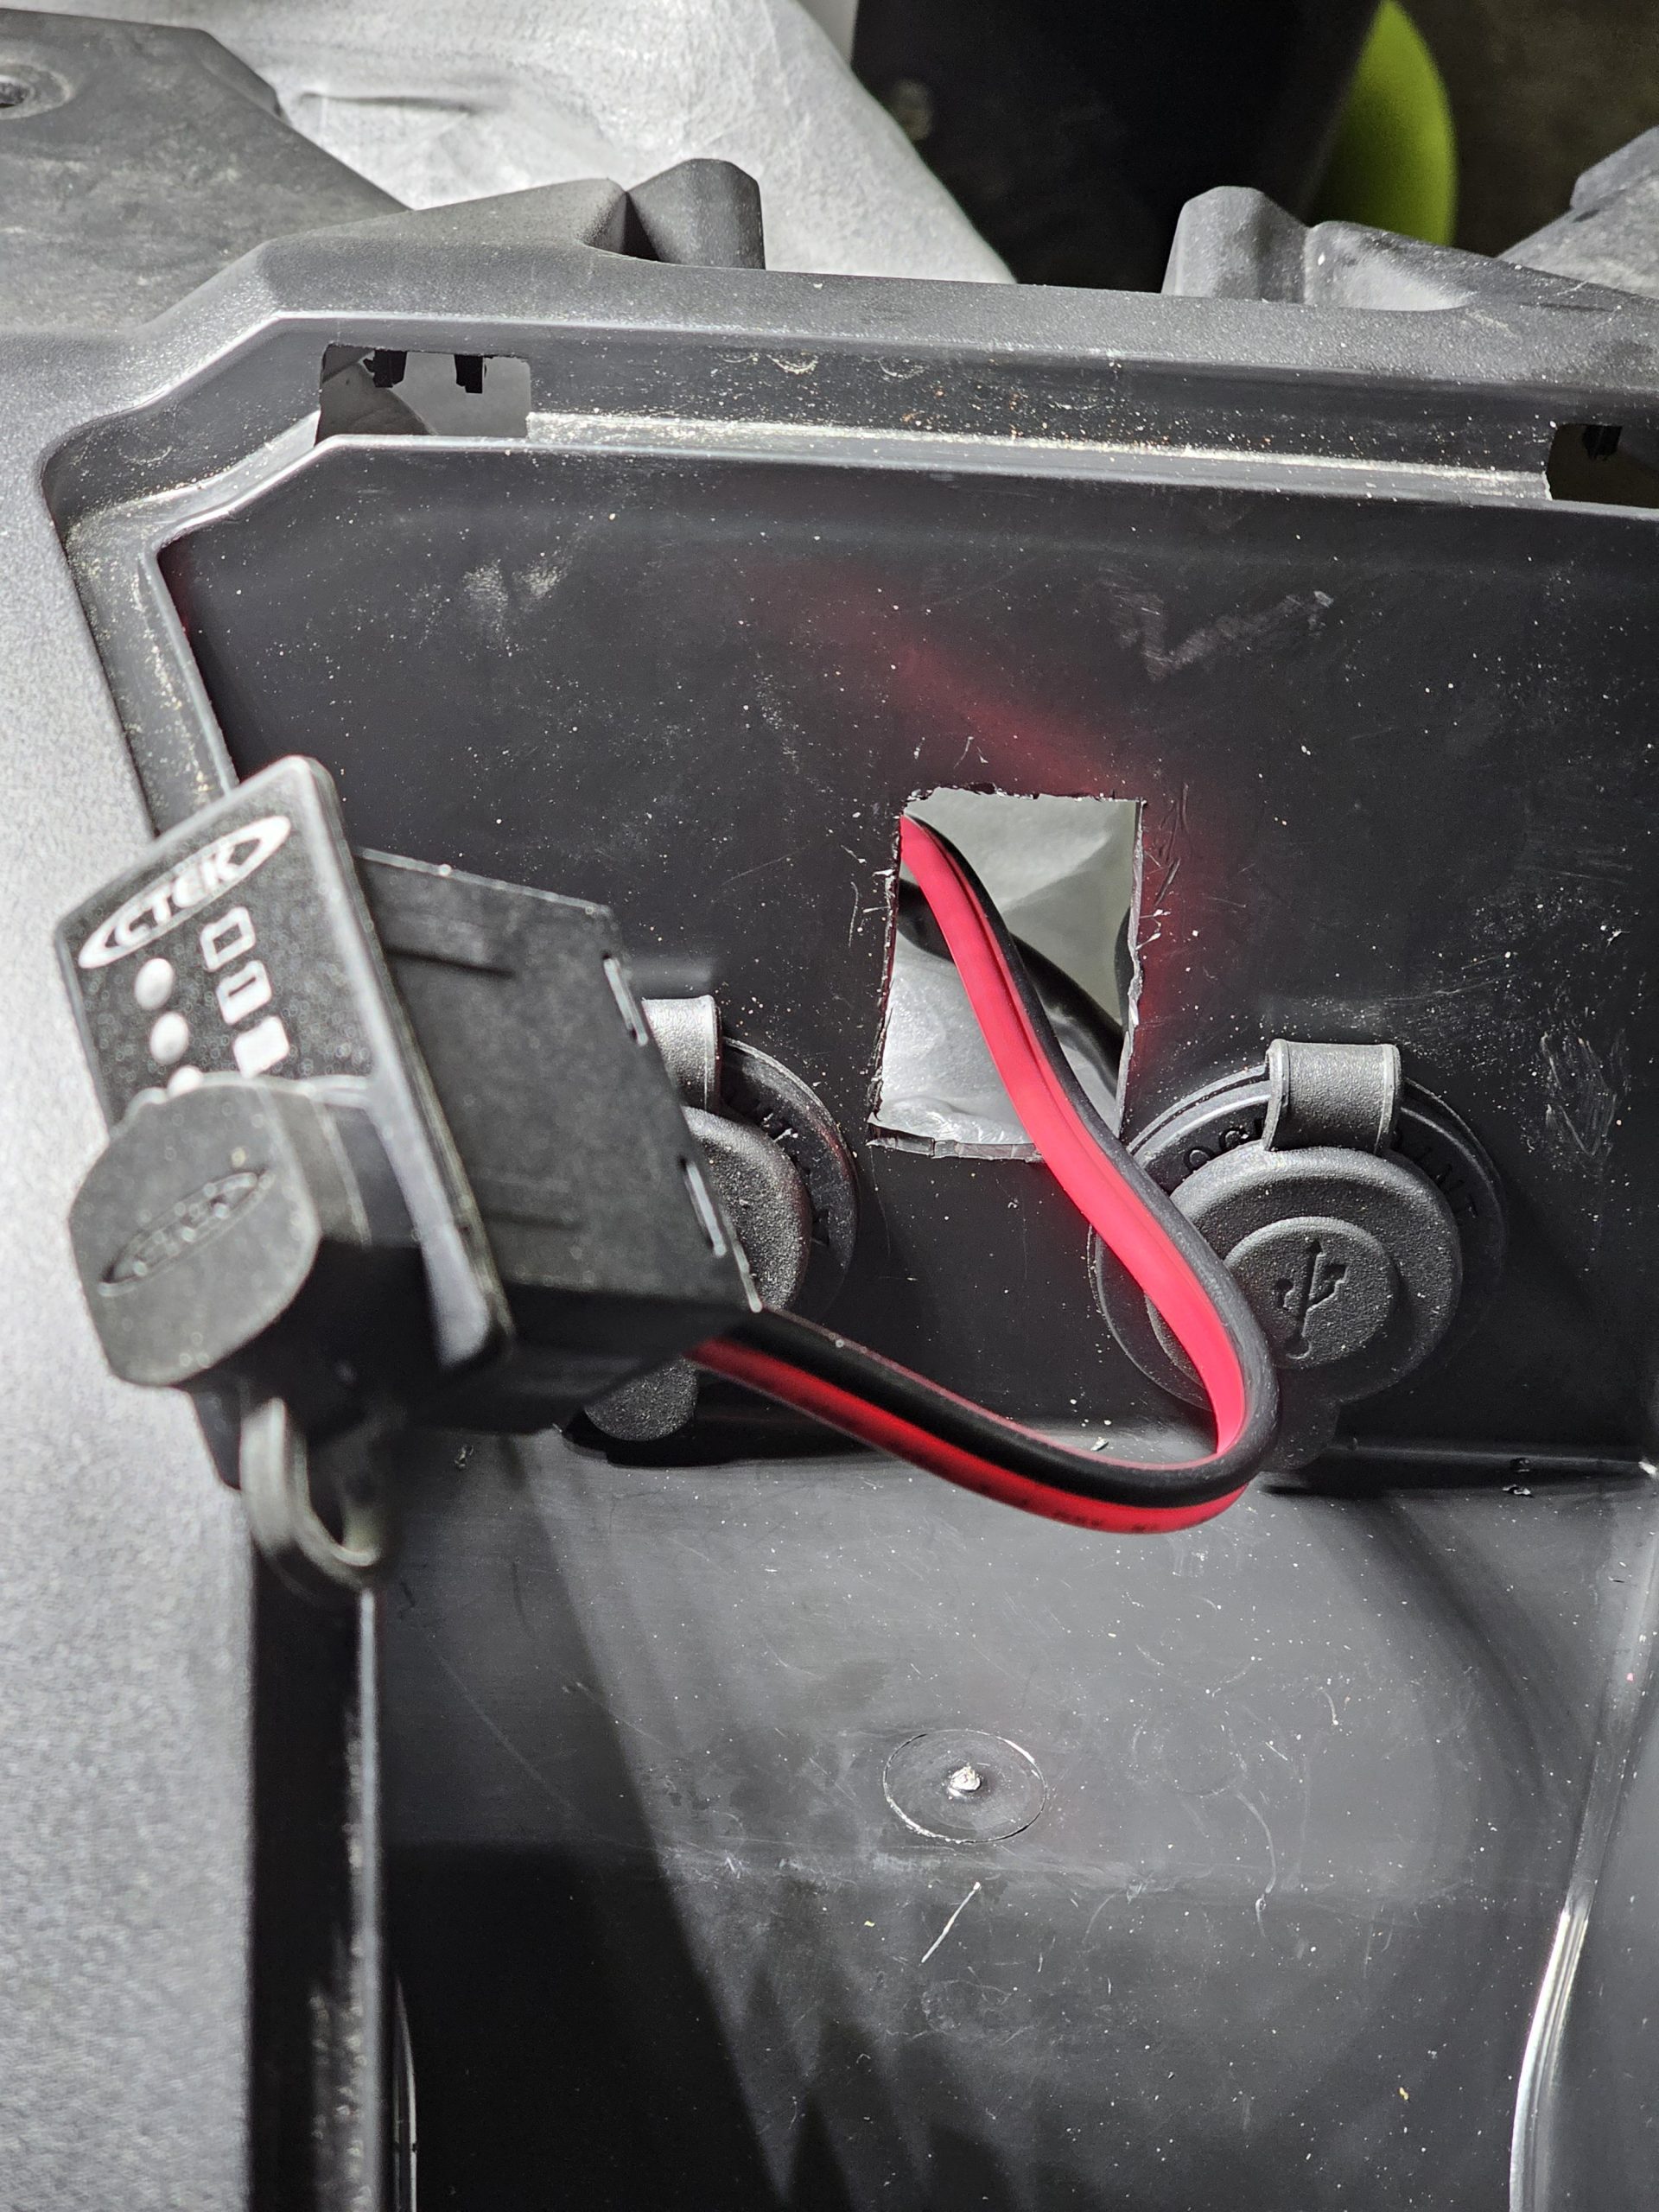
- Use the hole template, that comes in the box with the CTEK Comfort Indicator Panel, to mark the spot where you want the hot-plug to be.


- I also removed the small cover to ble able to work and move more freely. There are two screws on each side. It’s latched together, so use a flat screwdriver to gently separate them.
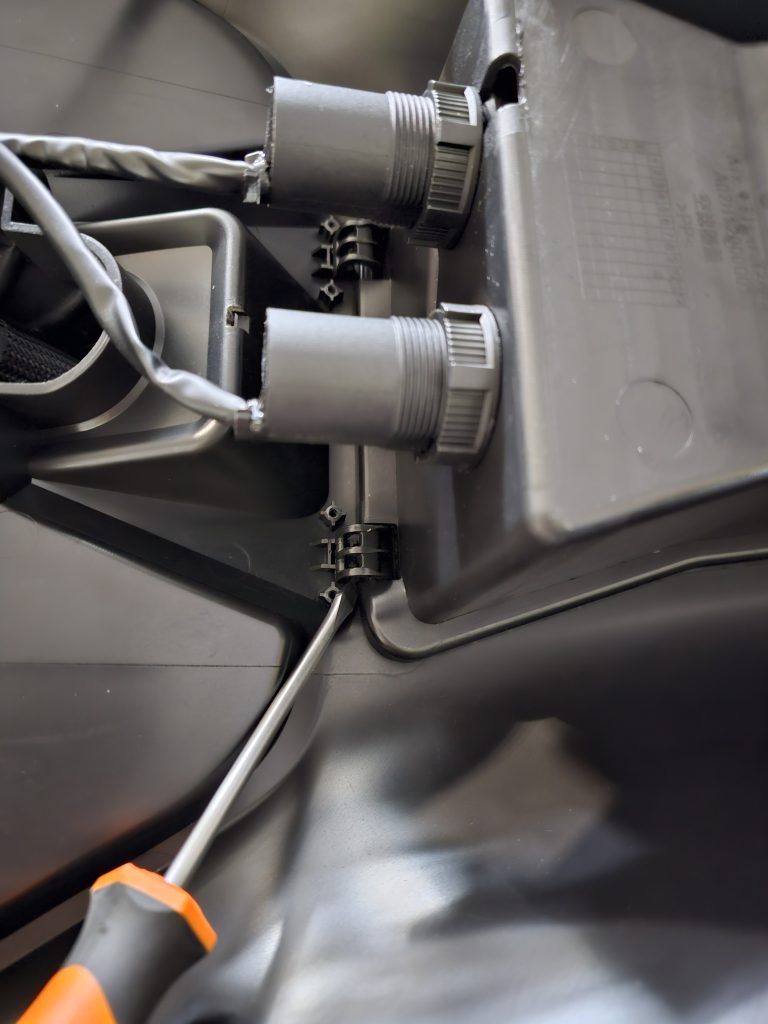
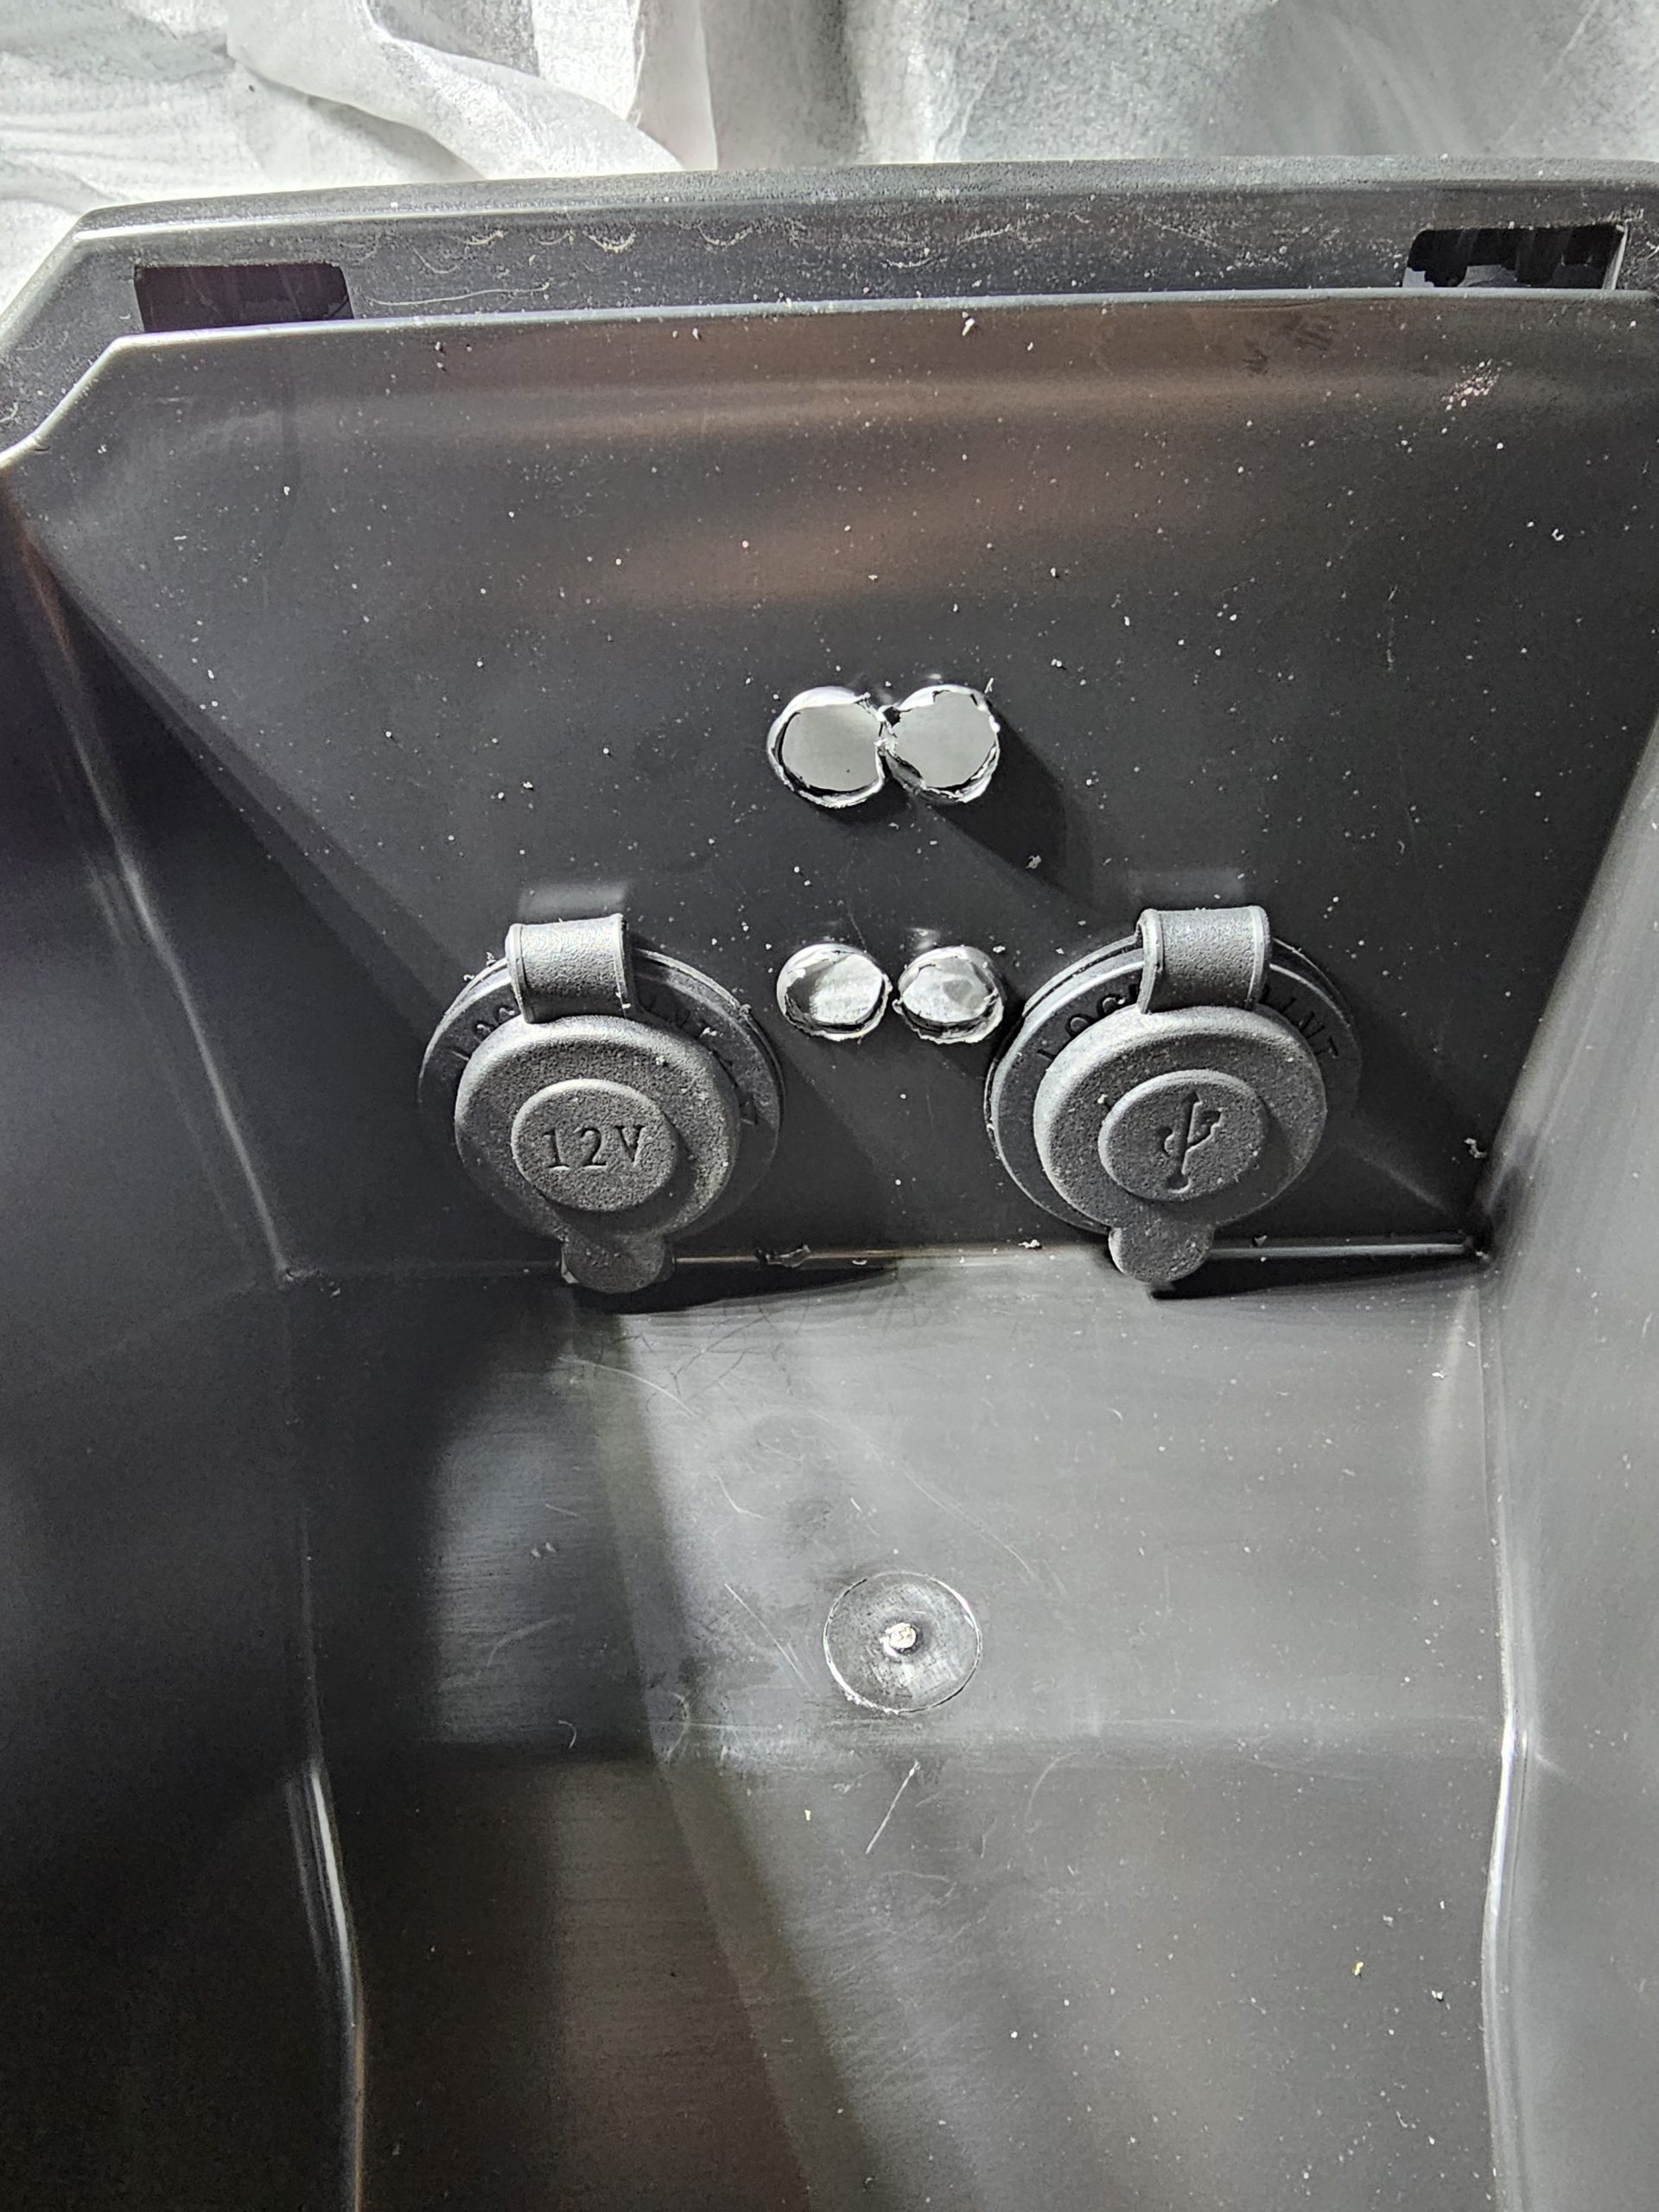
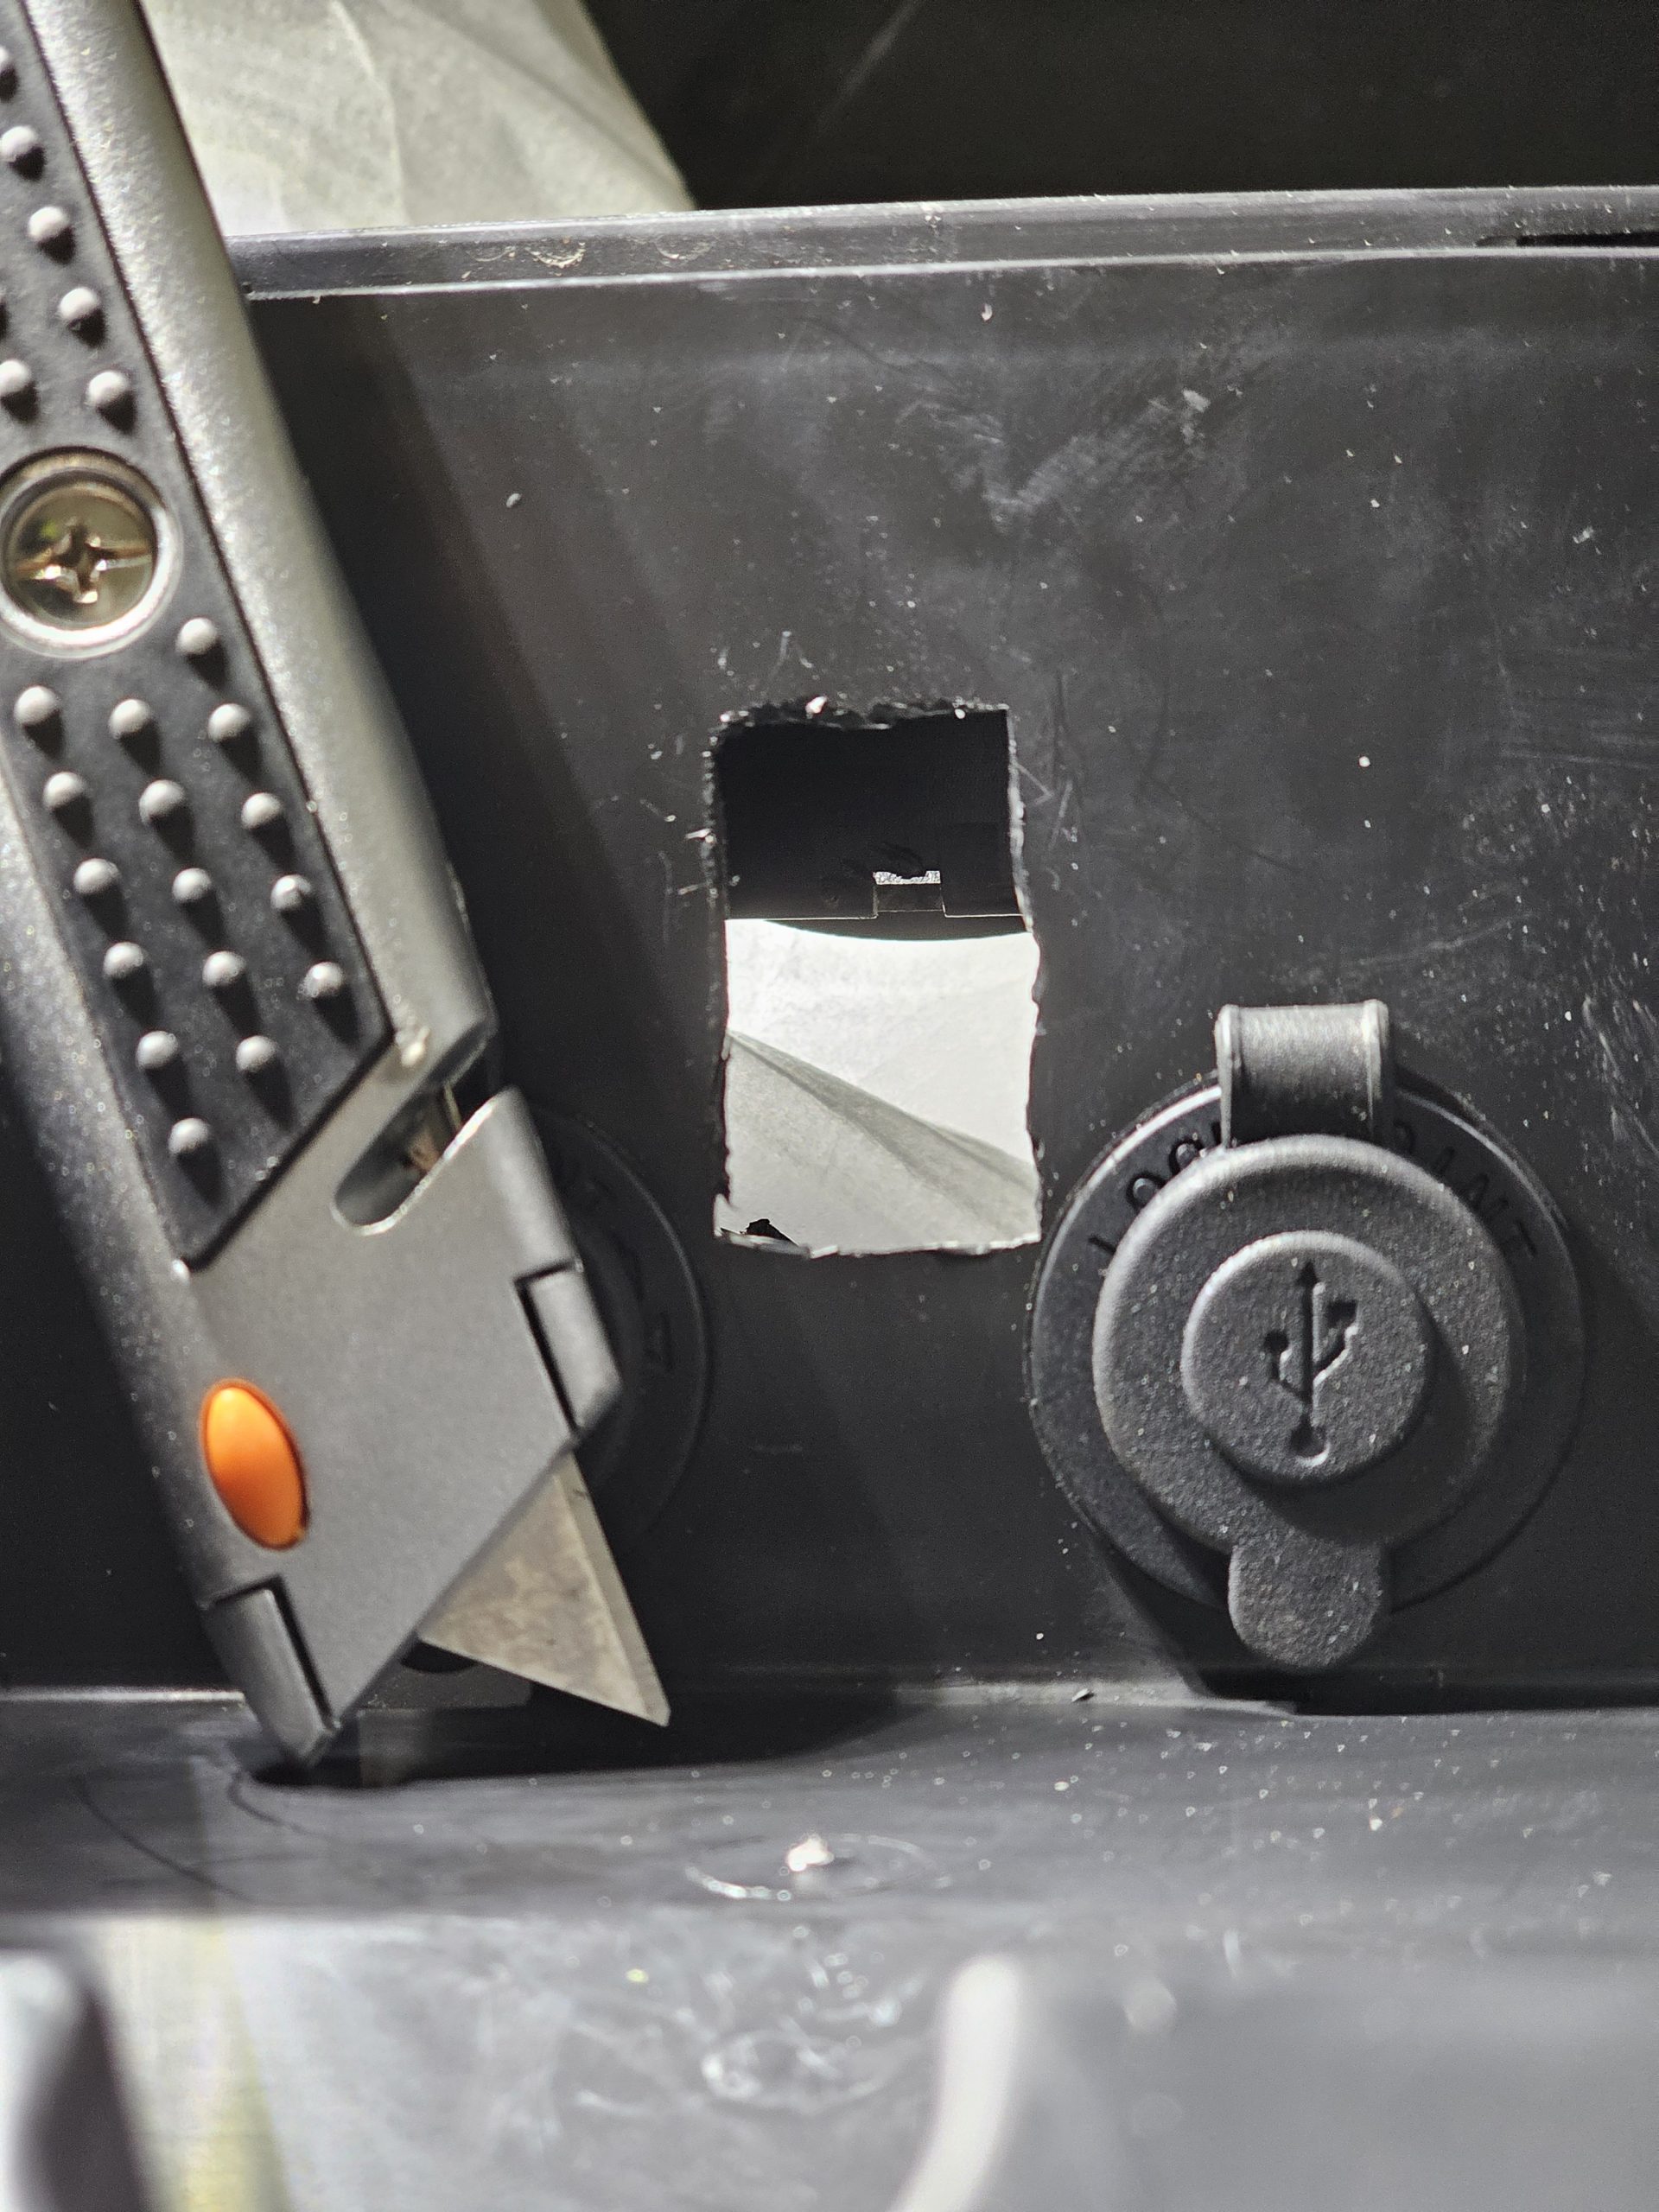
- There are multiple ways to probably make the rectangle hole, depending on the tools you have at your disposal. I did a combination of first drilling small holes, then bigger holes and then went to finish off with a knife. The plastic is fairly easy to cut, so having a sharp knife gets you a long way. Whatever you end up doing and using, just make sure you soften the plastic edges in case there are any sharp edges or residue.

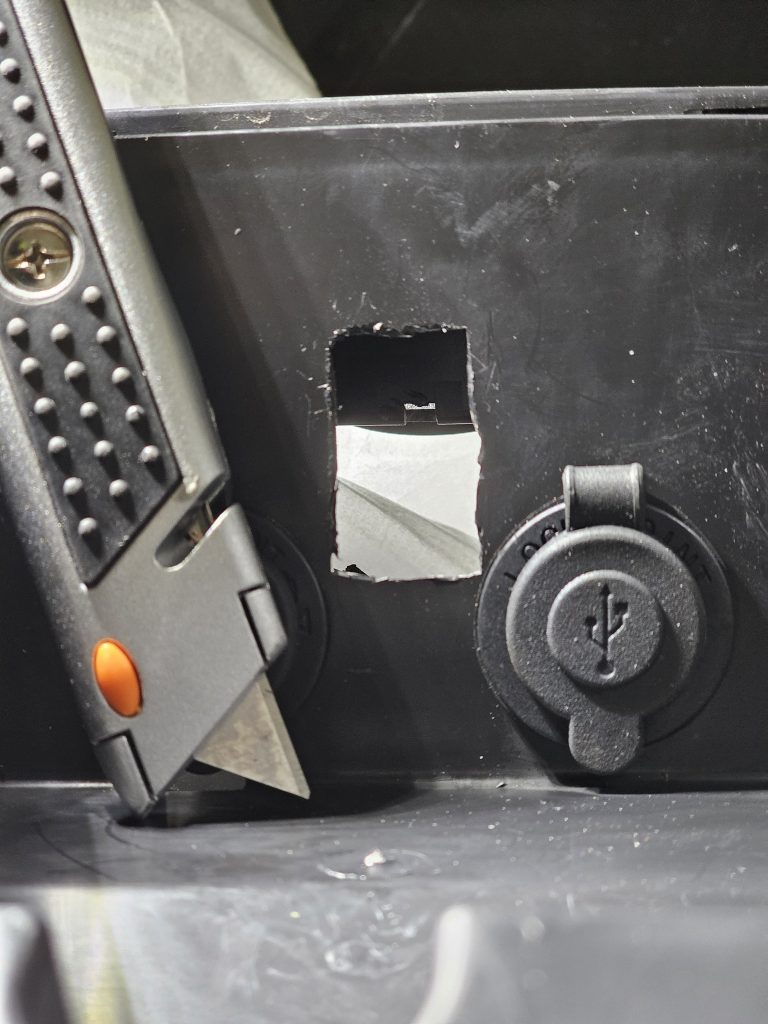
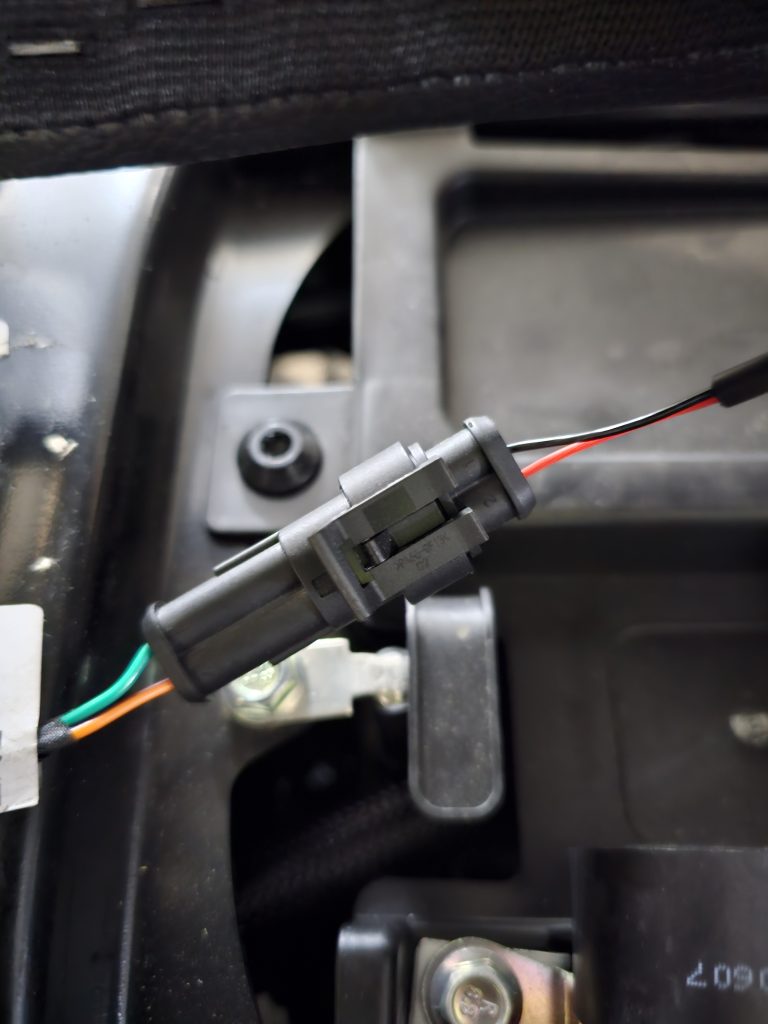
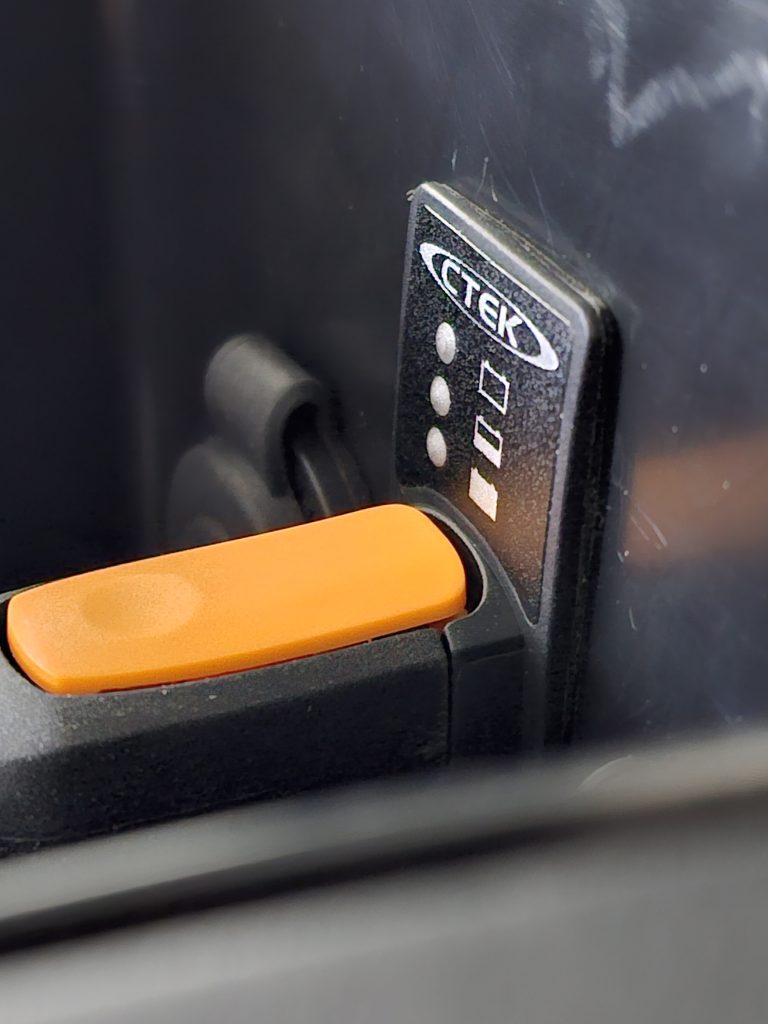
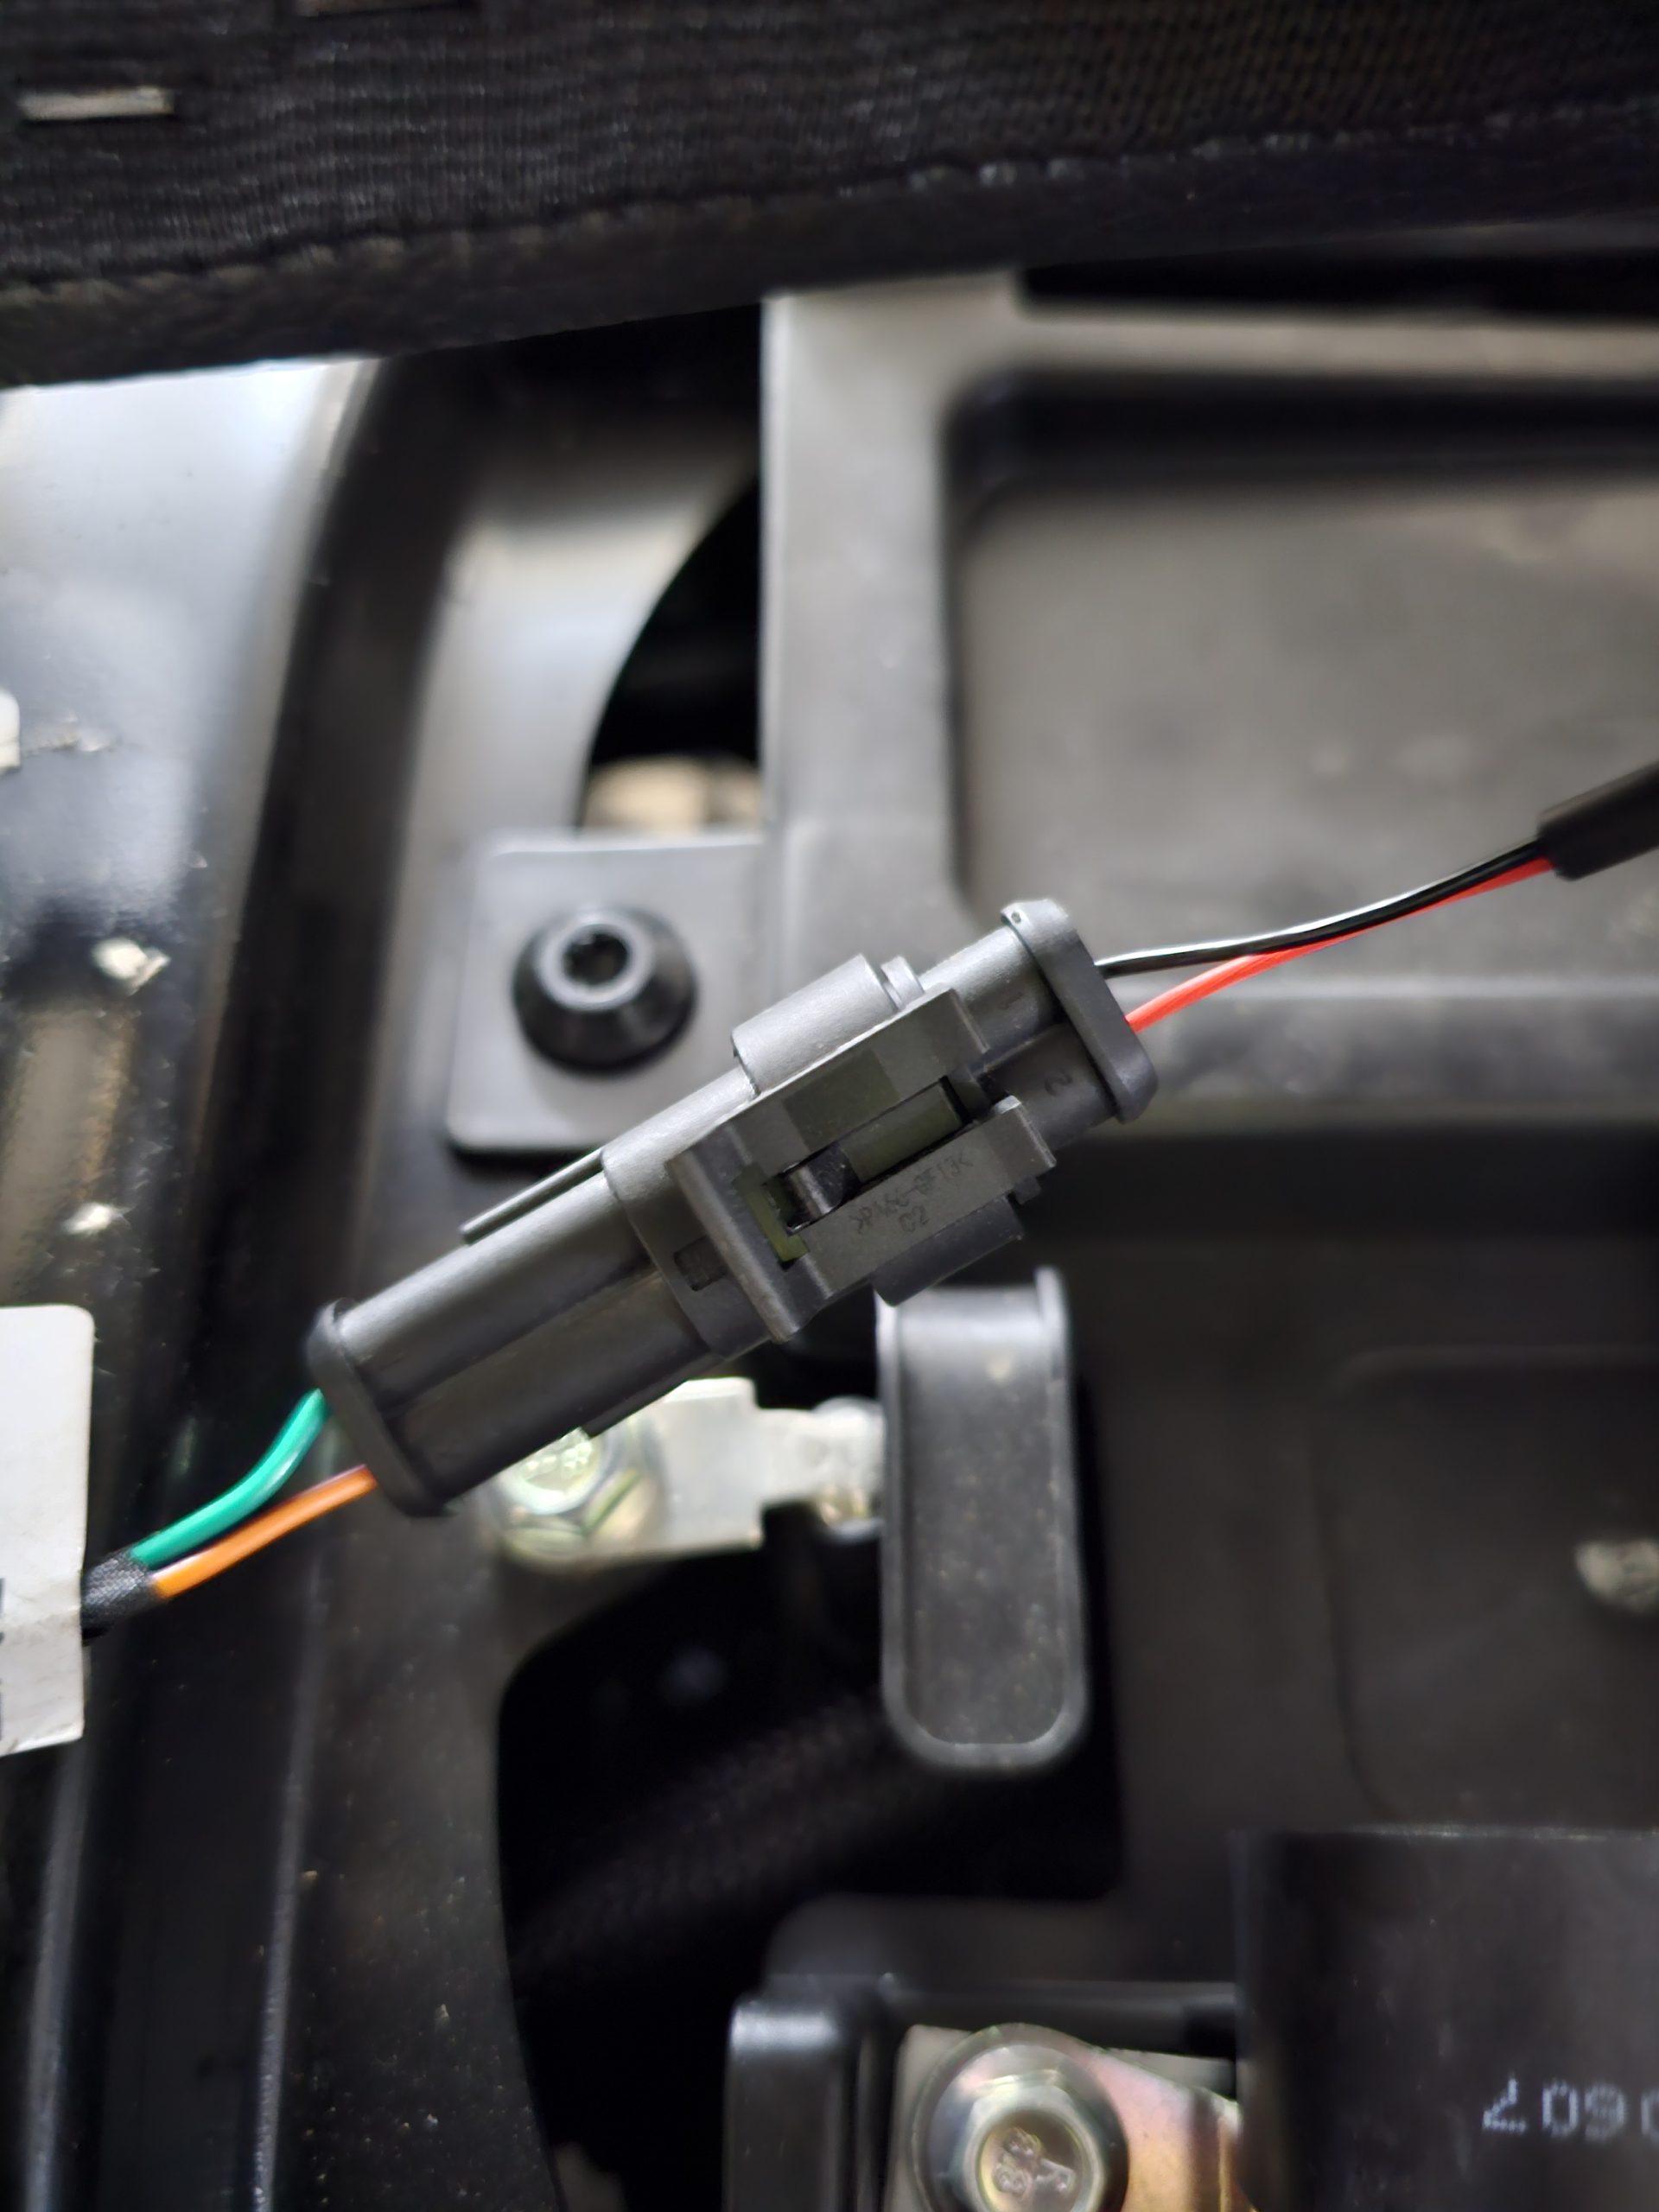
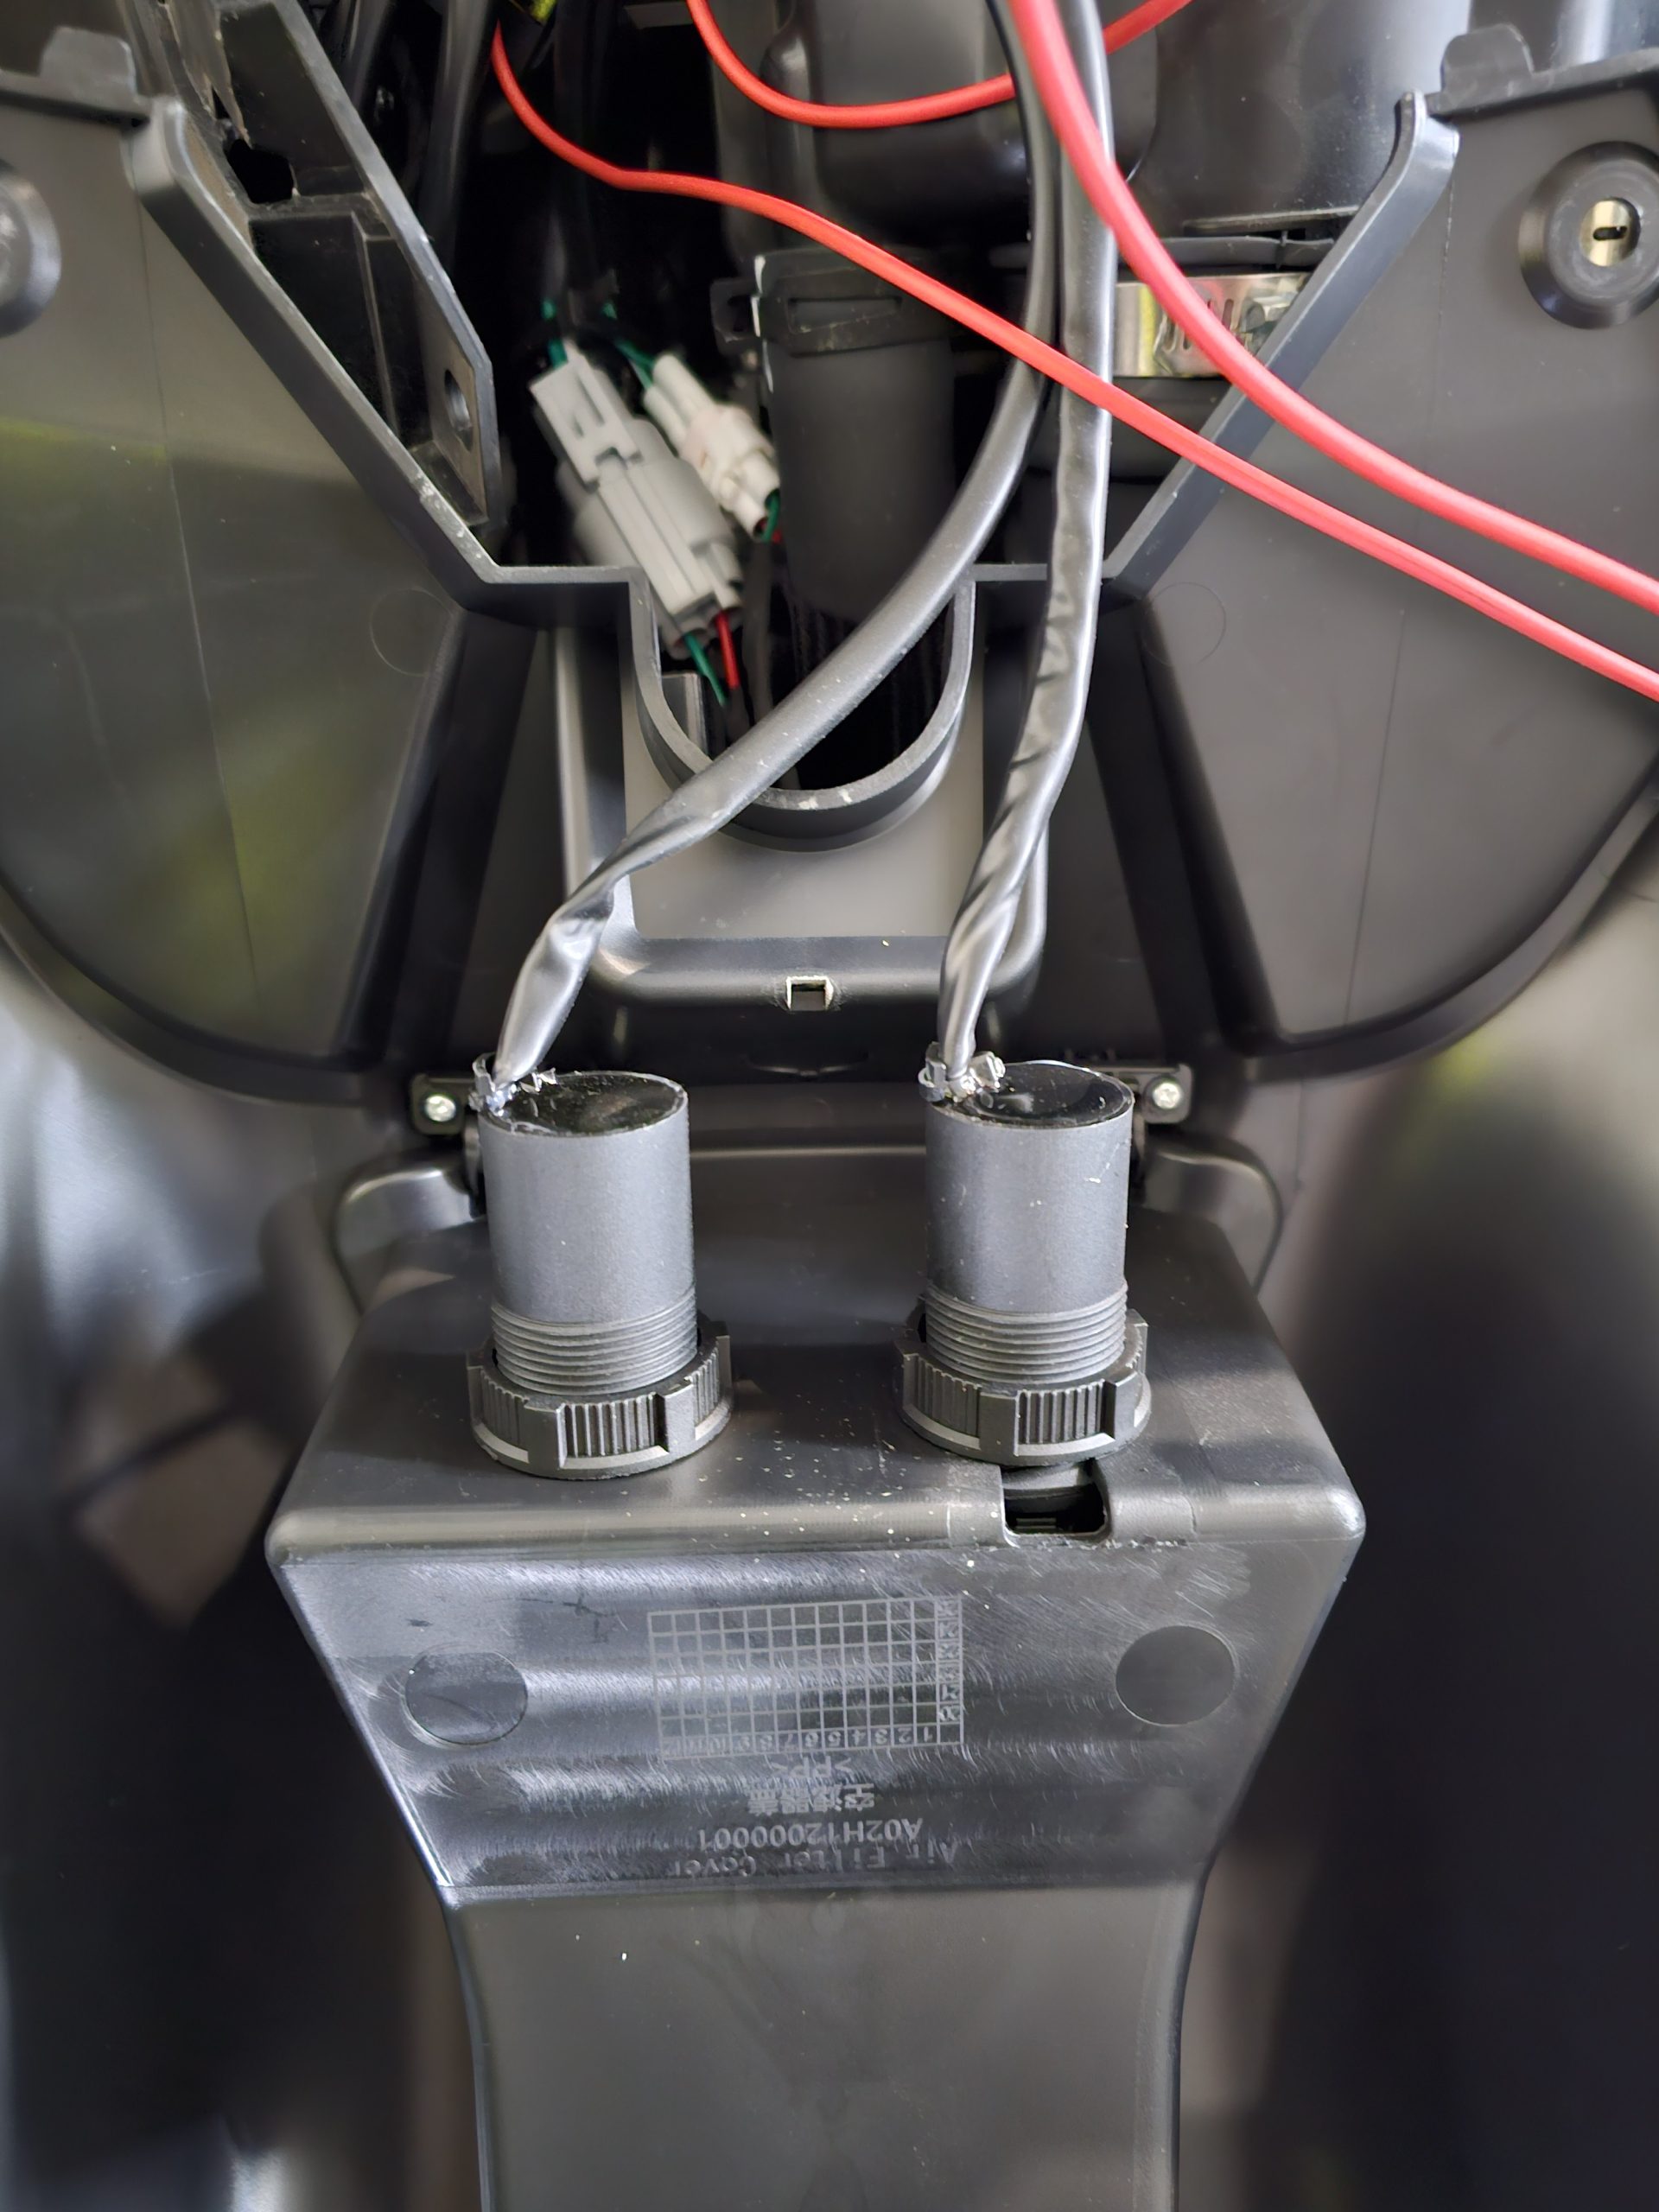
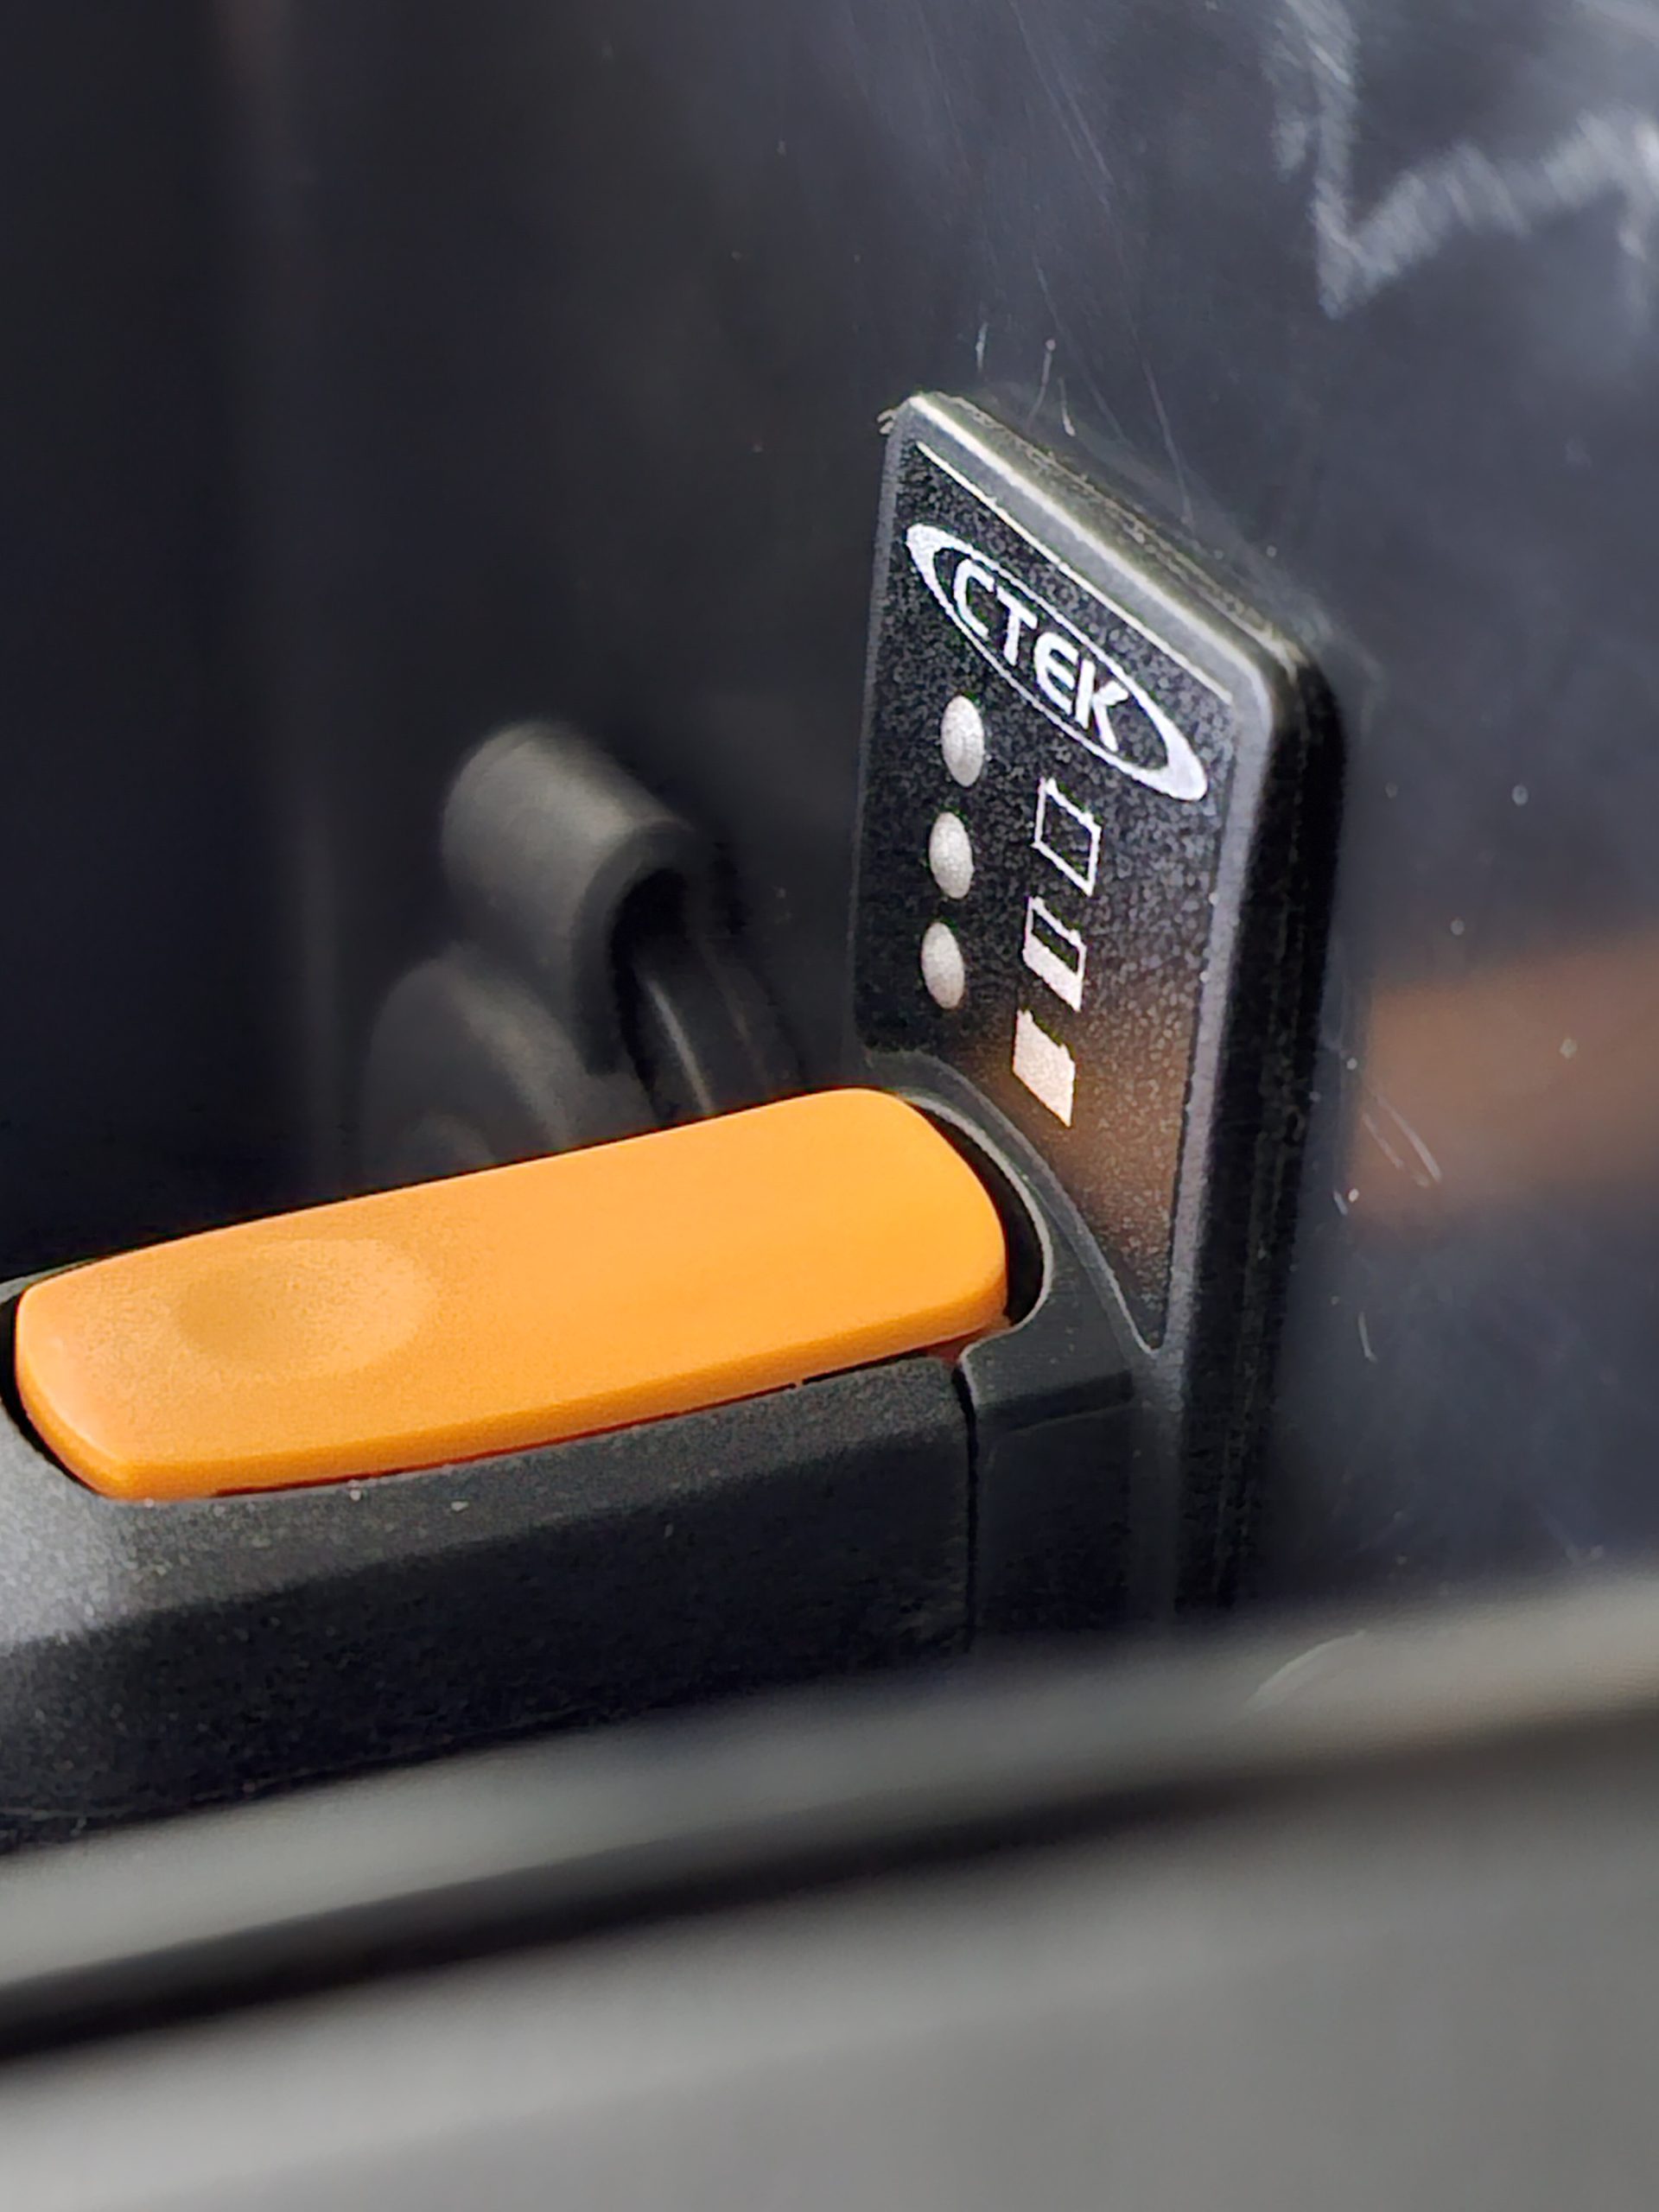
- When done, just insert the cable and click the hot-plug in place. Make sure it’s tight and properly clicked in place.


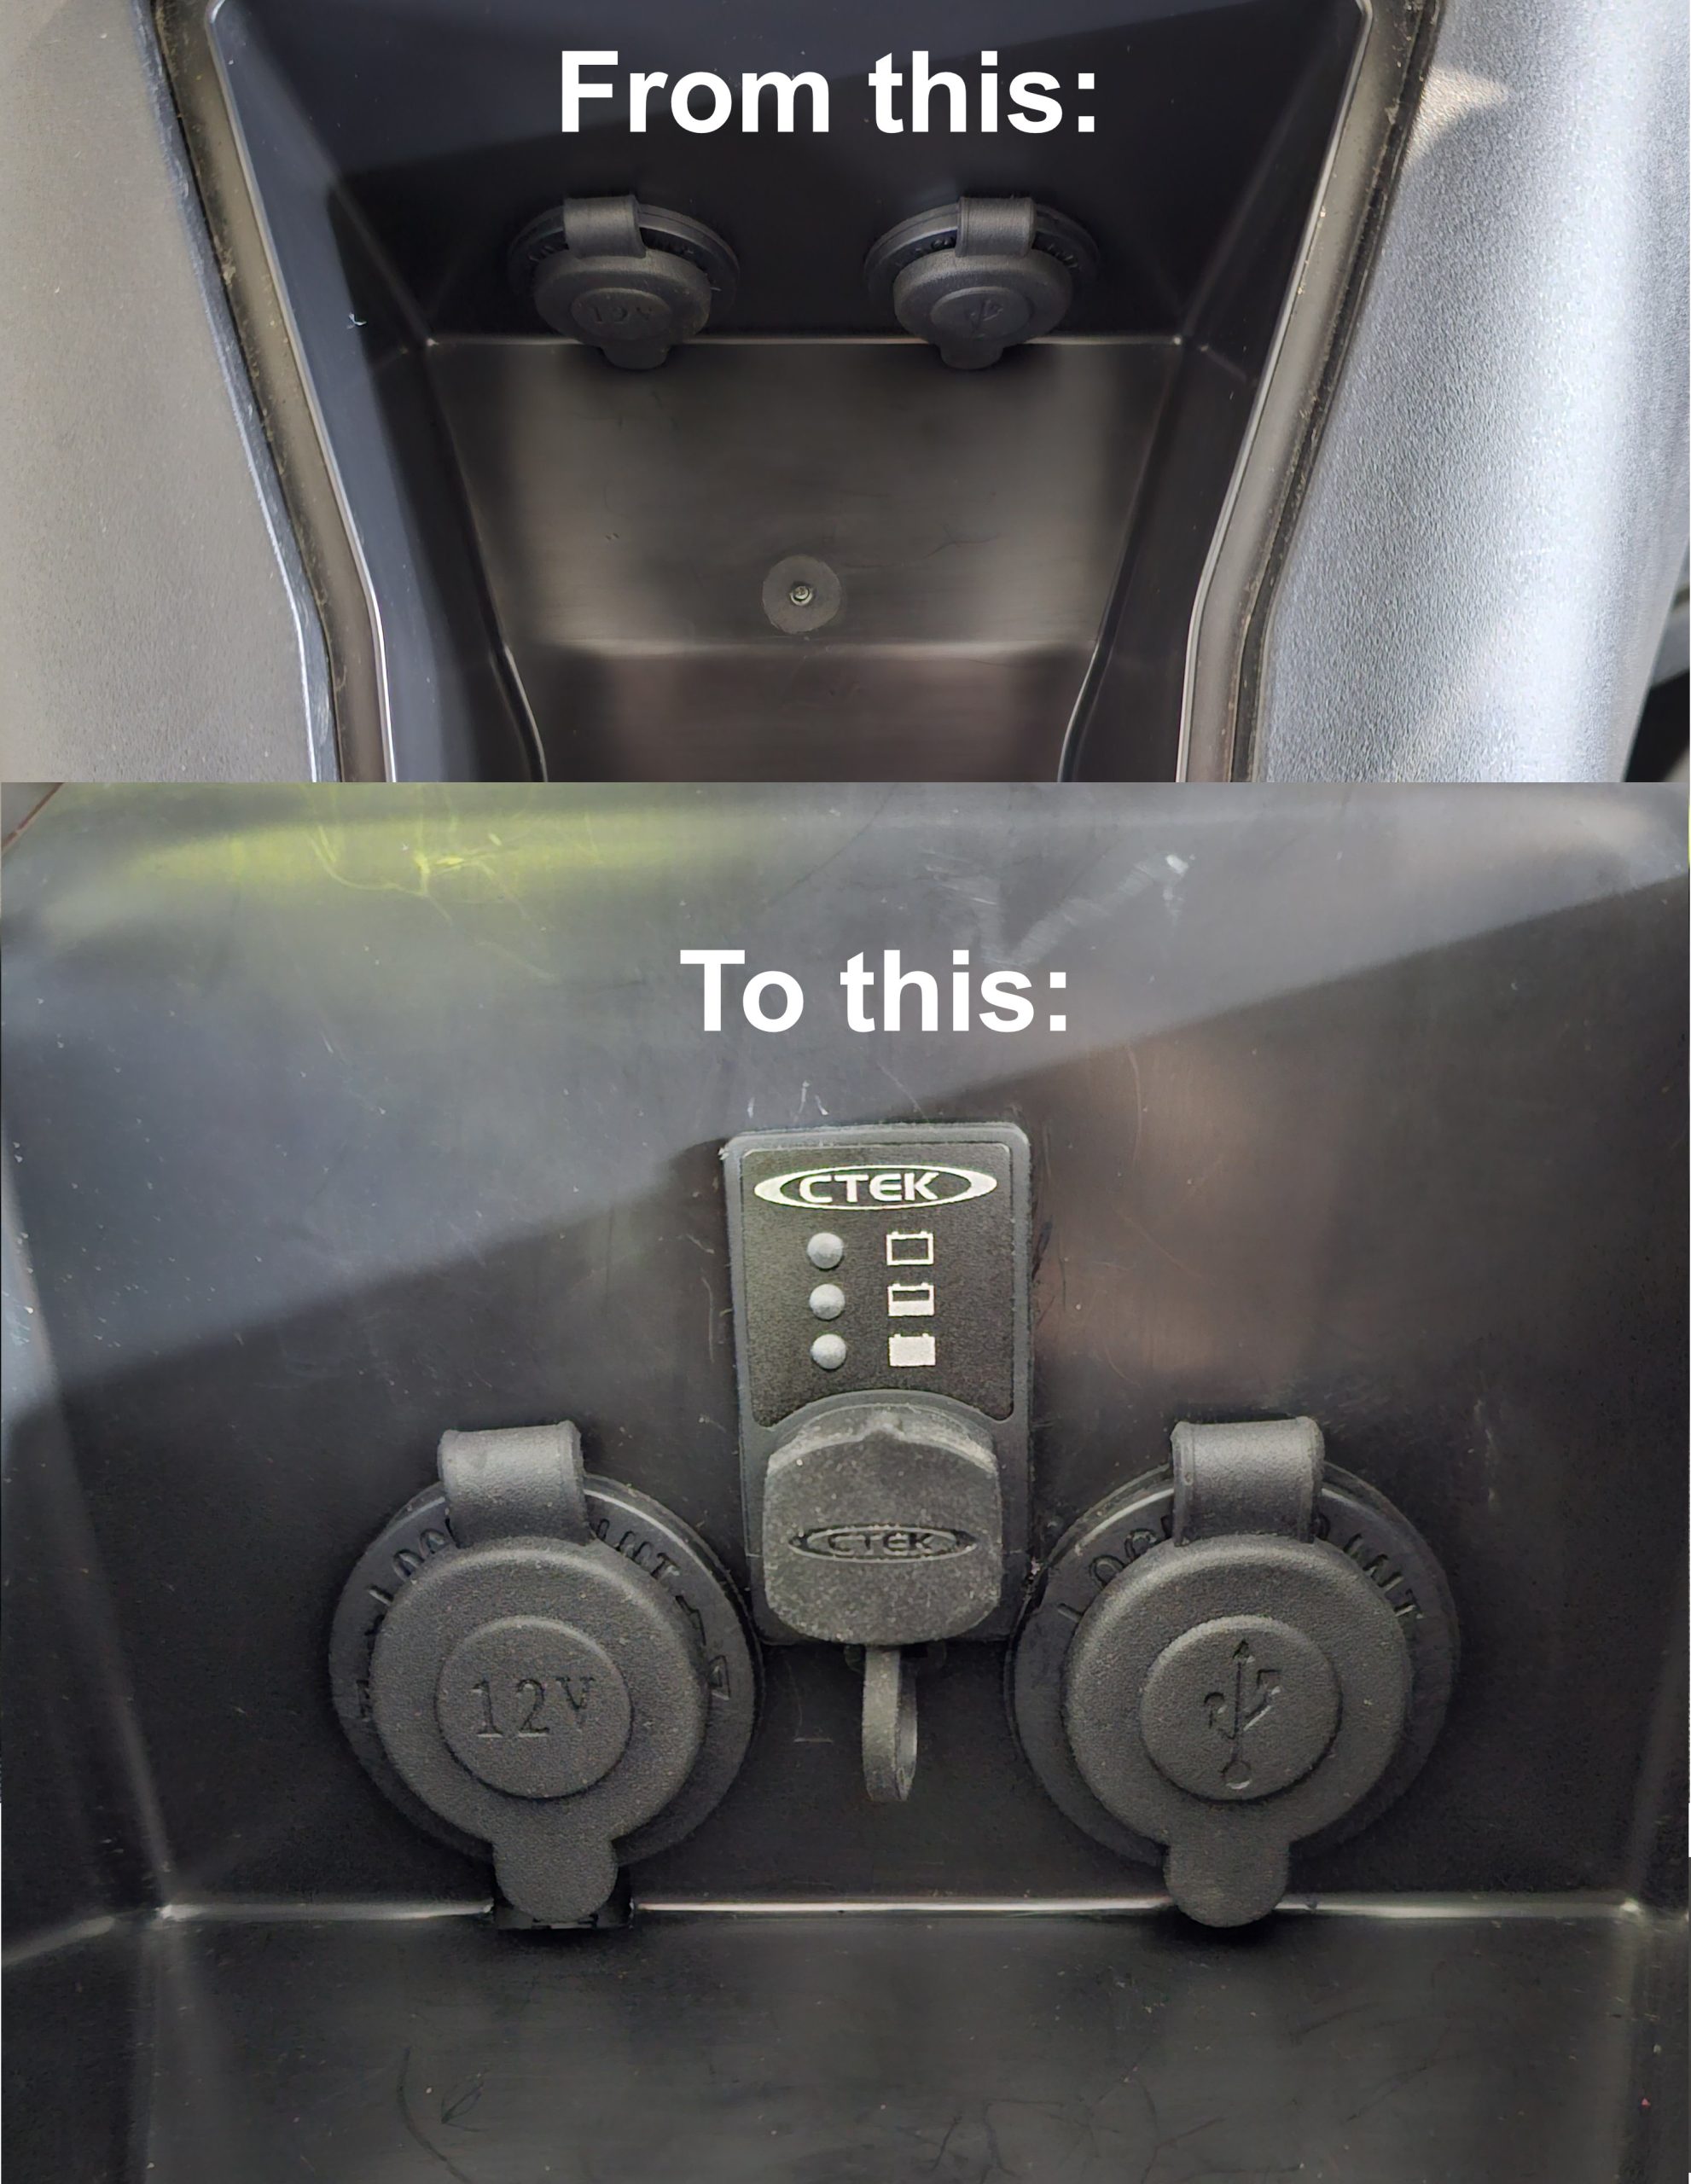
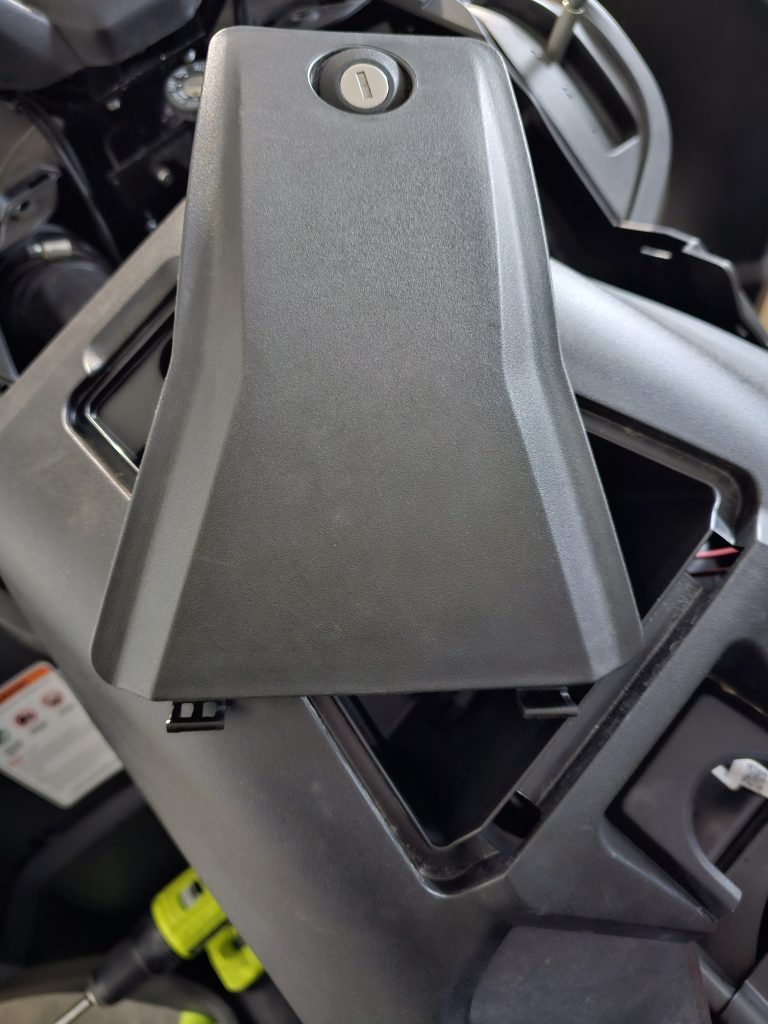
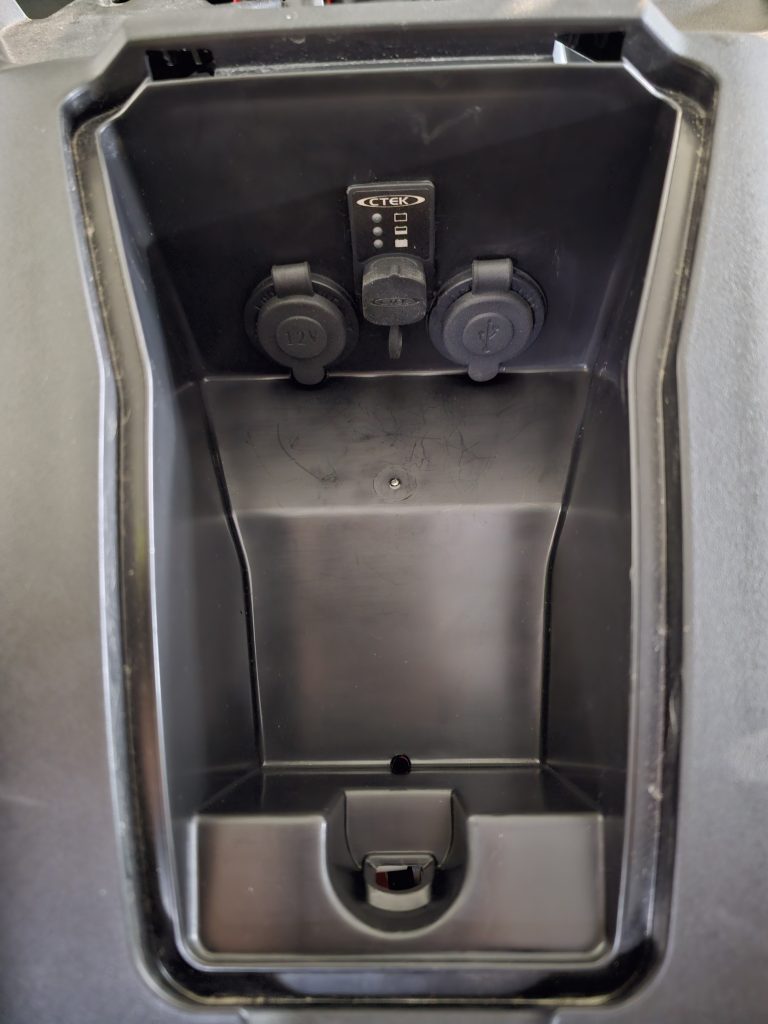
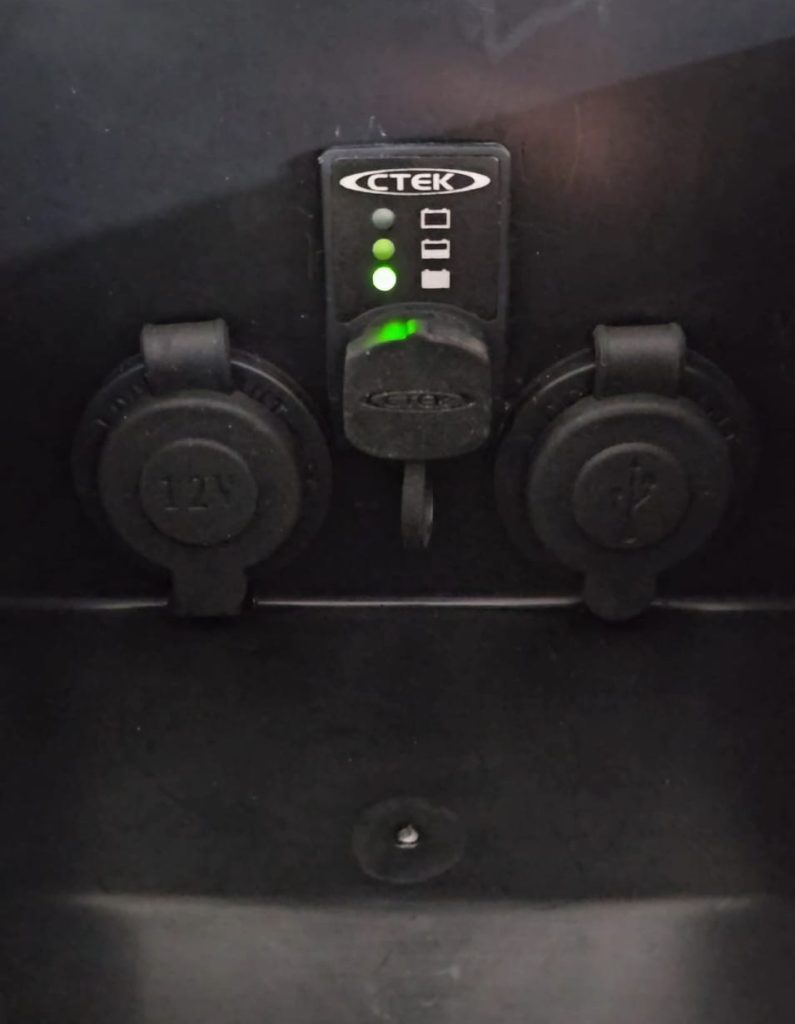
- It should look something like this.
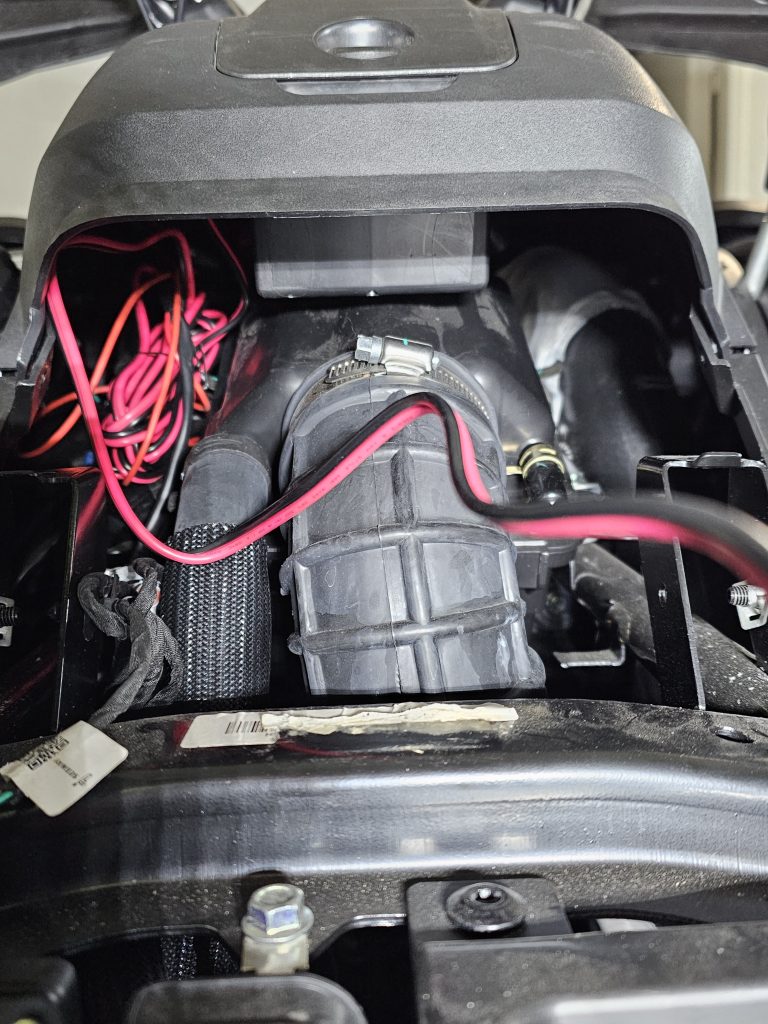
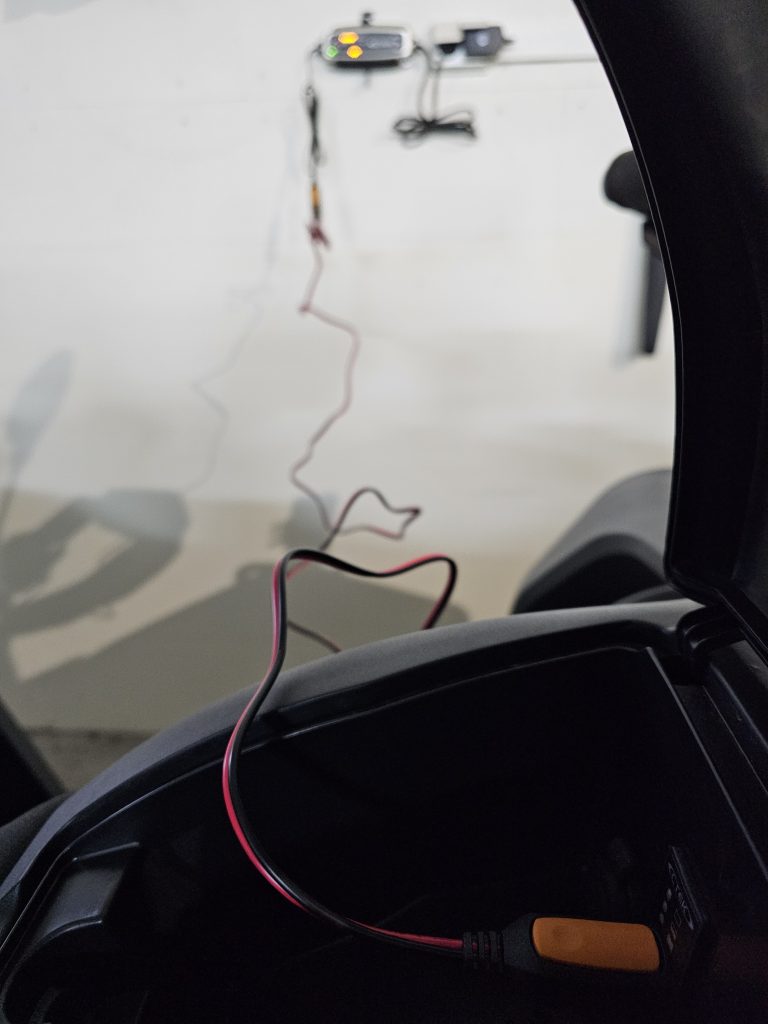
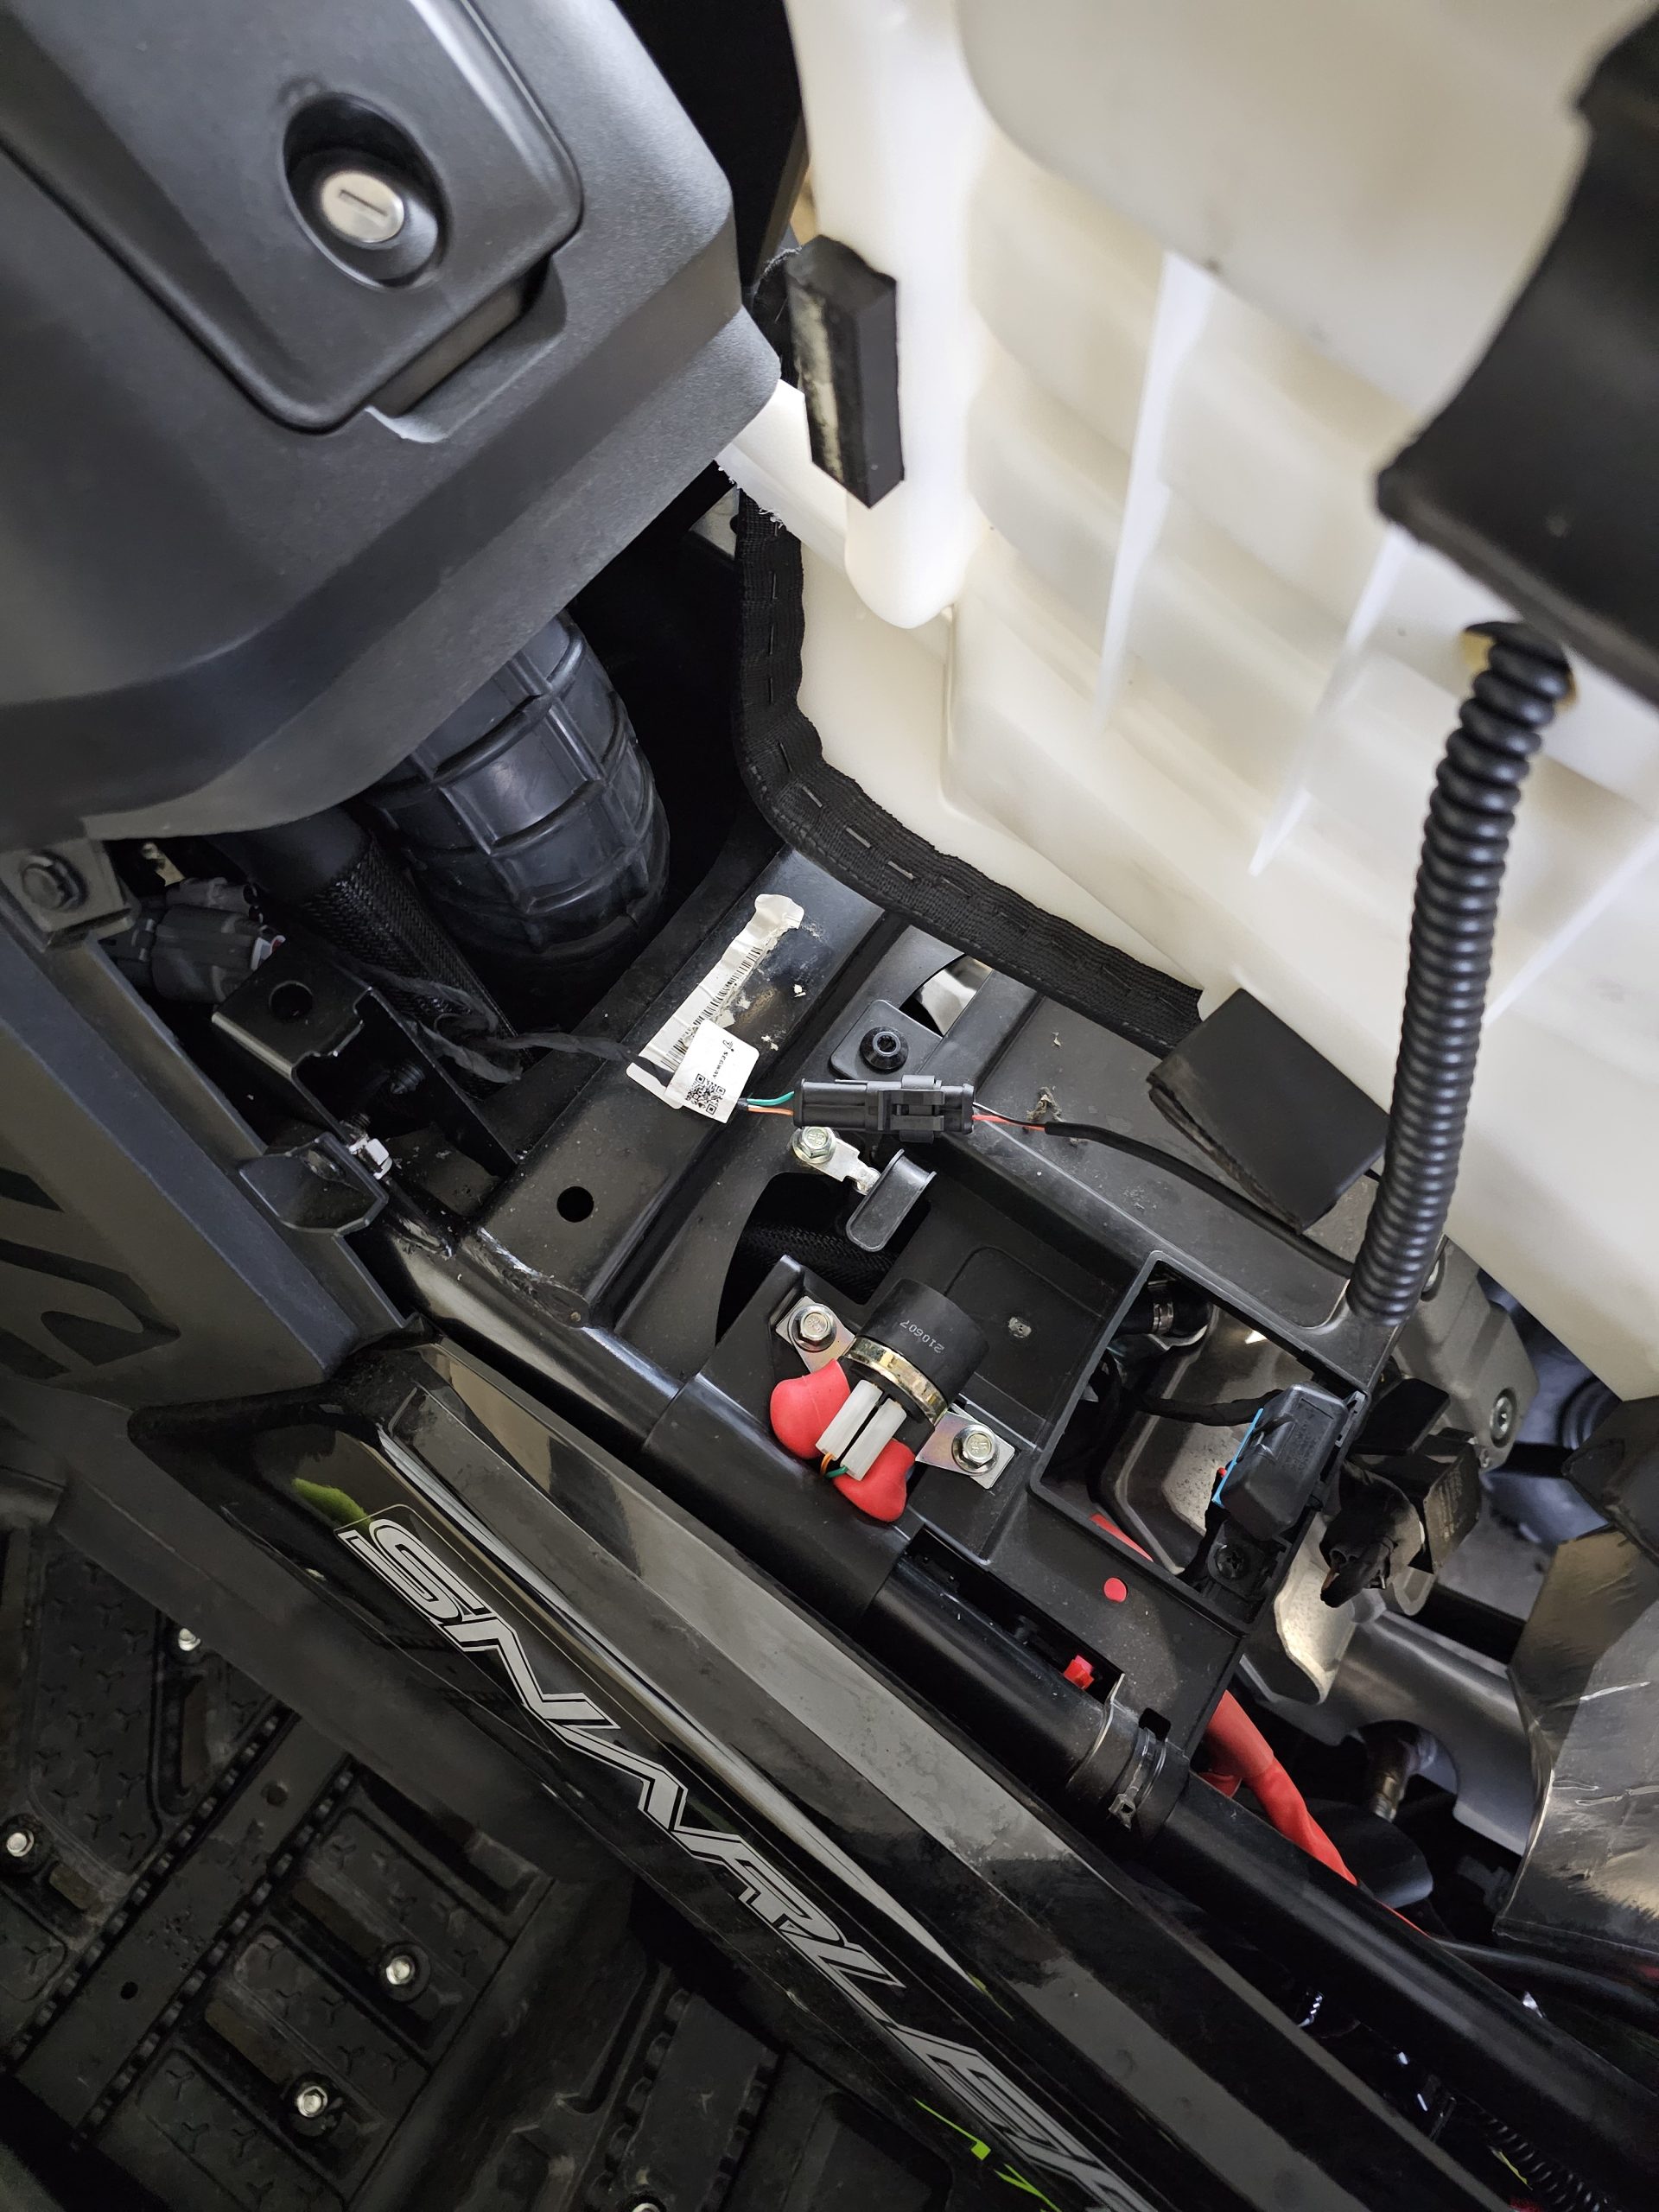
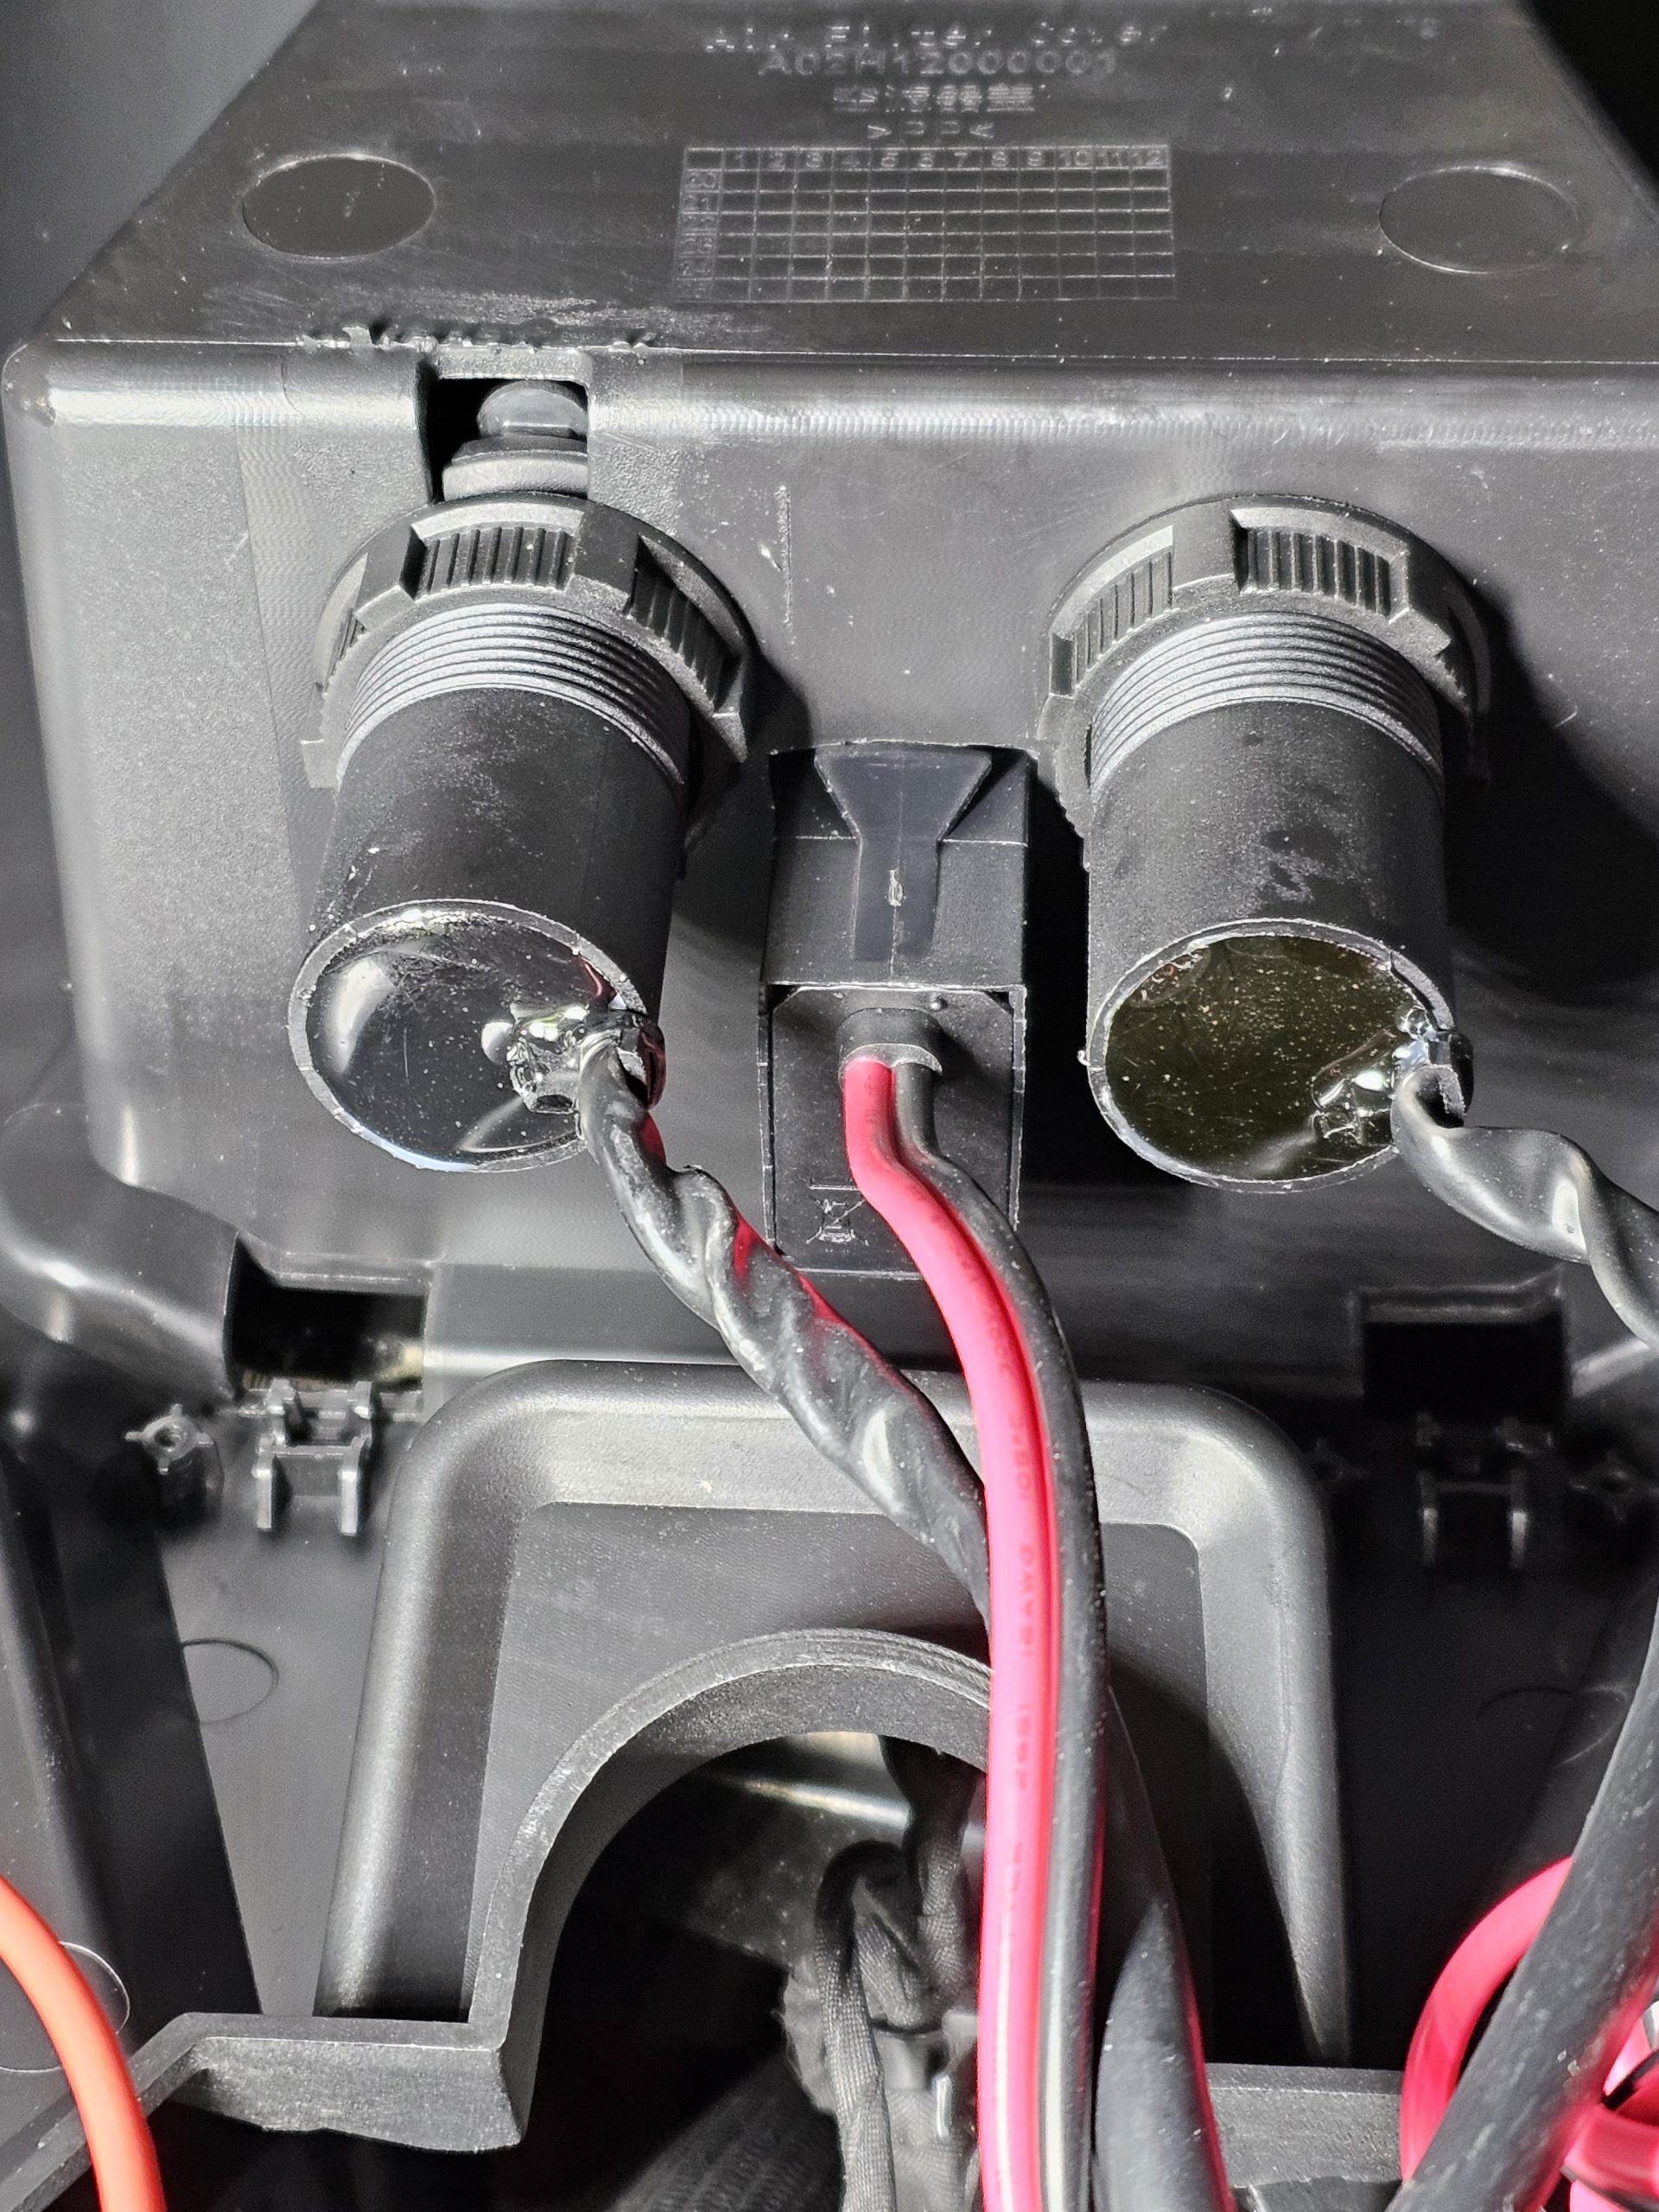
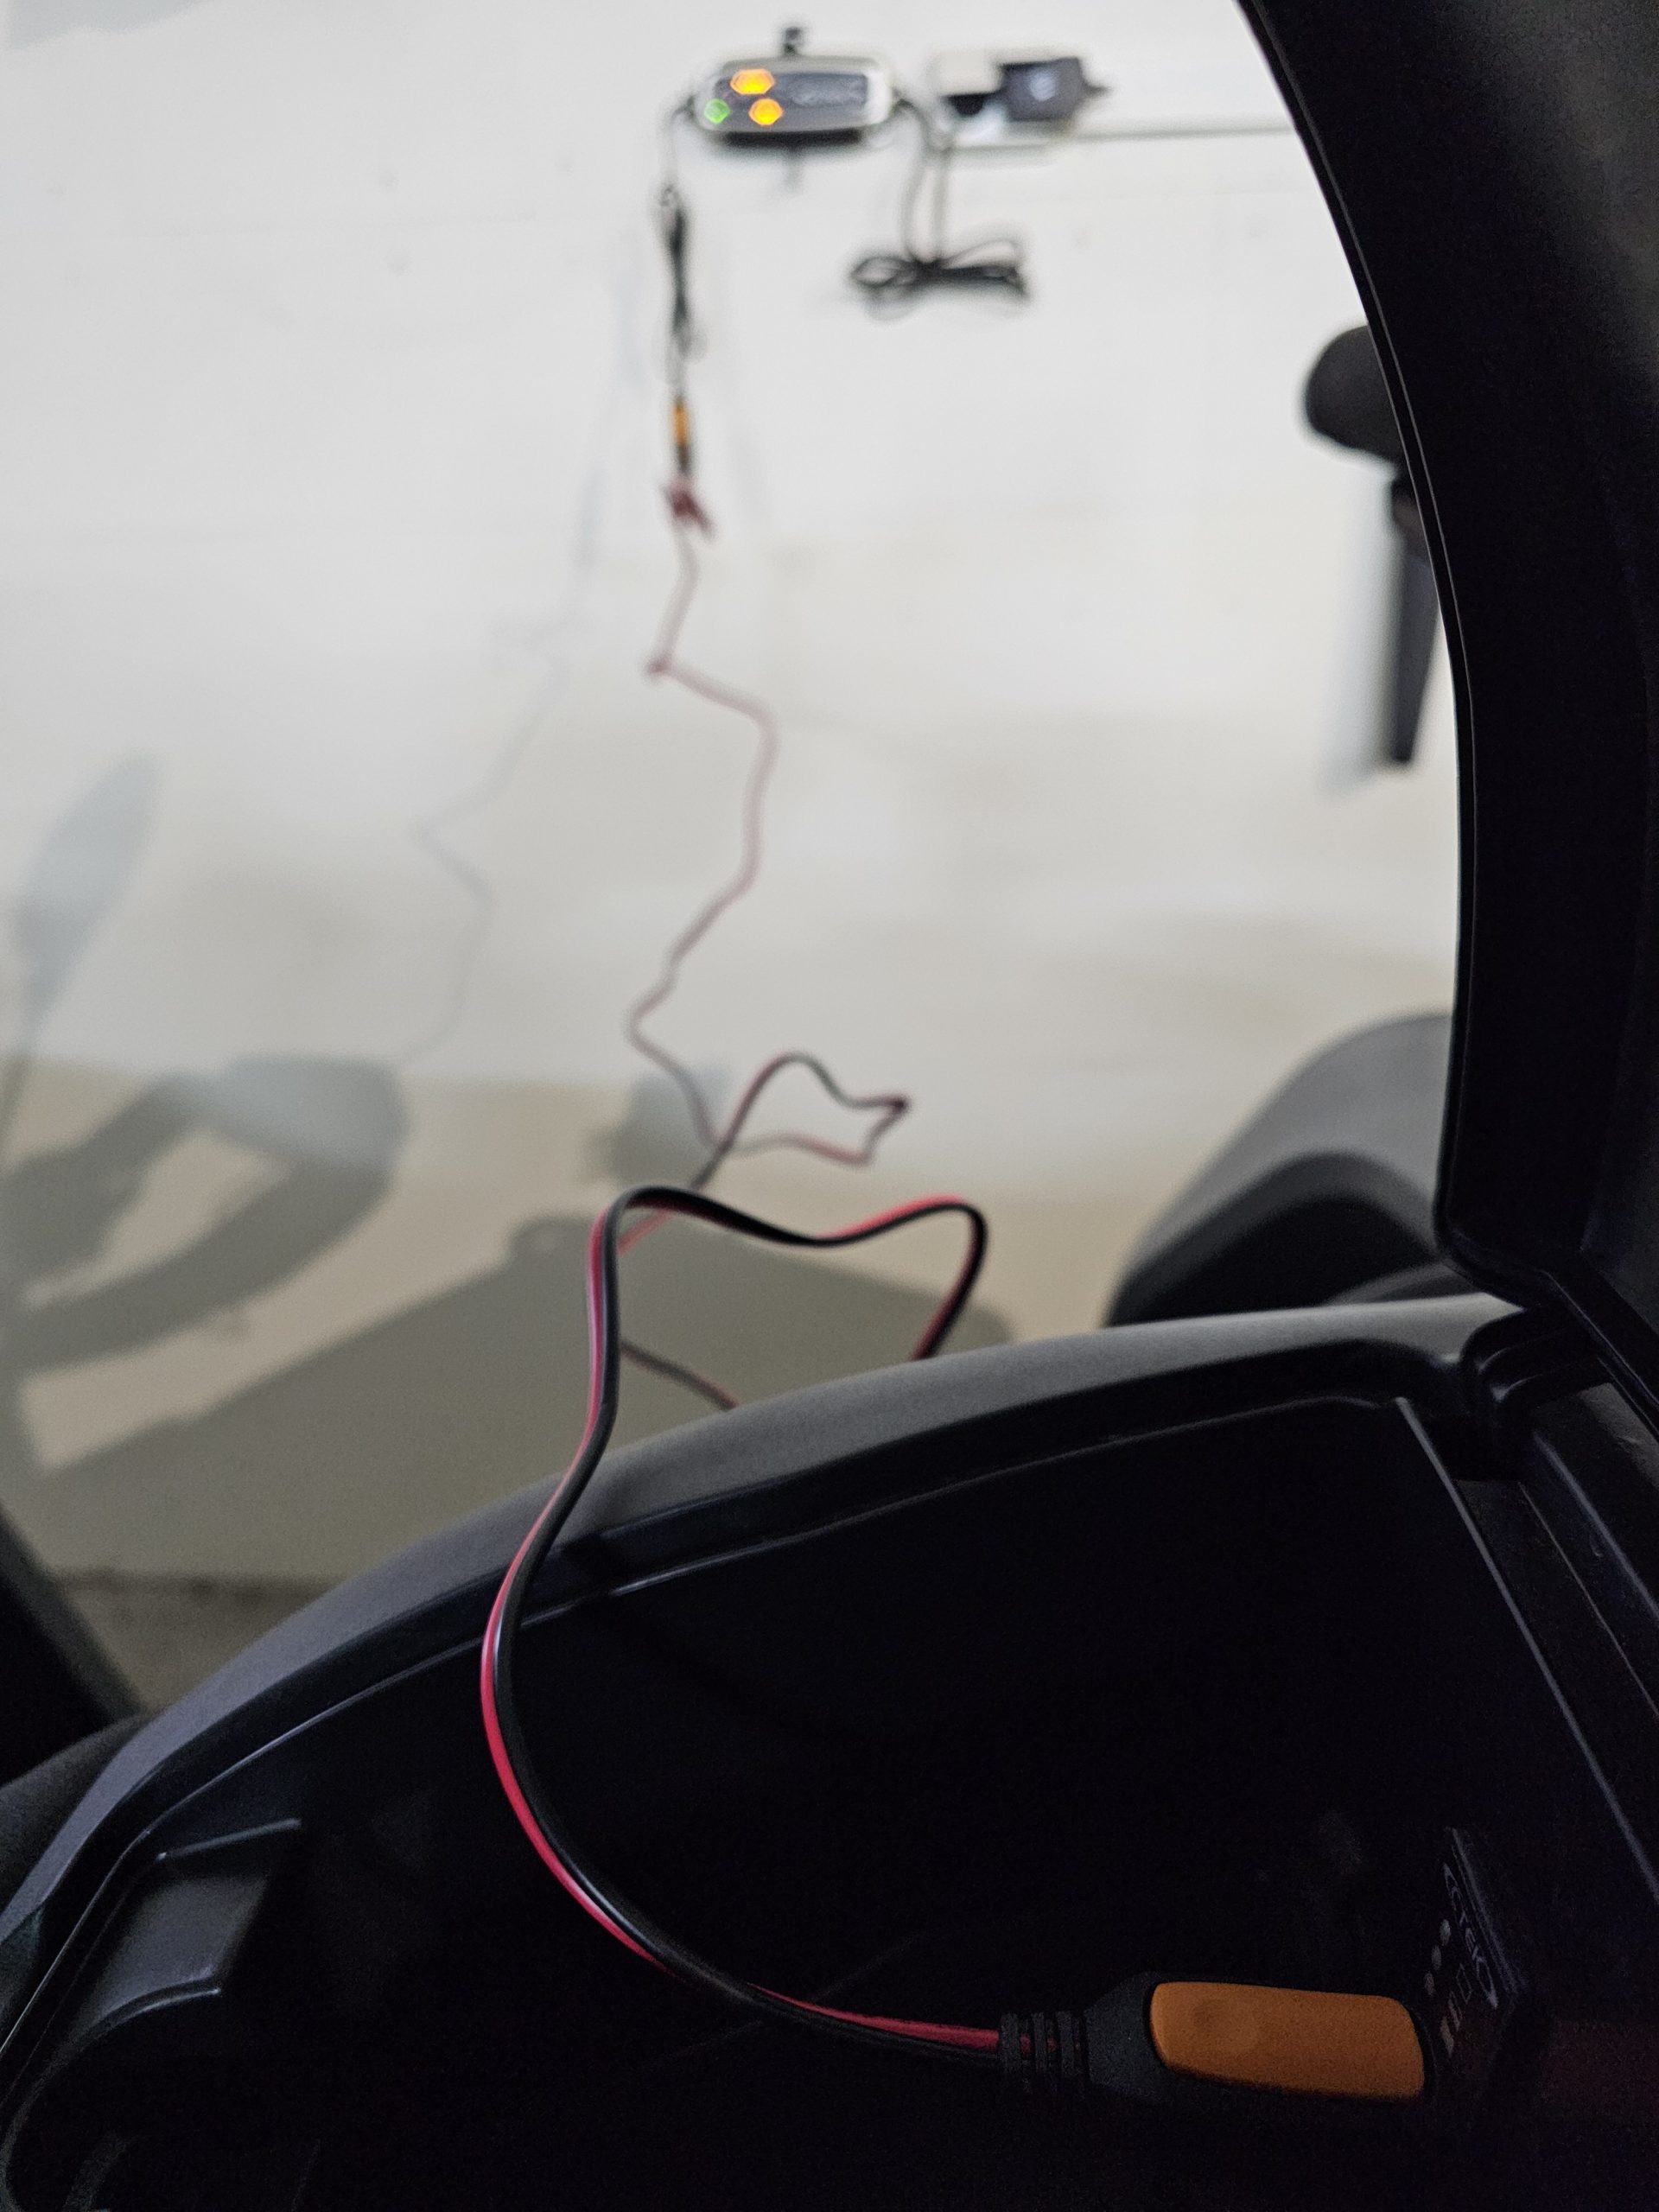
- The remaining steps are pretty much self-explanatory. You just need to find a way for the cable to go all the way back to the battery. This is how I ended up doing it.

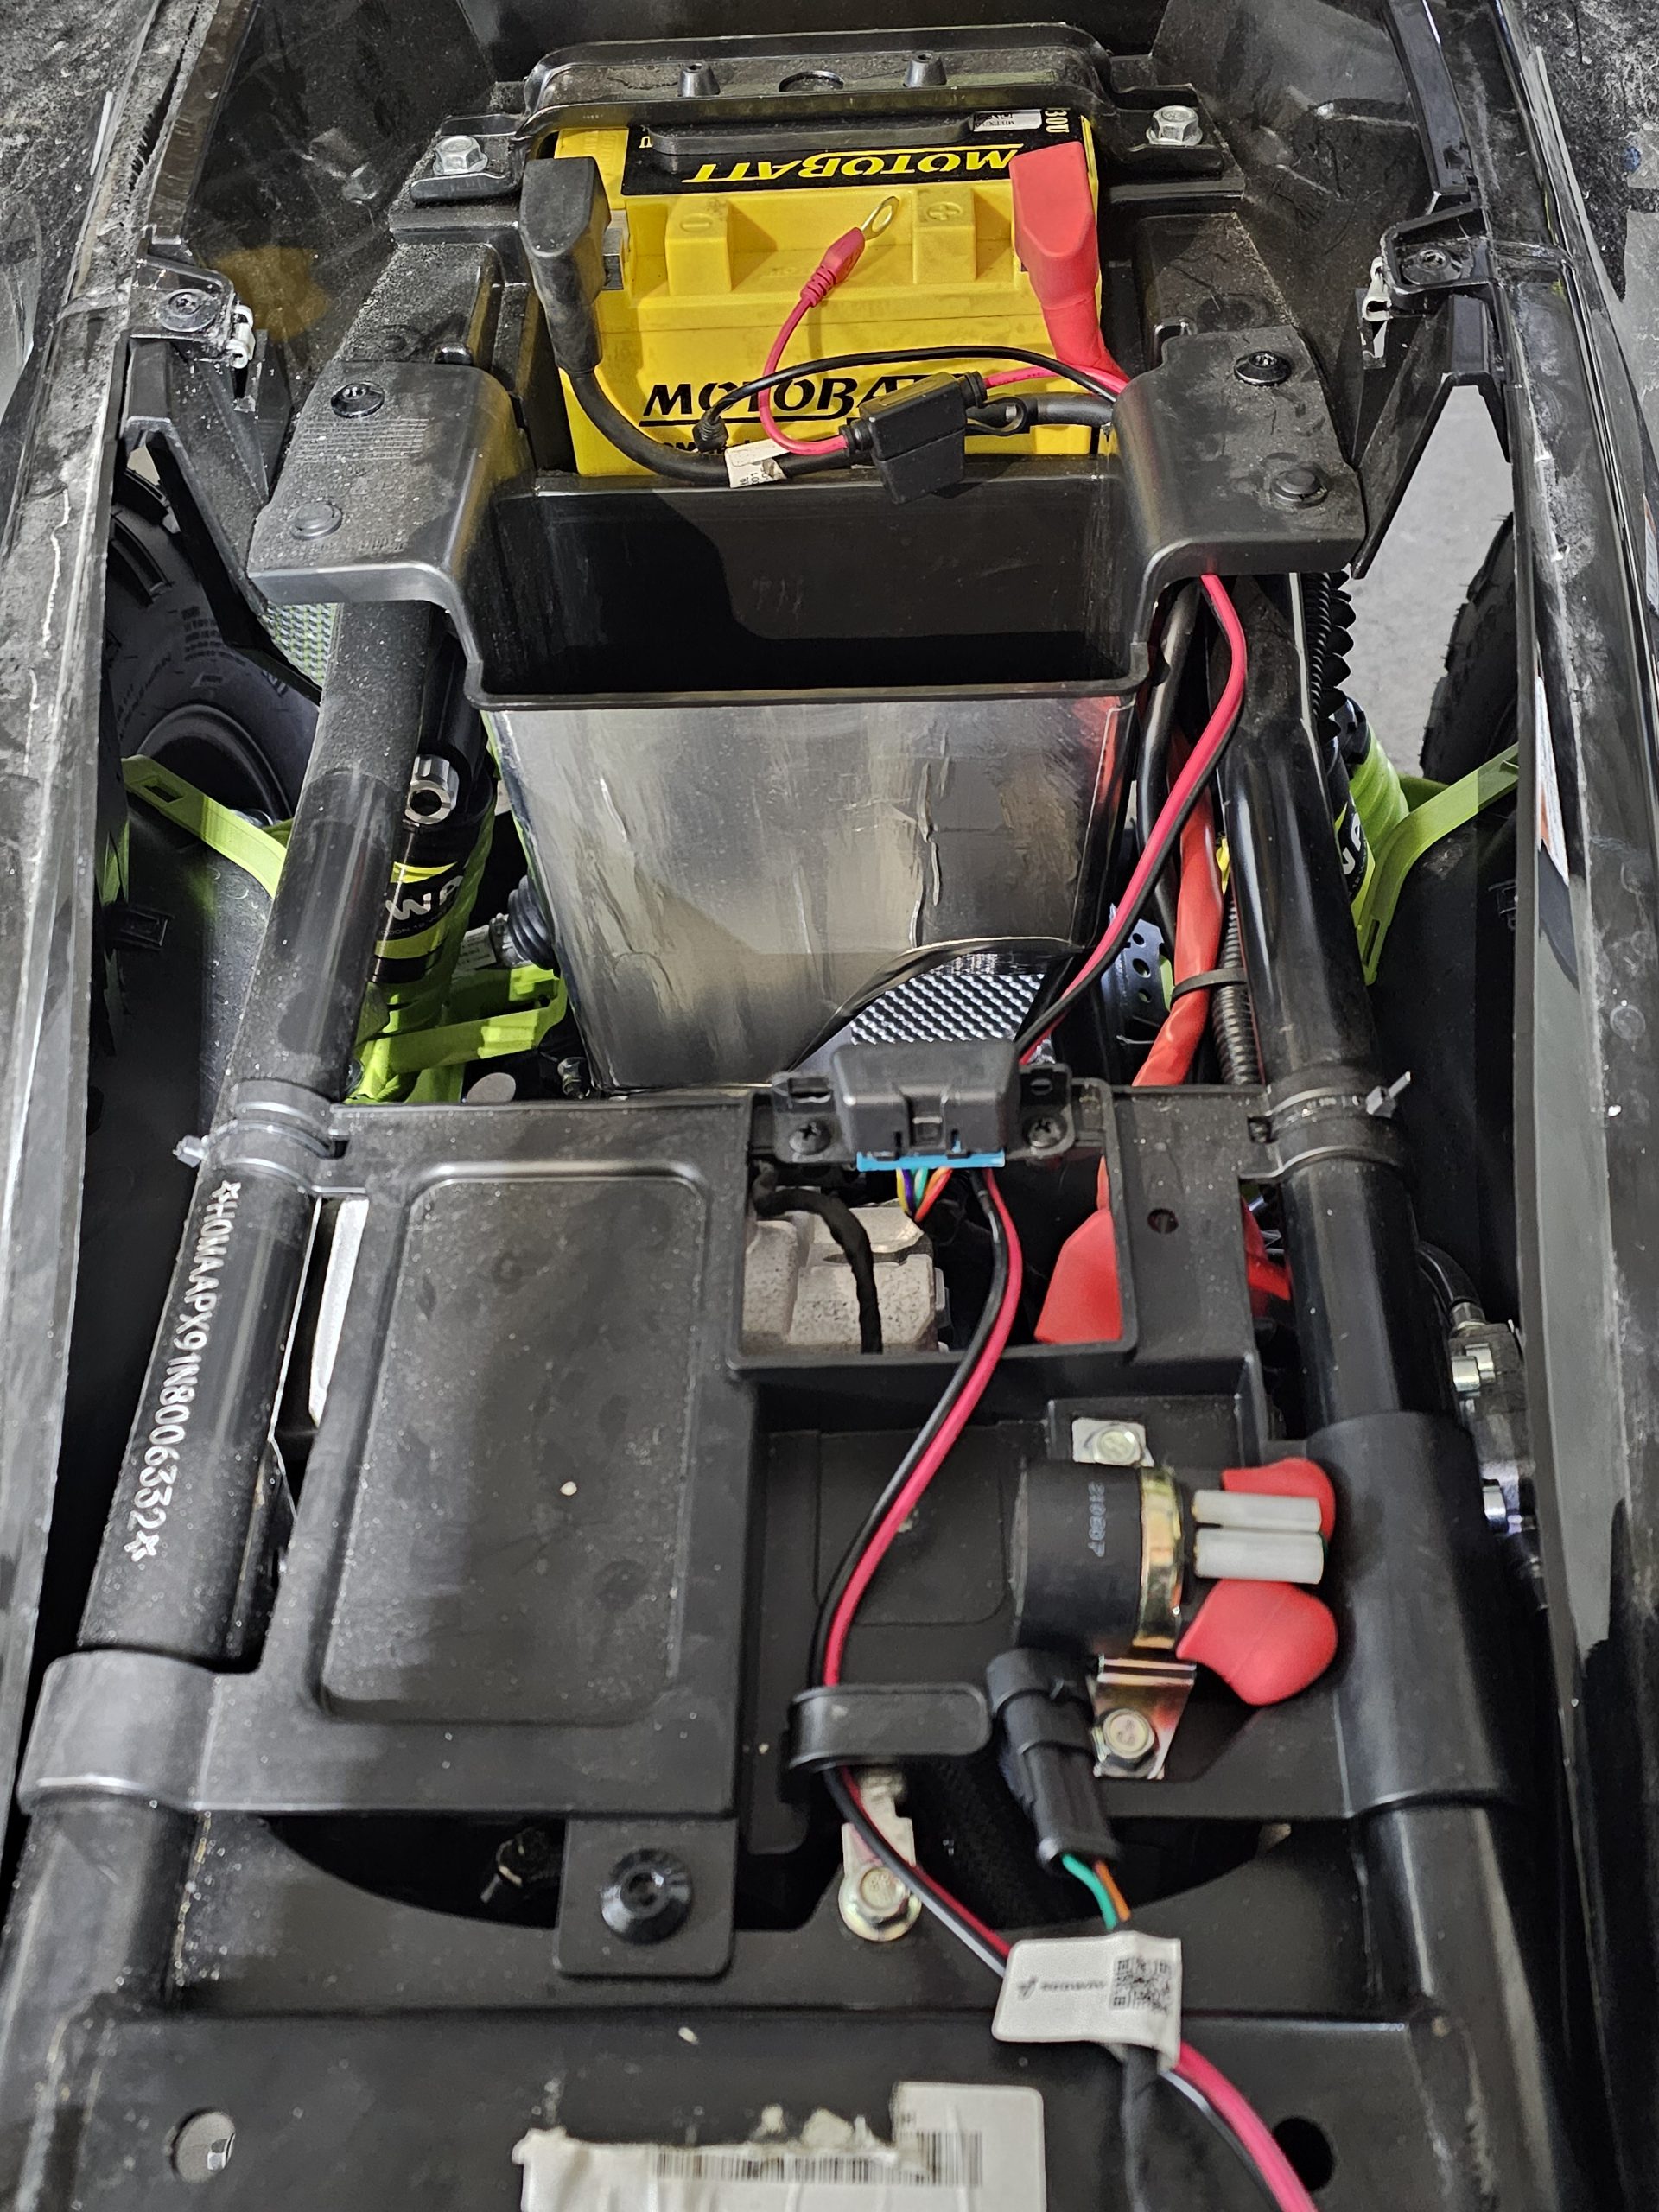
- There are few ways to attach the wires to the battery, you can decide how you want to do it depending on what kind of battery you have. When done, make sure all is fastened properly and the rubber cap cover is over the battery pins.
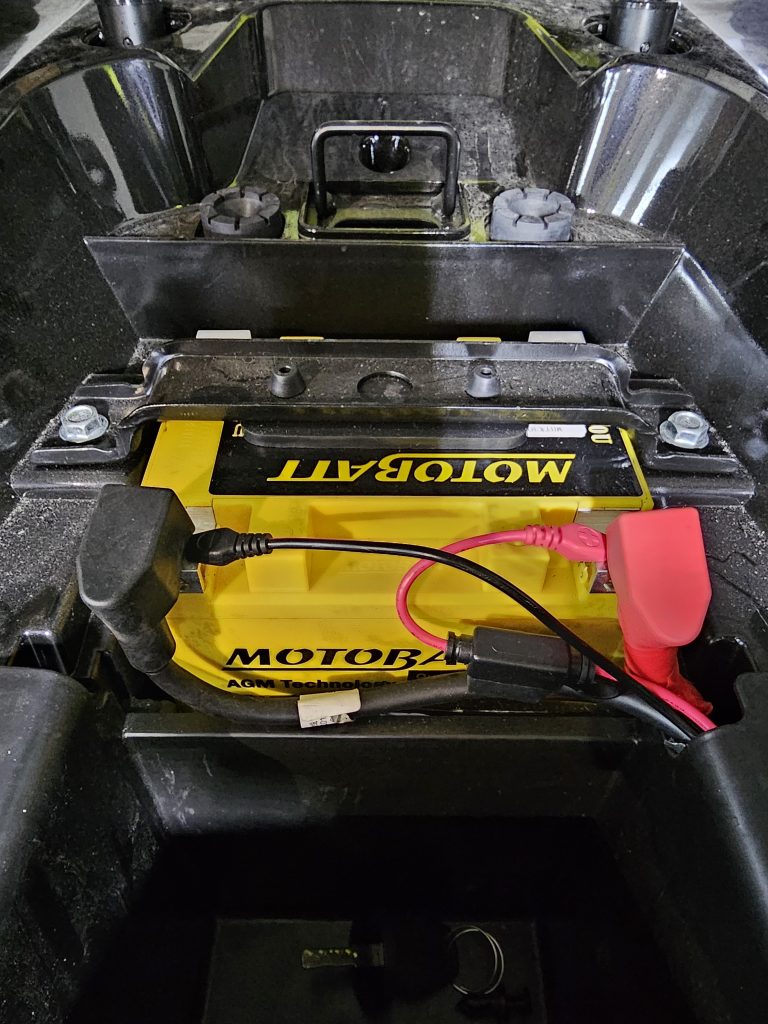
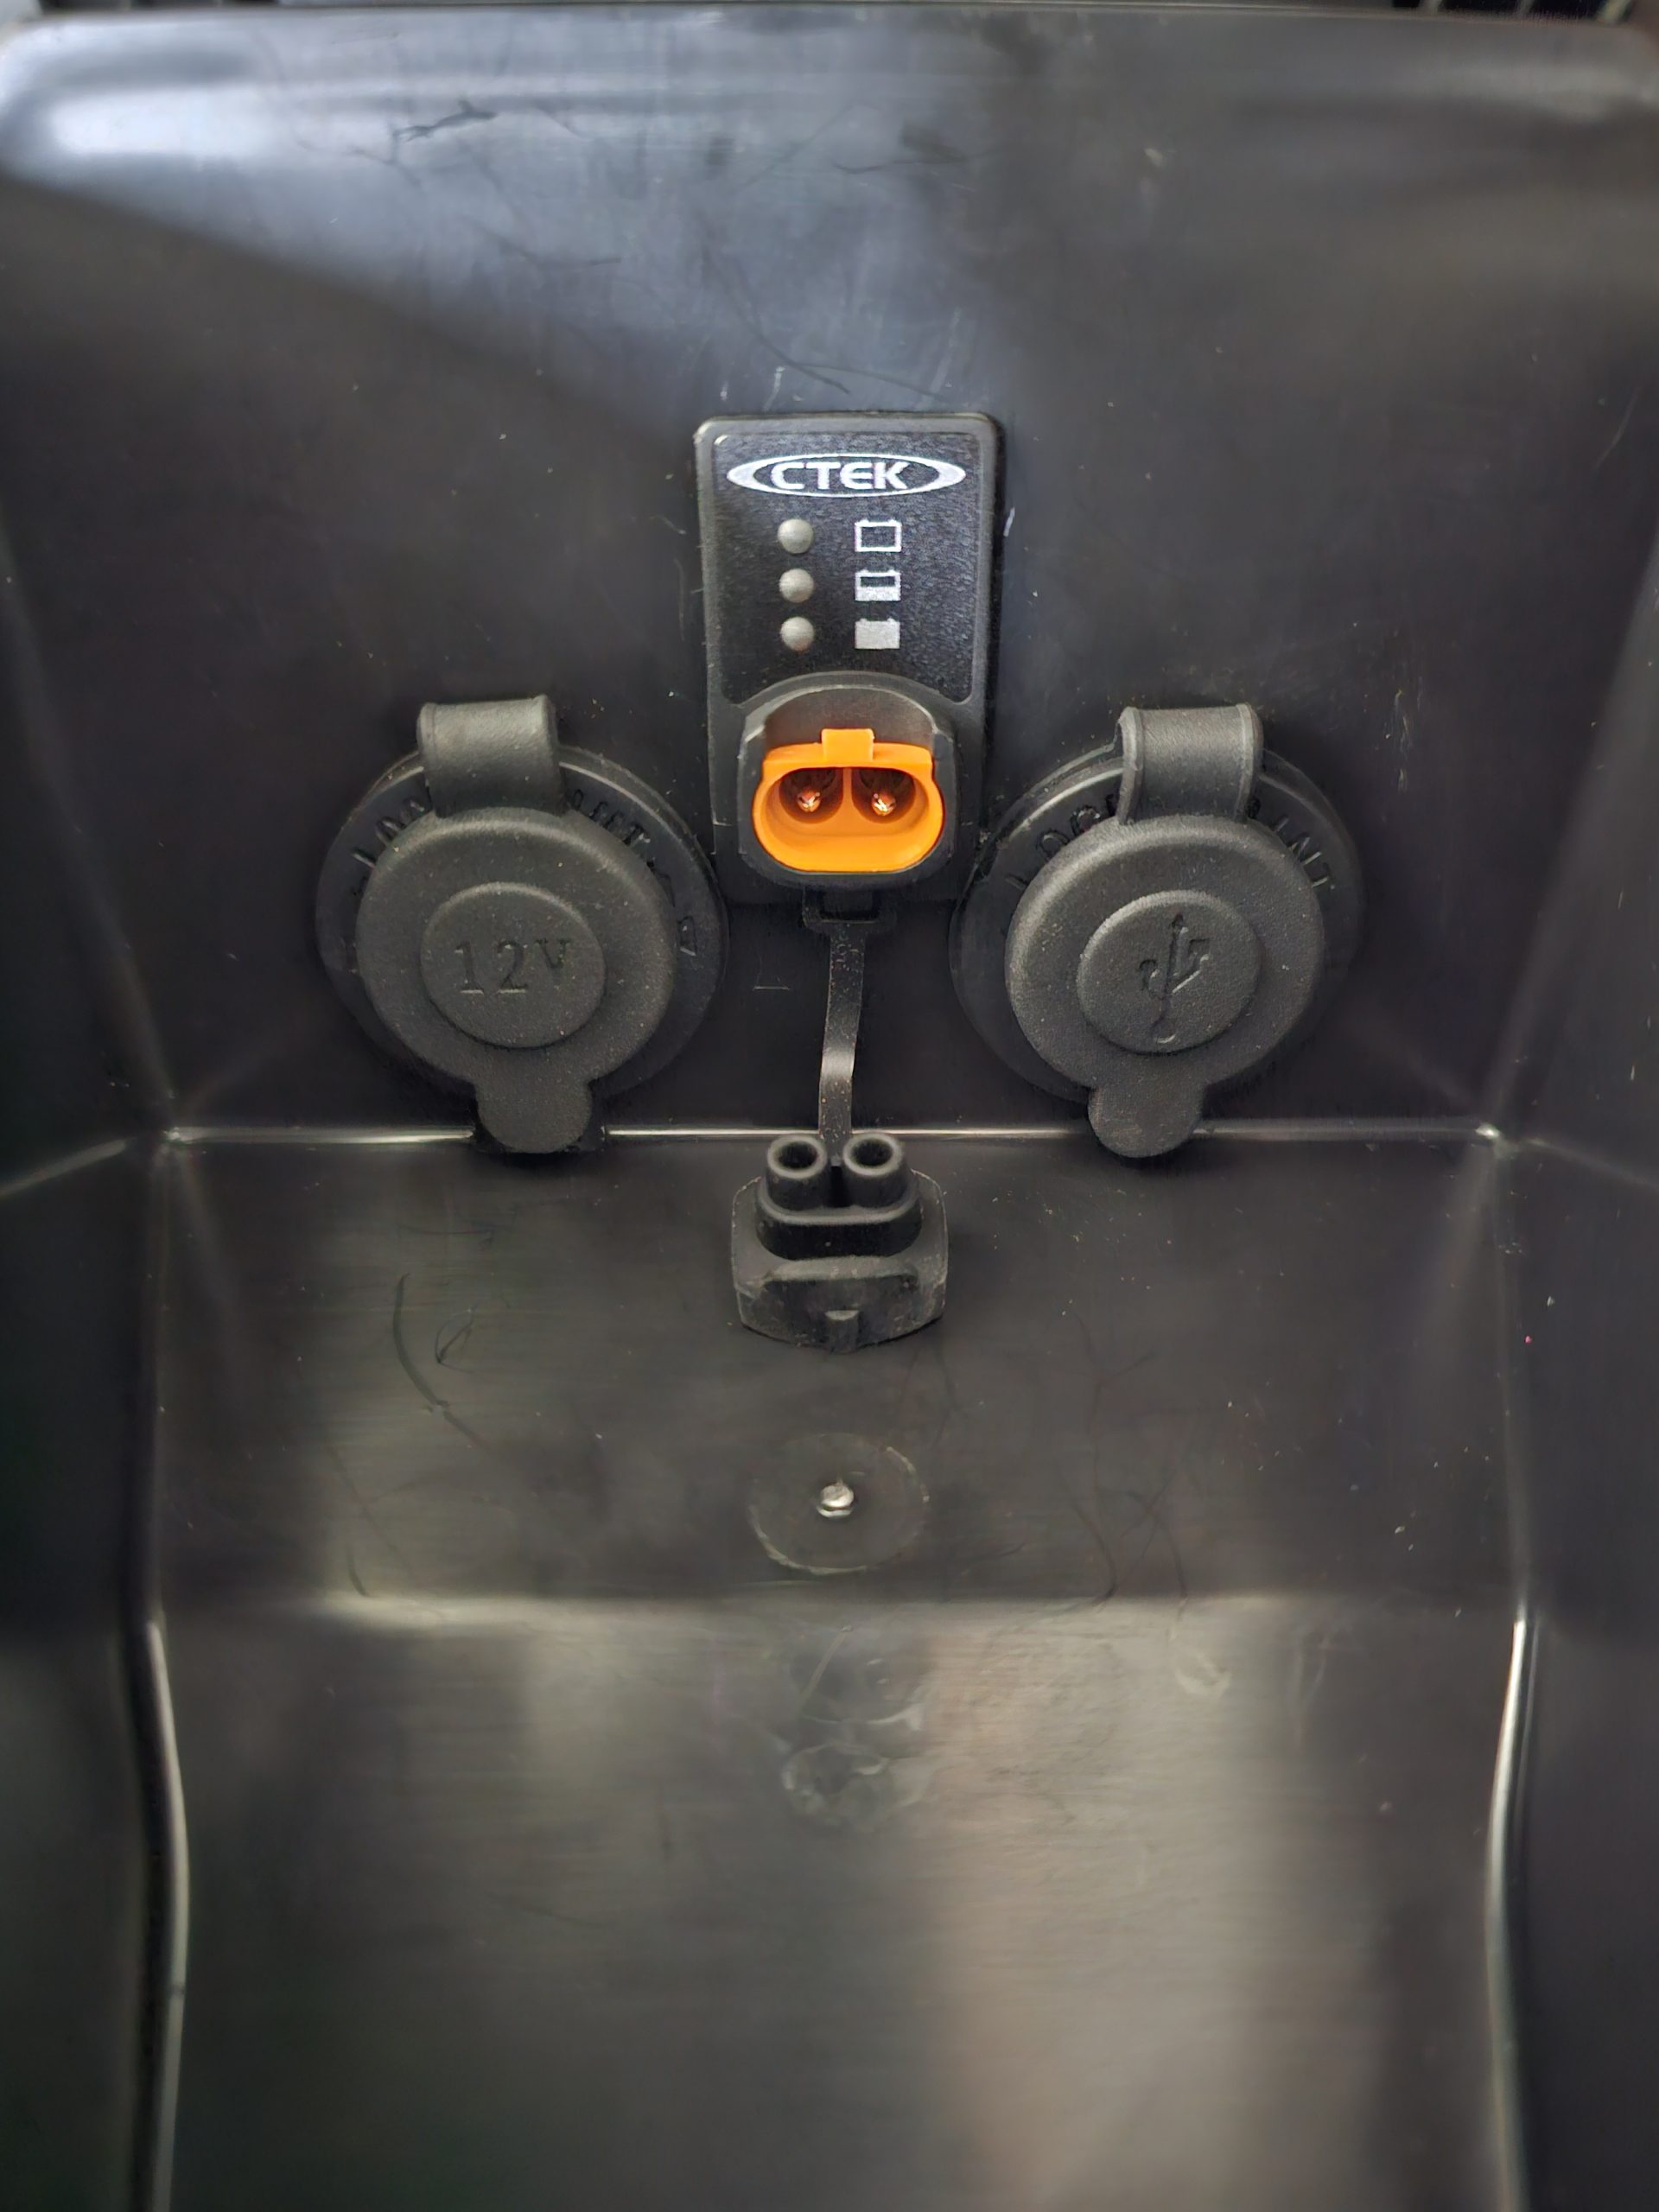
- After connecting the wires, the CTEK Comfort Indicator Panel (hot-plug) should now be operational and one of the LED’s should light up. Depending on your State of Charge (SoC), the lights should reflect what state your battery is in. Mine is blinking green and healthy as it’s been charging daily when not in use.
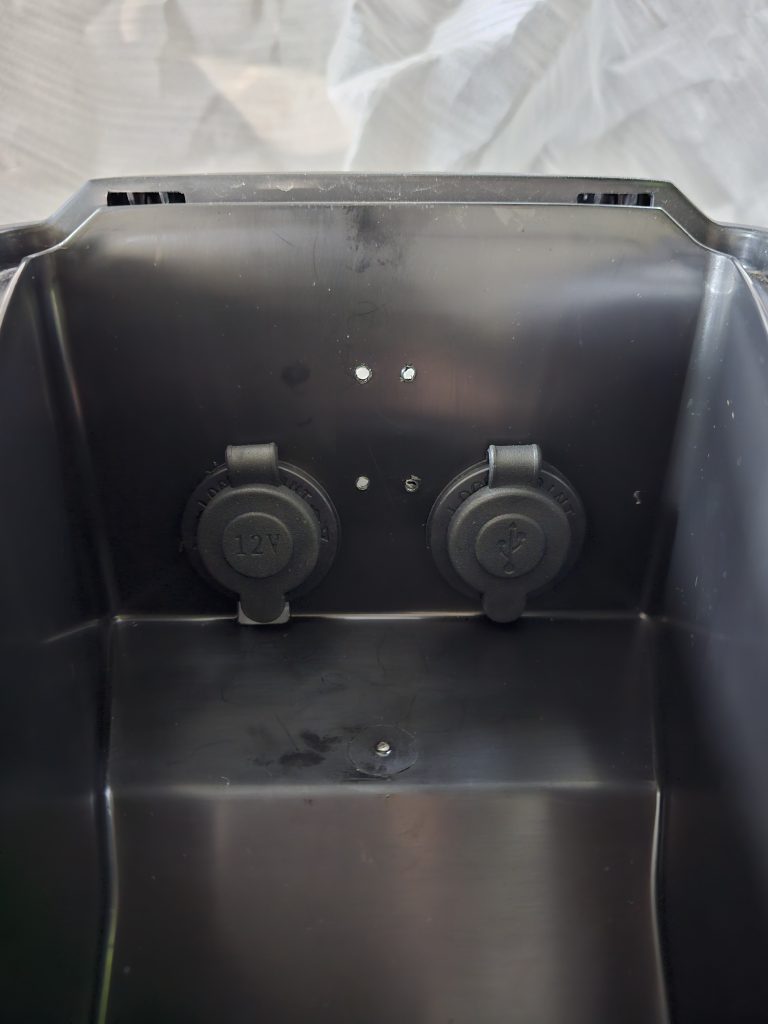
- You may now take off the cover cap and plug in your cable from the CTEK charger.

- The final steps is basically reversing the first steps and putting everything back. Don’t forget the small screws to the folding cover and plug in all four plugs on the front cover.
- That’s it – pat yourself on the shoulder for a job well done!


Please share and comment if you found the guide helpful.
Cheers!