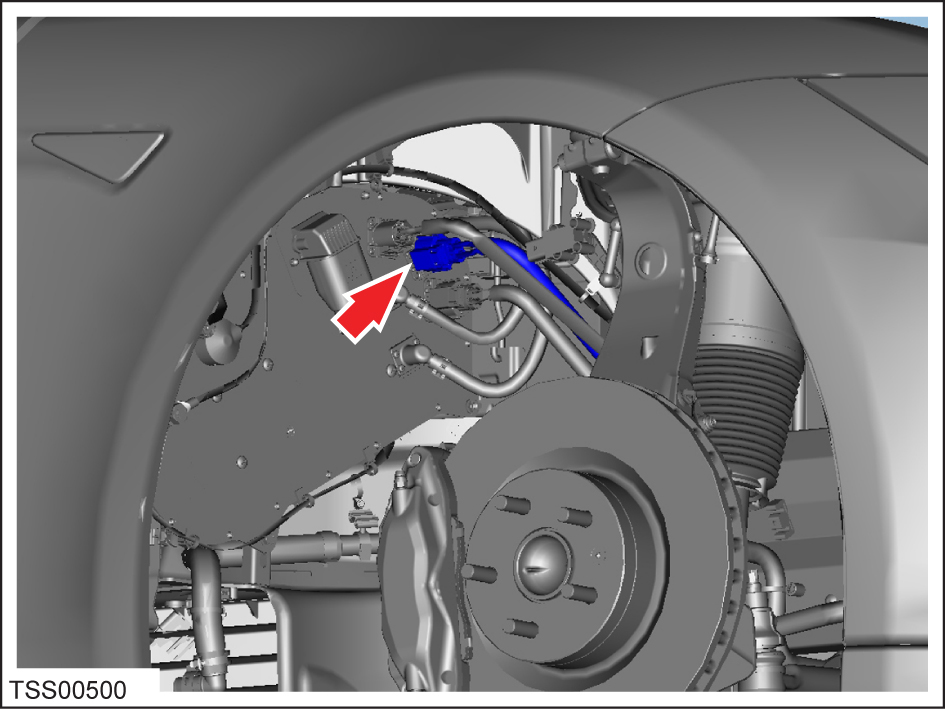
Coolant Heater - Electric - Battery - 1st Generation (Remove and Replace)

FRT No: 18307002

Warning: Only technicians who have been trained in High Voltage Awareness are permitted to perform this procedure. Proper personal protective equipment (PPE) and insulating HV gloves with a minimum rating of class 00 (500V) must be worn any time a high voltage cable is handled. Refer to Tech Note TN-15-92-003, "High Voltage Awareness Care Points" for additional safety information.

This procedure only applies to vehicles with the 1st generation High Voltage configuration. For vehicles with the 2nd generation High Voltage configuration, refer to Coolant Heater - Electric - Battery - 2nd Generation (Remove and Replace).

Removal

  1. Perform the vehicle electrical isolation procedure (refer to procedure).
  2. Remove the underhood storage unit for access (refer to procedure).
  3. Remove the RH front wheel arch liner (refer to procedure).
  4. Disconnect the DCDC converter to battery coolant electric heater HV harness connector.
  5. Feed the harness into the underhood storage unit well.
  6. Disconnect the DC to battery coolant electric heater LV harness connector.
  7. Position a container to collect any coolant.
  8. Clamp the feed and return coolant hoses.
  9. Release the clips (x2) that secure the feed and return coolant hoses to the battery coolant heater. Release the hoses from the heater.
  10. Release the clips (x3) that secure the wiring harness to the battery coolant heater.
  11. Remove the bolts (x3) that secure the battery coolant heater bracket to the body (torque 8 Nm).
  12. Remove the battery coolant heater.
  13. Remove the bolts (x4) that secure the battery coolant heater to the bracket (torque 9 Nm).

Installation

Installation procedure is the reverse of removal, except for the following:

Refill and bleed the cooling system (refer to procedure).