Removal
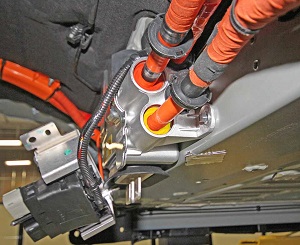
Note: The Rapid Splitter is removed as
an assembly with the HV cables for the rear drive unit and charger. These HV
cables cannot be replaced separately.
- Position the vehicle on a lift, but do not raise the vehicle at this time.
- Open the driver's door, hood, both rear doors, and the liftgate.
- Remove the LH rear trunk carpet and trim assembly (refer to procedure).
- Remove both rear wheels (refer to procedure).
- Remove the HV battery (refer to procedure).
- Remove the rear subframe (refer to procedure).
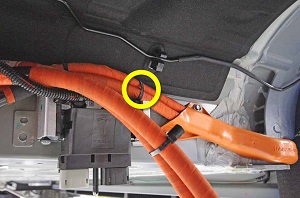
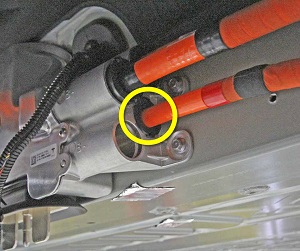
- Remove the barrel clip that secures the HV cables to the body of the vehicle.
-
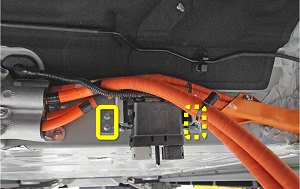
Remove the bolts (x4) that secure the low voltage (LV) Rapid Mate bracket to the
body of the vehicle (torque 8 Nm).
Note: These bolts are self-tapping and can strip the threads in the body. Before reinstalling, ensure that the female threads are not stripped. If they are, install a rivnut.
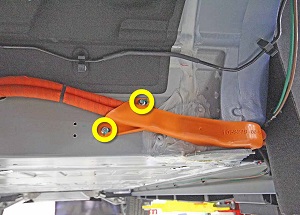
- Remove and discard the bolts (x2) that secure the HV cable bracket to the body of the vehicle (torque 8.3 Nm).
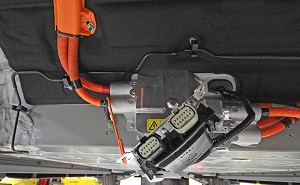
- Release the LV Rapid Mate and secure it out of the working area.
-
Remove the B- HV cable from the Rapid Splitter:
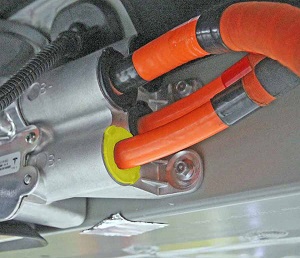
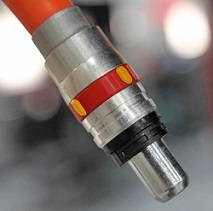
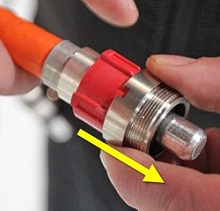
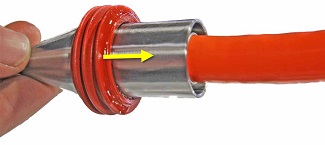
- Use a screwdriver or pick to release the retaining collar from the Rapid Splitter. Slide the retaining collar down the HV cable, away from the Rapid Splitter.
- Use a pick to release the O-ring from the Rapid Splitter.
- Carefully cut through the O-ring and remove it from the HV cable.
-
Insert the rapid splitter socket into the B- cavity and twist it until it
is lined up with the locking collar tabs.
Note: If the tape on the HV cable prevents the retaining collar from moving enough to allow access for the socket, remove the tape.
-
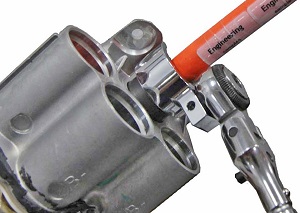
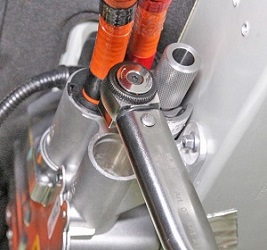
Use the flare nut crowfoot wrench to rotate the socket, removing the cable
holder threads from the Rapid Splitter.
Note: The following image shows the wrench removing the B+ cable.
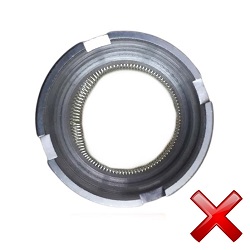
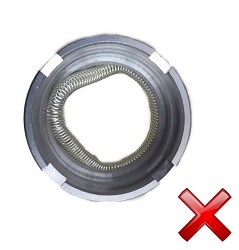
- Carefully remove the spring from the end of the HV cable.
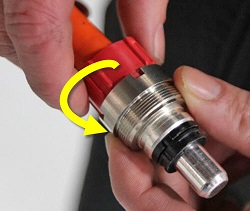
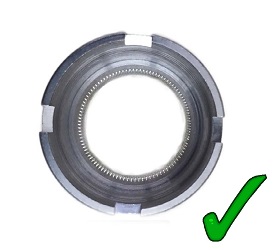
- While holding the metal piece in place, twist the plastic cap until the tabs and grooves are aligned. Once the tabs and grooves are aligned, the collar can be removed from the HV cable.
- Inspect the plastic cap for damage. Replace if damaged.
-
Discard the retaining spring.
Note: The retaining spring is a one-time use part. Do not reuse the retaining spring.
- Place an HV cover on the end of the HV cable.
-
Repeat the previous step on the B+ HV cable.
Tip: Remove the cable tie that holds the HV cables together. Move the B- HV cable out of the working area for more access to the B+ HV cable.
-
Remove the nuts (x3) that secure the HV cable bracket to the studs on the body
of the vehicle (torque 4 Nm).
Note: Components have been removed in this graphic to aid clarity.
- Use a trim tool to release the barrel clip on the HV cable bracket from the stud on the body of the vehicle.
- Remove the rear fascia assembly (refer to procedure).
- Remove the charger (refer to procedure).
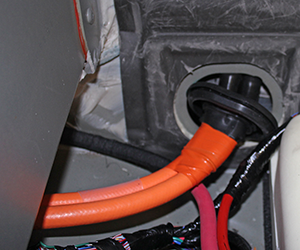
- Push the HV cable grommet through the body.
- Raise the vehicle.
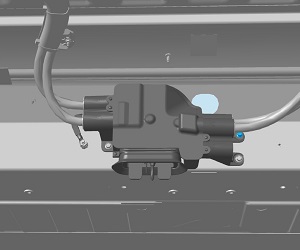
- Remove and discard the upper RH screw that secures the Rapid Splitter to the body of the vehicle (torque 8.3 Nm).
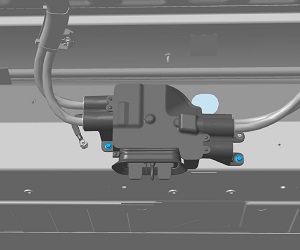
- Remove the lower bolts (x2) that secure the Rapid Splitter to the body of the vehicle (torque 7 Nm).
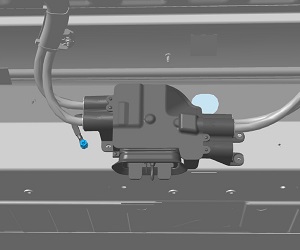
- Remove the nut that secures the Rapid Splitter ground strap to the body of the vehicle (torque 9 Nm).
- Remove the Rapid Splitter from the vehicle.
