Drain
-
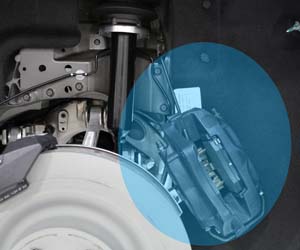
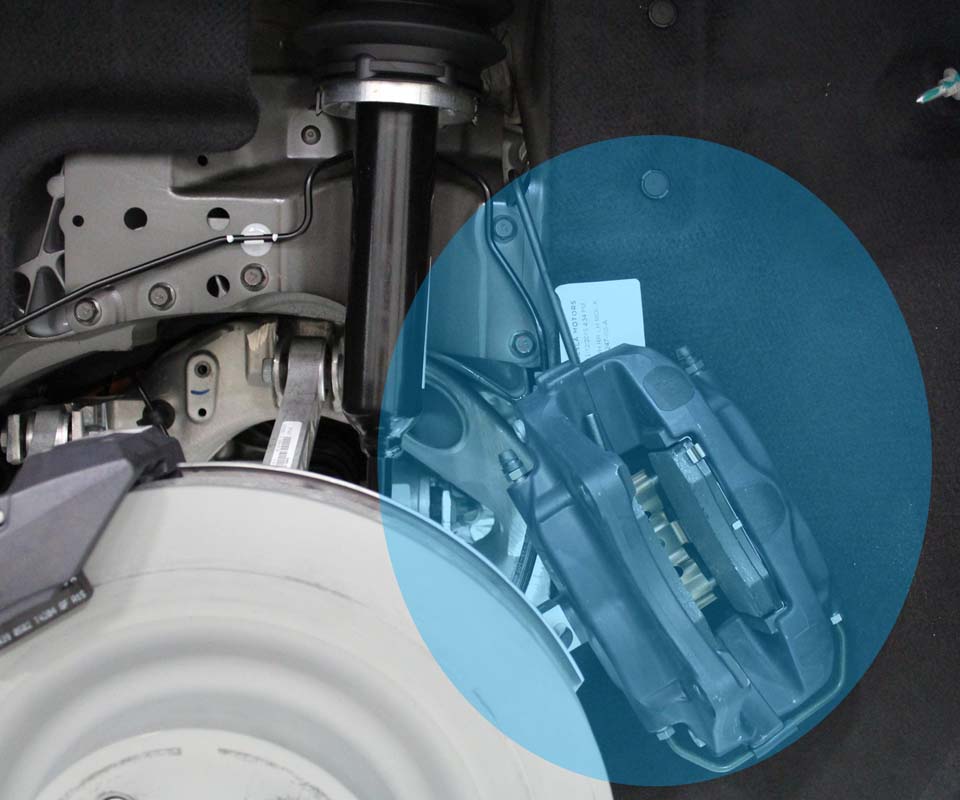
Release the bolts (x2) that secure the brake caliper to the knuckle (torque 120
Nm). Release the caliper and use the S-hook to support it.
Caution: To avoid damage to the brake line, the brake caliper must be supported at all times.
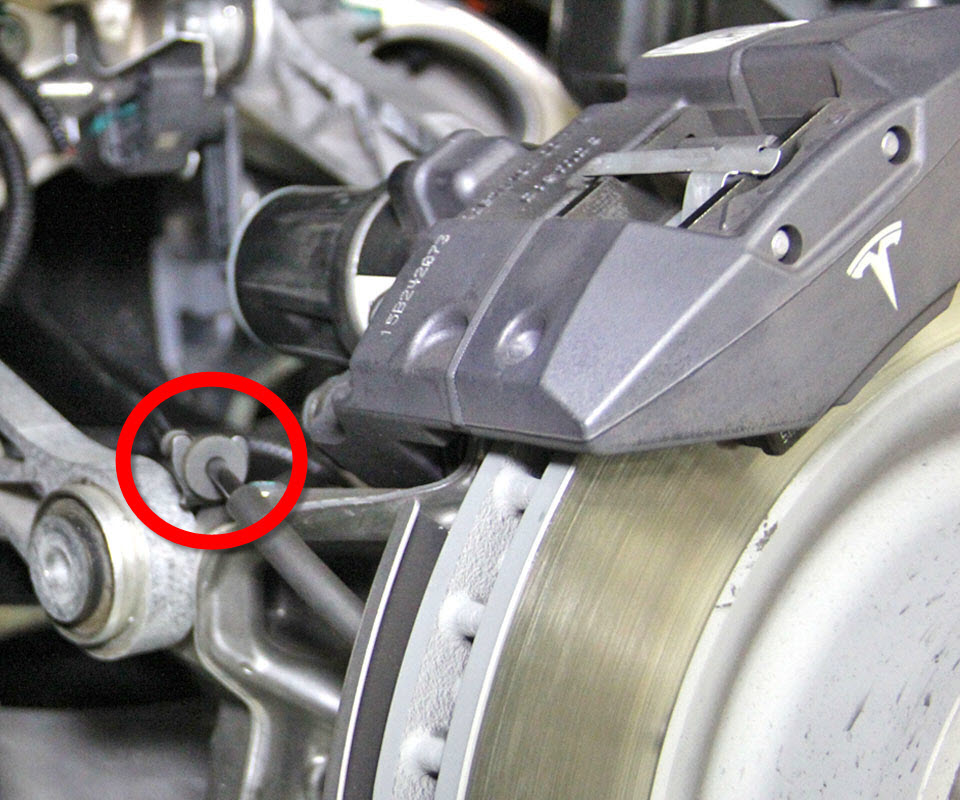
- Release the ABS harness from the bracket on the knuckle.
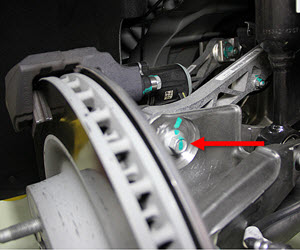
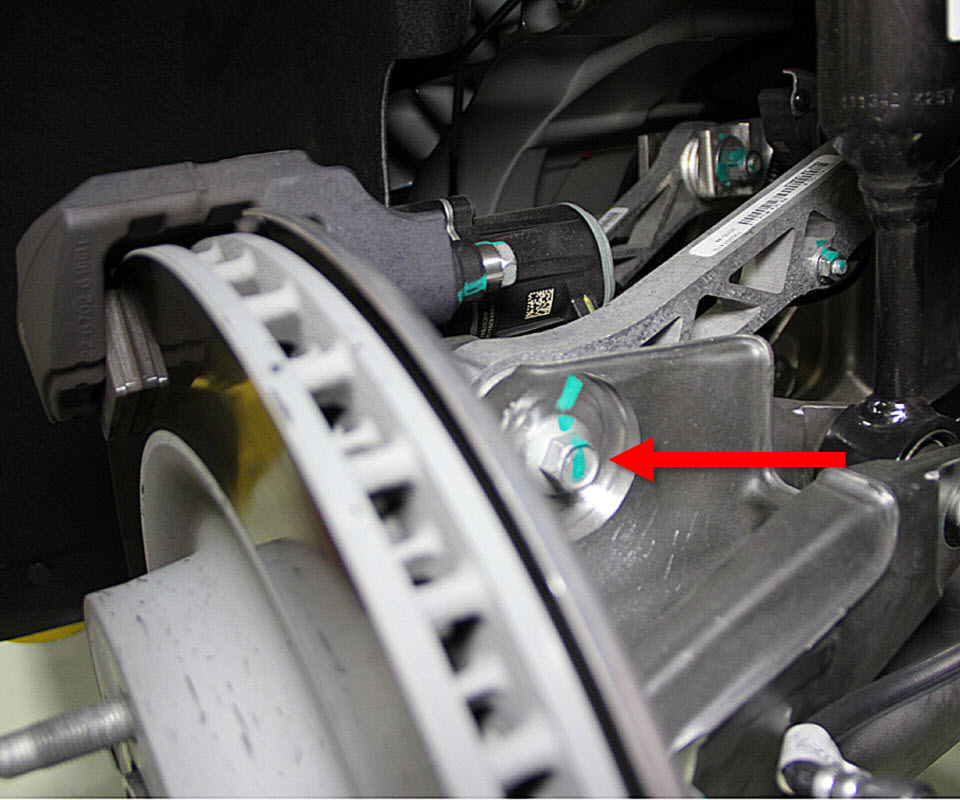
- Release the bolt that secures the upper link to the knuckle (torque 140 Nm).
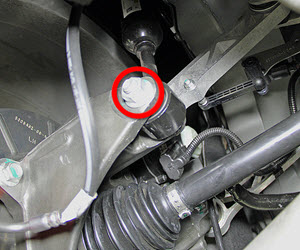
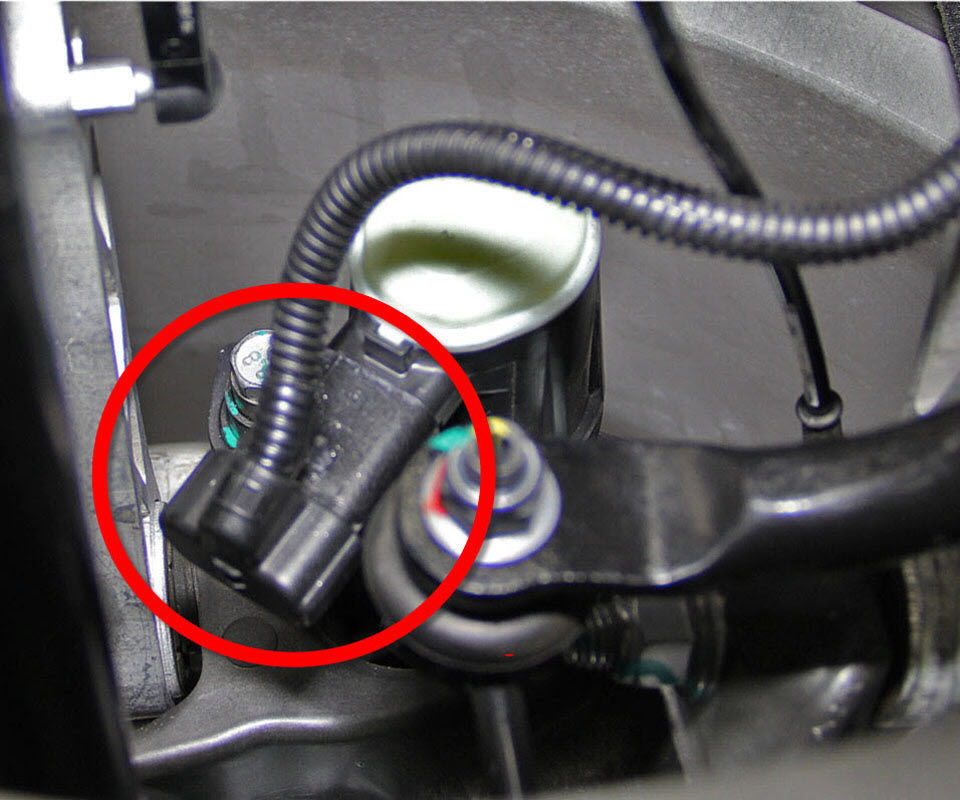
- Disconnect the harness from the electric park brake (EPB) caliper.
- Release the bolt that secures the toe link to the knuckle (torque 130 Nm).
- Release the nut and bolt that secure the damper to the knuckle (torque 140 Nm).
-
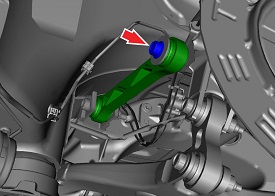
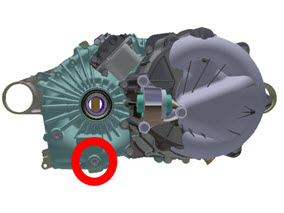
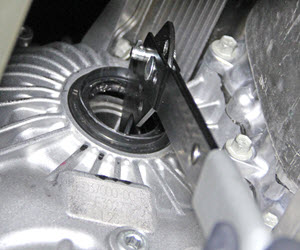
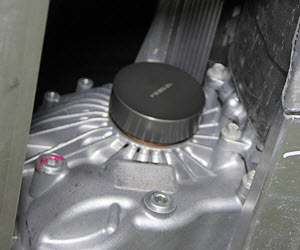
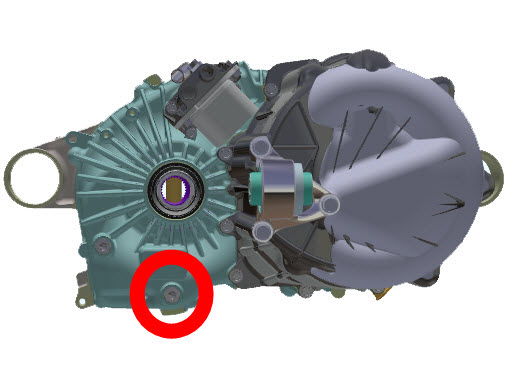
On the LH side of the gearbox, release the drain plug. Allow the fluid to completely
drain, then reinstall the drain plug (torque 28 Nm).
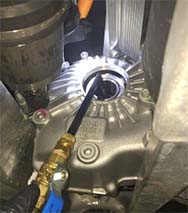
Caution: Do not attempt to fill the drive unit through the upper plug.

